Introduction: Wigglegram Lens V2 (for Open Sauce)!


In preparation for Open Sauce '23 in San Francisco, I wanted to revamp my previous Wigglegram Lens.
I wanted to get variable aperture working like George Moua's so I dove into that as well as making focusing faster & adapting the spacing to work on the full-frame sensor of my Sony A7R3.
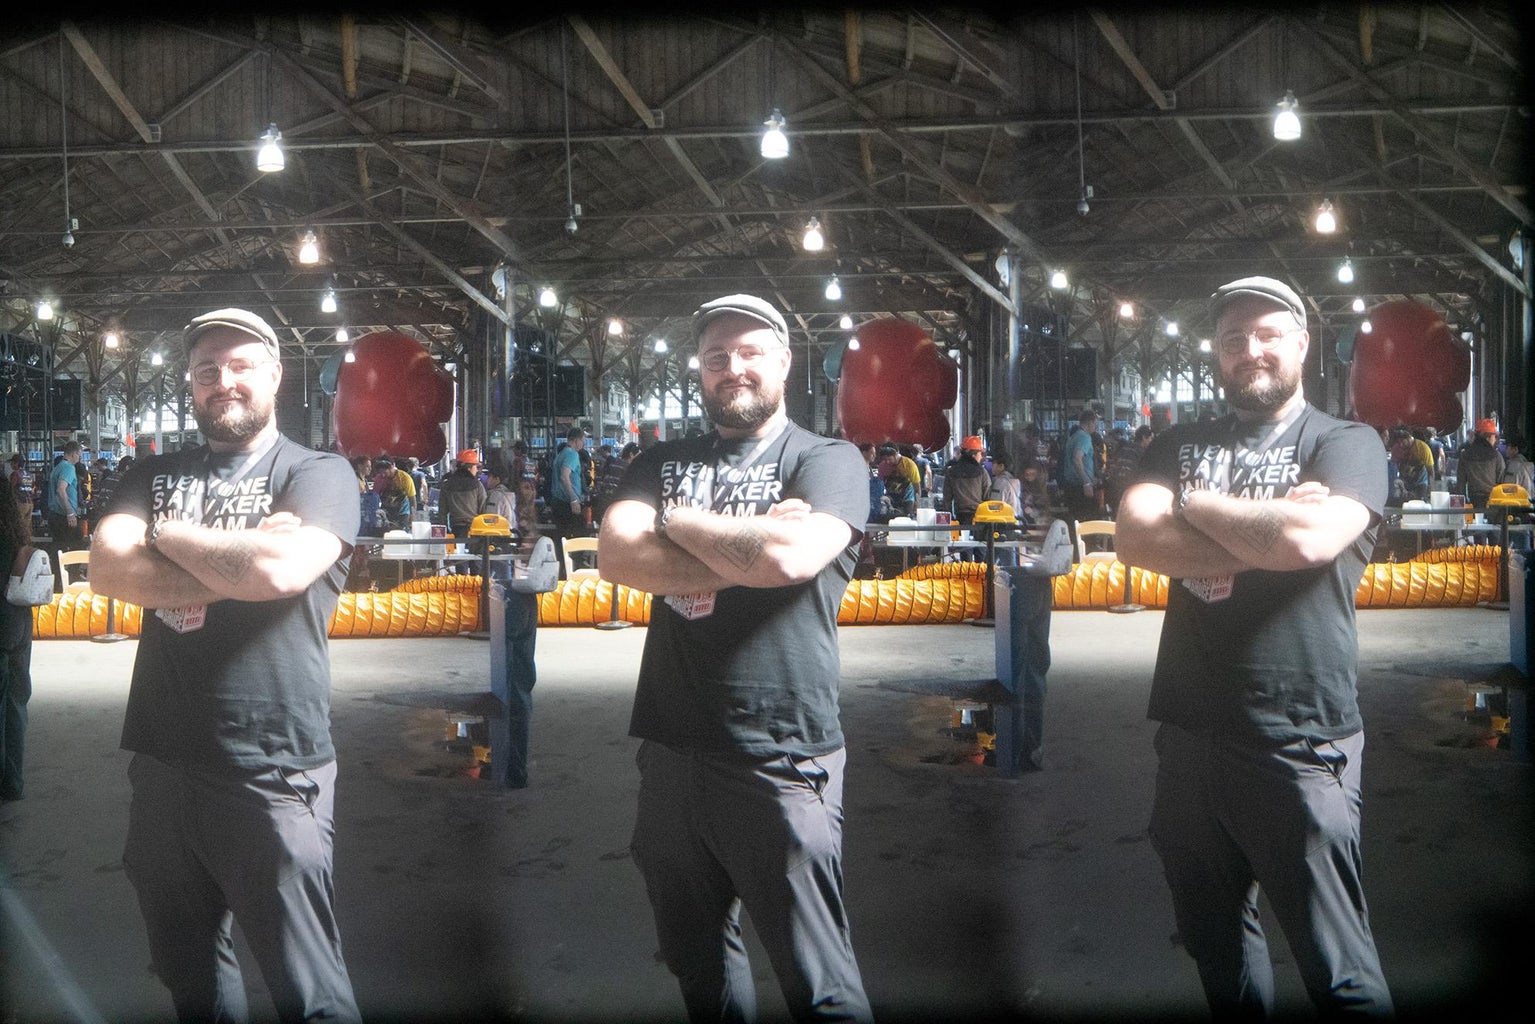
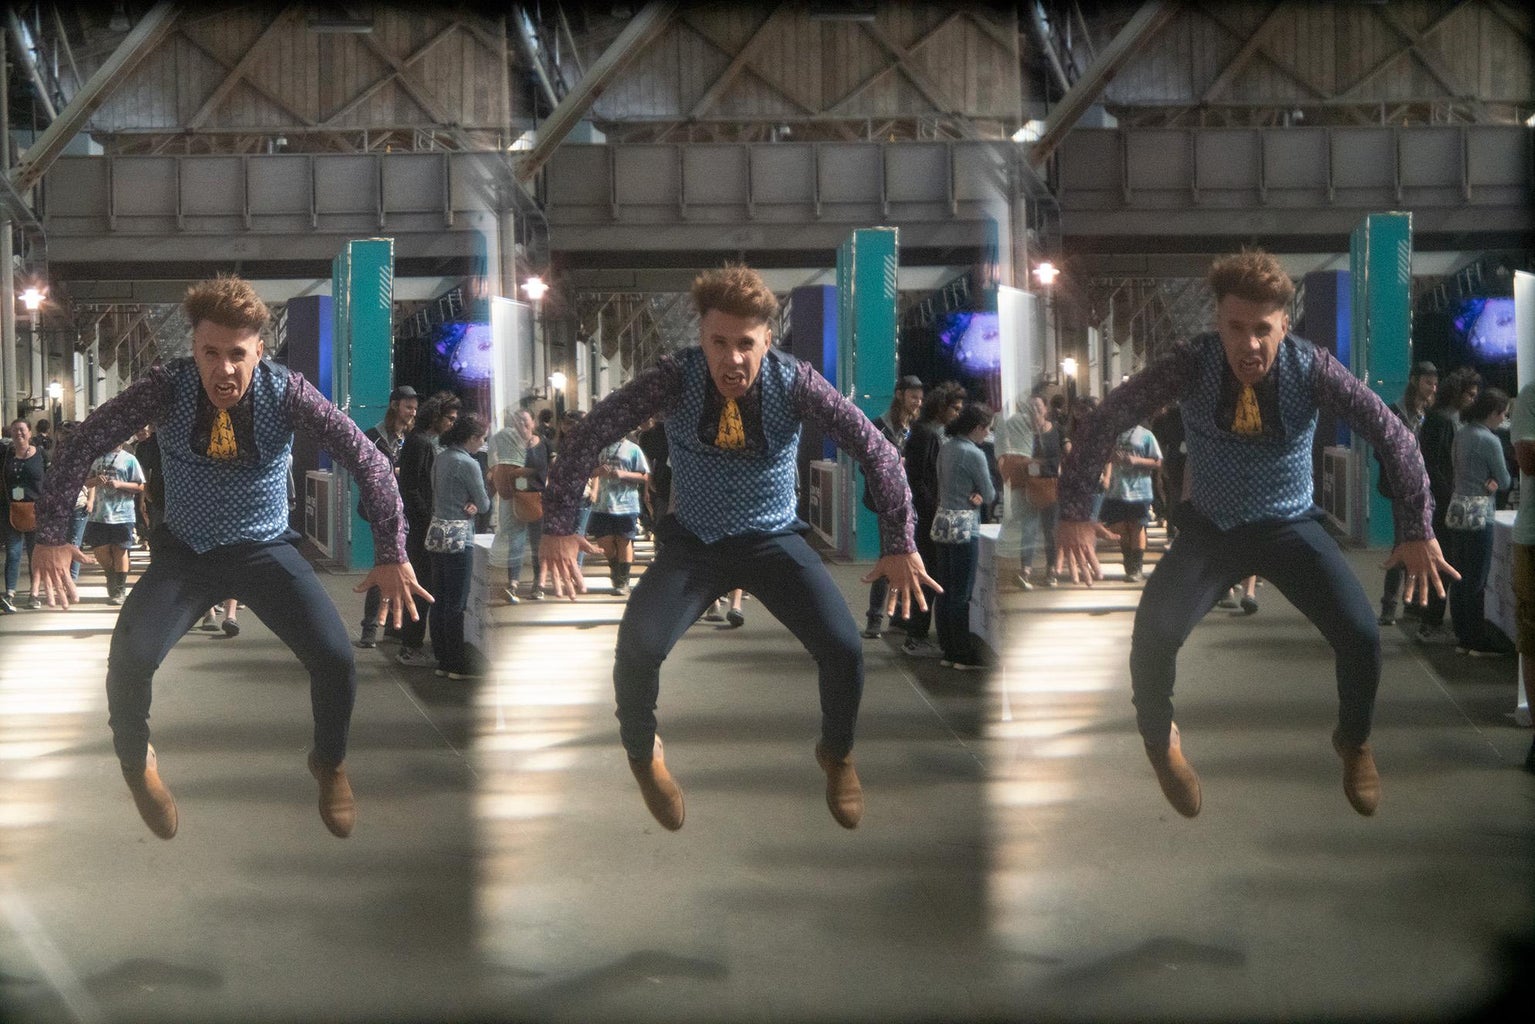
The lens was a huge hit at OpenSauce ~ I had a ton of fun taking pictures with attendees and creators!
Supplies
Required:
- 3D printer ( or access to one )
- 3x plastic lenses (~30mm (focal length) scavenged from used disposable cameras)
- Sony FE mount camera ( crop sensors won't work for this version )
- 3x M2x4 screws
- 5x M2x12 screws
- 1x M2 nut (for the focus knob ~ Could just glue them together)
Optional:
- Small handheld etching tool (adjusting fit)
Step 1: Print the Parts
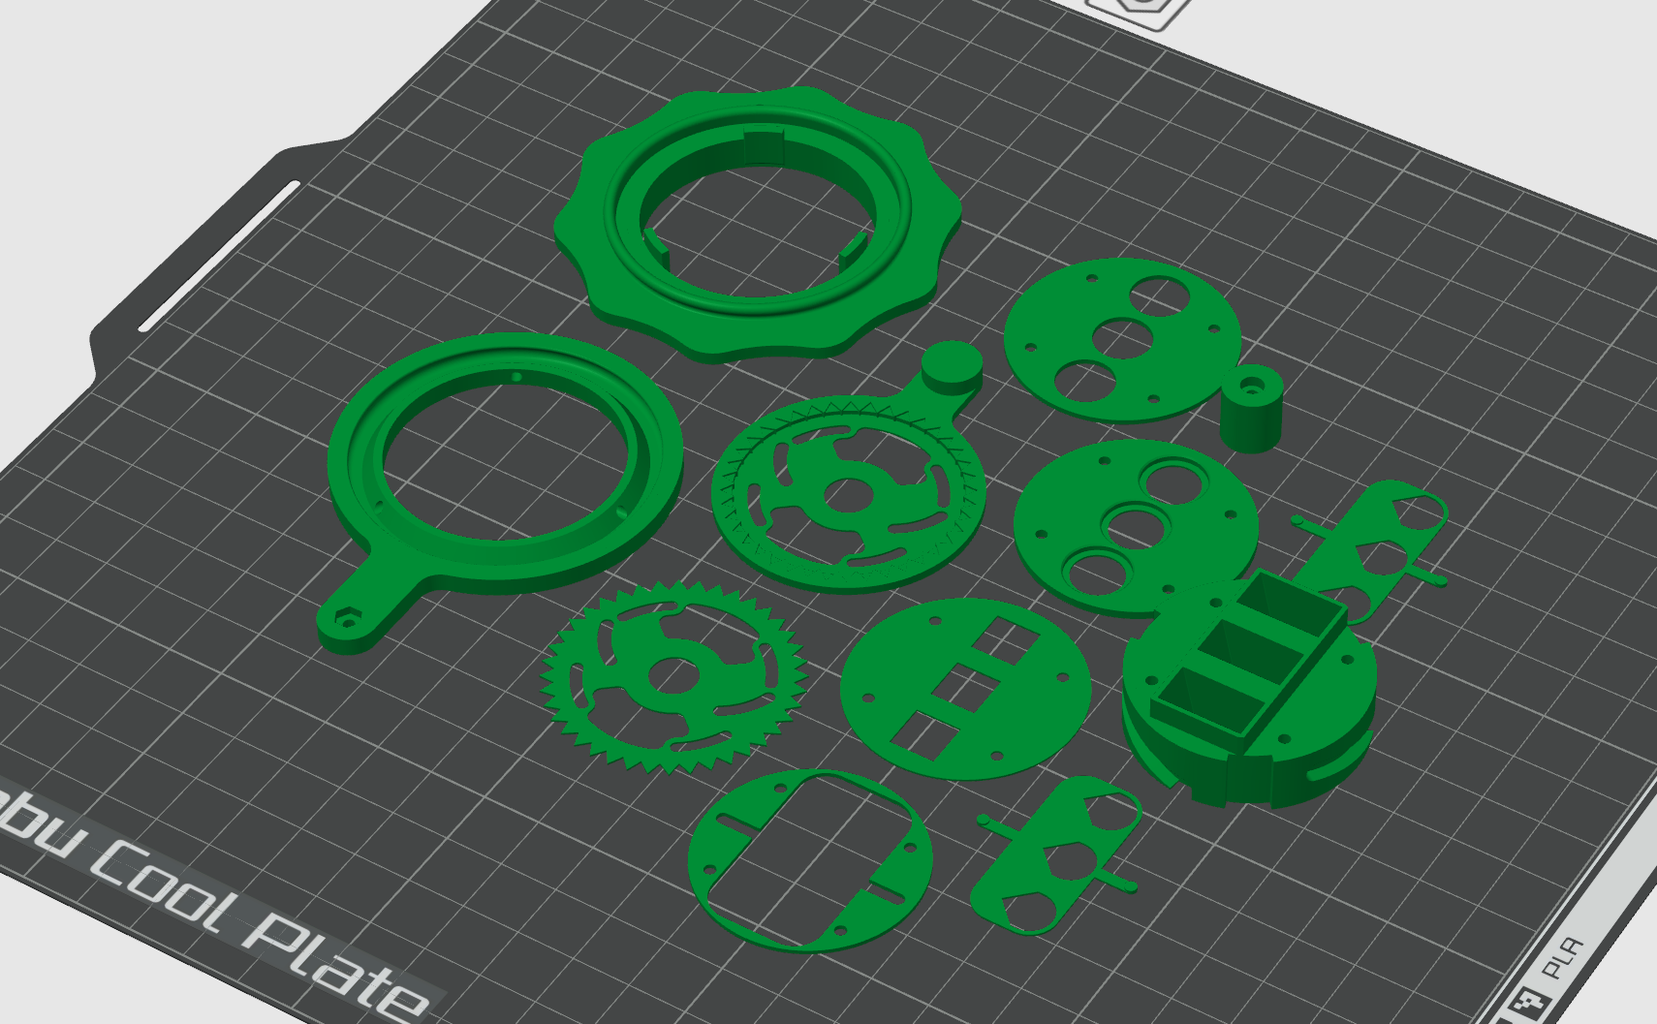

Print the parts! The only parts that need support are:
"LensBody" and "Mount".
Pictured the layout on my Bambulab P1P ^^
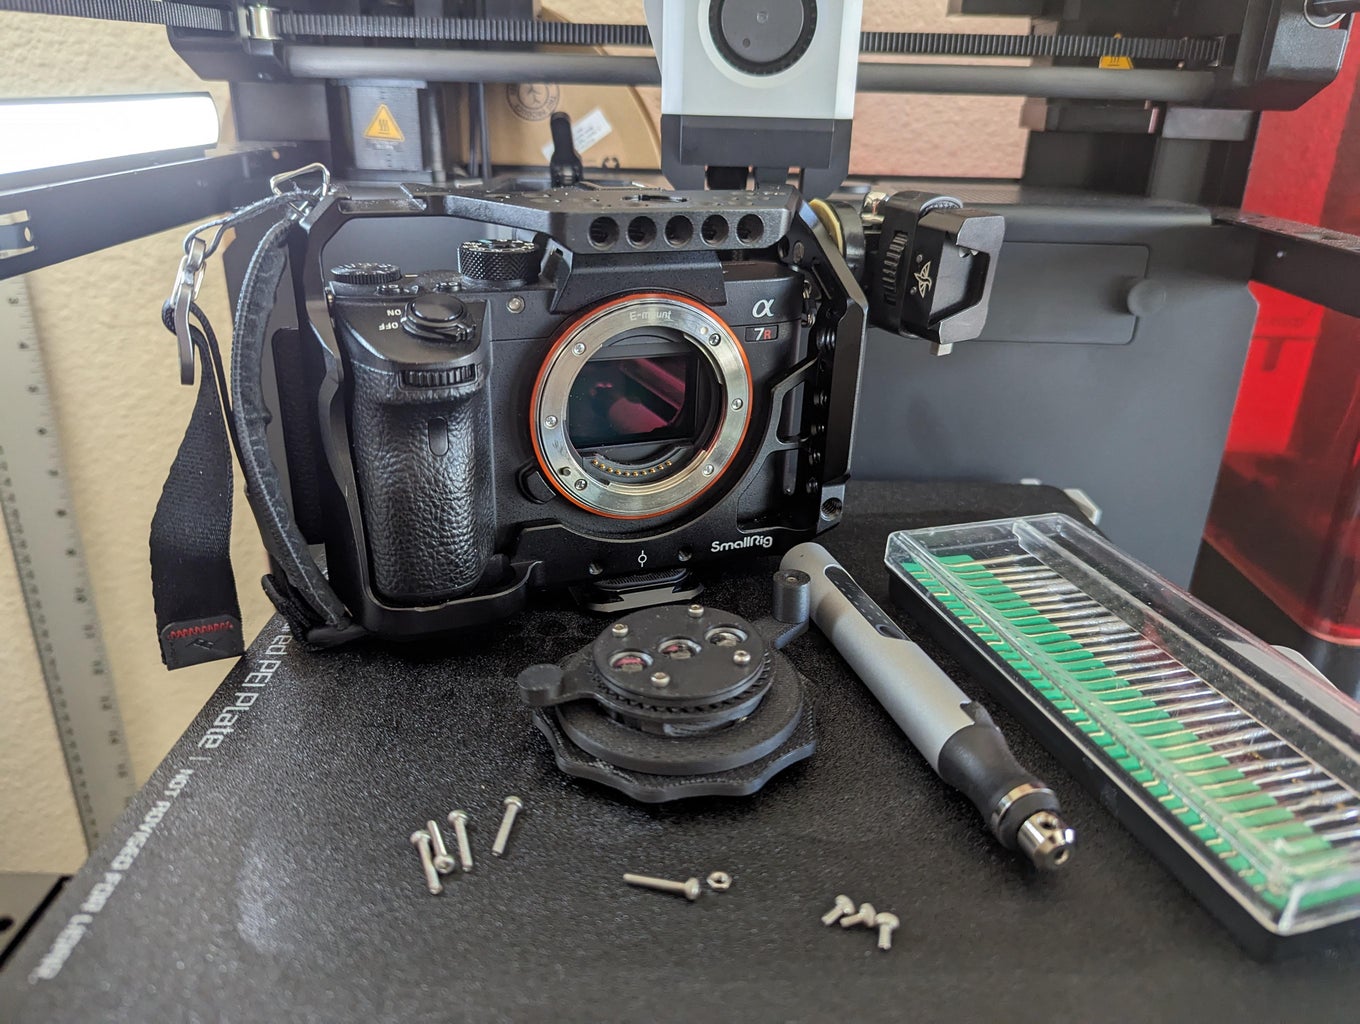
Step 2: Assemble the Lens
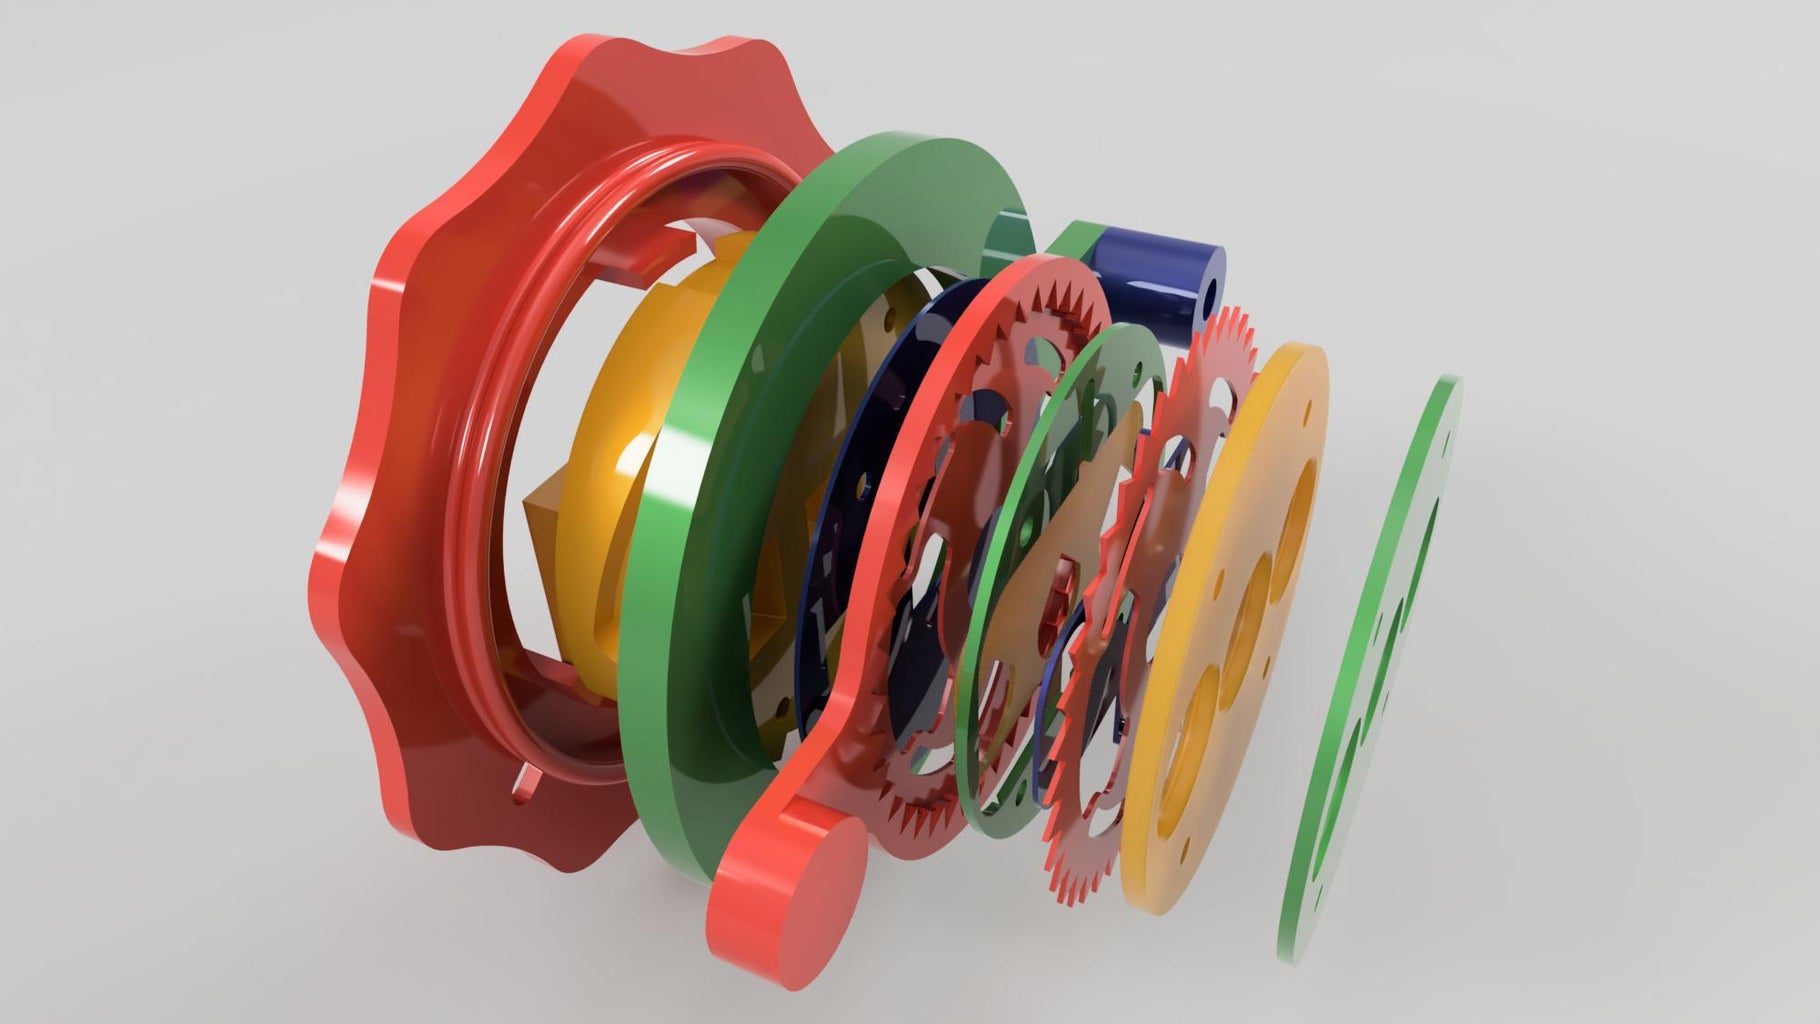

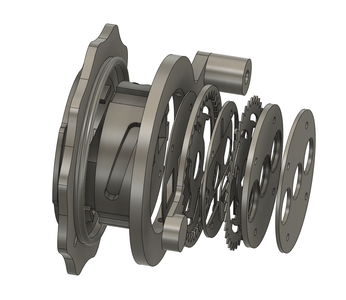
After removing the parts and cleaning up rough edges with the etching tool (or X-acto / sandpaper), the stack is assembled like above!
- Snap-fit the focus ring onto the mount, and screw in the three M2x4 screws to the holes on the inner radius.
- Slide the "Lens Body" into the focus-ring, where the heads of the screws fit in the curved slots.
- Assemble either
- the fixed aperture stack ("FixedApertureSpacer" + "LensFront" + "LensRetainer")
- the variable aperture stack ("Spacer" + "BottomRotatorAndRing" + "ApertureLeaf" + "Leaf Frame" + "ApertureLeaf" + "TopRotator" + "LensFront" + "LensRetainer")
- Screw the stack into the lens body with 4 M2x12 screws
- Adjust the tension so the parts are solid but the aperture can still move!
- Attach the "FocusKnob" with the last M2x12 screw and nut
Step 3: Take Some Photos
Once you've got the fit & motion right, it's time to take some pictures!
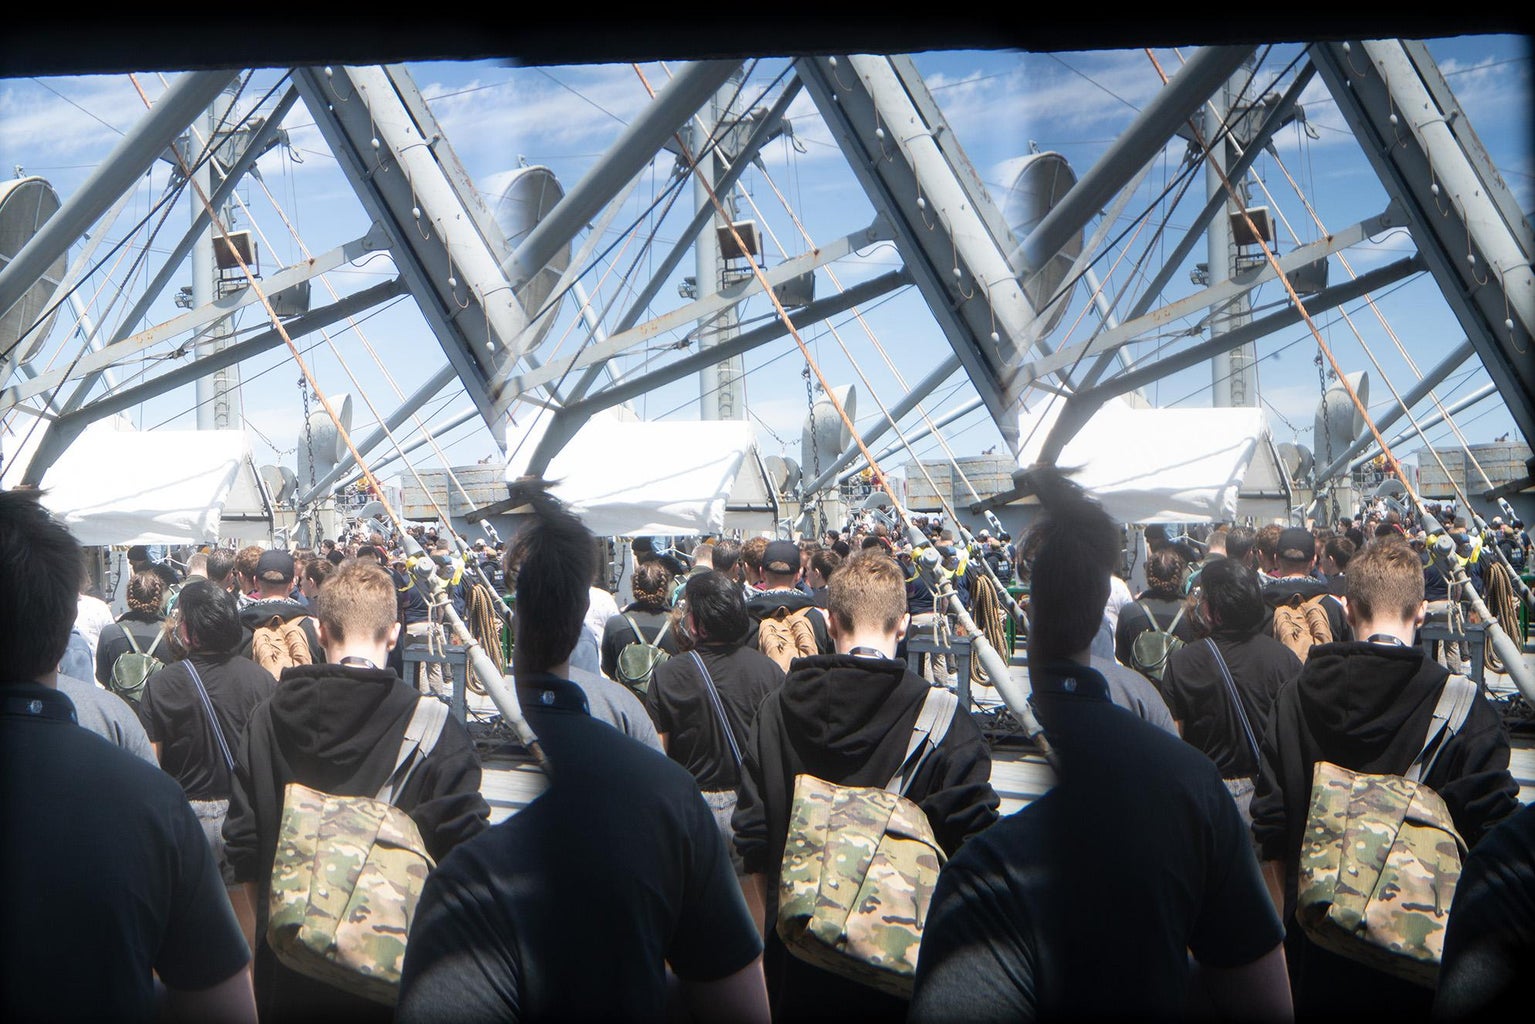
You'll get the best effect when choosing scenes / subjects with a lot of depth perpendicular to the sensor! Flash can help as the sharp shadow it creates moves noticeably between the pictures.
From my previous guide:
Everything's vertical. Realistically you can turn the camera to capture wider scenes, but that also changes the direction of the wiggle. I didn't experiment much with that though... I'm pretty happy with the long vertical photos!
The plastic lenses also do a great job of reproducing the aesthetic of the Nishika.
The focus changes what overlap happens between the individual images, but that can be cropped out depending on how you process them later.
Step 4: Edit Some Photos
This part always feels like unwrapping a present. Very analogous to developing film... but faster and... not like developing film 😅.
I use Photoshop, and I've made some Photoshop Actions (in linked Google Drive) that you can use to speed up the editing workflow.
- Create a new document (1:2 ~ I usually do 1000px*2000px & BLACK BACKGROUND)
- Drag in your RAW photo and fix it up a bit with some curves/levels adjustments
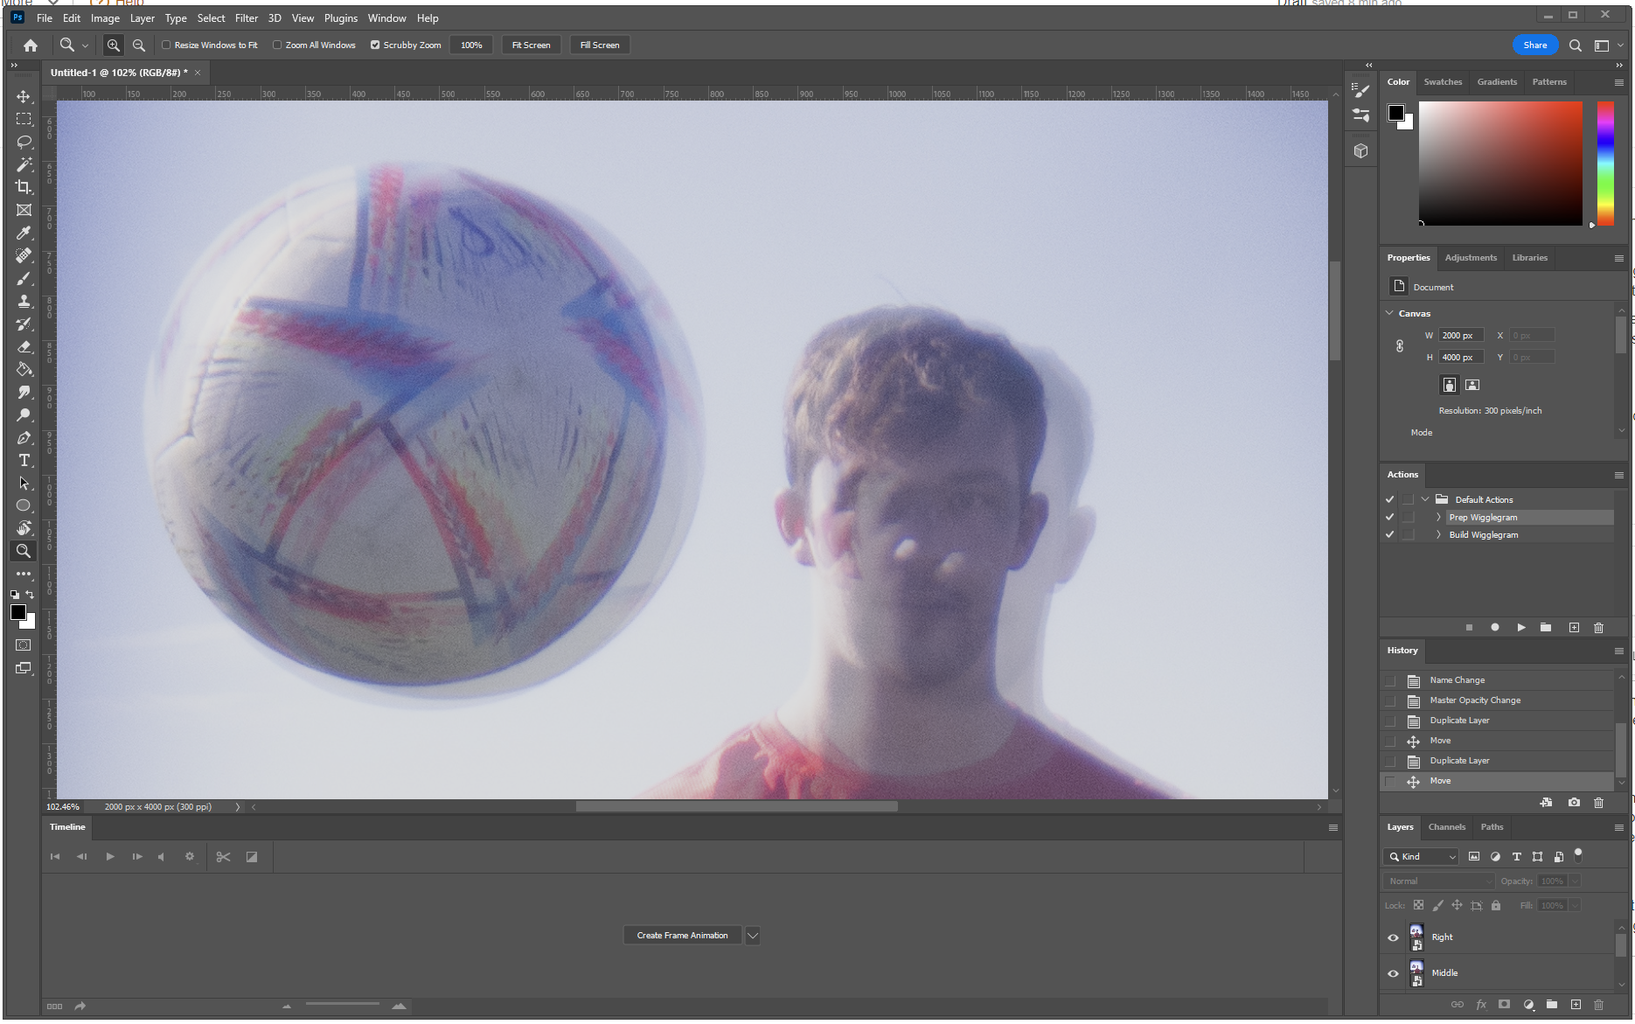
- Confirm the placement of the photo, then with its layer selected, run the "Prep Wigglegram" action. This copies the image into a couple of different layers and sets the Middle and Left layers to partial opacity.
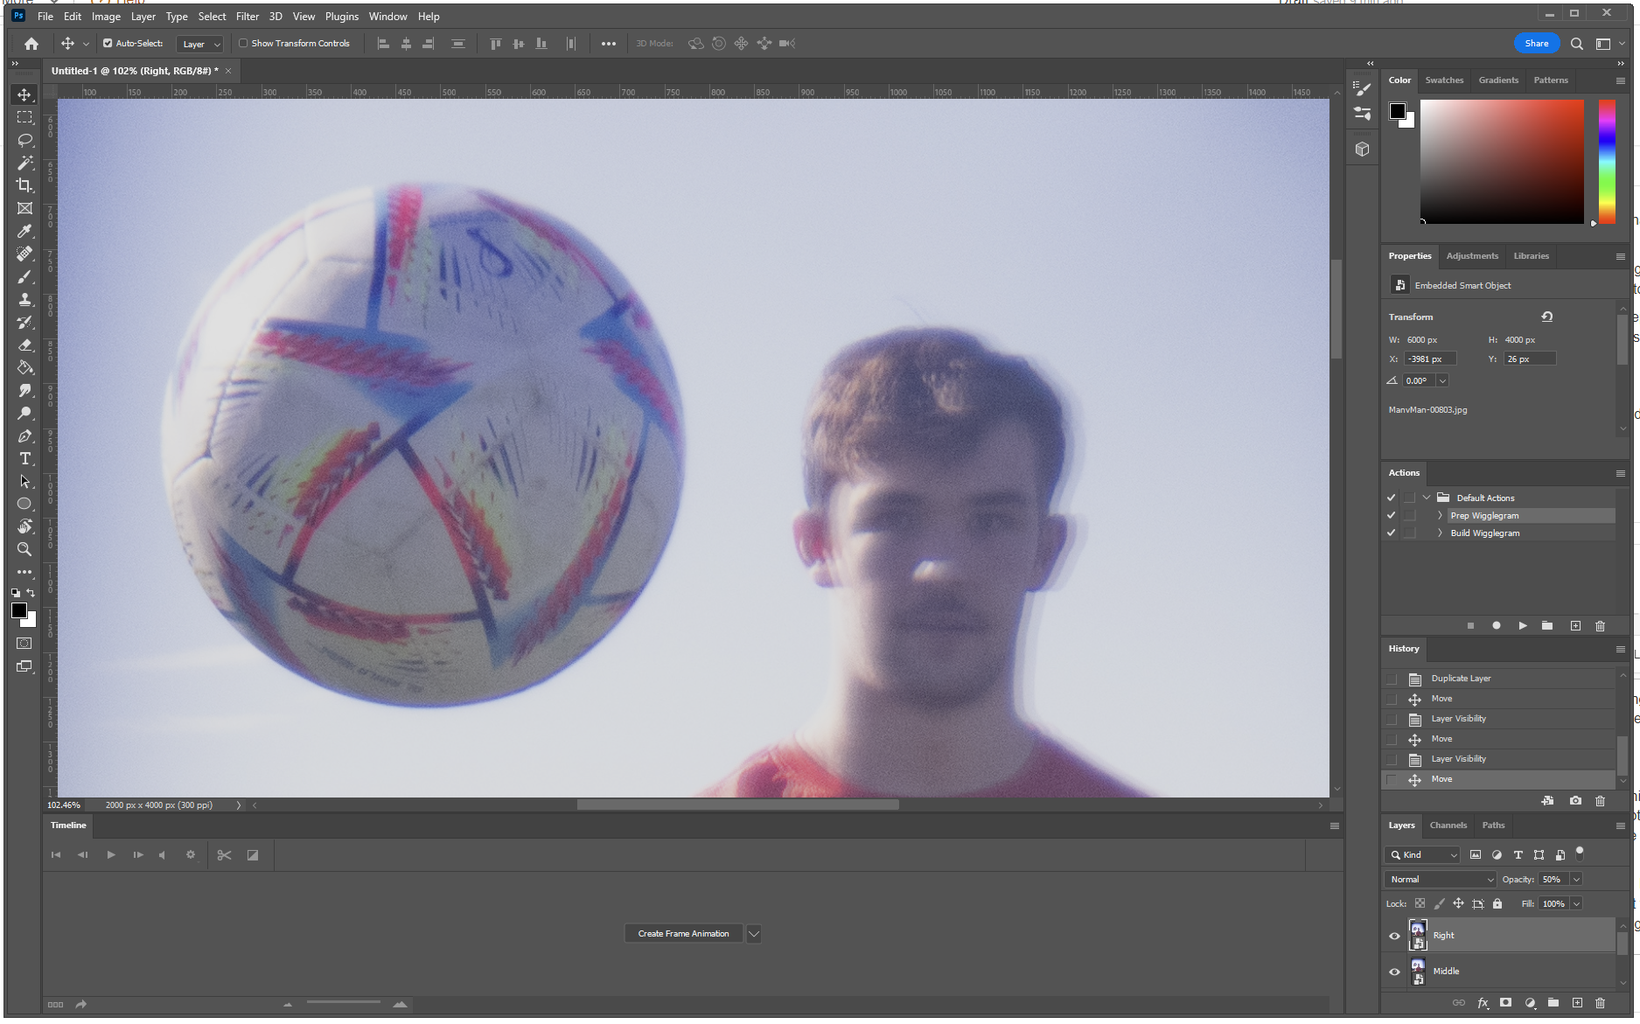
- Use the mouse and keyboard to align "Middle" over a specific subject in "Right". For people, I usually align over an eye or smile. Toggle the visibility of the layer to make sure that the subject doesn't move across frames!
- Do the same for "Left" and check that the subject stays still!
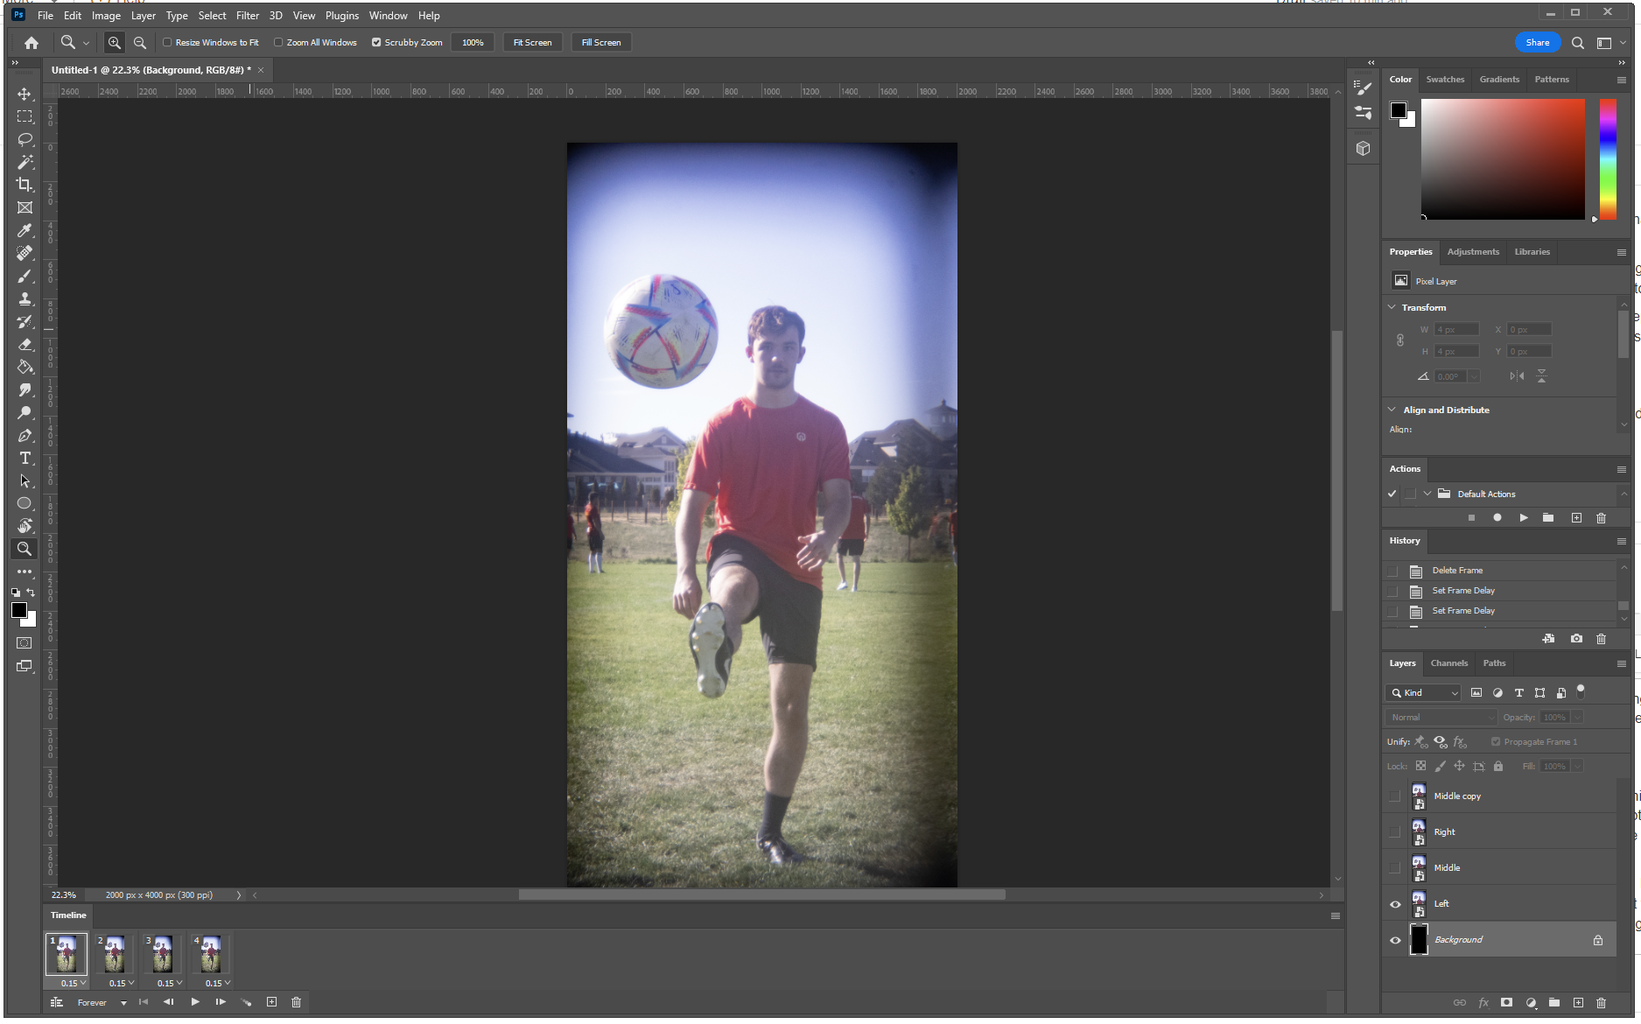
- Run the "Create Wigglegram" action, this duplicates the middle image and creates a frame animation with the different layers.
From there, it's set! You can export it using the Export for Web (Legacy) option. I usually lower the resolution to 50% just to make it easier / smaller for sharing.
Step 5: Share Some Photos!
Some social media platforms will let you share GIF's directly but... some (cough cough INSTAGRAM) won't. For those, you could go through and create a video with the images as frames but I've honestly found it easier to open the GIF on my phone's file browser and start a screen recording. I record for 5-10 sec, then crop the video. EASY.
If you do end up trying this whole thing out, share your photos!
Tag @pro.fiel on Instagram / @pr0.fiel onTikTok and I'd love to see what you come up with 👌


Comments
Question 8 days ago on Introduction
I can't figure out how to download the STL files for printing; all of the Download buttons on this page give me a PDF version of these instructions.