
Introduction: 3D Printed Wigglegram Lens (Sony E-mount / APSC)
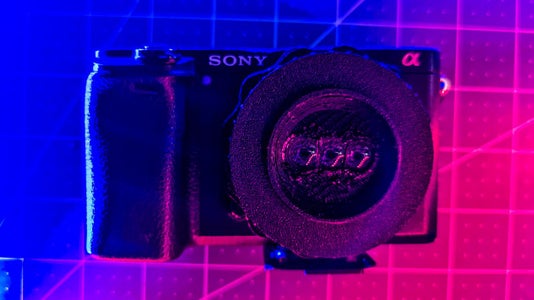


After stumbling across some of Kirby Gladstein's photography, I wanted to see if I could recreate the effect with my Sony a6300 mirrorless camera! I used Autodesk Fusion 360 to design the parts and printed out the majority on my Creality CR-10. The lenses themselves were scavenged from used disposable cameras. The camera's small sensor doesn't give me the same width as the Nishika N8000 that Kirby uses, but I got some great depth even with the lenses only ~8mm apart!
Supplies
- 3D Printer ( or access to one )
- Interchangeable lens camera
- 3x Used disposable cameras
Step 1: Design & Printing

I designed the lens in Autodesk Fusion 360 after looking around for similar projects. I quickly found the niveau by George Moua and this DIY one from Joshua Bird. I didn't even realize how complex George's design was until the end of this project, but if you're interested in a full-frame design AND adjustable aperture (George... you absolute wizard), it looks like he's still taking orderson his website.
Then, kaworu's helicoid for Sony FE mount helped me wrap my head around the function of a helicoid and was a great help in designing my own.
The design is made of 3 parts, the mount, focus ring, and slider. I'd made the E-mount interface a couple of years ago to make a body cap for the camera, so I scrounged up that file and cleaned it up. I knew I wouldn't get the focus exactly right on the first try, and rather than waste a bunch of plastic trying to figure it out, I designed in a helicoid / focus ring. The mount piece interfaces with the camera body and has half of a "tilt-snap bearing".
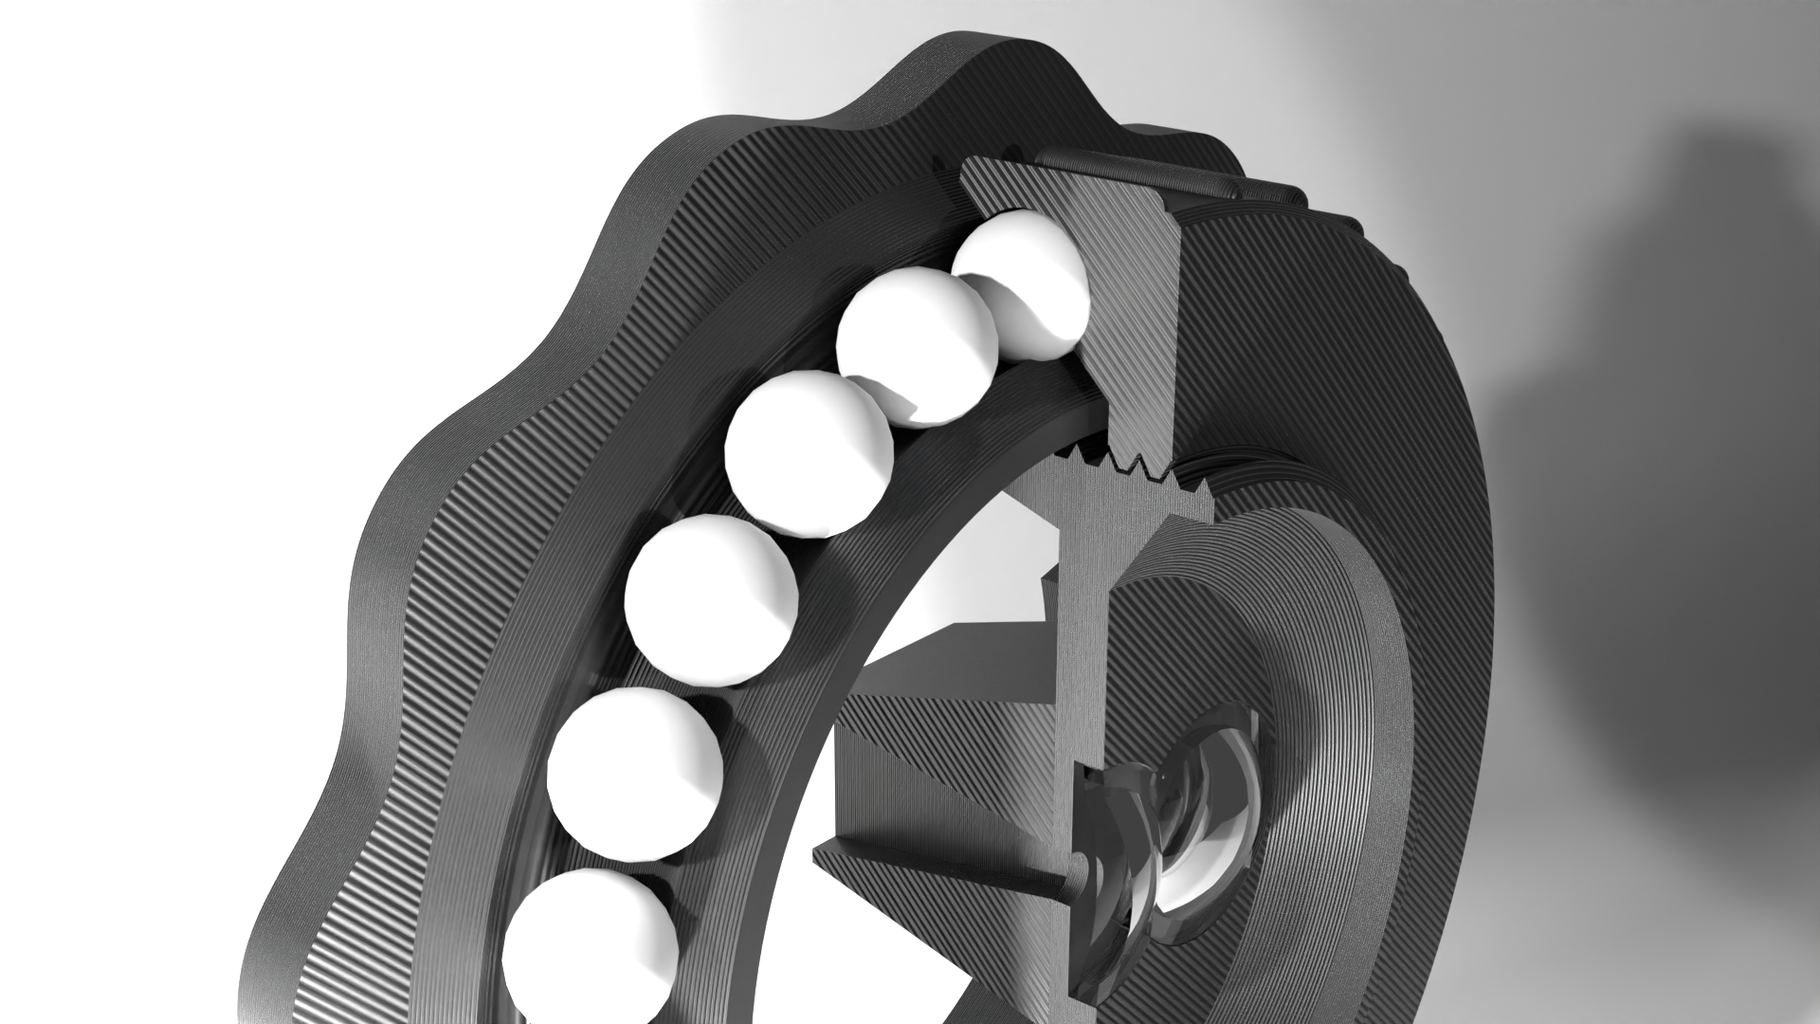
I'm not sure if anyone else has made something similar, but the "tilt-snap" idea is that the two halves are printed separately and they each wrap around the bearings JUST enough to hold the two halves together, but also let the ring rotate freely. The "tilt" part is that the dividing line between the halves is at 45deg rather than straight up and down. The plastic has enough flexibility for each half to clamp the bearing with a satisfying SNAP... a la "tilt-snap" 🤷♂️.
The other half of the bearing is the focus ring and when the two halves come together around these 6mm (5.5mm) plastic BB’s, the pieces are held together but the ring can still rotate freely.
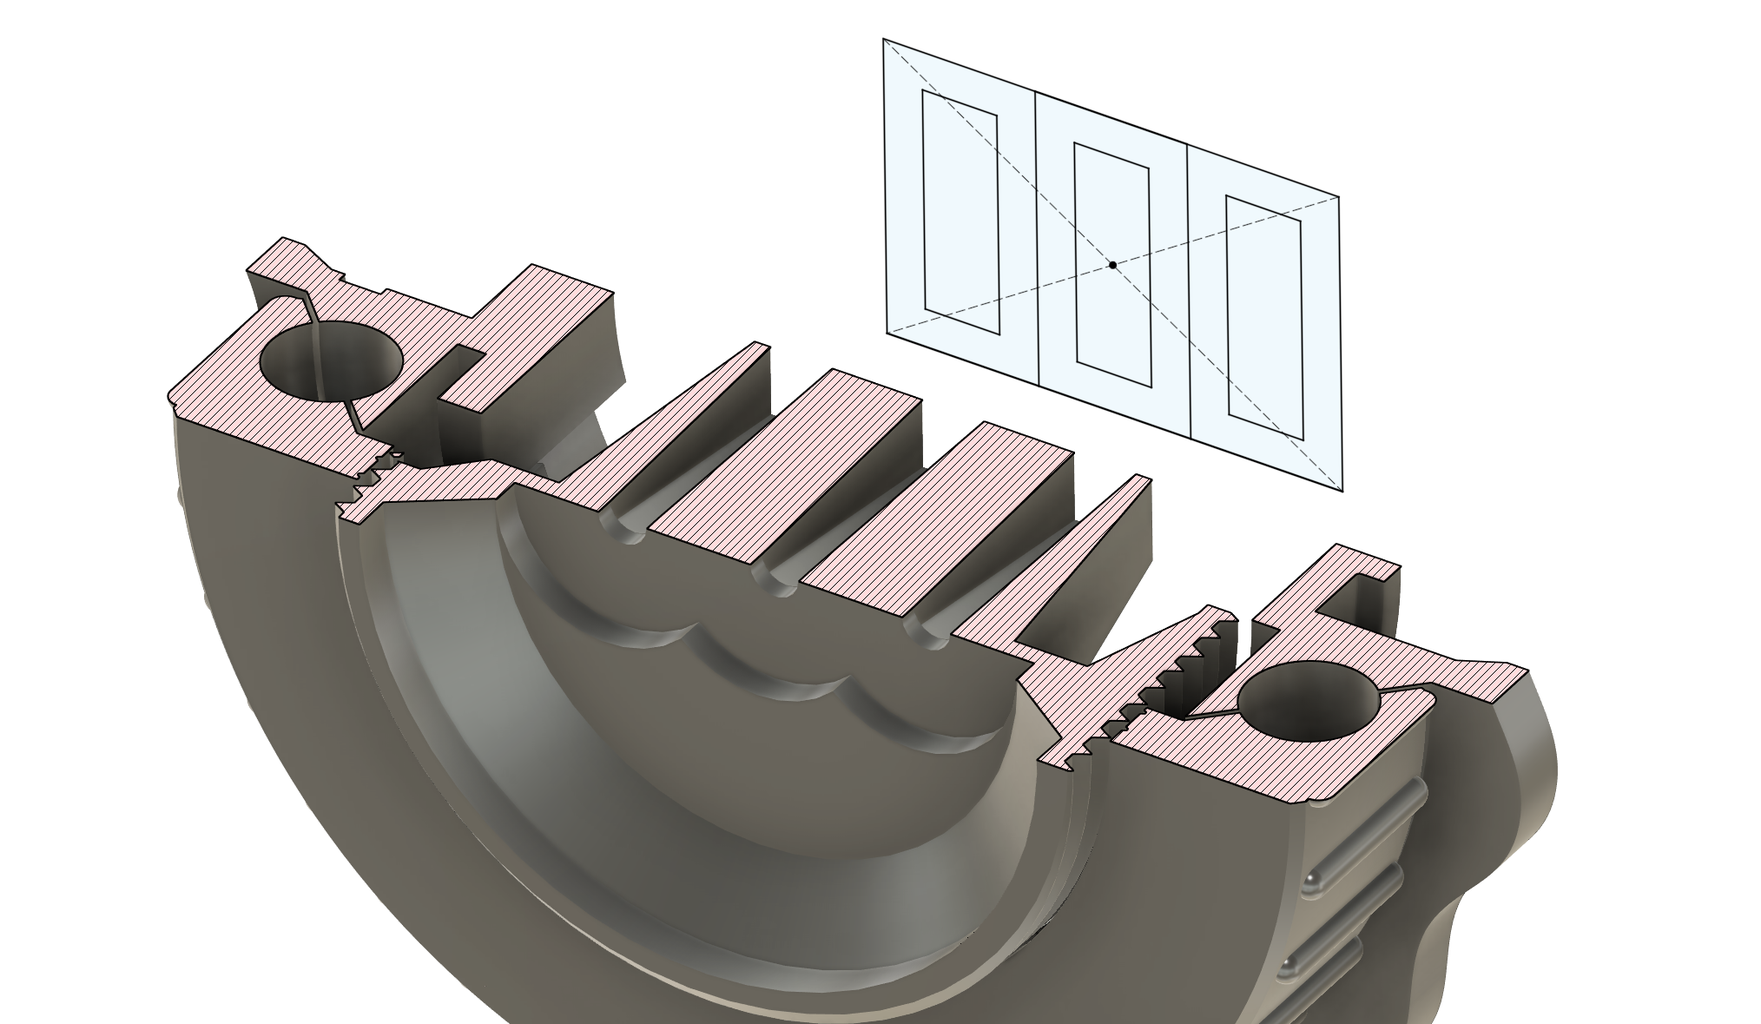
The last piece, the slider, interfaces with the threads on the focus ring but this notch and matching tab here stop it from rotating. That keeps the orientation of the lenses in line with the camera’s sensor! The longest part of the design was tweaking the "blinders", those extensions behind the lenses that block overlapping light. My first attempt was similar to Joshua's, with long extensions that came out and nearly touch the sensor. While this provides the clearest dividing lines, adjusting the focus meant I could drive them into the sensor, and if I didn't disable the physical shutter, it'd smash into them.
Instead, I used some lofts in Fusion to project the fixed aperture behind the lens to each section of the sensor. I had to tweak the size until the overlap between the images was minimized, but the overlap varies depending on the focus... It works well enough!
Step 2: Adding the Lenses
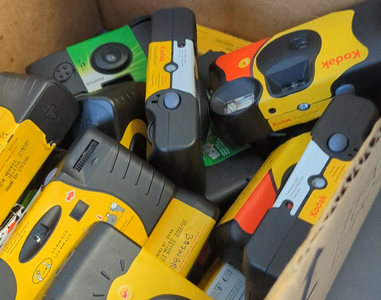
The lenses were scavenged from identical used disposable cameras. A local film shop has a bin for the used cameras and recycles them weekly. For being called "disposable" cameras, they told me bodies of the cameras are sent back and reused multiple times!
A note when taking apart the cameras, other guides online warned me about the large capacitor used for the camera flash. The advice I got was to short the terminals with a screwdriver with a rubber / plastic handle to make it safer to handle. Just something to be aware of!
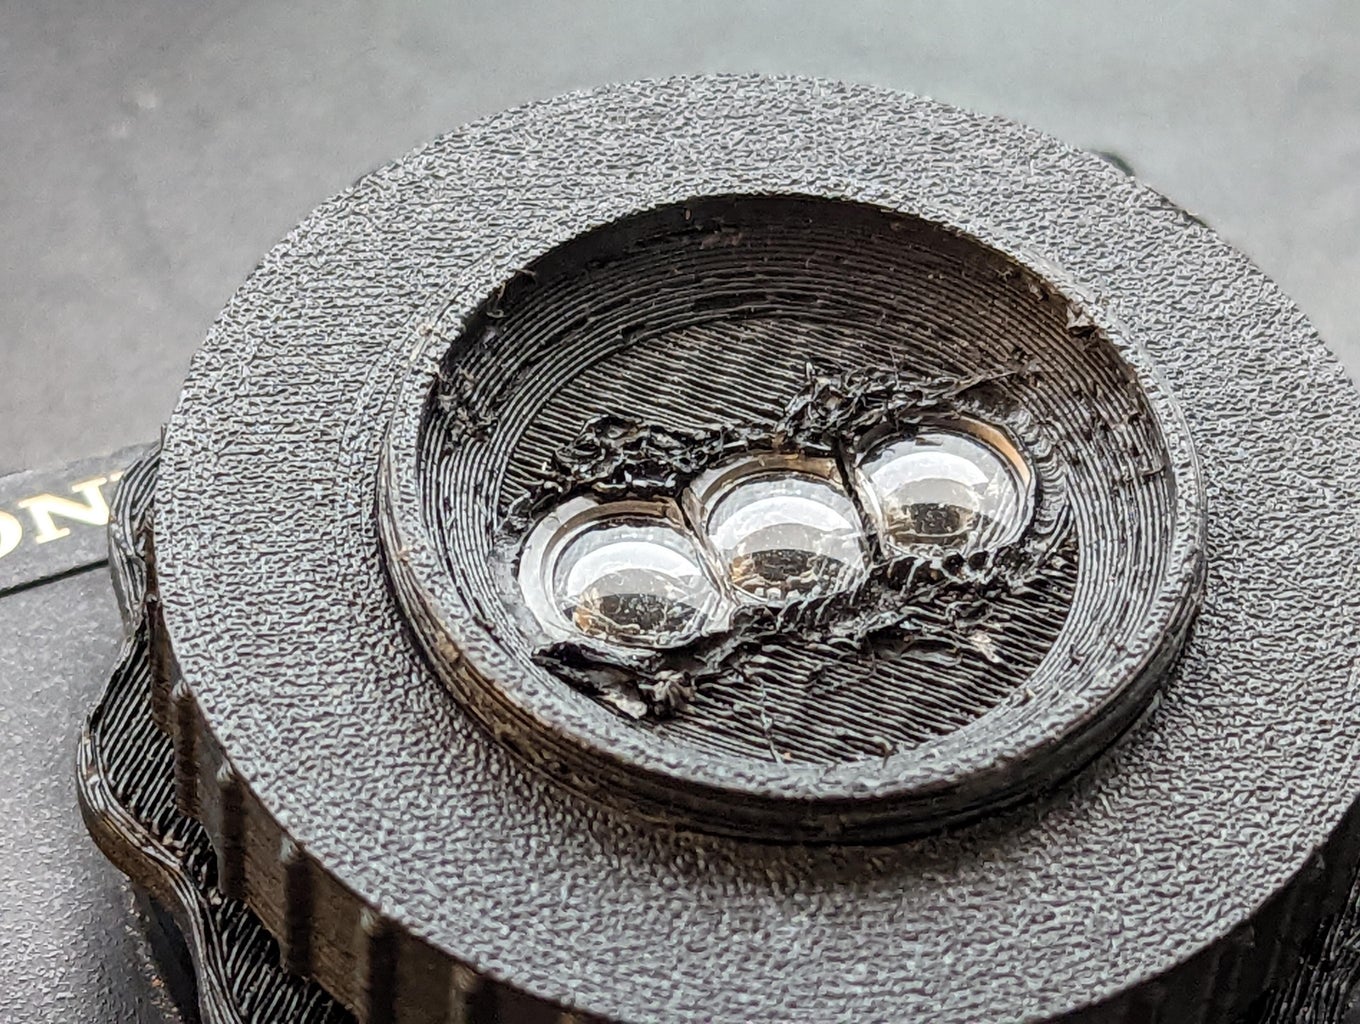
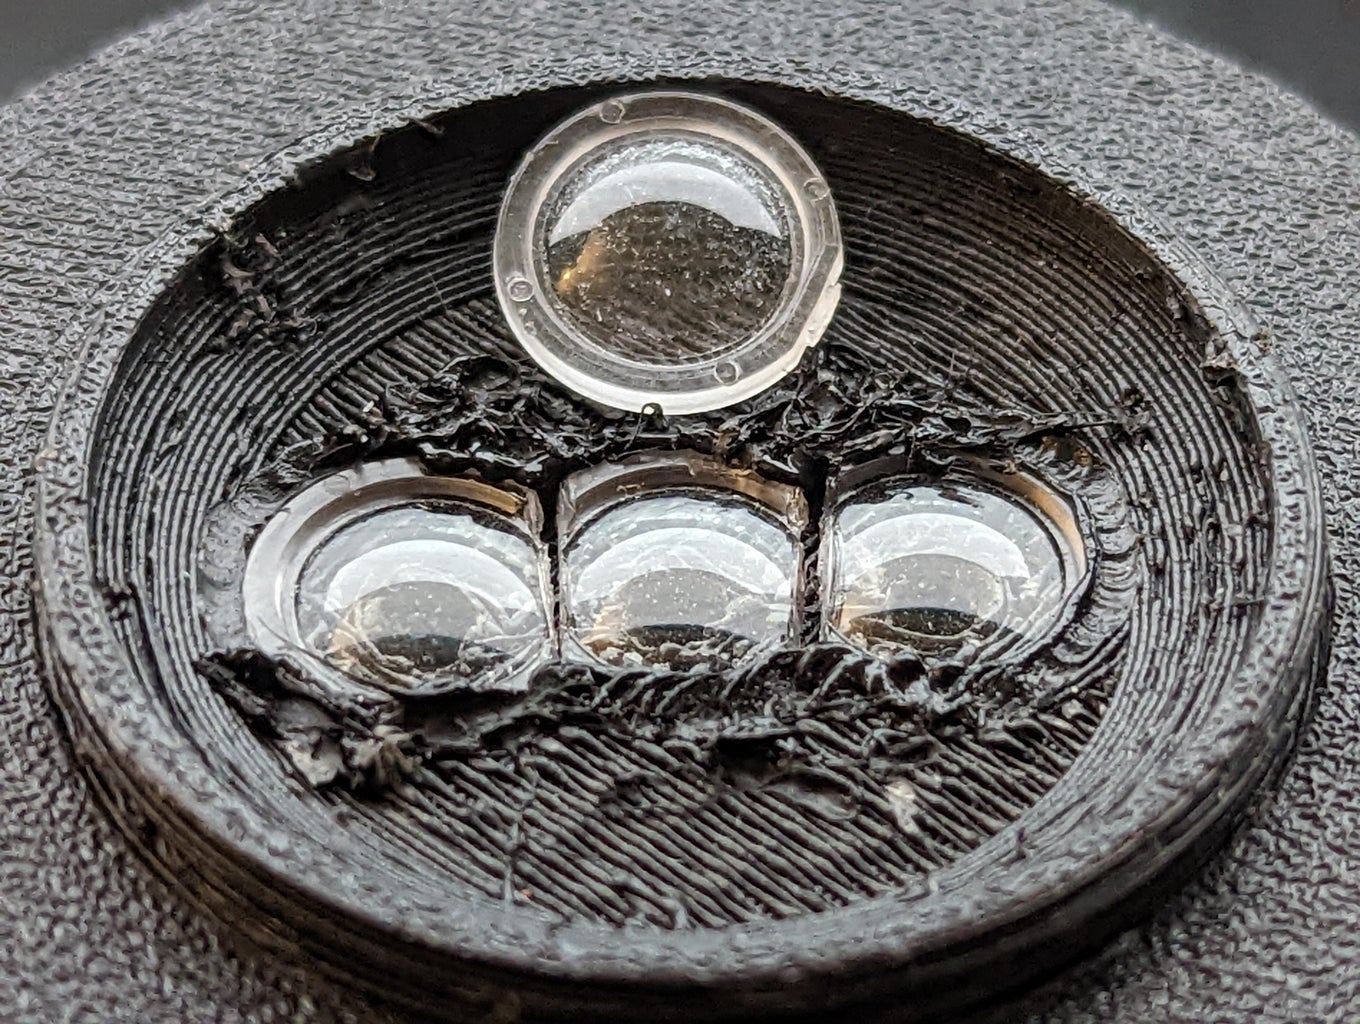
As small as they are... the little lip around the actual lens wouldn't let them sit as close together as I needed them to. I used a lighter to heat up the end of an Xacto knife before making a quick clean cut to fix that issue.
I designed the tolerance of the lens space to grip the lenses a bit, but ended up using a 3D printing pen to secure their edges in place. That way, if I want to reuse the lenses, they're not glued to the surrounding plastic 👌
Step 3: Taking Photos


The fun part! This lens absolutely shines in scenes with a lot of depth. Flash helps a ton with that, the crisp shadow it creates moves noticeably between the pictures and adds a lot to the final image.
Also... everything's vertical. Realistically you can turn the camera to capture wider scenes, but that also changes the direction of the wiggle. I didn't experiment much with that though... I'm pretty happy with the long vertical photos!
The focus ring on my design is unnecessarily granular. The small aperture behind the lenses keeps a wide depth of field, and the focus ring just shifts it within that. For subsequent iterations, I can make the threads a lot more shallow, where you don't have to rotate the ring 10x to shift focus a couple of meters...
The plastic lenses also do a great job of reproducing the aesthetic of the Nishika.
The focus changes what overlap happens between the individual images, but that can be cropped out depending on how you process them later.
Step 4: Editing the Photos


Speaking of processing, there was a bit more to this part than I originally thought! I kind of expected the editing process to be purely formulaic: split the photo into thirds, lay them on top of each other and bounce between the frames. When I processed them this way, however, they looked like a jumbled mess. (see lego figure video).
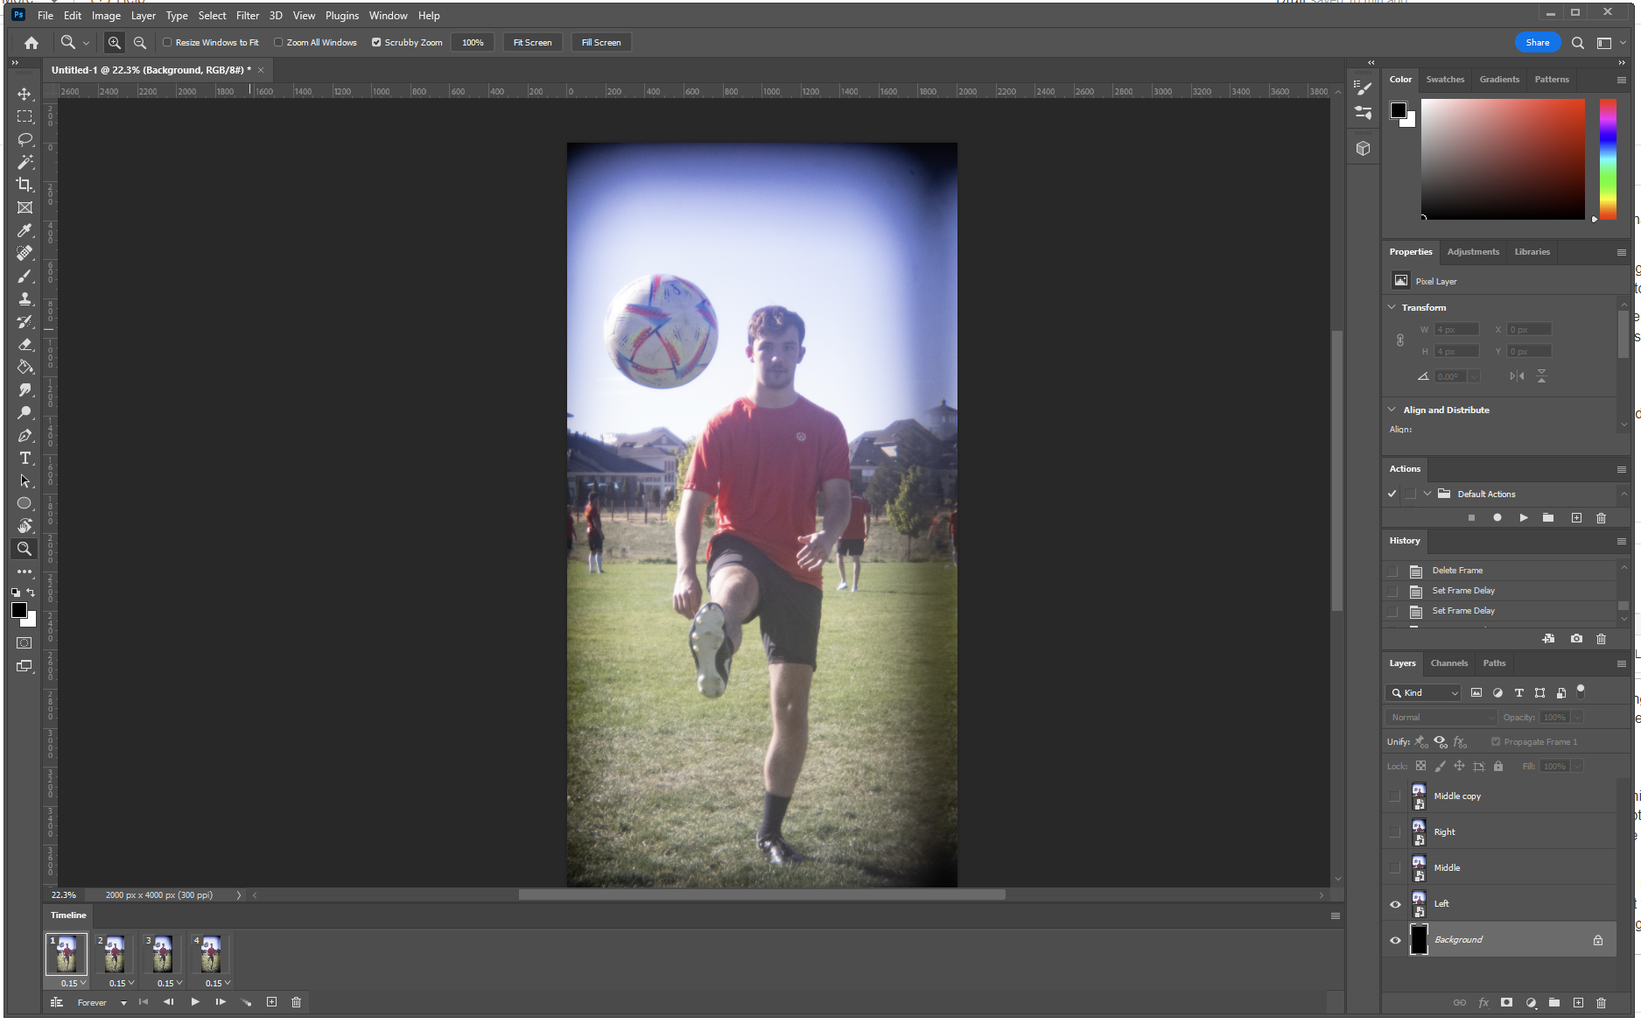
I did all the editing in Adobe Photoshop and made some Actions to speed up the process.
The important step I missed at first, was choosing the subject of the final GIF. I import the photo, split it into thirds and then set each to 50% opacity. From there, I pick an element in the scene and align its position in all three photos. There's a lot of rapidly clicking the show/hide button to check they're exactly aligned, but the effort put in here is rewarded in the final animation.
Once aligned, I made another Action that creates a frame animation and uses the layers as separate frames. It duplicates the middle frame so the GIF can loop nicely. The speed between the frames is another choice, but for most of mine I opted for a more leisurely 0.15sec per frame. Go too fast and the 3D effect turns into a kind of jarring vibration!
Step 5: Sharing Photos


I again used Photoshop to export the GIFS, after tweaking some settings for color / dithering. For my website / sharing in messages GIF's are widely supported and the format works well.
For other platforms / editing them into a video, however, they need to be video clips. Photoshop also supports rendering the frame animation out as a video, it's just a bit of a game to make sure your chosen frame time & the framerate of the rendered video align. If they don't, the resulting video starts and stops versus a consistent back and forth motion. Some sites like Instagram can auto-loop videos, but it's a good idea to render a 4-10 sec section to avoid too much stuttering when the video restarts.
On the note of sharing... If anyone ends up trying this out themselves, share your photos! I'm @pr0.fiel on Instagram / TikTok and I'd love to see what you come up with 👌

Runner Up in the
CNC and 3D Printing Contest


2 Comments
7 months ago
Fantastic!
9 months ago
That is a really cool lens! And very well-written Instructable. Good job!