
Introduction: Articulated Snake


When I originally made my 3D printed flexi snake with tulle hinge, I was attempting to recreate a wooden toy from when I was little. So I didn't consider using a hinge because it wouldn't work with the ultimate goal.
Recently, Printables had a contest for a 3D printed hinged item, so I decided to work with the snake and give it hinges!
I used my hinge from the 3D Printed Articulated Gingerbread Man and messed around with it to work with the snake using Tinkercad.
Instructable 376
 Check out my shop on Etsy! You can also purchase this articulated snake on Etsy.
Supplies
3D Printer - I use a Bambu X1 Carbon which prints really fast!
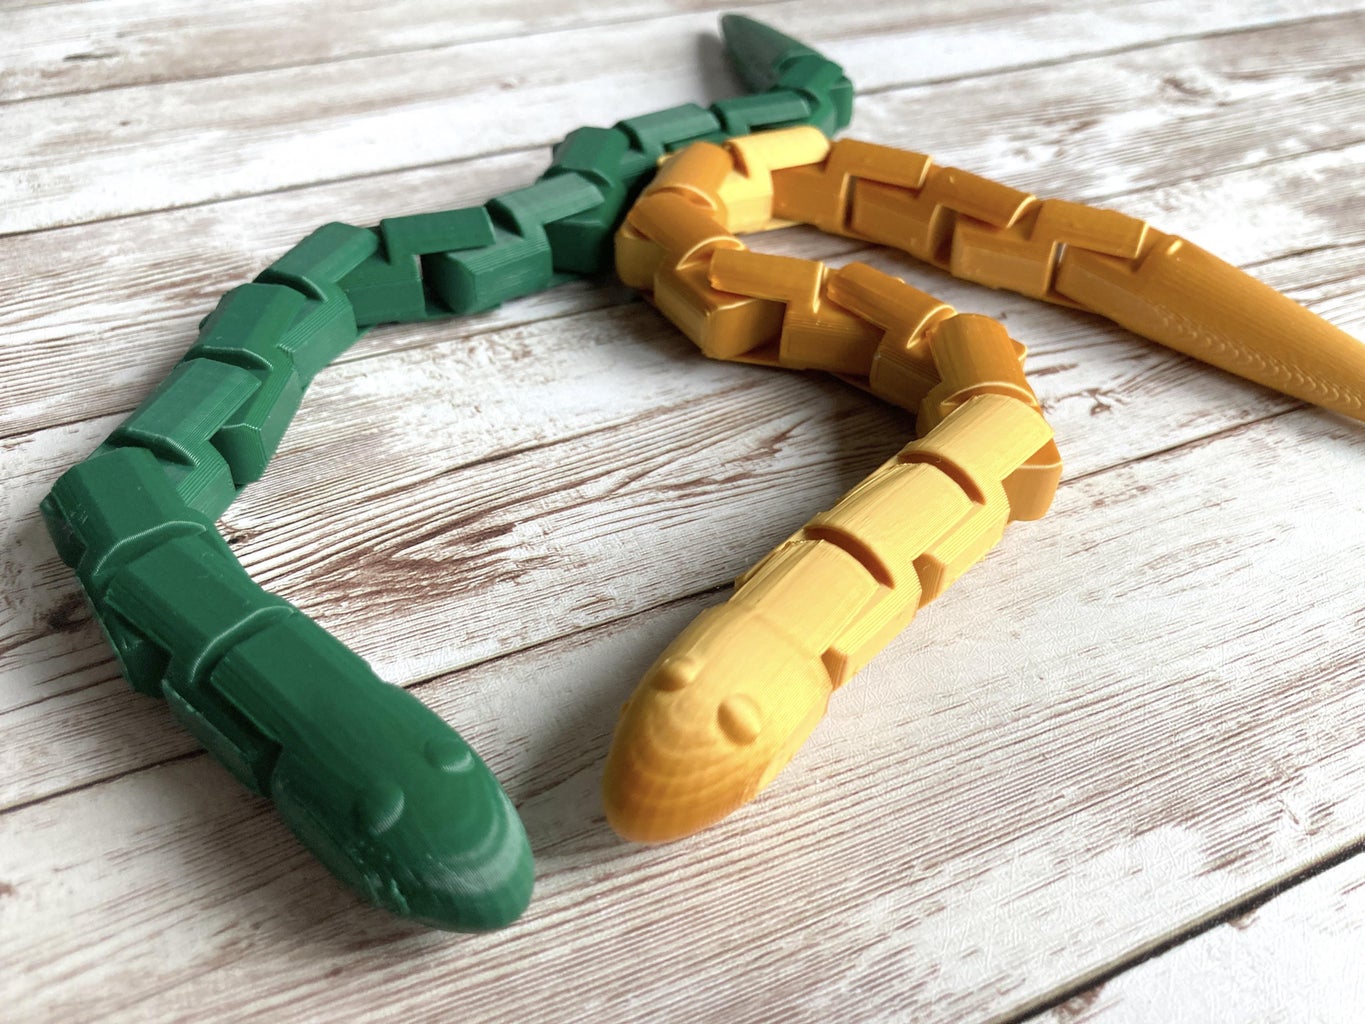
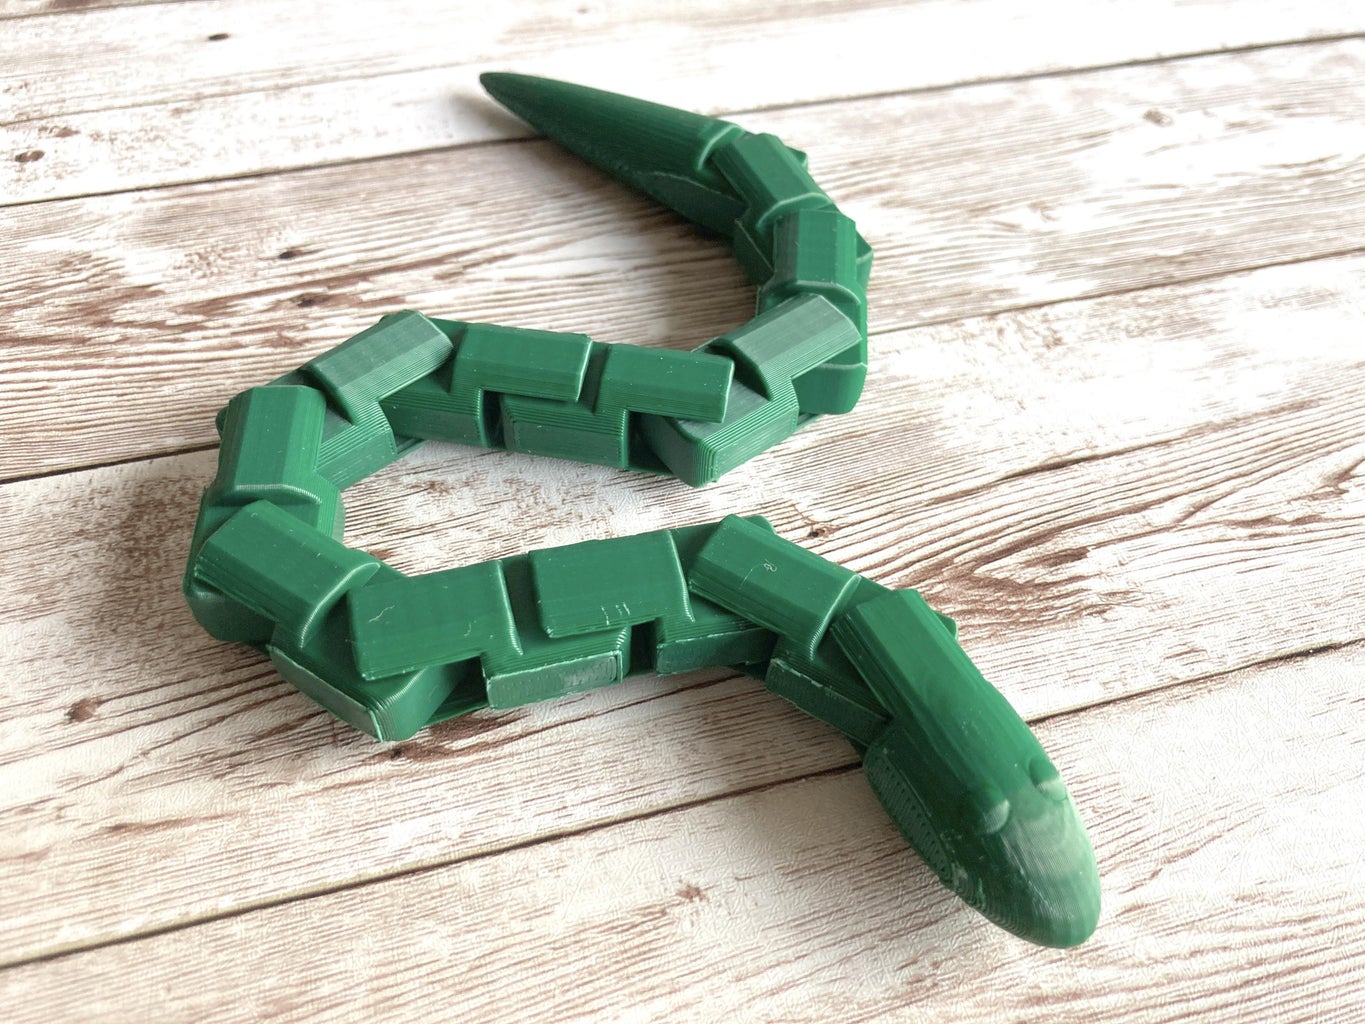
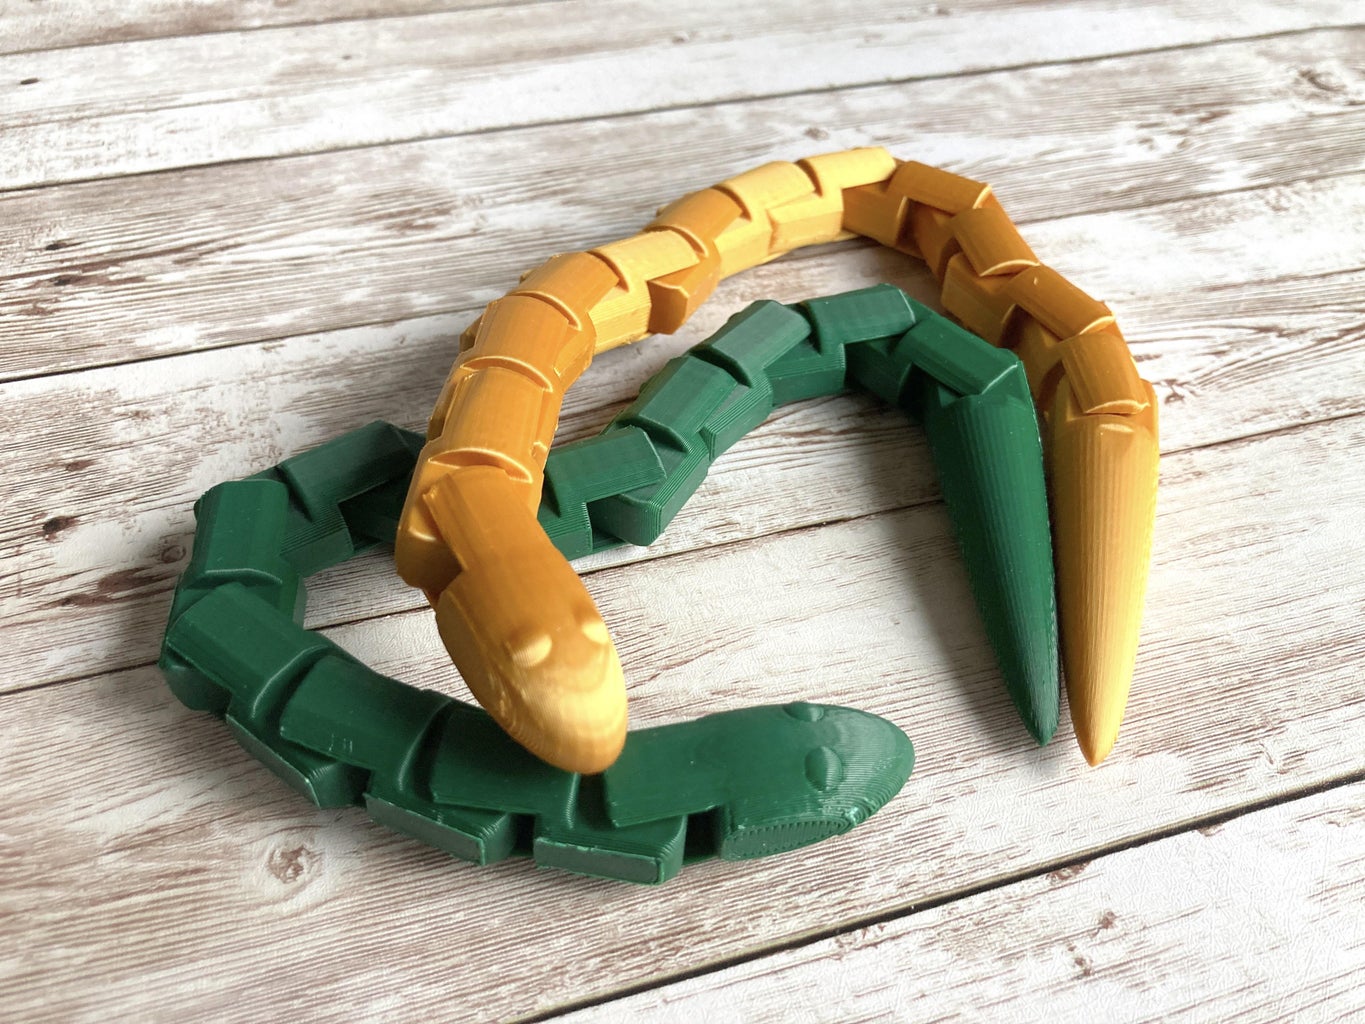
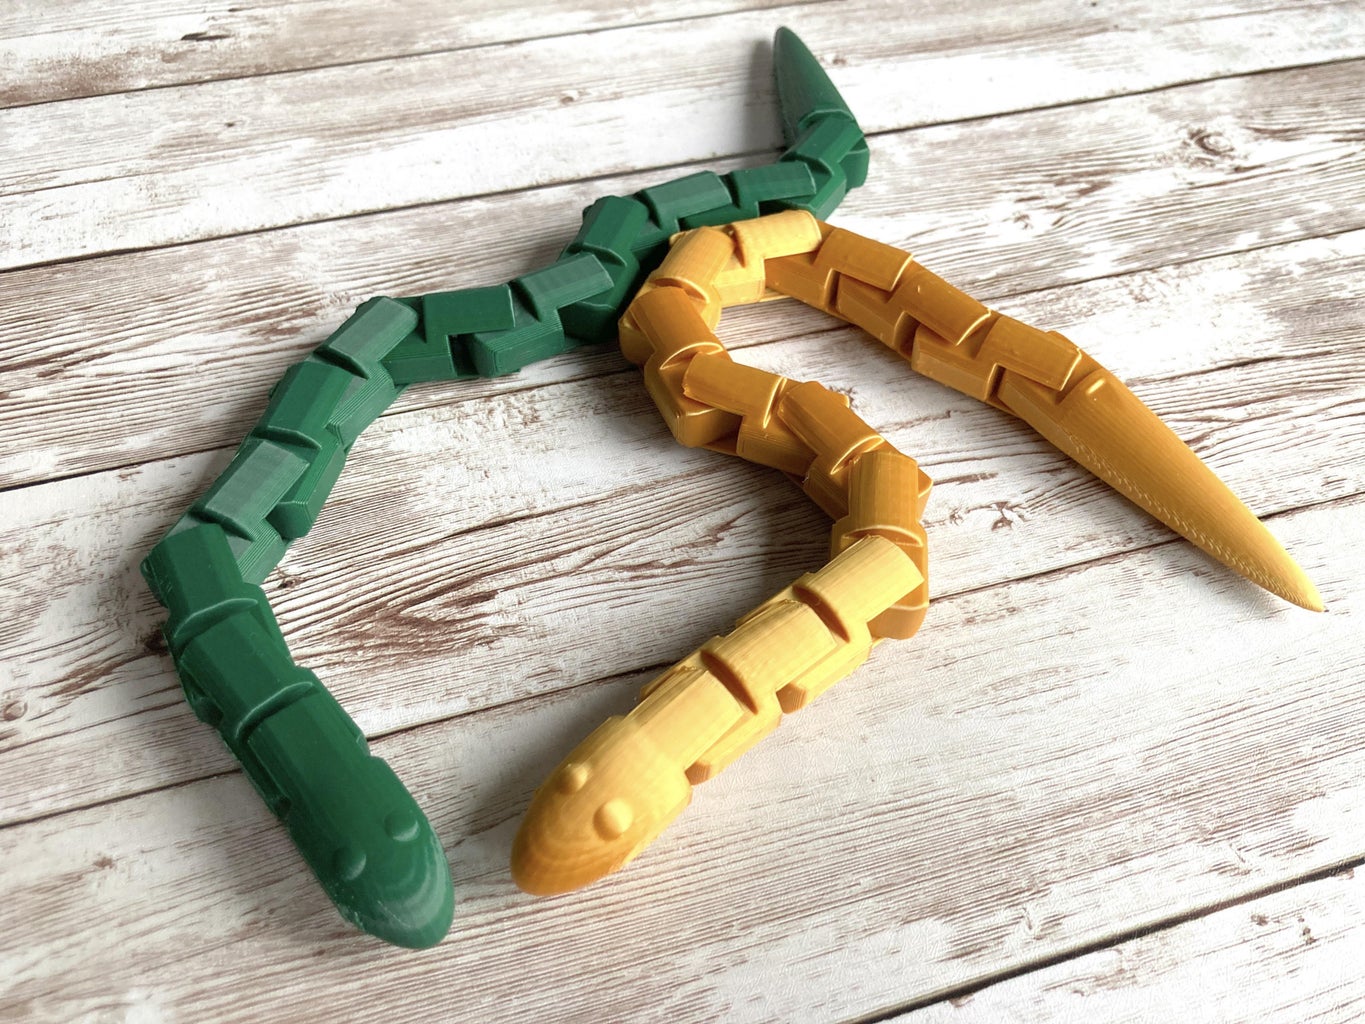
Filament - I'm using Green because it's a traditional snake color and gold because it's fancy
Needle Nose Pliers and Flush Cutter - the print will likely have a brim and these tools help clean it up.
Snake STL file attached here
Attachments

Step 1: Tinkercad
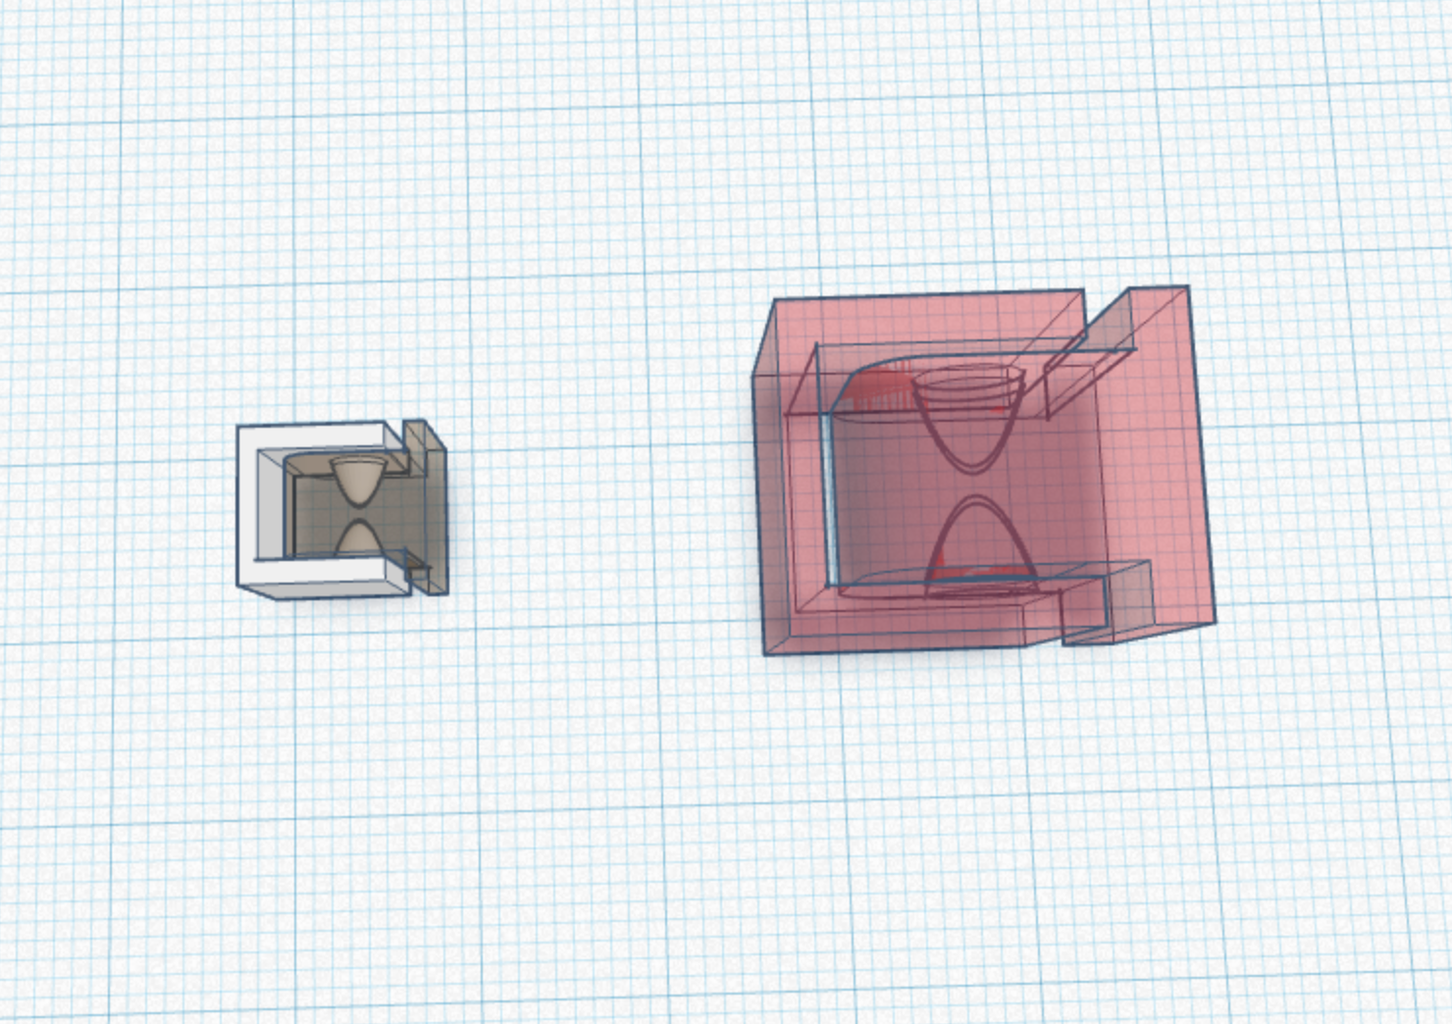

I used Tinkercad to design the snake.
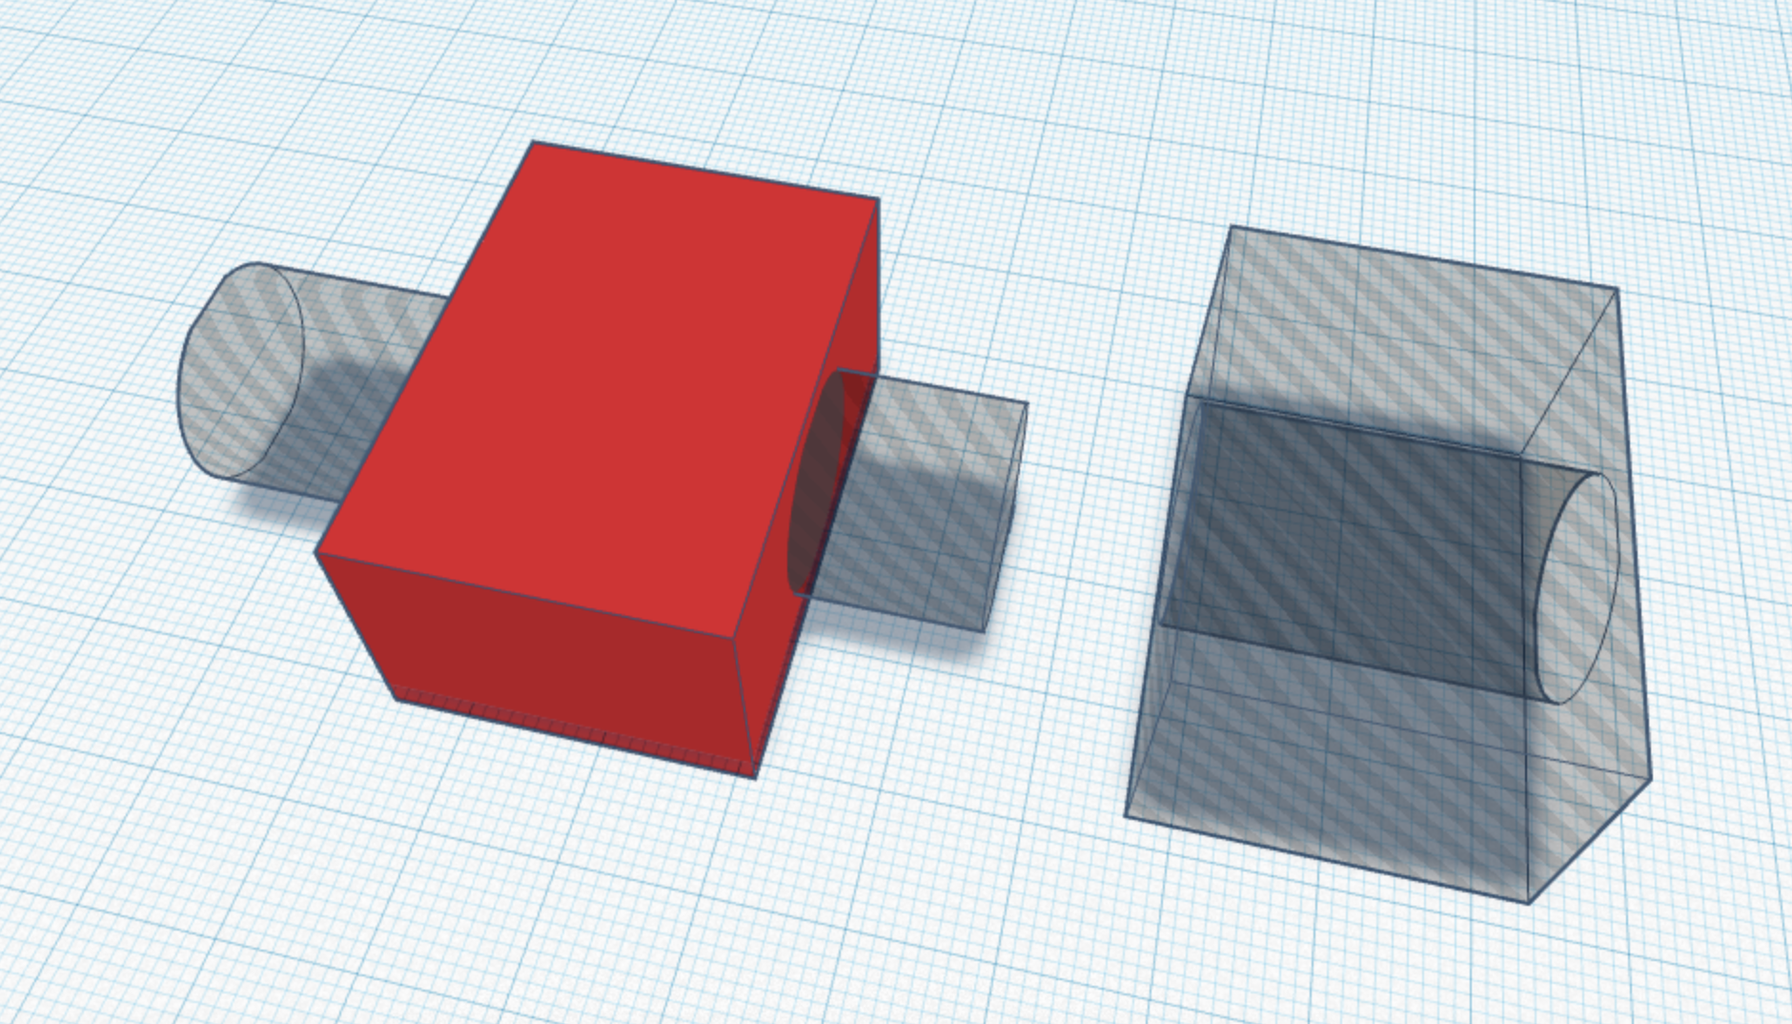
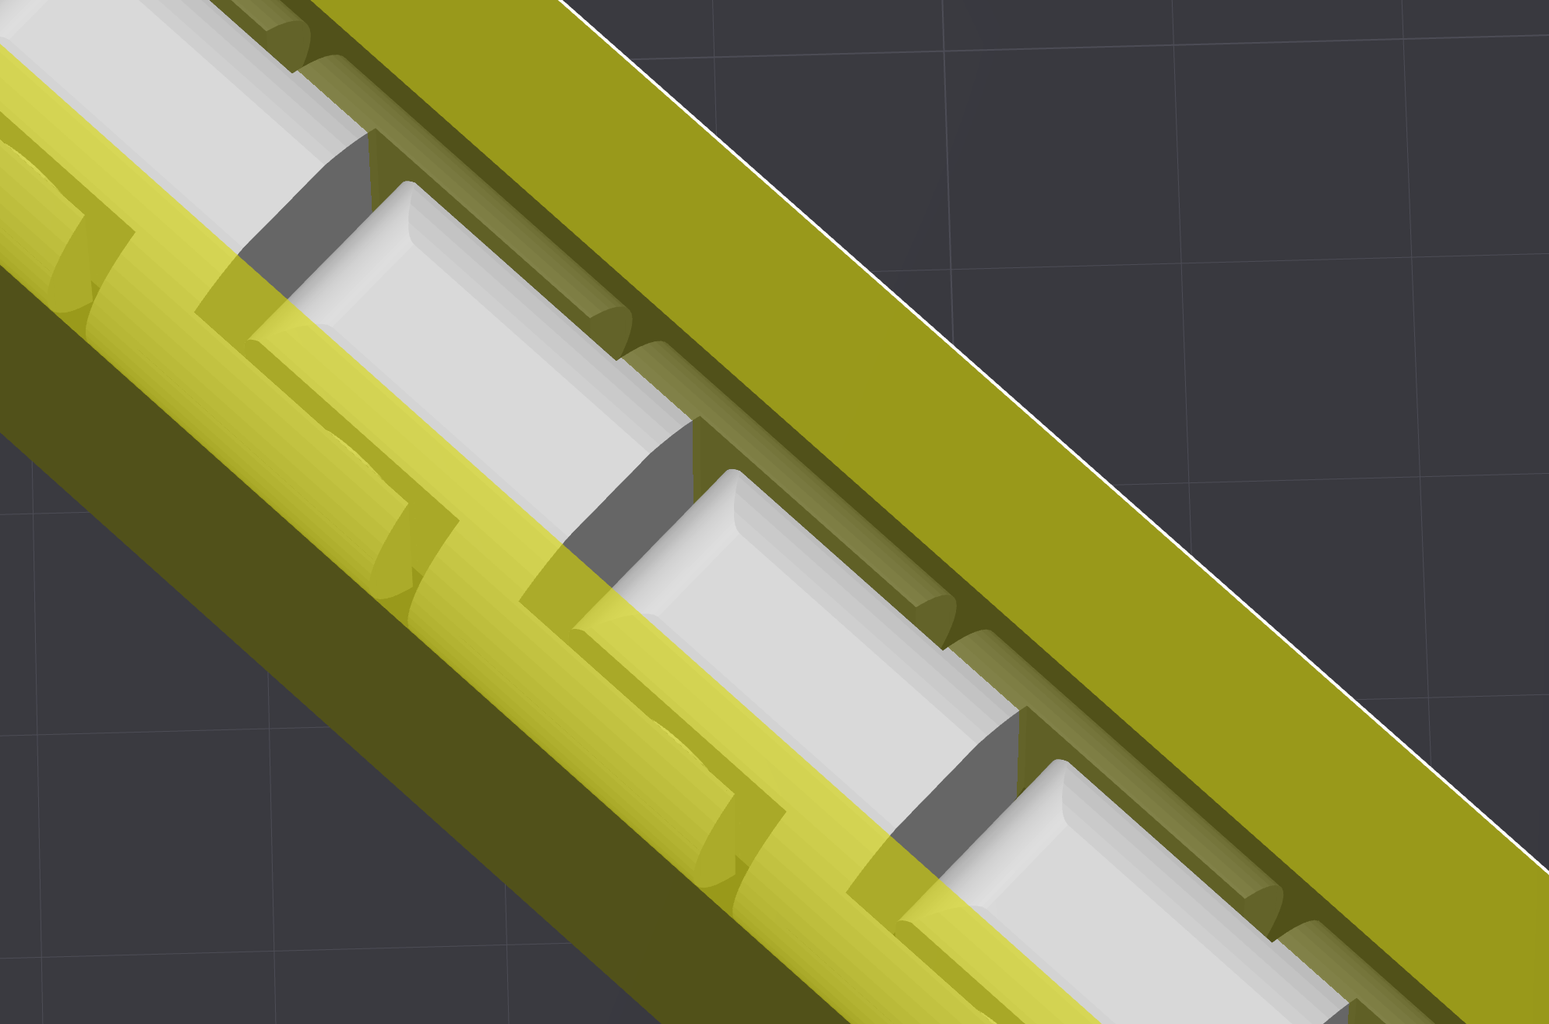
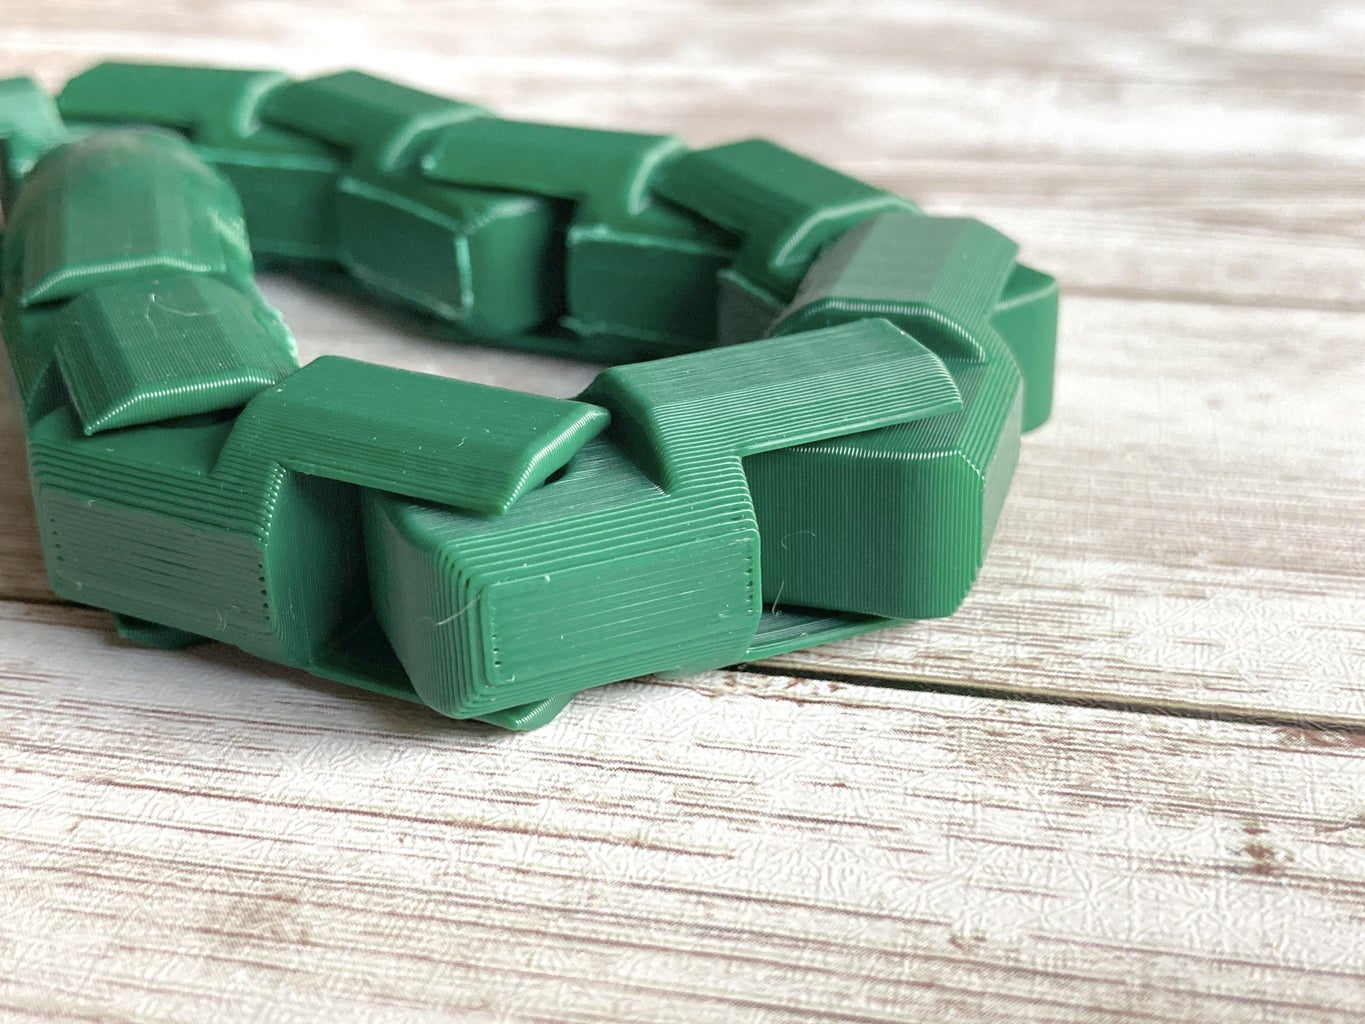
I started with the hinge I had originally. I enlarged it and added more space to allow for more movement as my gingerbread man was my first time trying the hinge and it didn't have much movement.
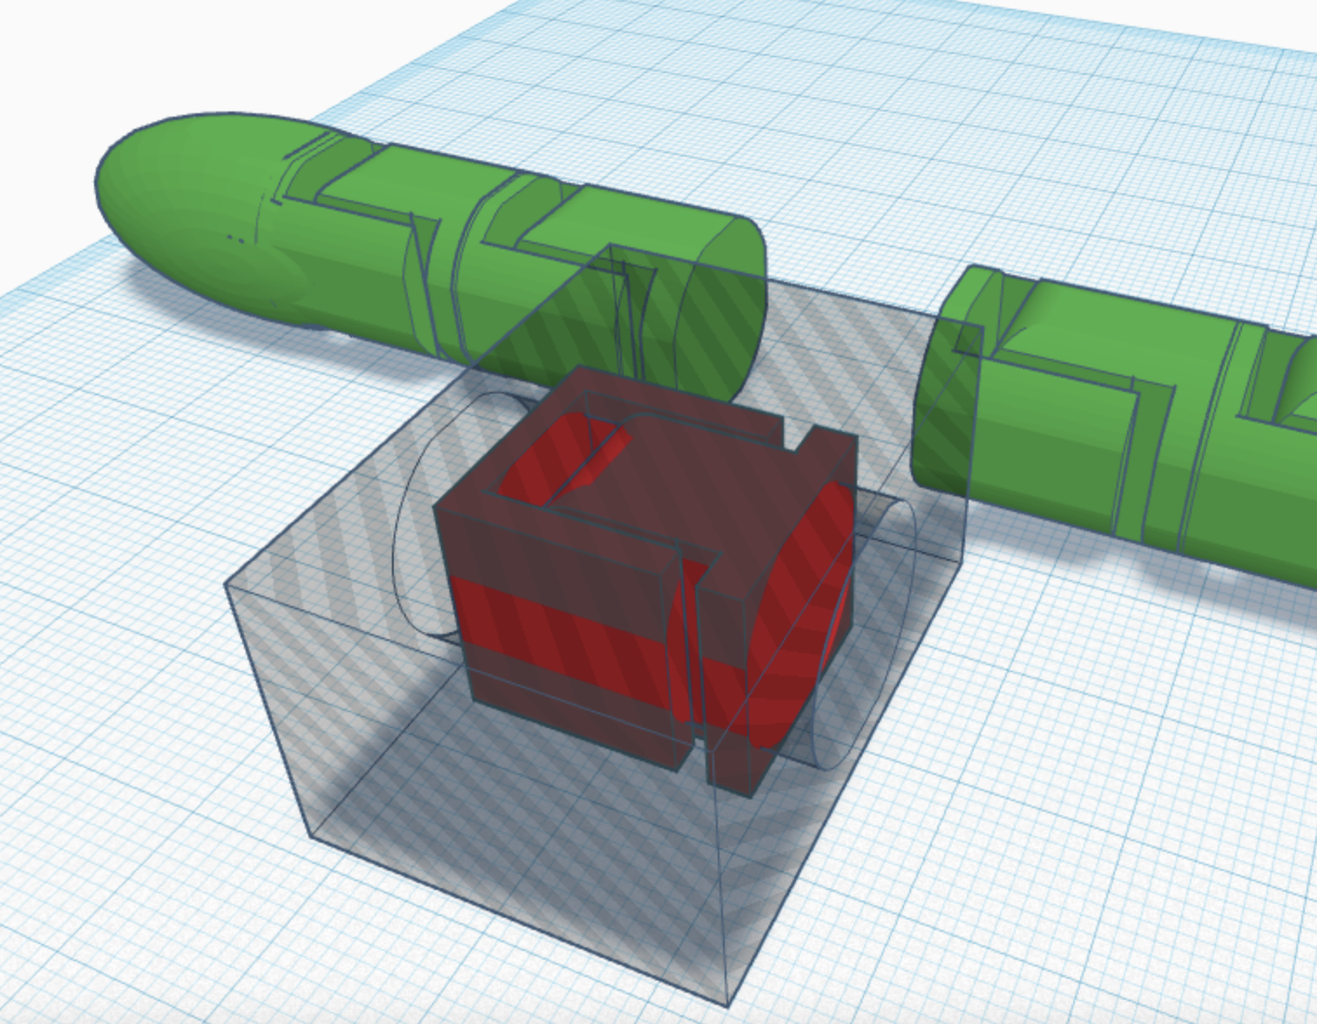
I used the snake body (which was really a cylinder with flattened top and bottom to help with printing) from my previous project to create a negative of it. I used this to cut the hinge to the right shape.
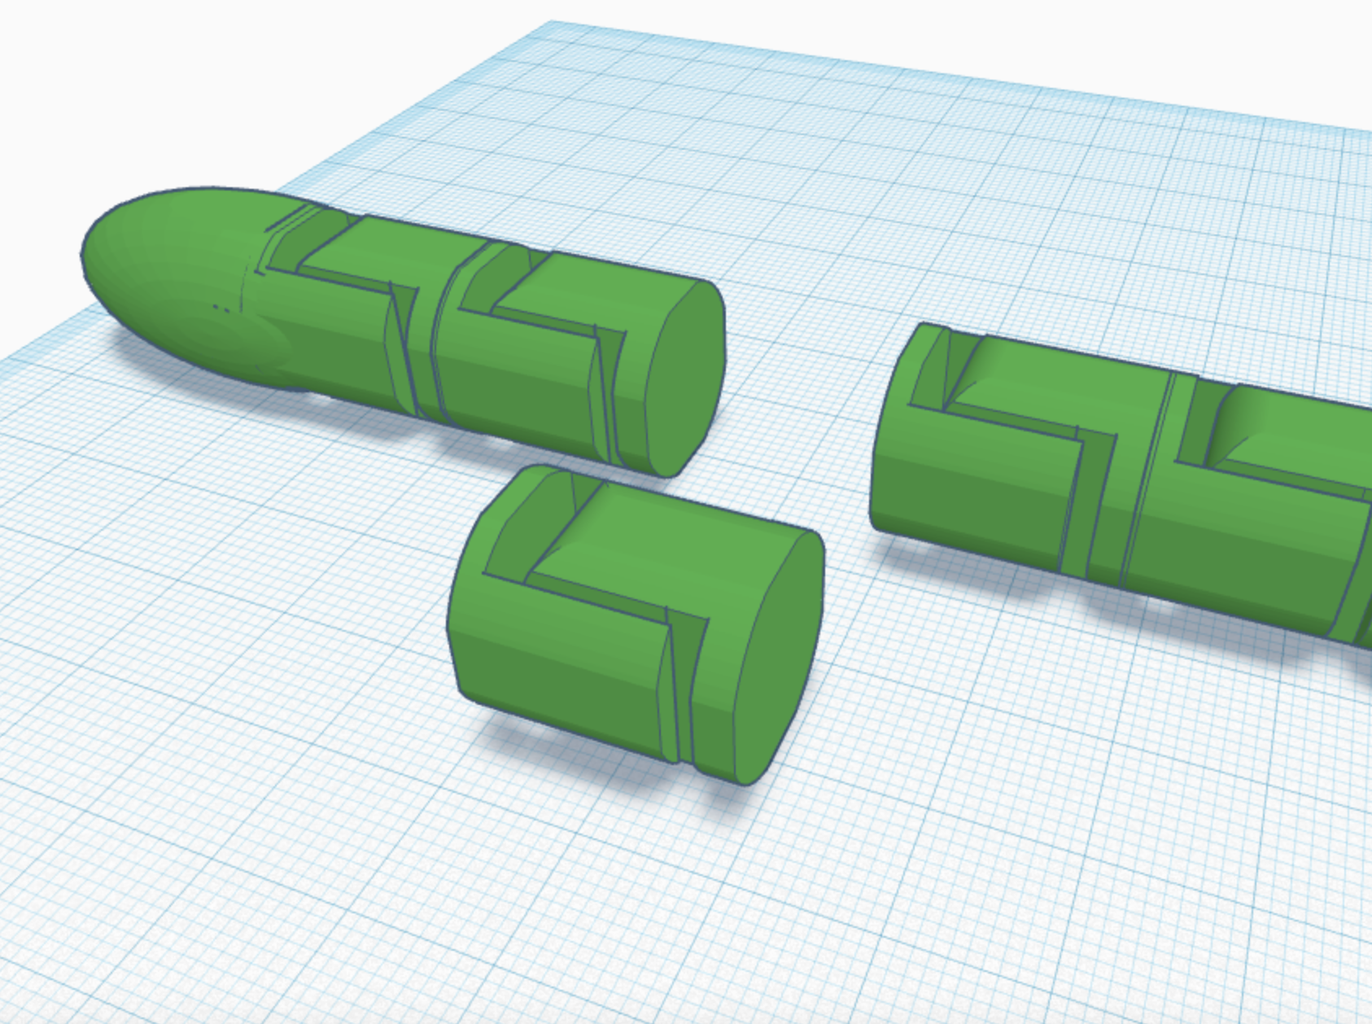
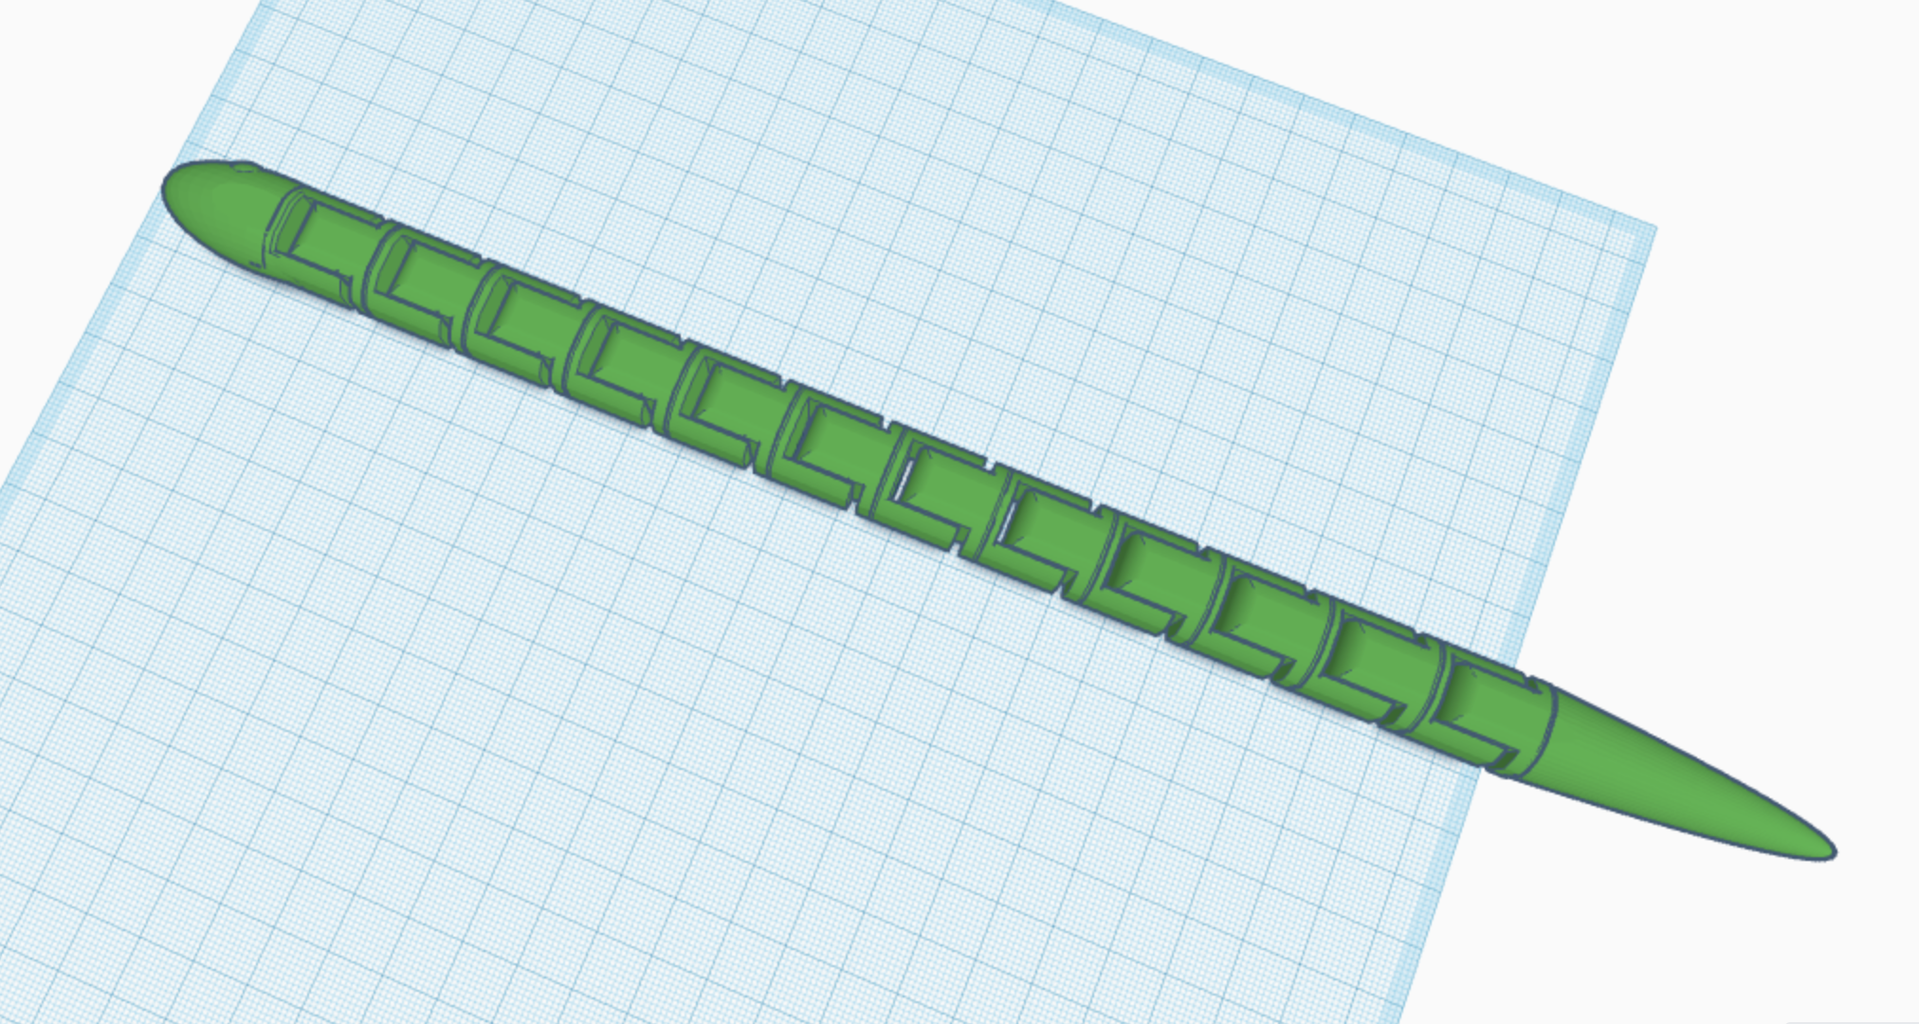
Because the hinge was the exact size I needed, instead of adding the hinge to a design, I just copied and use the hinge segment along with the head (elongated sphere with spheres for eyes) and tail (paraboloid) to make the snake!
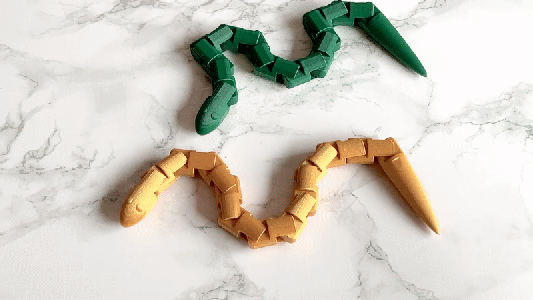
Also because it is made of segments, you could make it as long or as short as you want easily. Just add or remove segments. Since the snake has so much flexibility
Articulated Snake
Step 2: Printing
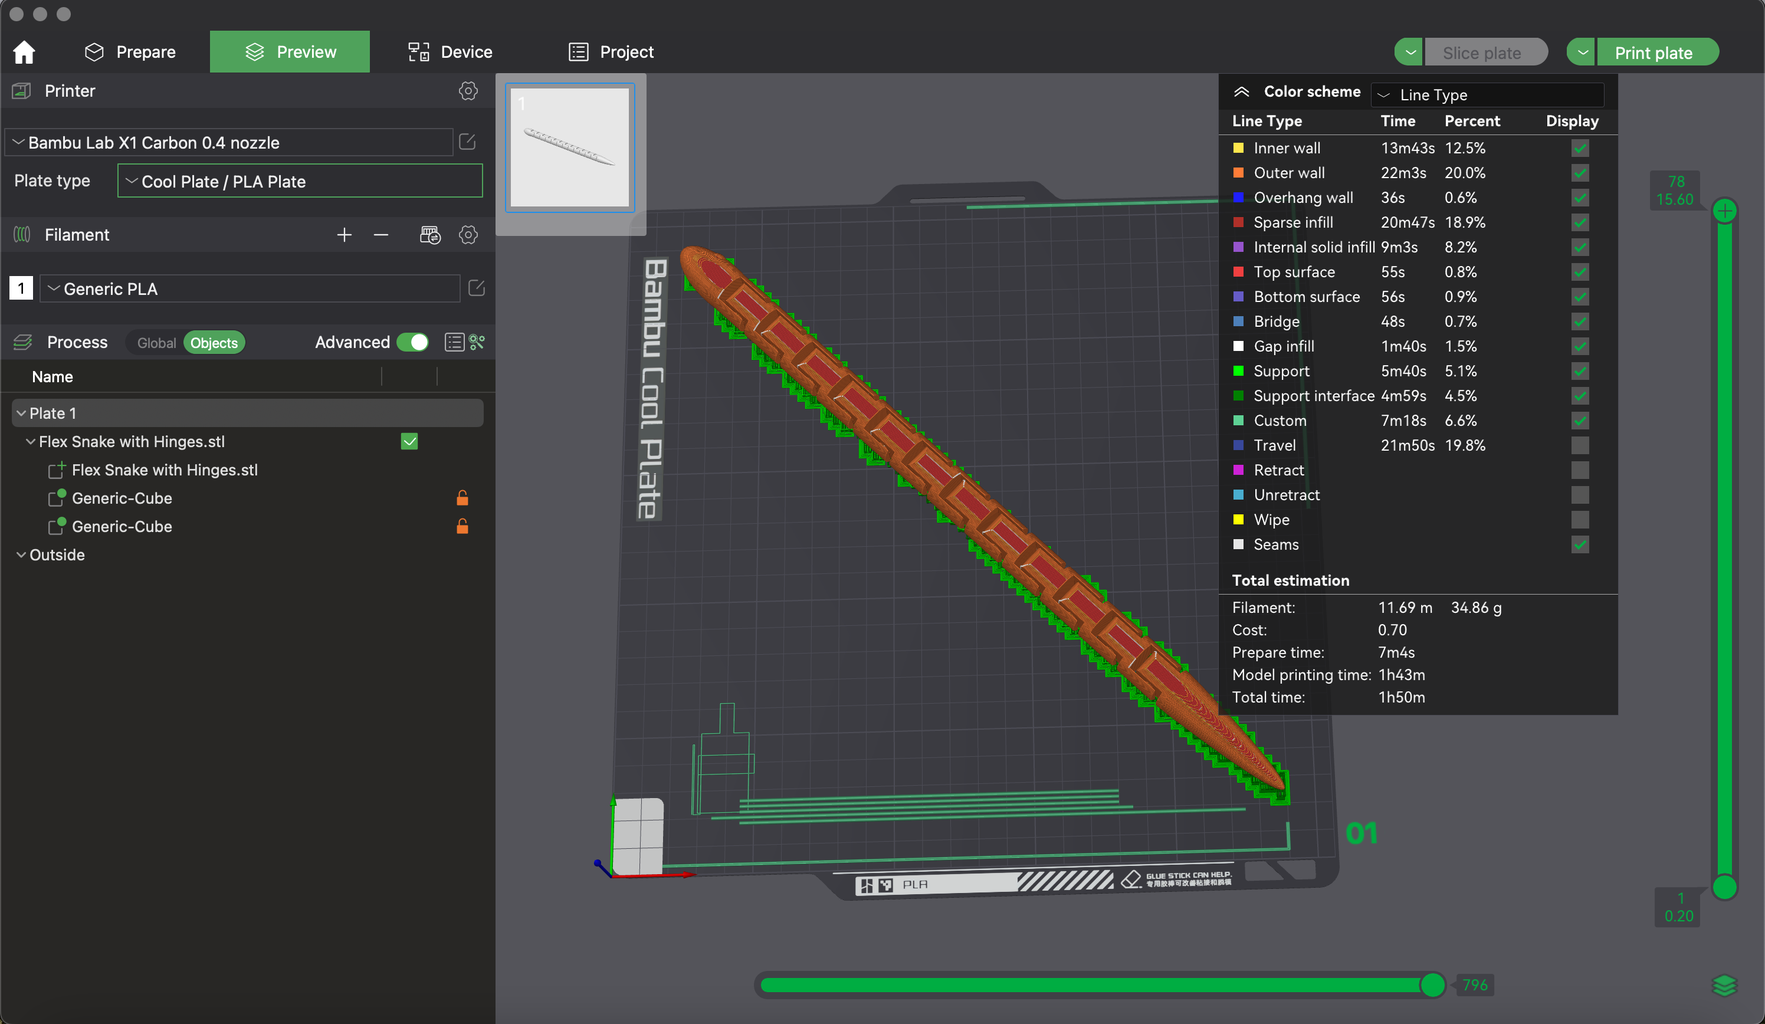
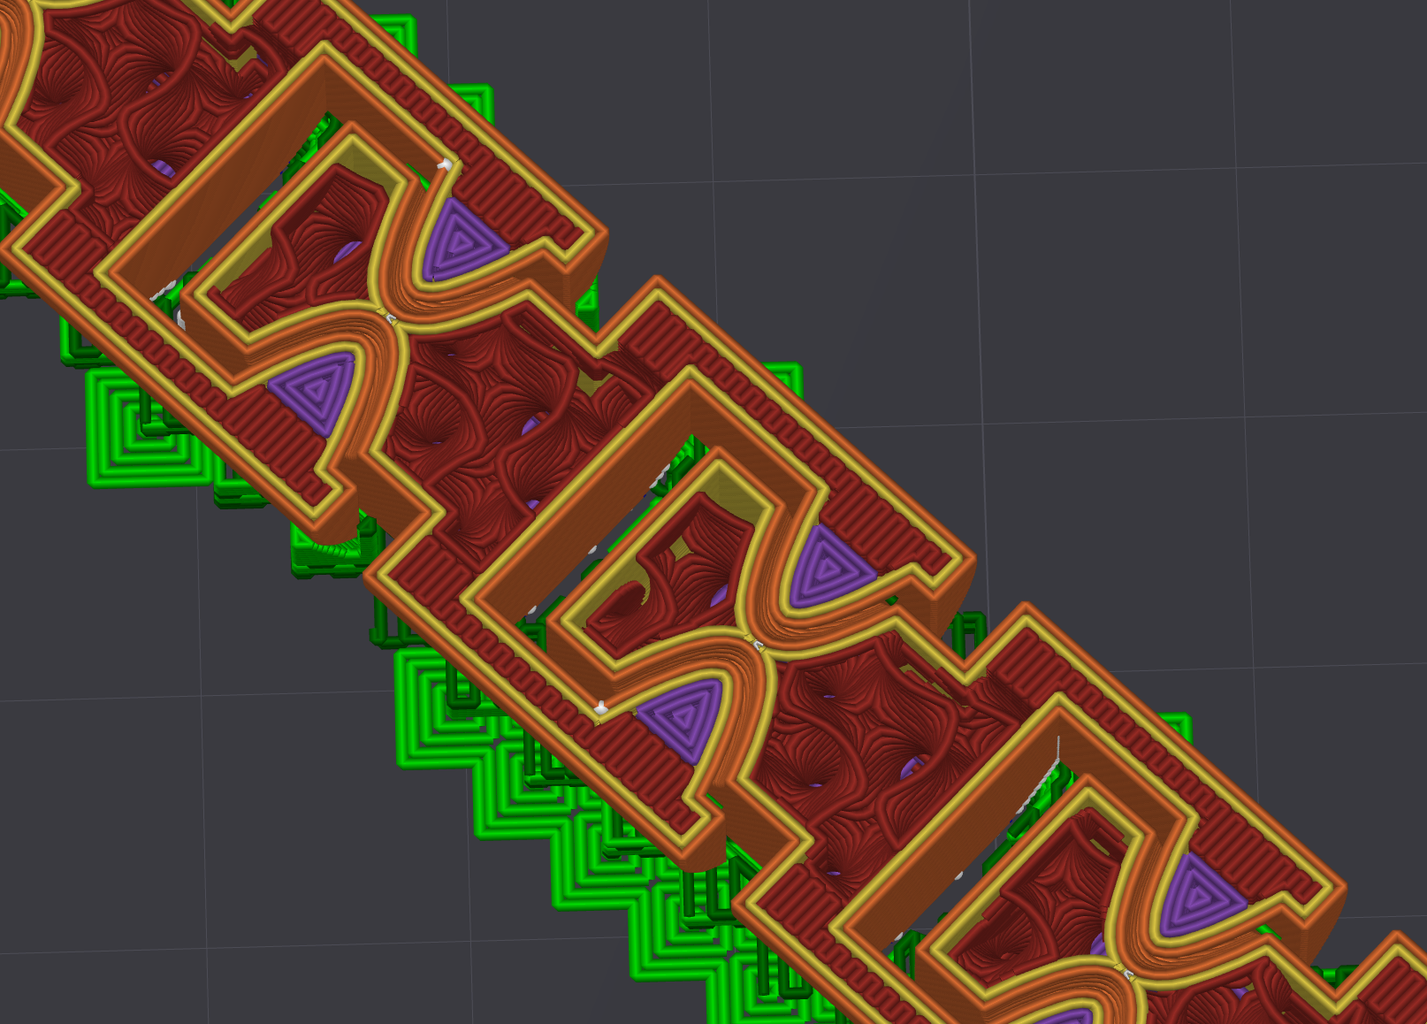
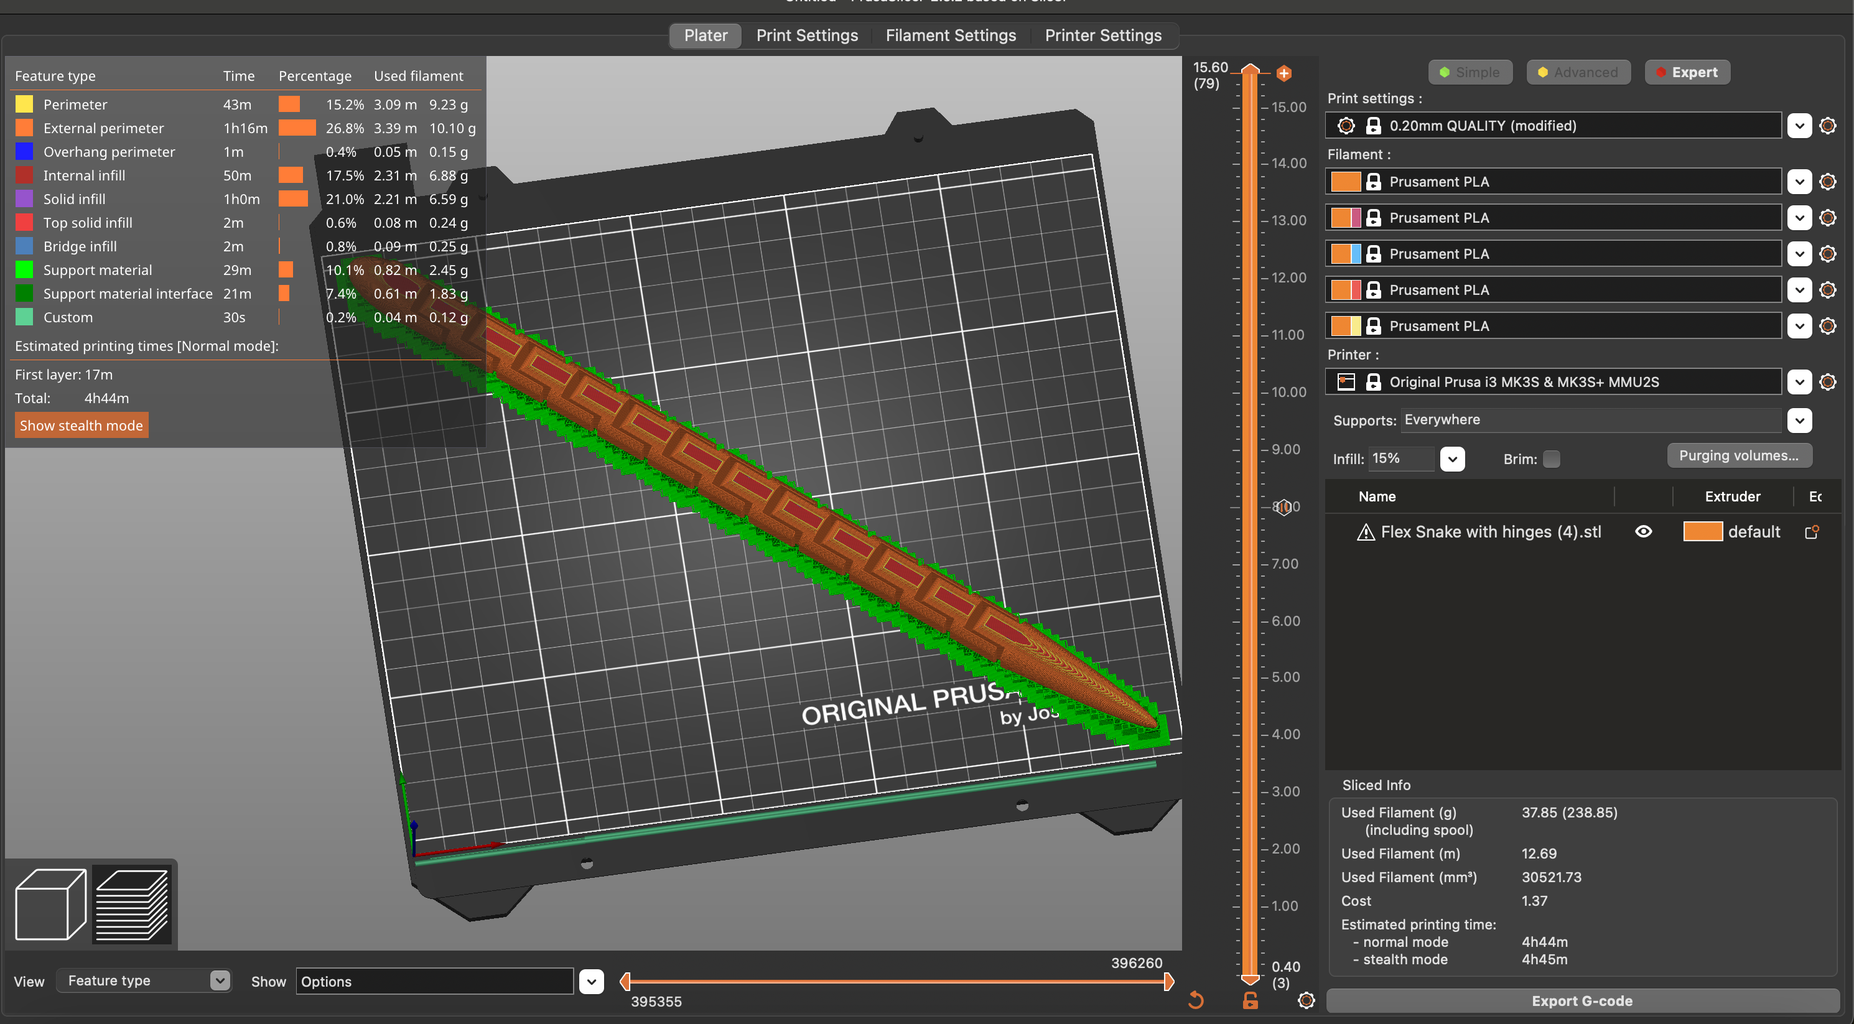
Slicing and Printing is pretty easy. You DO NEED SUPPORT as the sides are floating off the plate at this point and so is the tail.
You should be able to use the automatic supports.
You do not need a brim and I think it adds unnecessary cleanup after.
I added modifier blocks to add support to the top and bottom sides where the hinges stick out.
I recommend not using a brim. It touches the board just fine now and it adds unnecessary stuff to take off later.
Go ahead and print!
Step 3: It's a Snek!
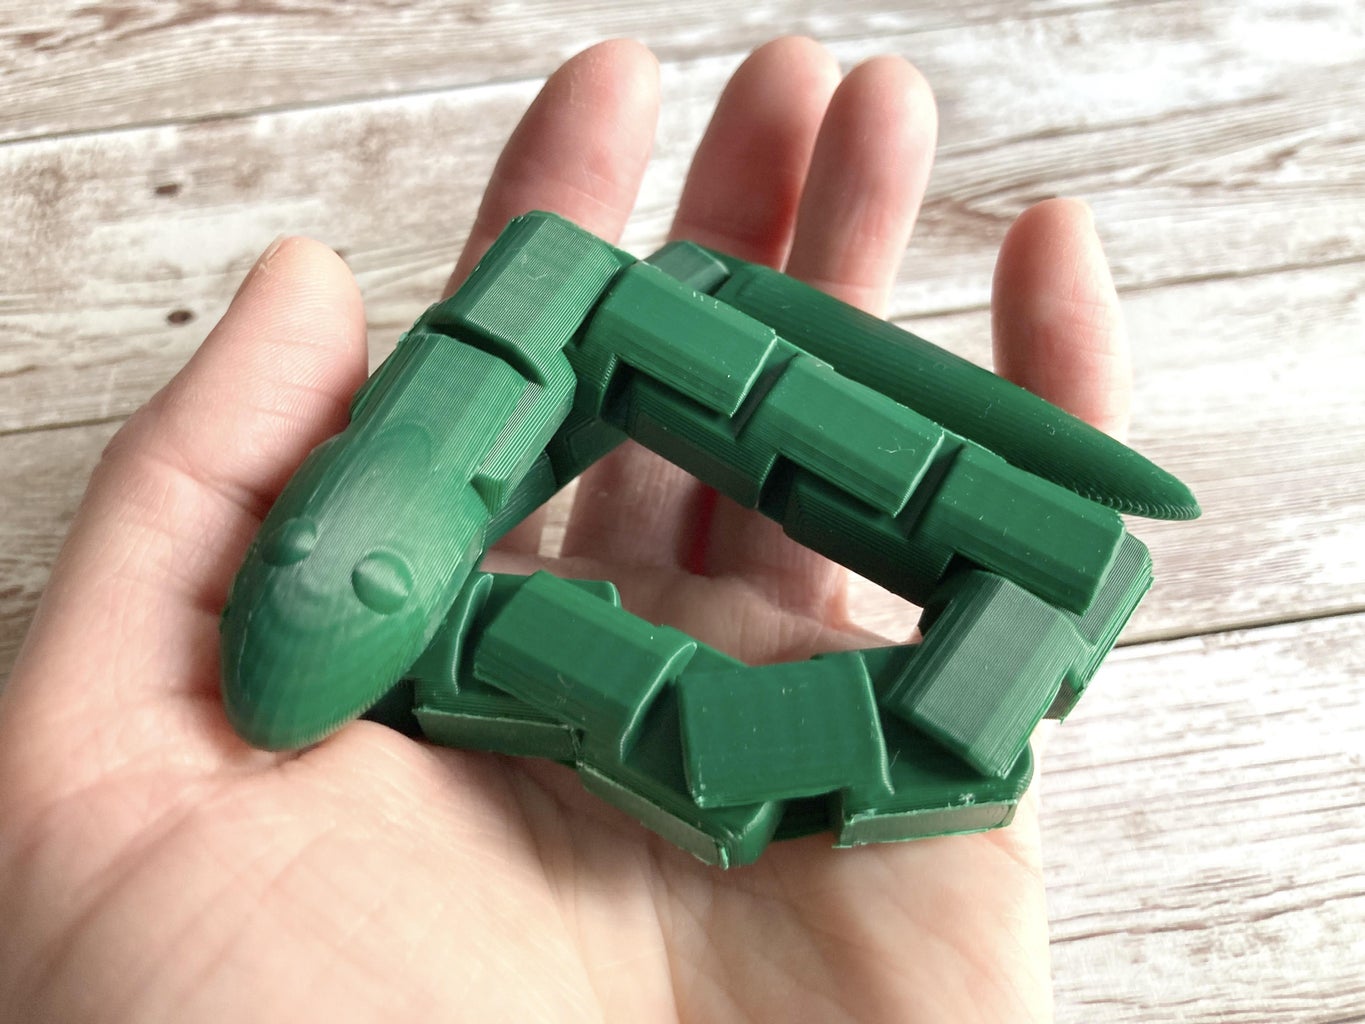
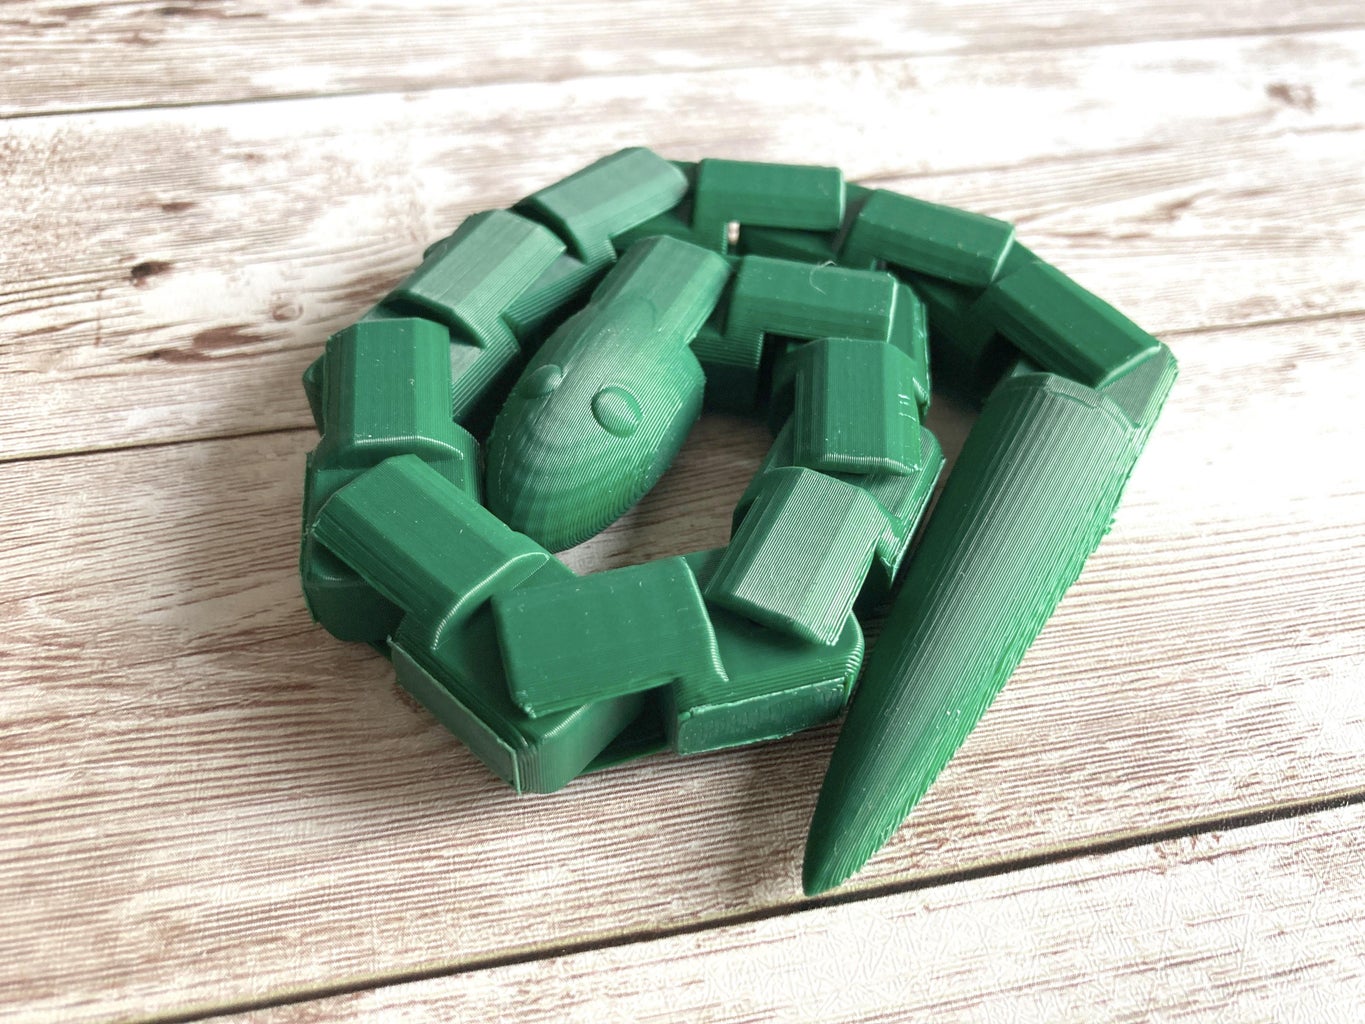
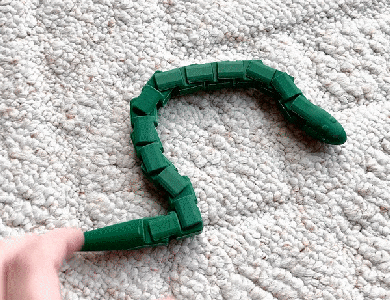
Enjoy your snake! I feel the enlarged hinge makes even more sturdy tho the top and bottom of the snake might be kind of weak.
If you used a brim, you'll probably need to use a flush cutter to trim all the support stuff off. If you didn't, it should come off easy [or at least it did for me ;) ]
The green was the first "final" version. Then I fixed some rounding issues and the gold is the final final snake and the file that's attached here.


3 Comments
7 weeks ago
I am so excited to print this! It has been on my list of things to design ever since I found my plastic toy from when I was a kid and gave it to my son. Having one snake is fine, but having more than one is always better!
Reply 5 weeks ago
Wow, the articulated snake sculpture is truly impressive! The level of detail and craftsmanship is outstanding.
Reply 7 weeks ago
For sure! I hope you and your son enjoy :)