Introduction: Threaded Box With Lid


I recently came across a tutorial on how to make threads using Tinkercad by Mr. Erdreich. Now, Tinkercad isn't known as a professional tool, but there are many things you can do with it that some might be surprised over. Making a working thread and screw may be one of them, but it is actually quite easy.
Once I learned how, I used that information to create a little container with lid that fits perfectly! I wanted to share how I took the thread information and added to it to cut out a nice little container container.
Instructable 380
Step 1: Testing
As mentioned, when I came across the Youtube tutorial by Mr. Erdreich, I followed around and tried it out. It worked quite well! I messed around with the settings and placement and designed it so the top would fit snug to the base.
After some other testing, I decided how I wanted to create a container that makes the best use of space and has an easy to use top.
I'm not going to rehash everything in the video and recommend checking it out, but I'll show how I used that information to create this container.
Threaded Box with Lid
Step 2: Container
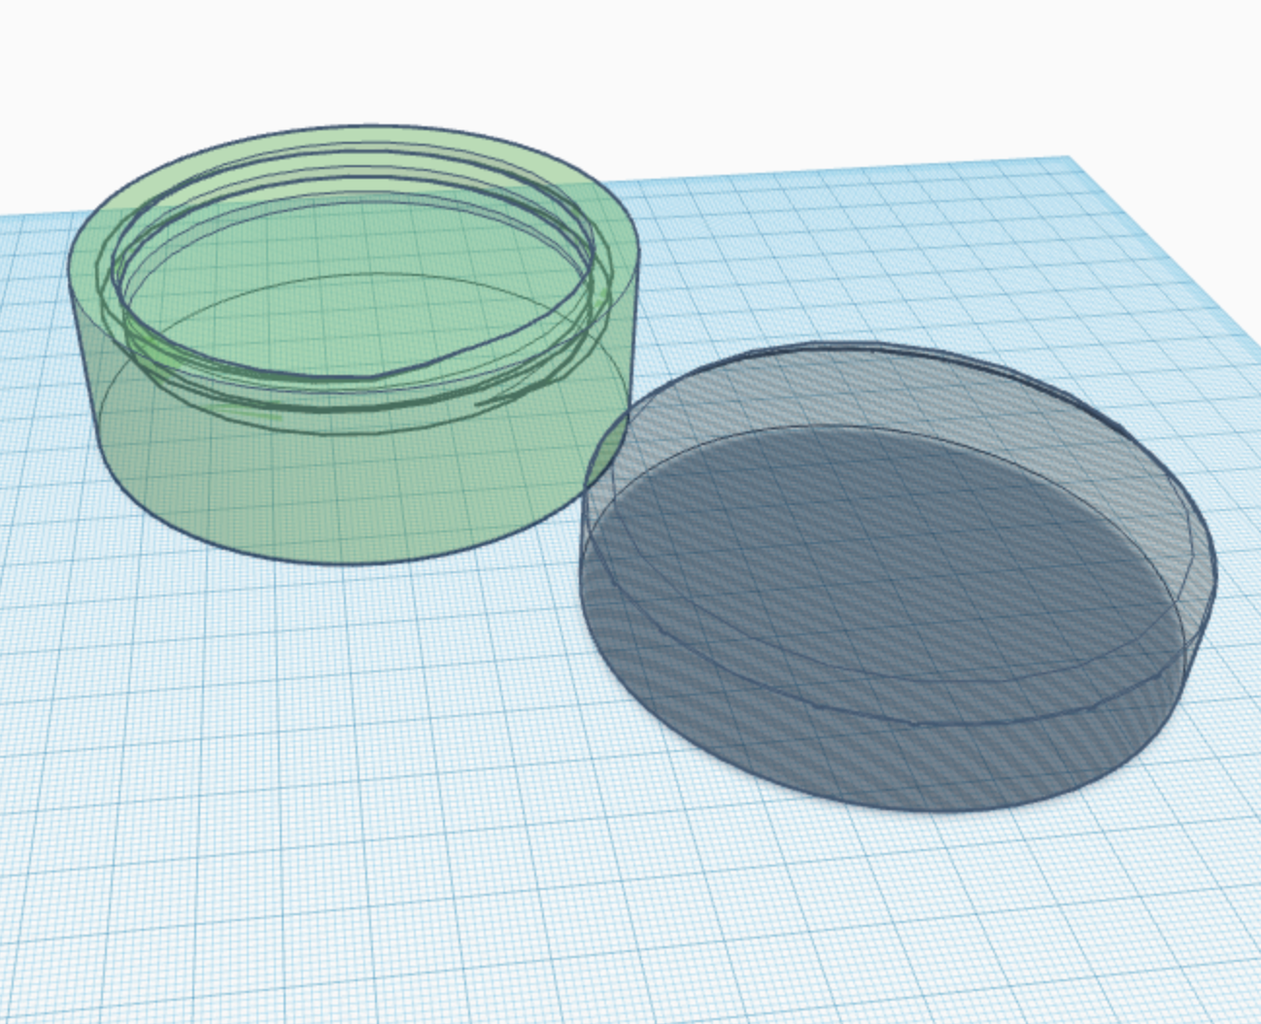
Before creating the thread, we're going to start with the actual container. This will make it easier when we need to make a thread that fits.
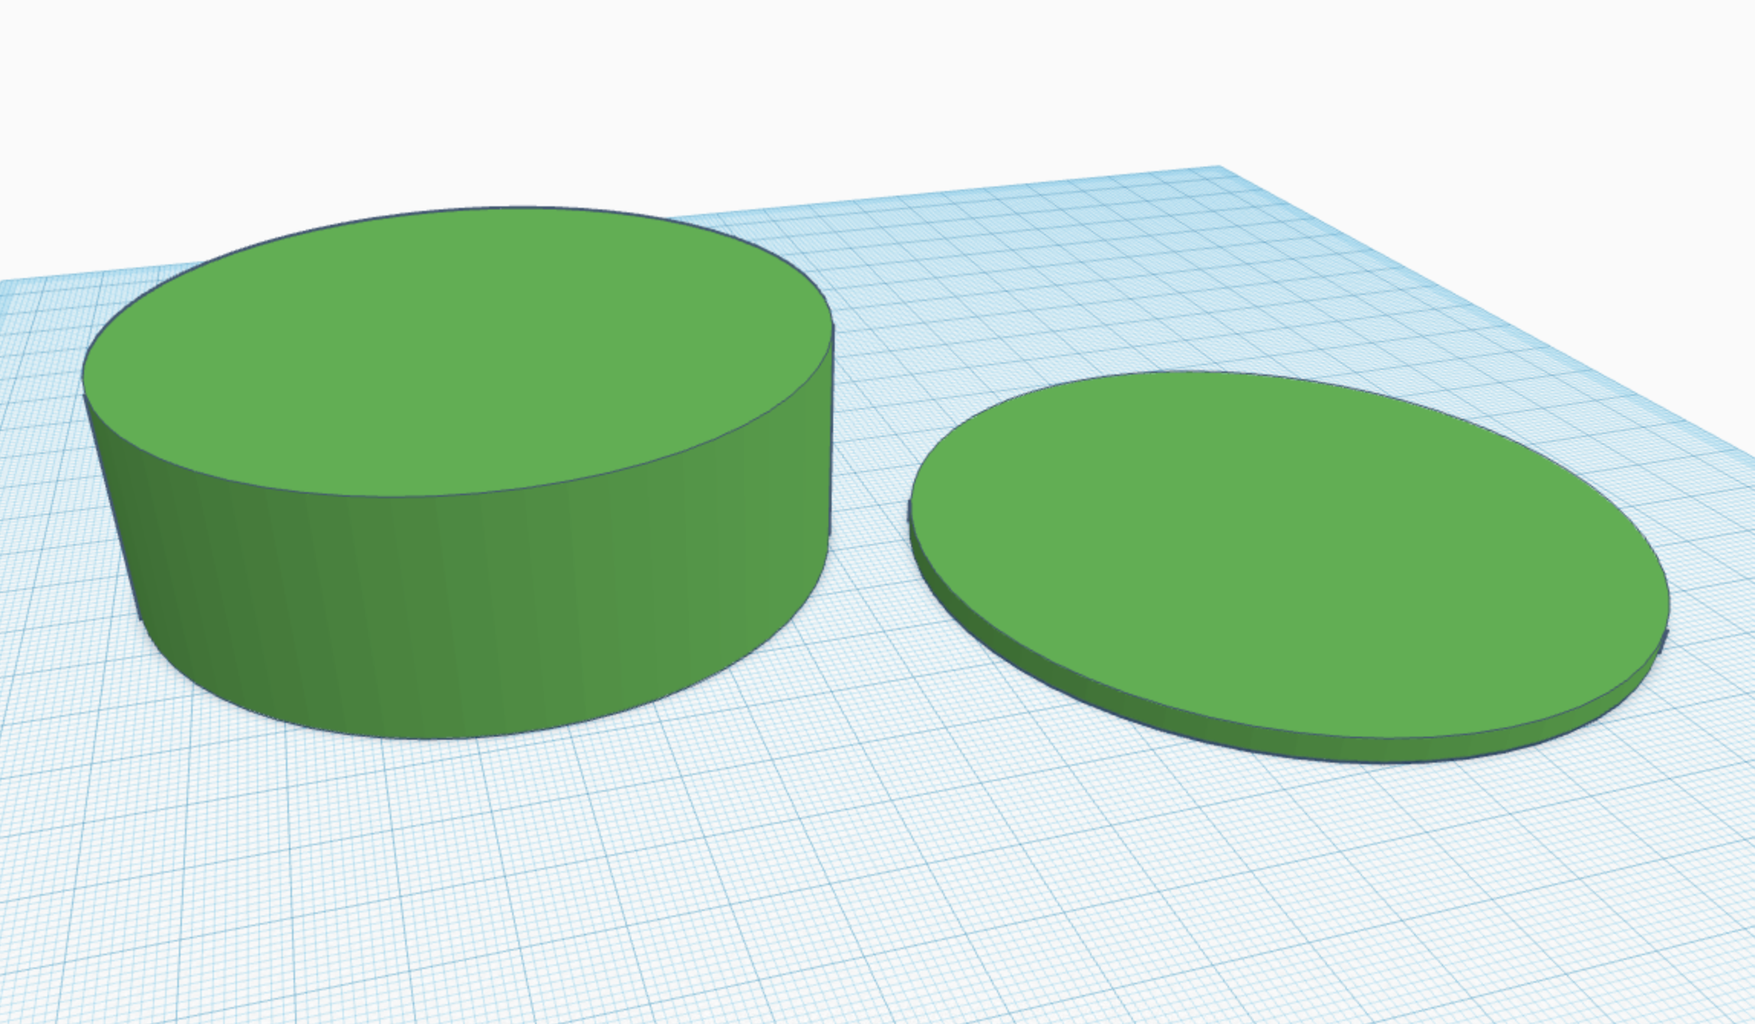
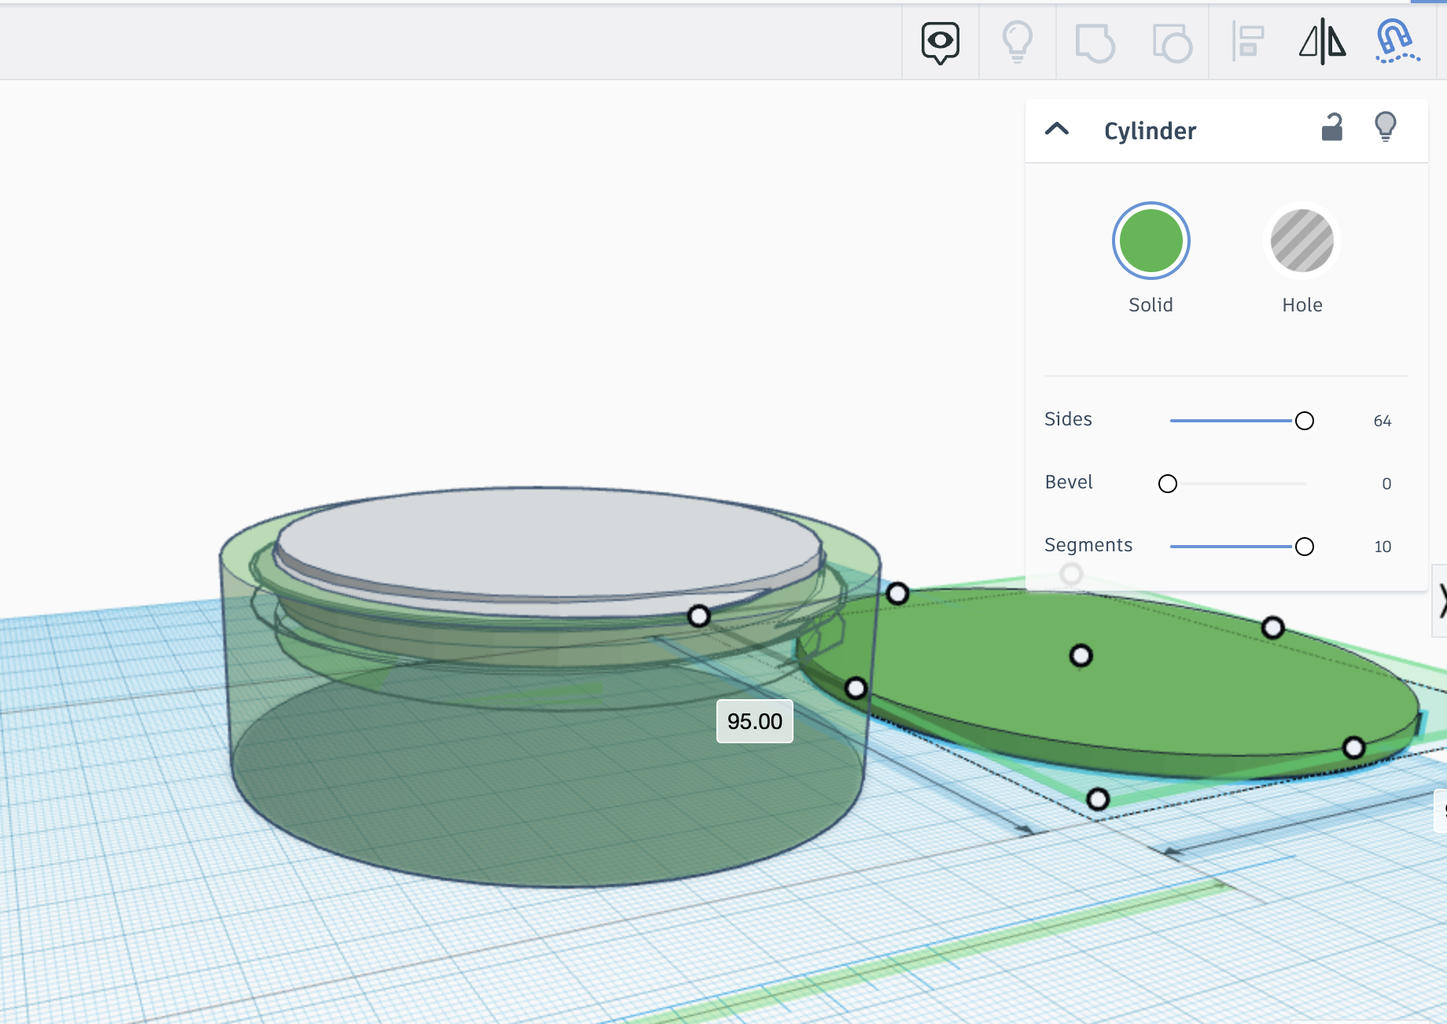
I decided on a size of the container. I wanted it big enough I could put stuff in it, but not too big that it would take a long time and lot of material to print. You can, of course, make this as big or as small as you want.
My base is 90mm in diameter and 30mm tall with a lid that is 95mm in diameter and 3mm tall.
My original lids were the same diameter as the base, but I found this was more difficult to open and close and if the thread wasn't perfectly center, it was very obvious. So I recommend having the lid be at least a little bigger than the container.
Step 3: Base With Thread
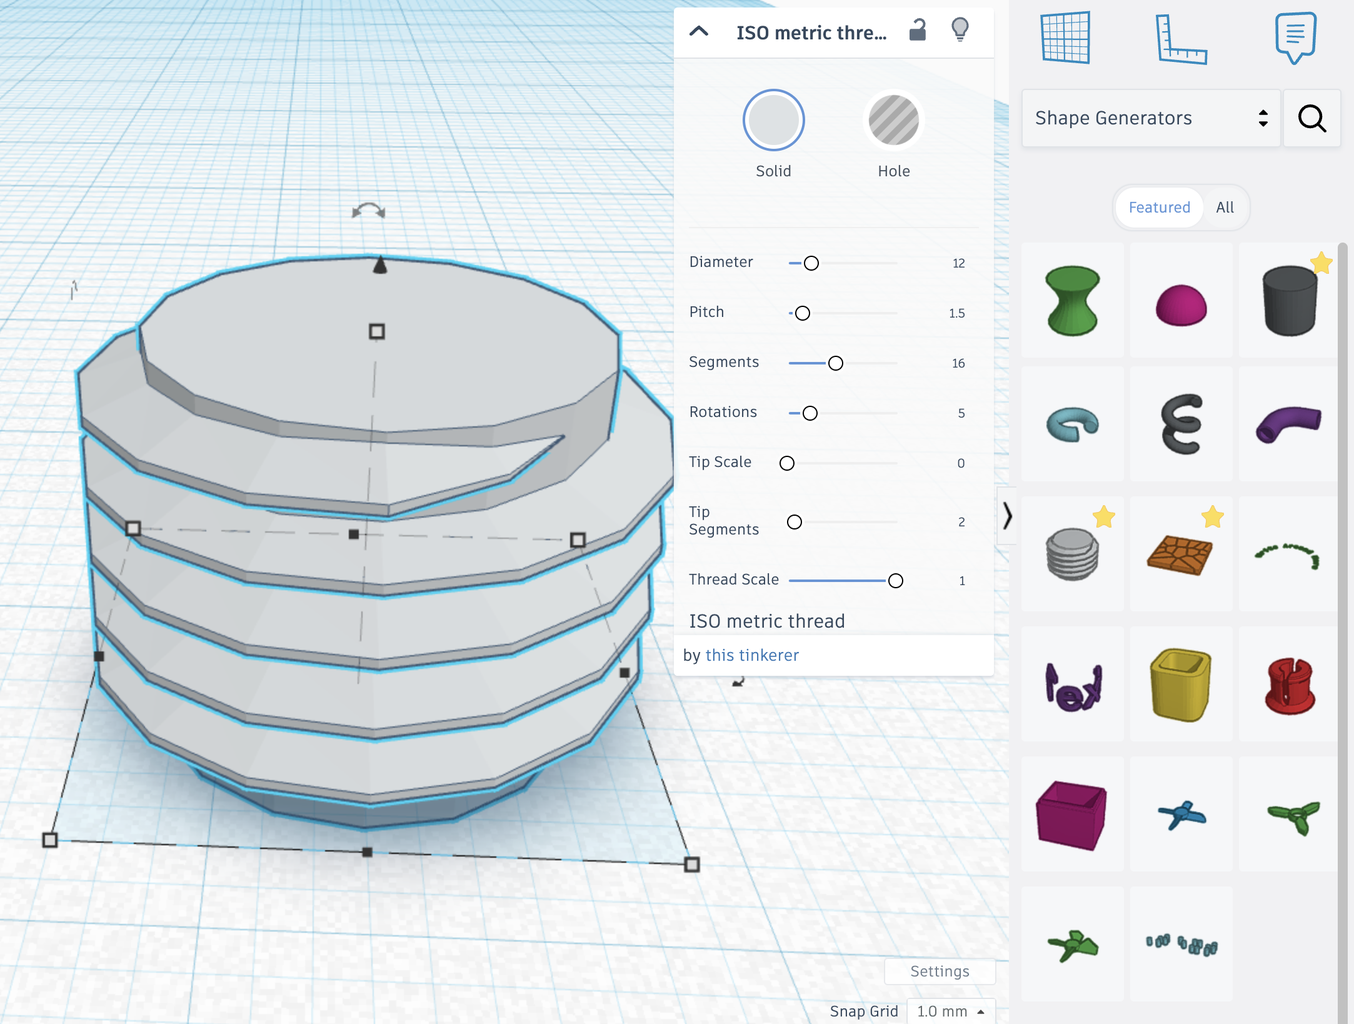
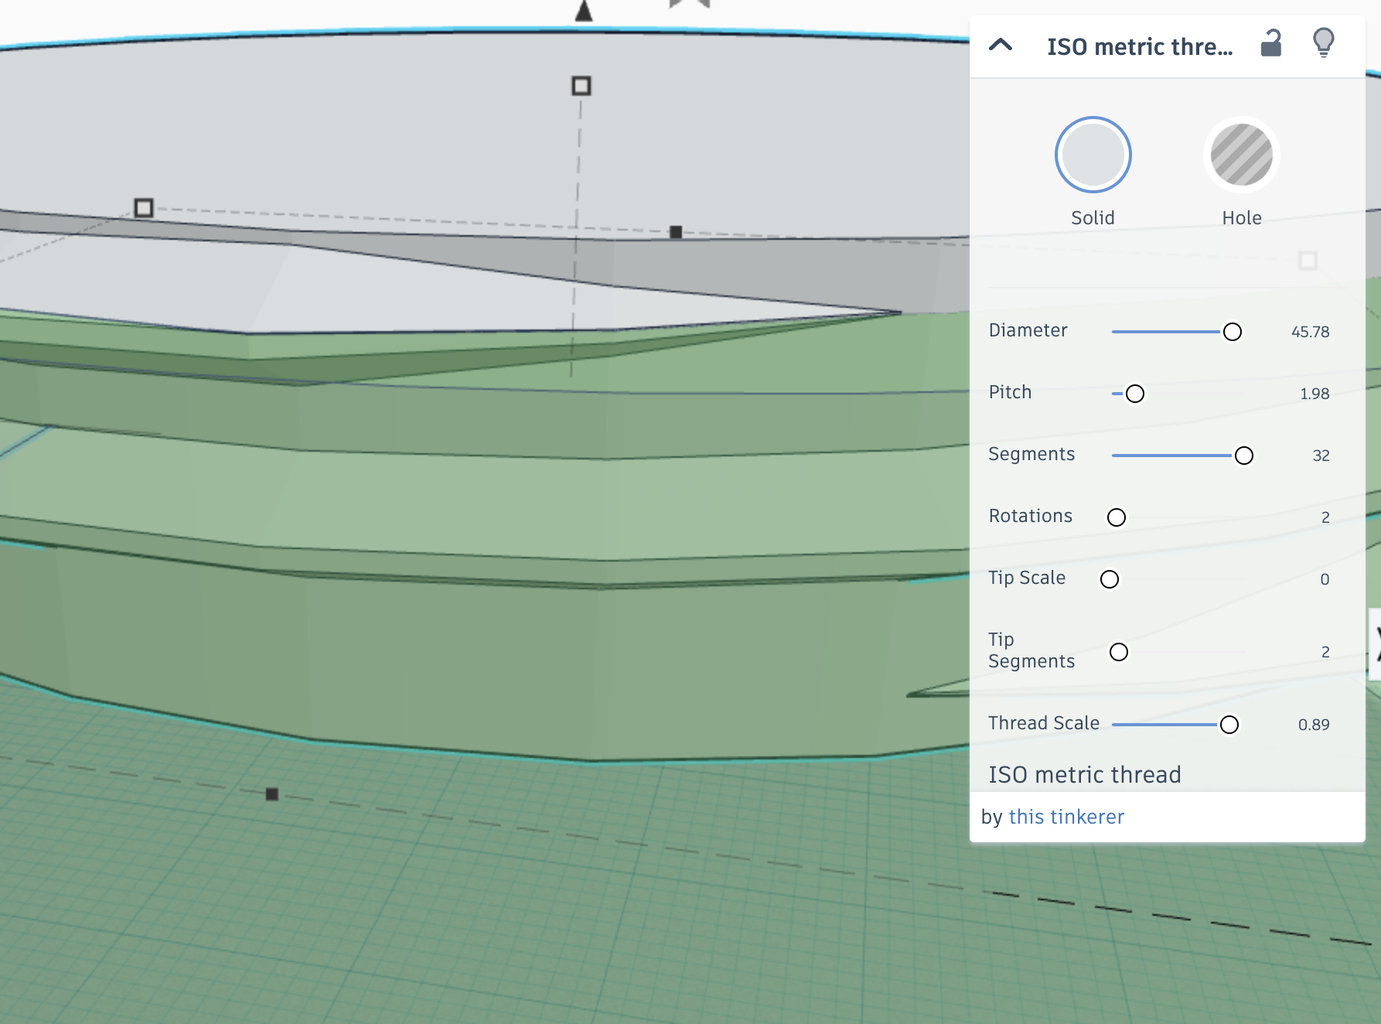
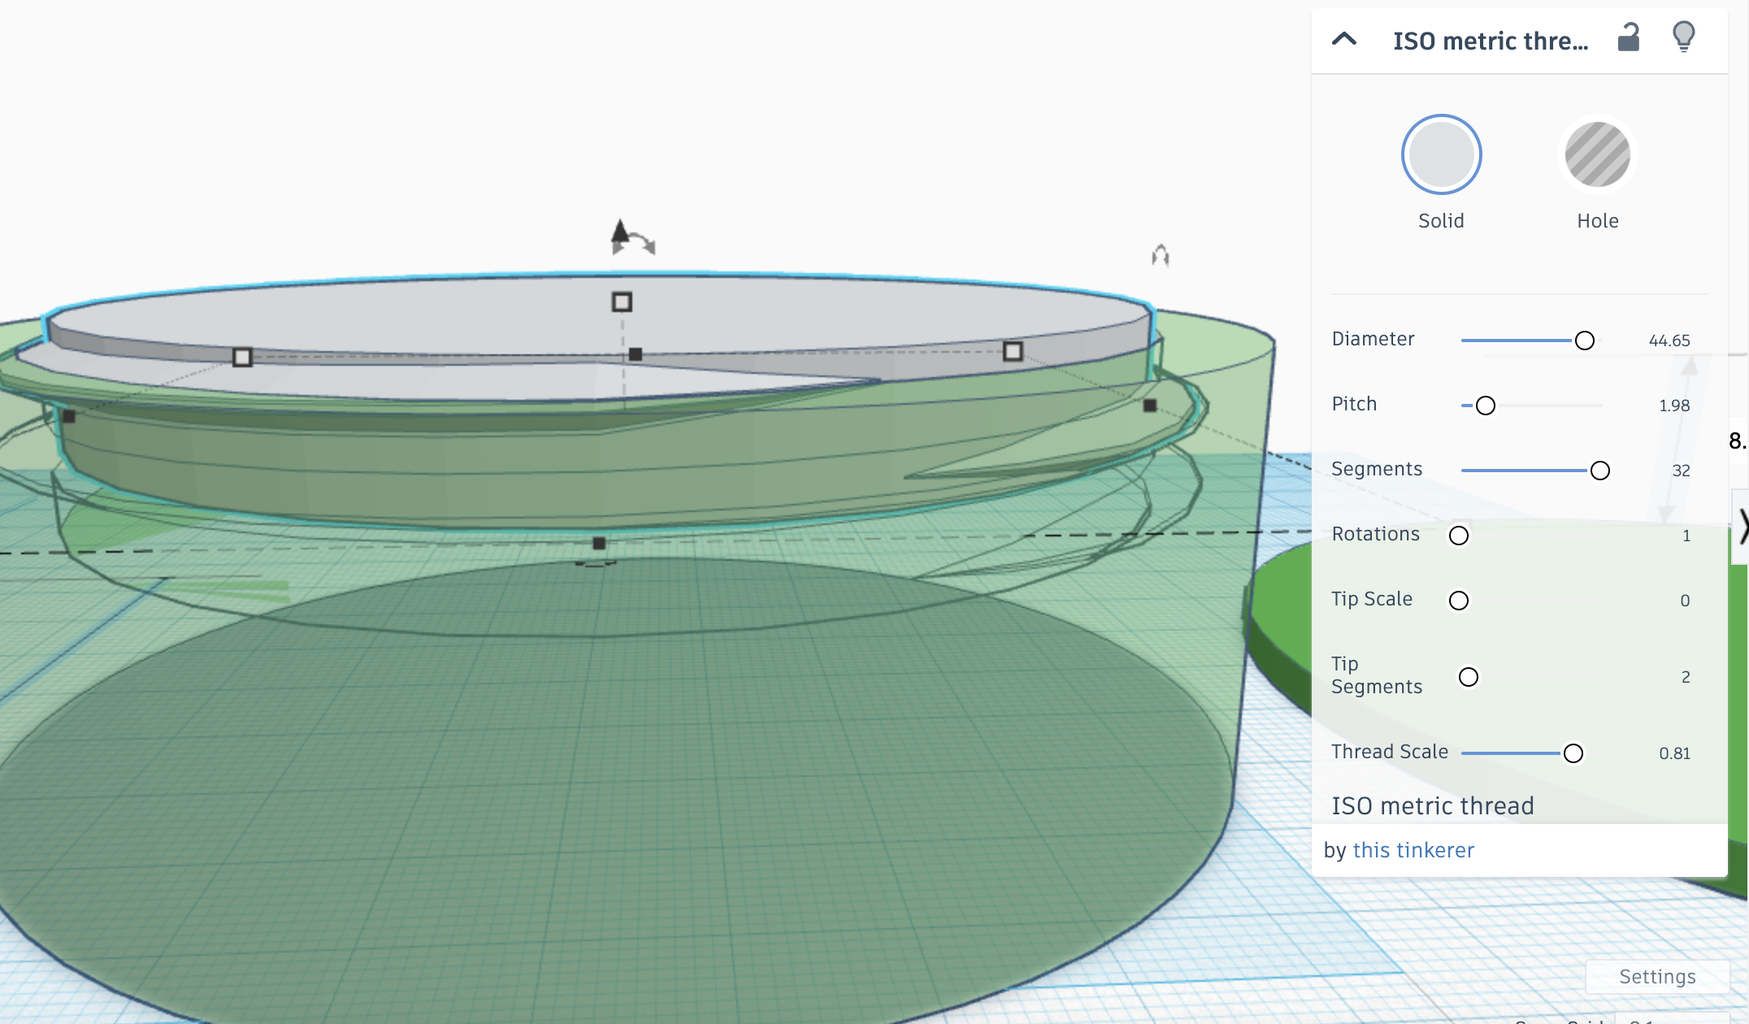
Now we are ready to grab the ISO metric thread shape from the Shape Generators > Featured section of the Shapes Panel. (You can also just search for it.)
[With all shapes with parameters box, once you manually start adjusting the size of the shape, the numbers in the box won't always match. They'll still work!, but they won't always match. In order to get the thread the size of my box, I used a combination of the diameter in the parameters box and manually adjusting so I suggest not paying attention to that measurement in this Instructable, but the others should still work.]
The main things you'll need to change is the overall size and number of Rotations.
I mostly manually changed the size, but also resized it in the parameters box.
I recommend leaving Tip Segments: 2 and Thread Scale 1. This gives the end of your thread a nice point.
I increased the Segments to 32 to try to make the thread as smooth as possible.
You can play around with the other settings until you have it the way you like it. Remember to give it time to load as the Shape Generators shapes are complex and take more time.
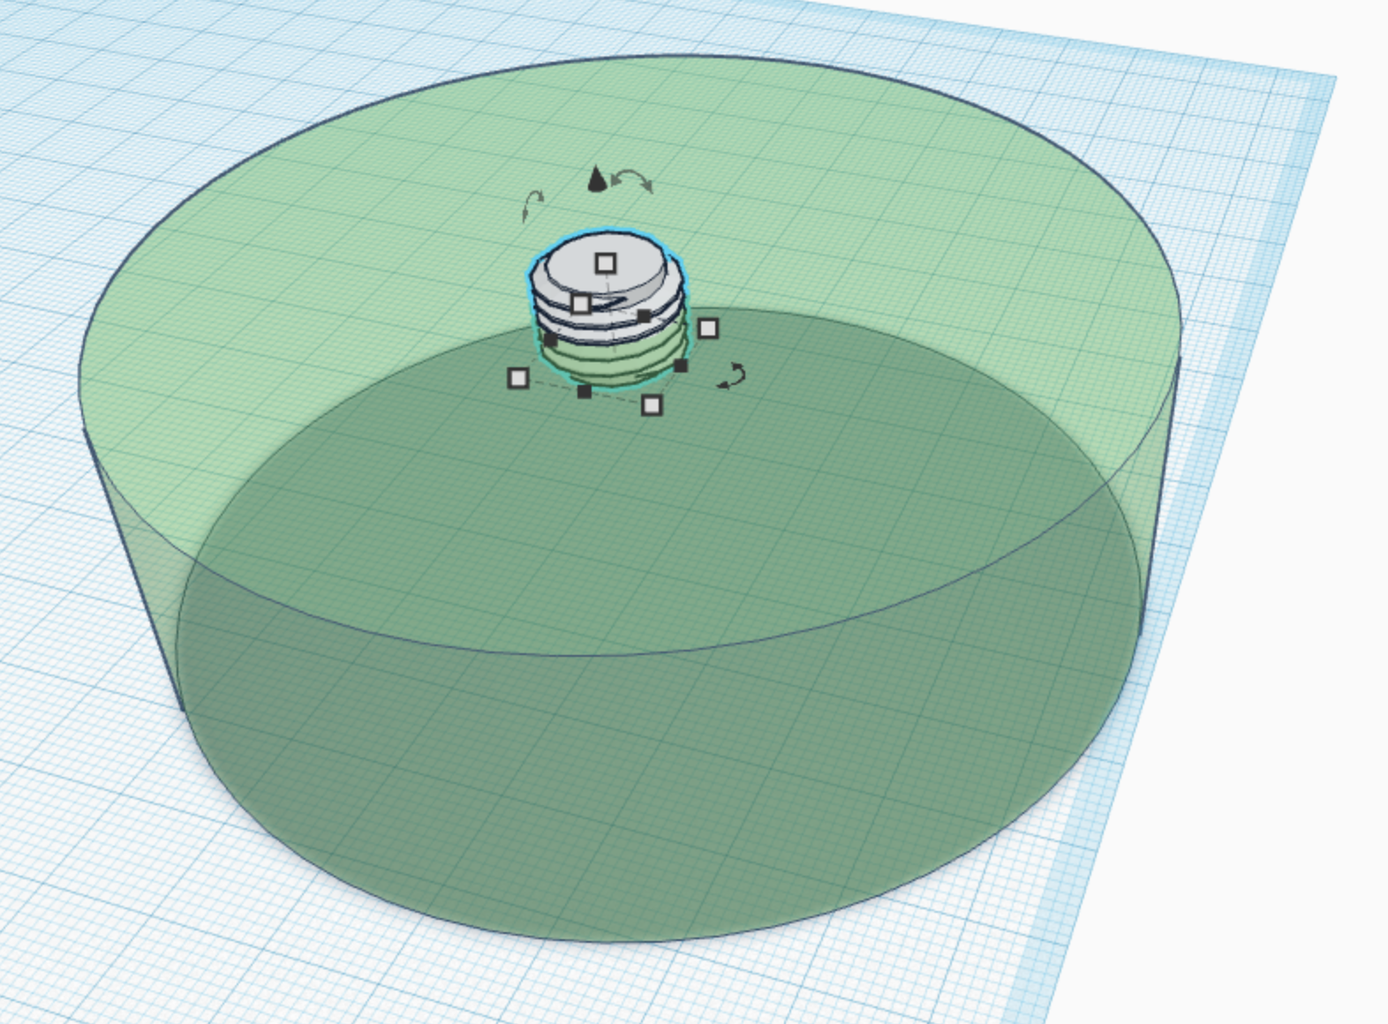
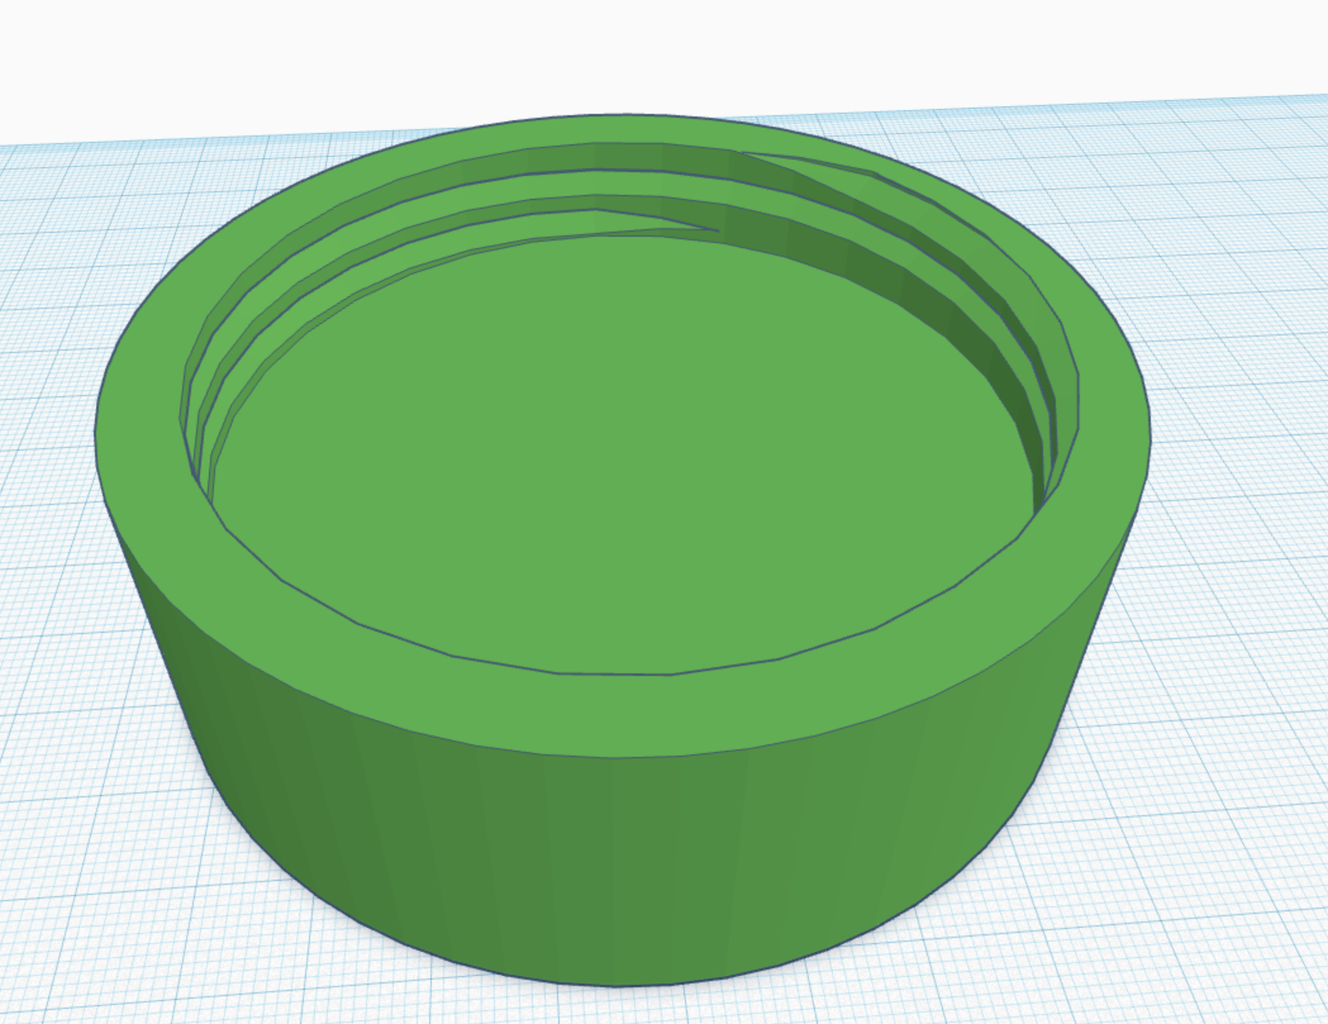
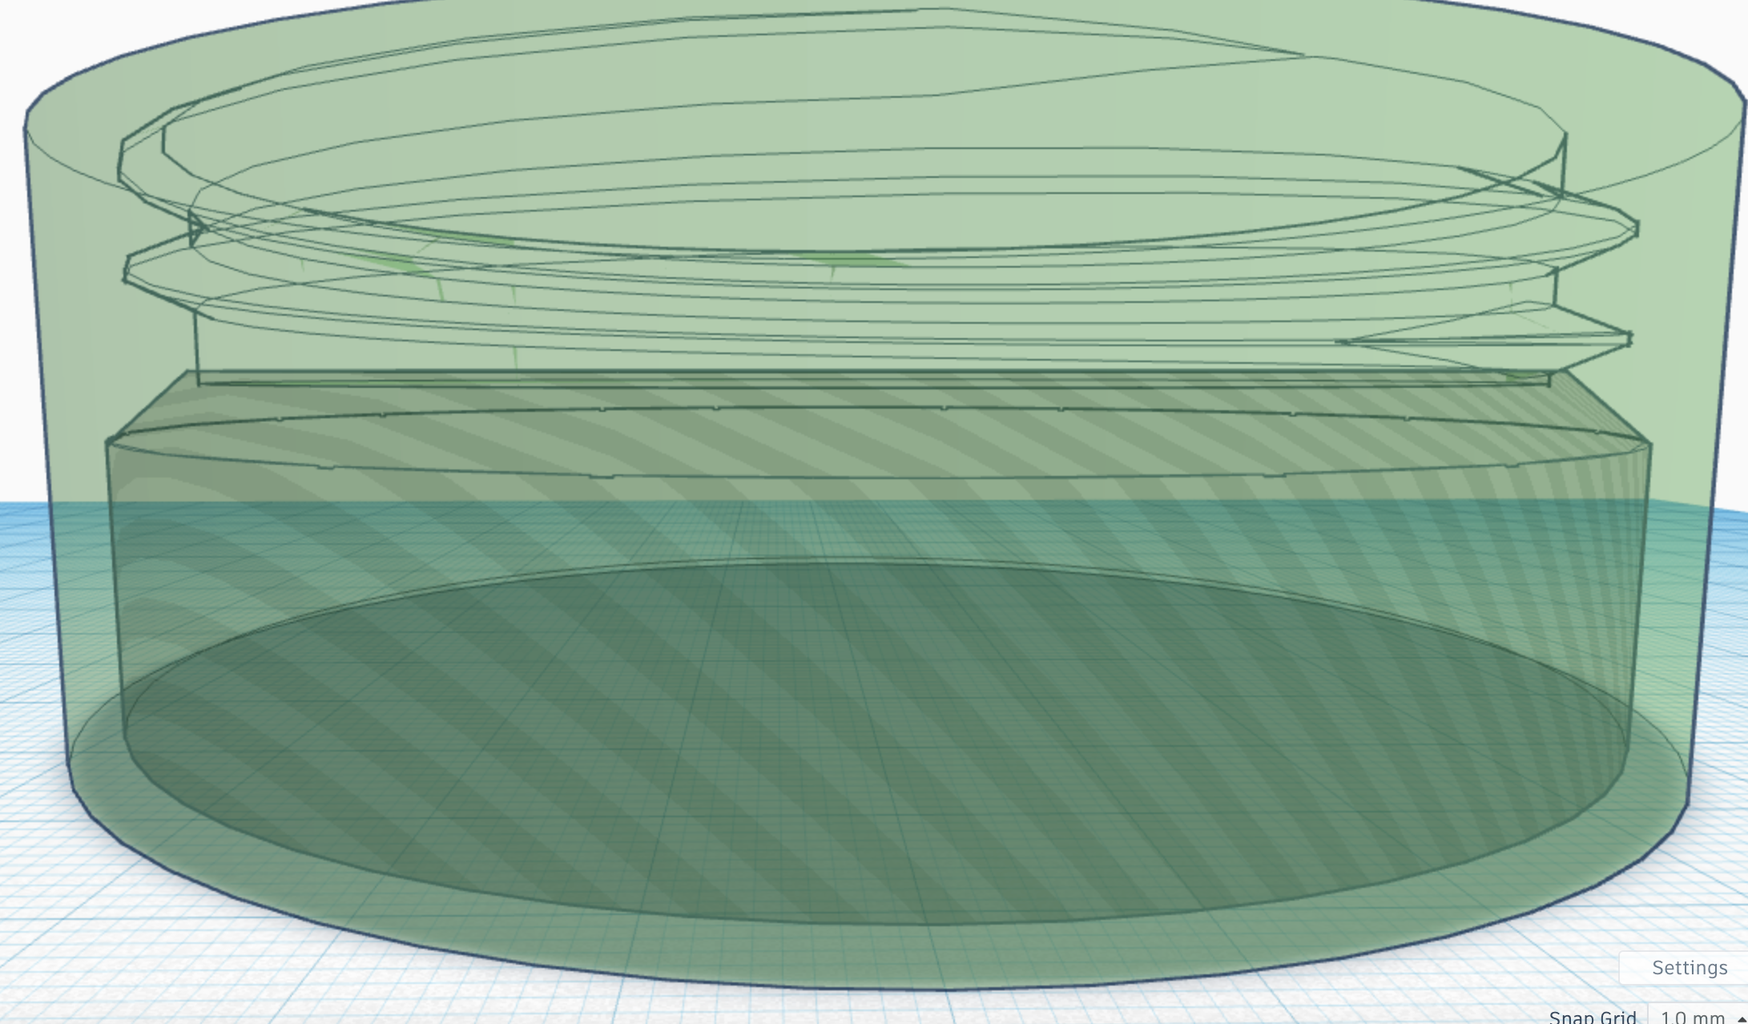
Once you like it, Duplicate it and hide it for later. Use the original and make it into a hole. Center it X and Y on the base and I lined up the top thread with the top edge of the bowl. Then group them.
Step 4: Lid With Thread
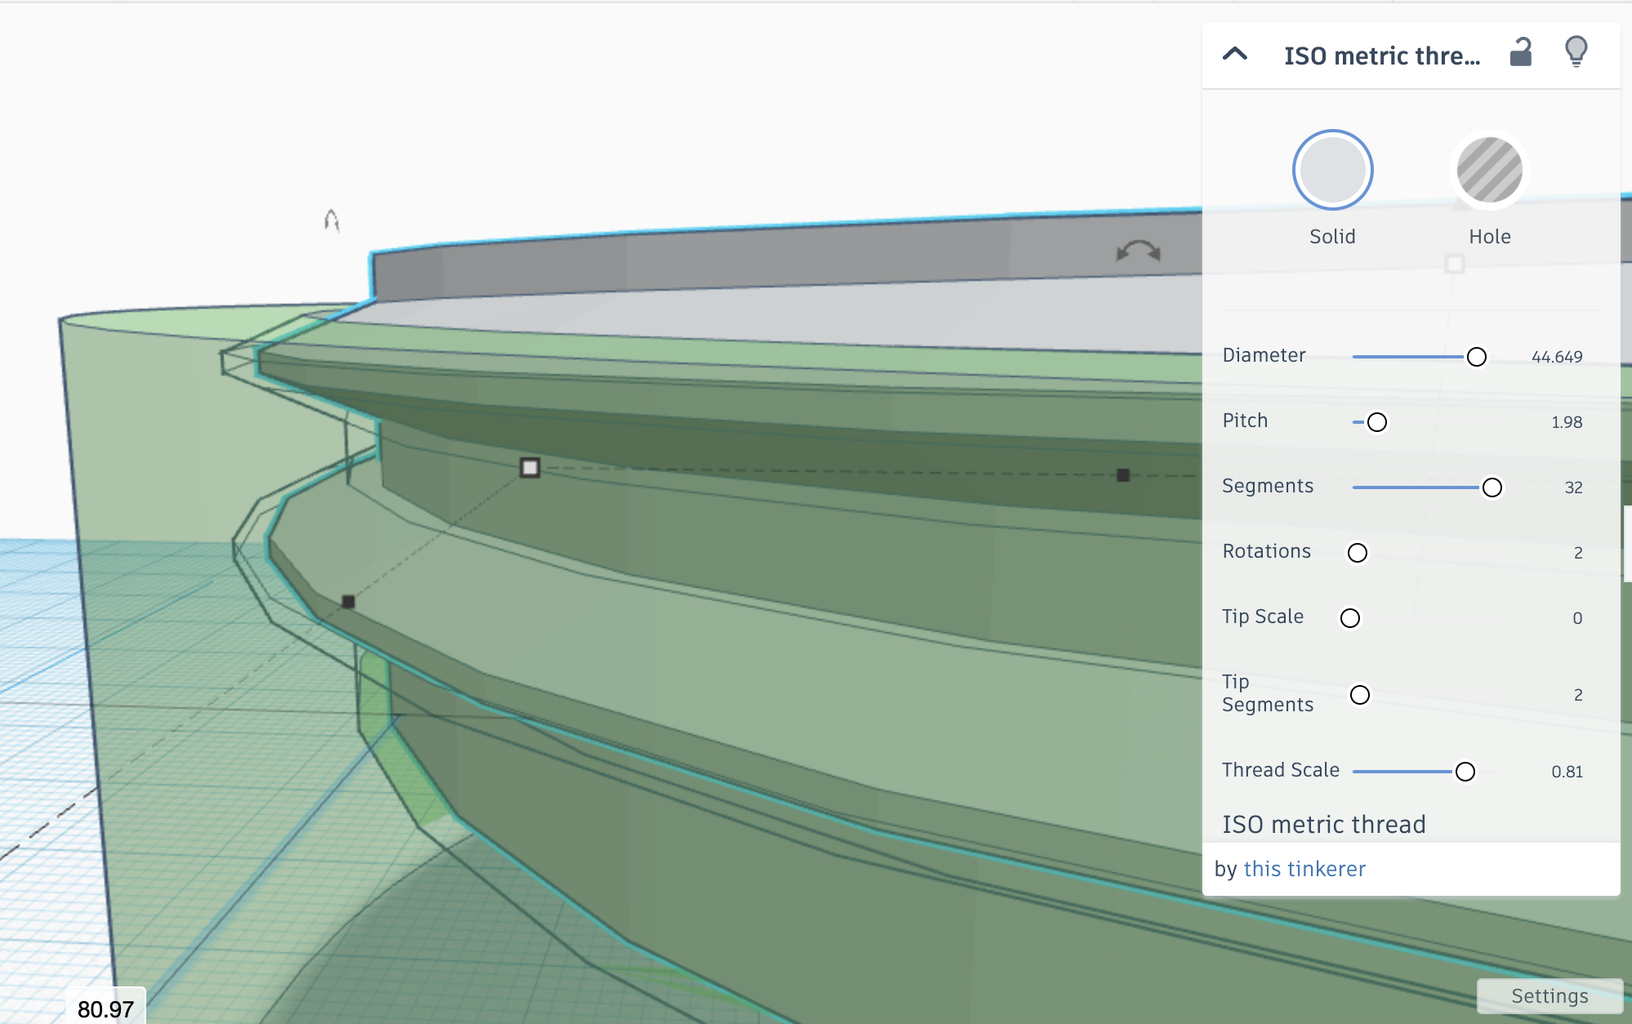

Unhide that duplicate thread. Make sure it's still lined up.
As mentioned in Mr. Erdreich's video, change the Diameter and Thread Scale of the thread until you are happy with it.
I also reduced the Rotations to 1, but it should still fit fine with 2. I just wanted to make sure it wouldn't hit the end of the thread and stop and it reduces filament for printing.
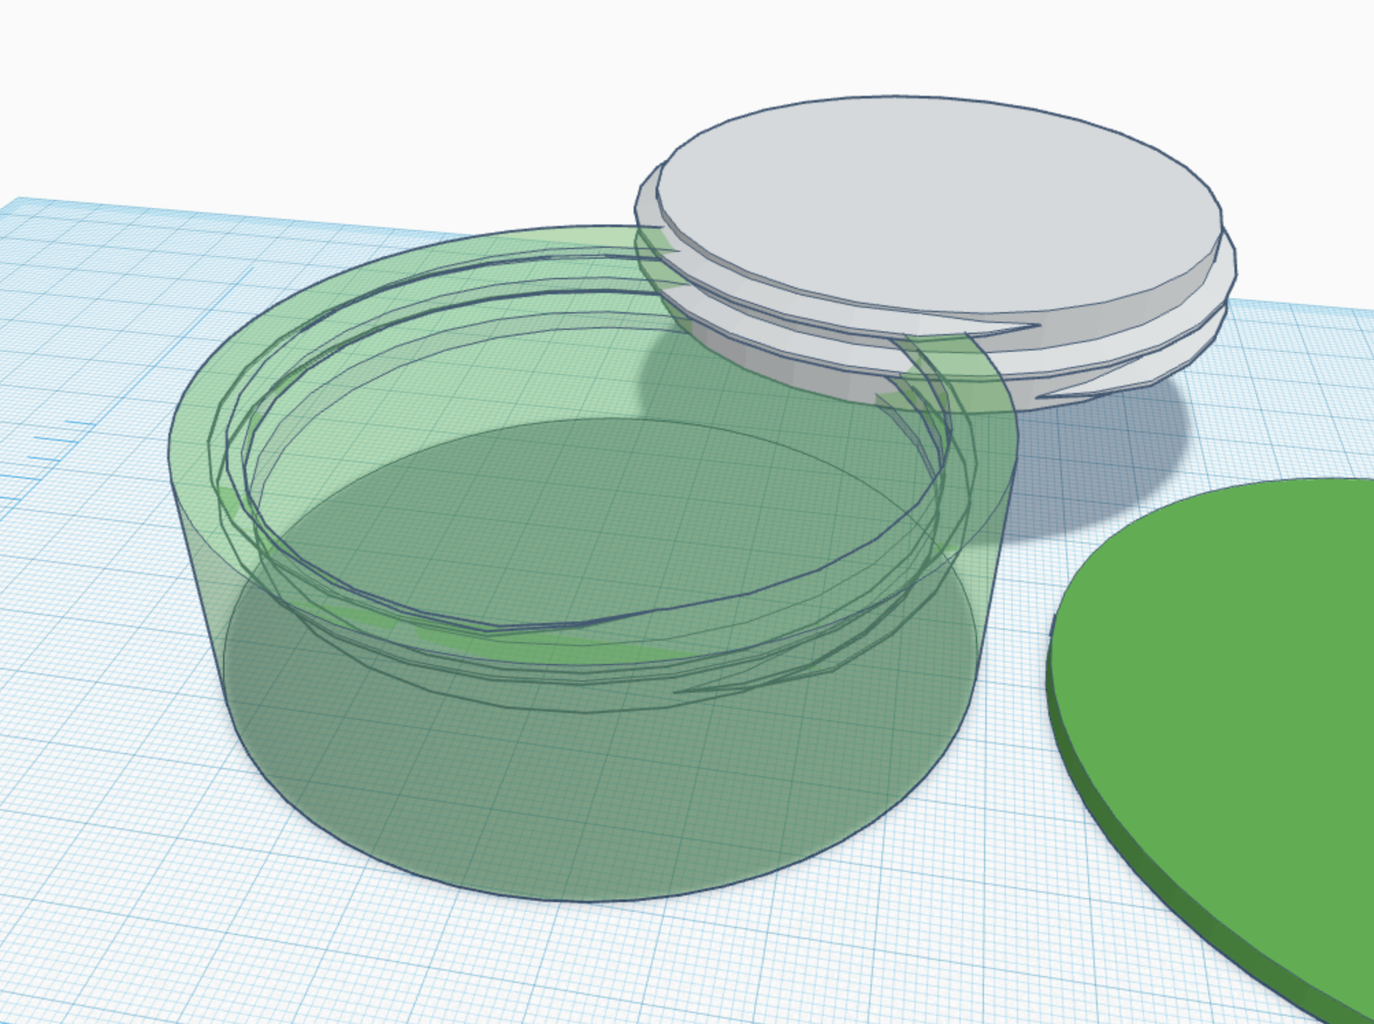
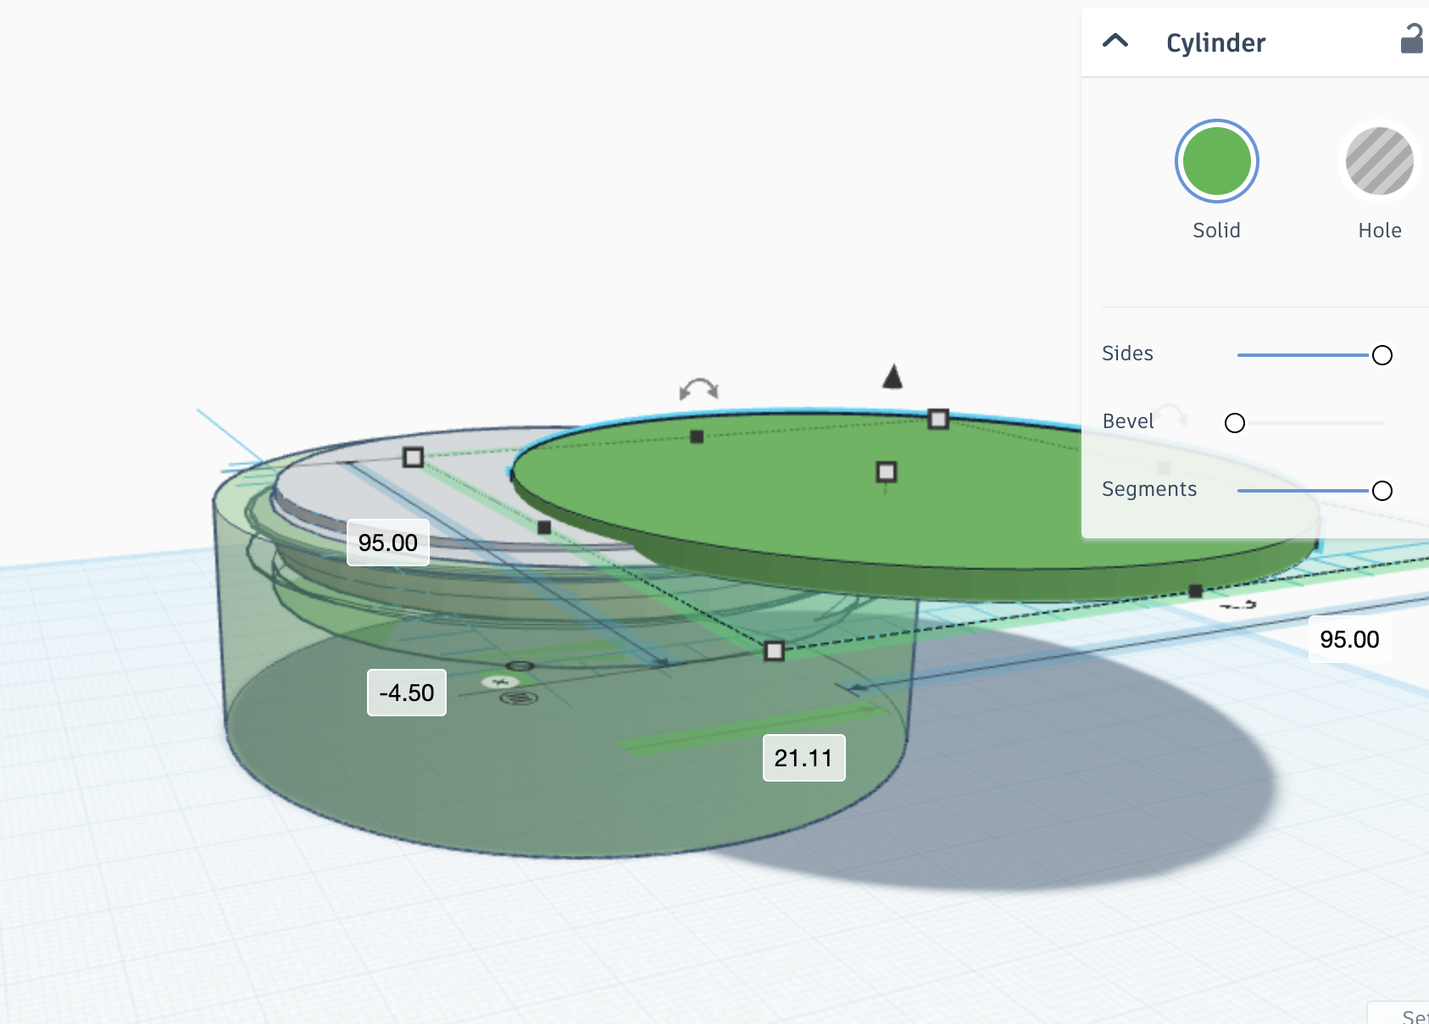
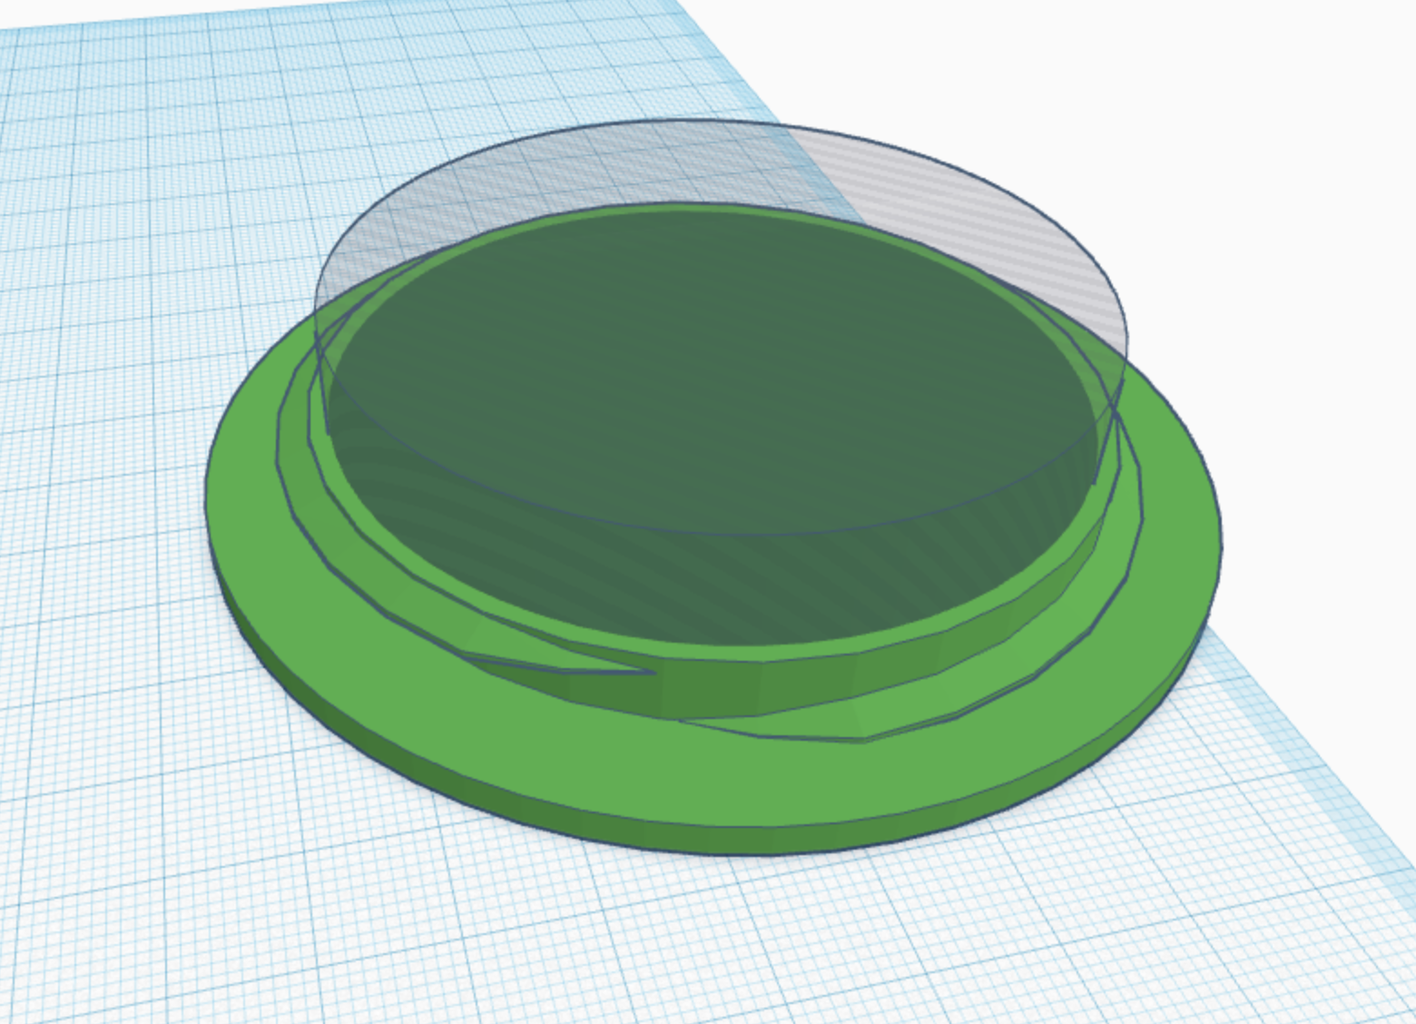
Click on your lid you made originally a click on Cruise. Drag it so it is on top of the container (not the thread). Center it with the top thread and group them. You should now have a lid that perfectly fits into the base.
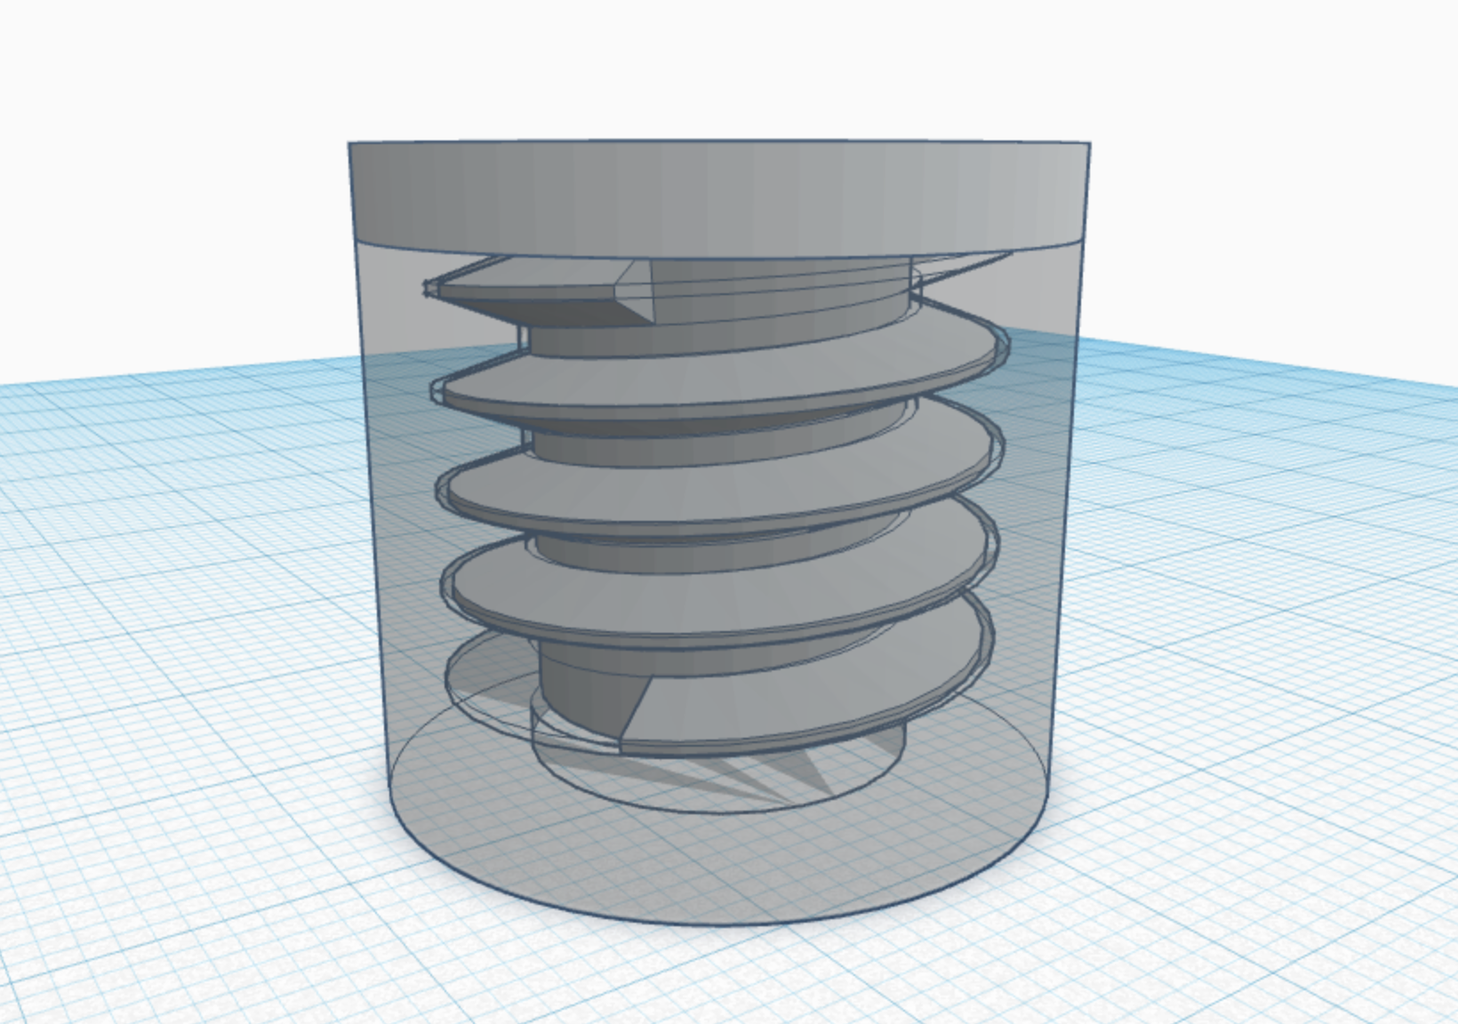
Step 5: Cavity in Base

Now that you have threads that fit, you need to hollow out the pieces.
I used a cylinder with a cone (with the top cut off) to hollow out the base. I wanted to hollow out a lot of space and I found using the cone on top of the cylinder allowed for more room while also making sure there wouldn't be any overhang under the threads.
Step 6: Cavity in Lid

The lid was easy. Just pop a cylinder in there that will still leave some thickness to the top of the lid and sides.
Step 7: Time to Print

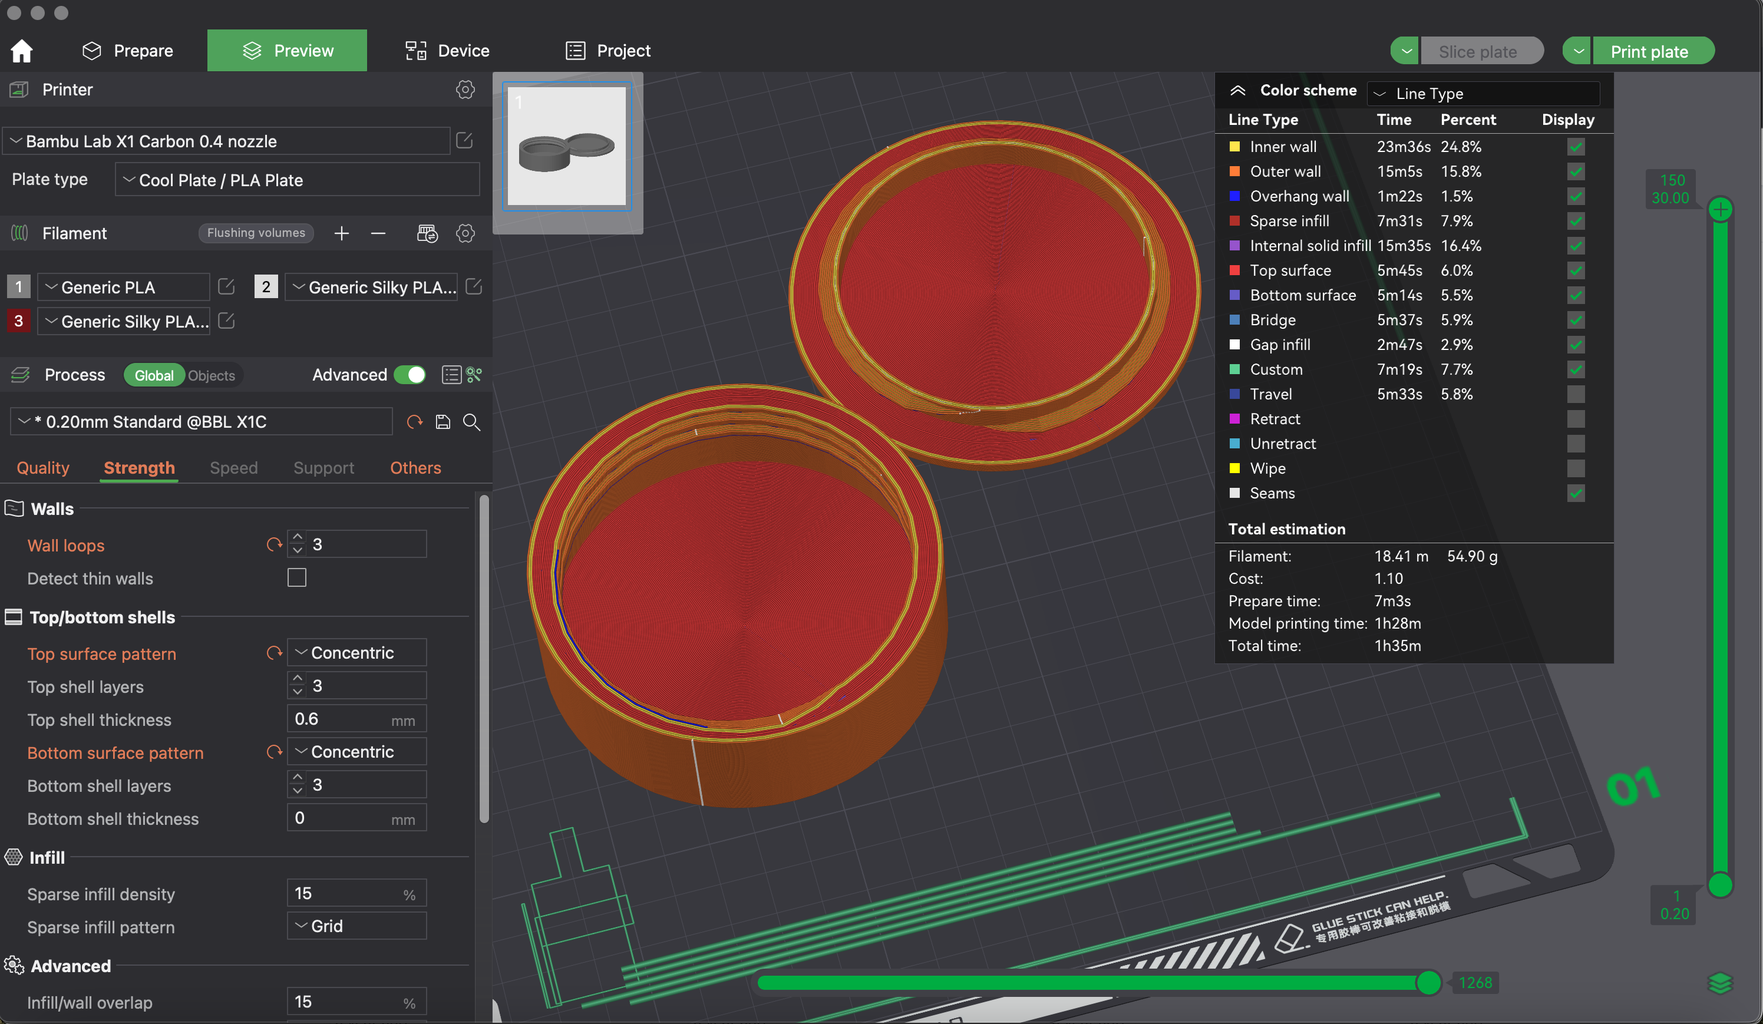
Now that you have your pieces, orient them on the workplane and print!
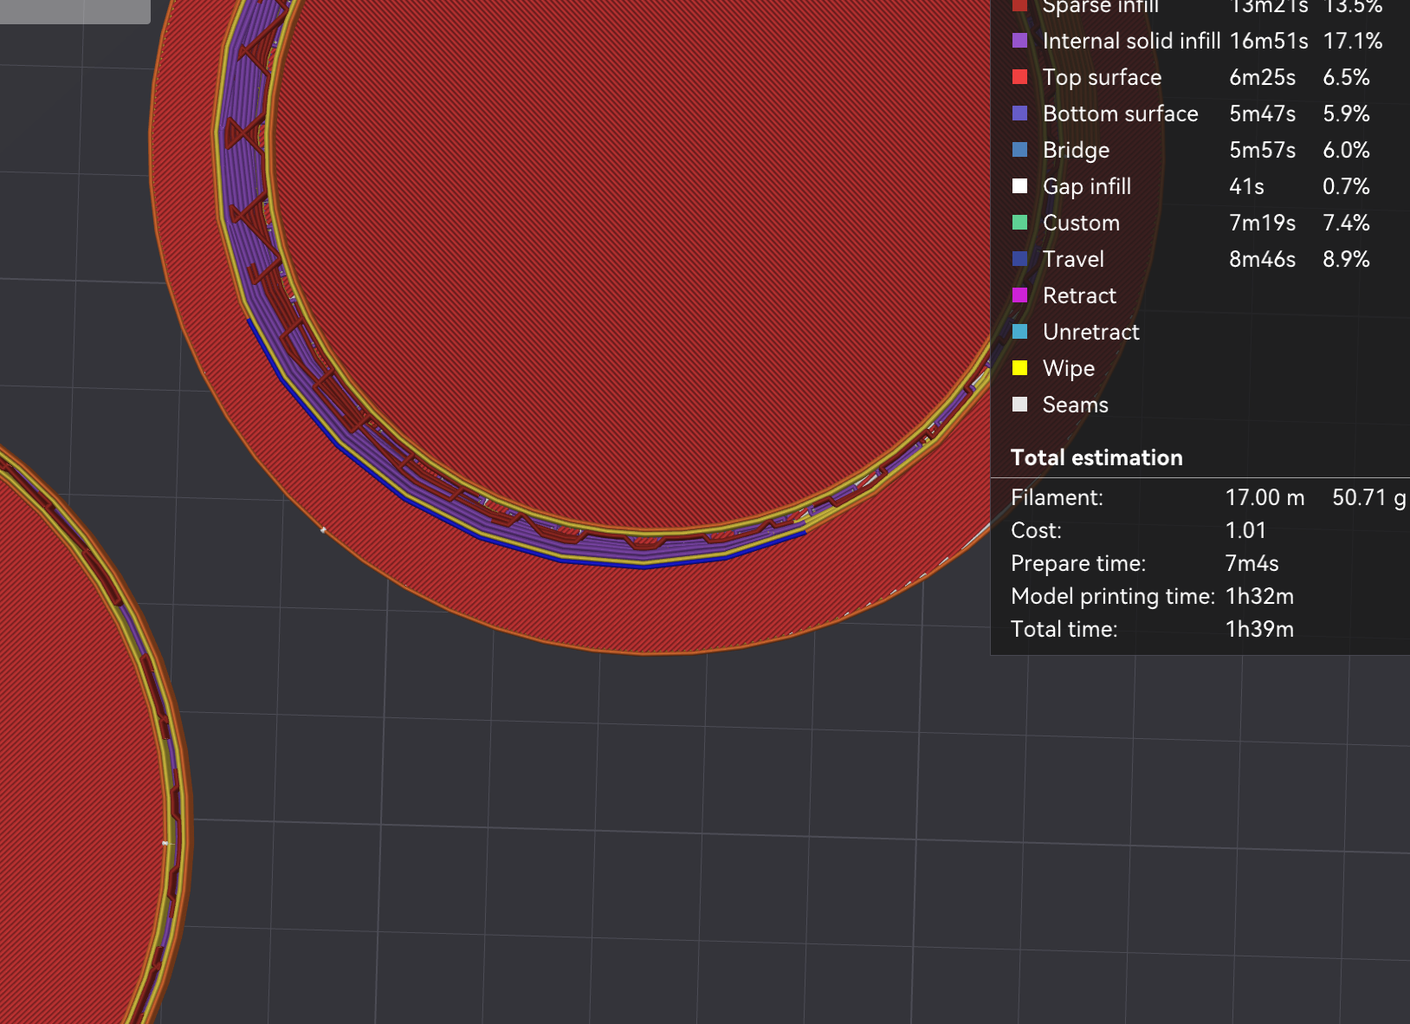
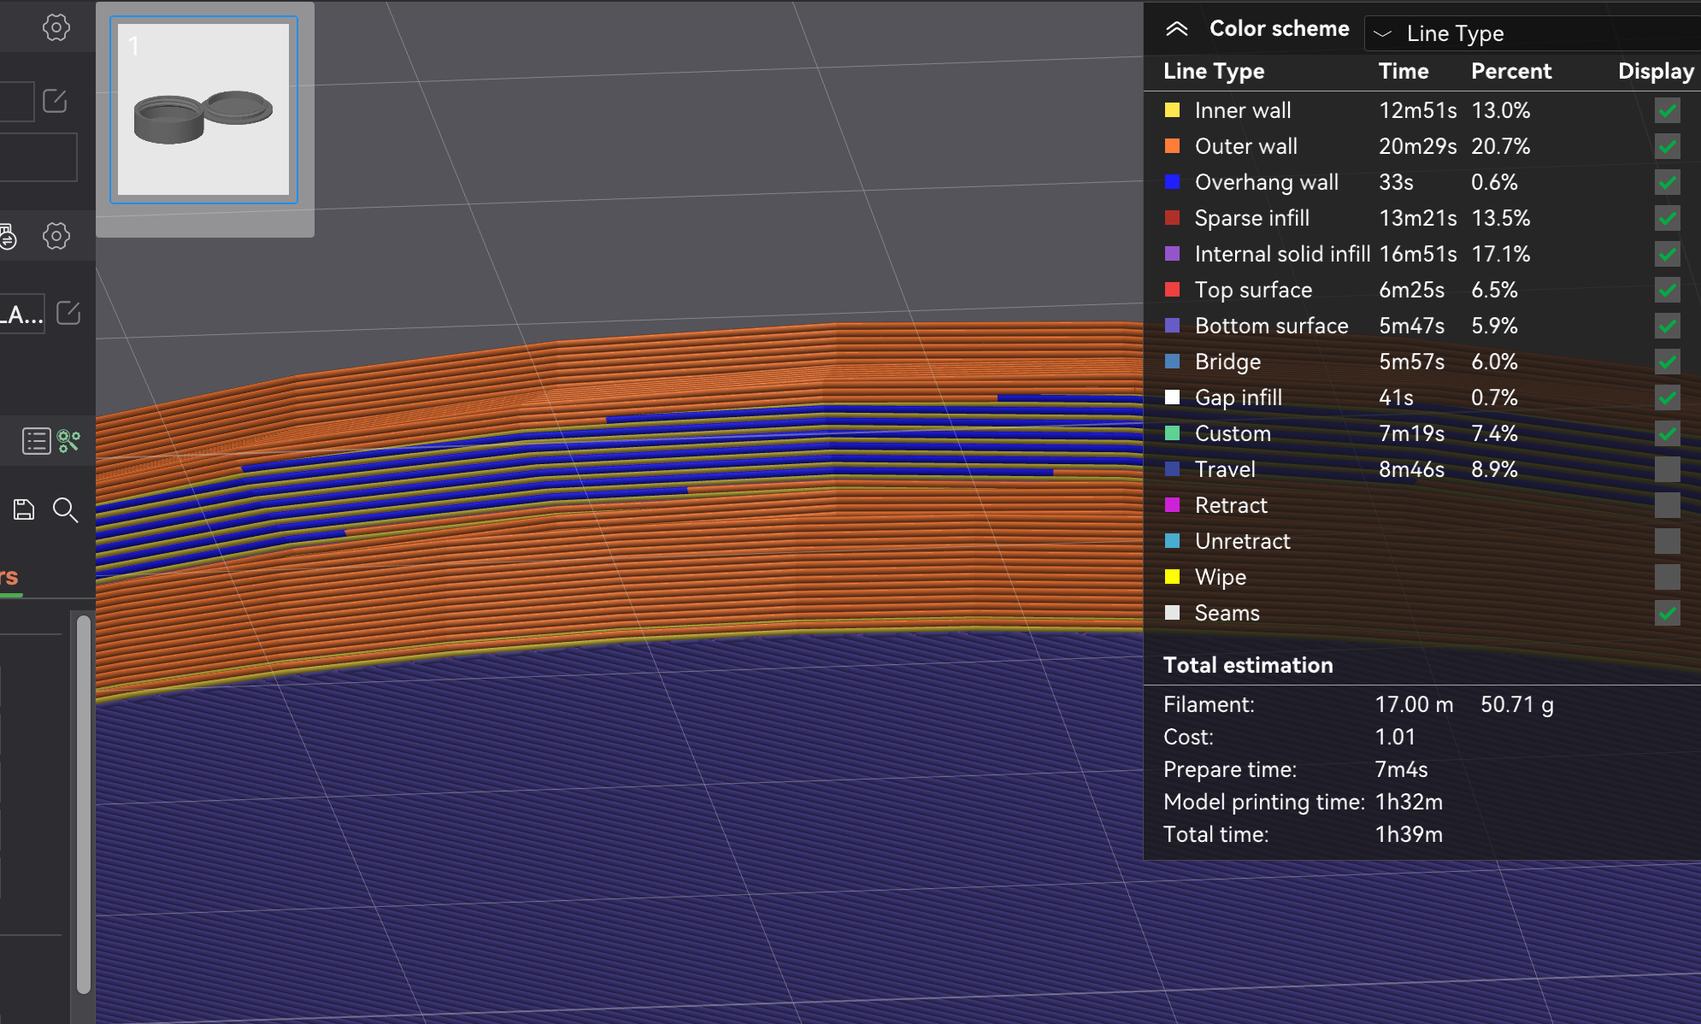
Check in your slicer that there aren't any overhang issues. There will likely be some overhang but as long as it's just one line you shouldn't have issues.
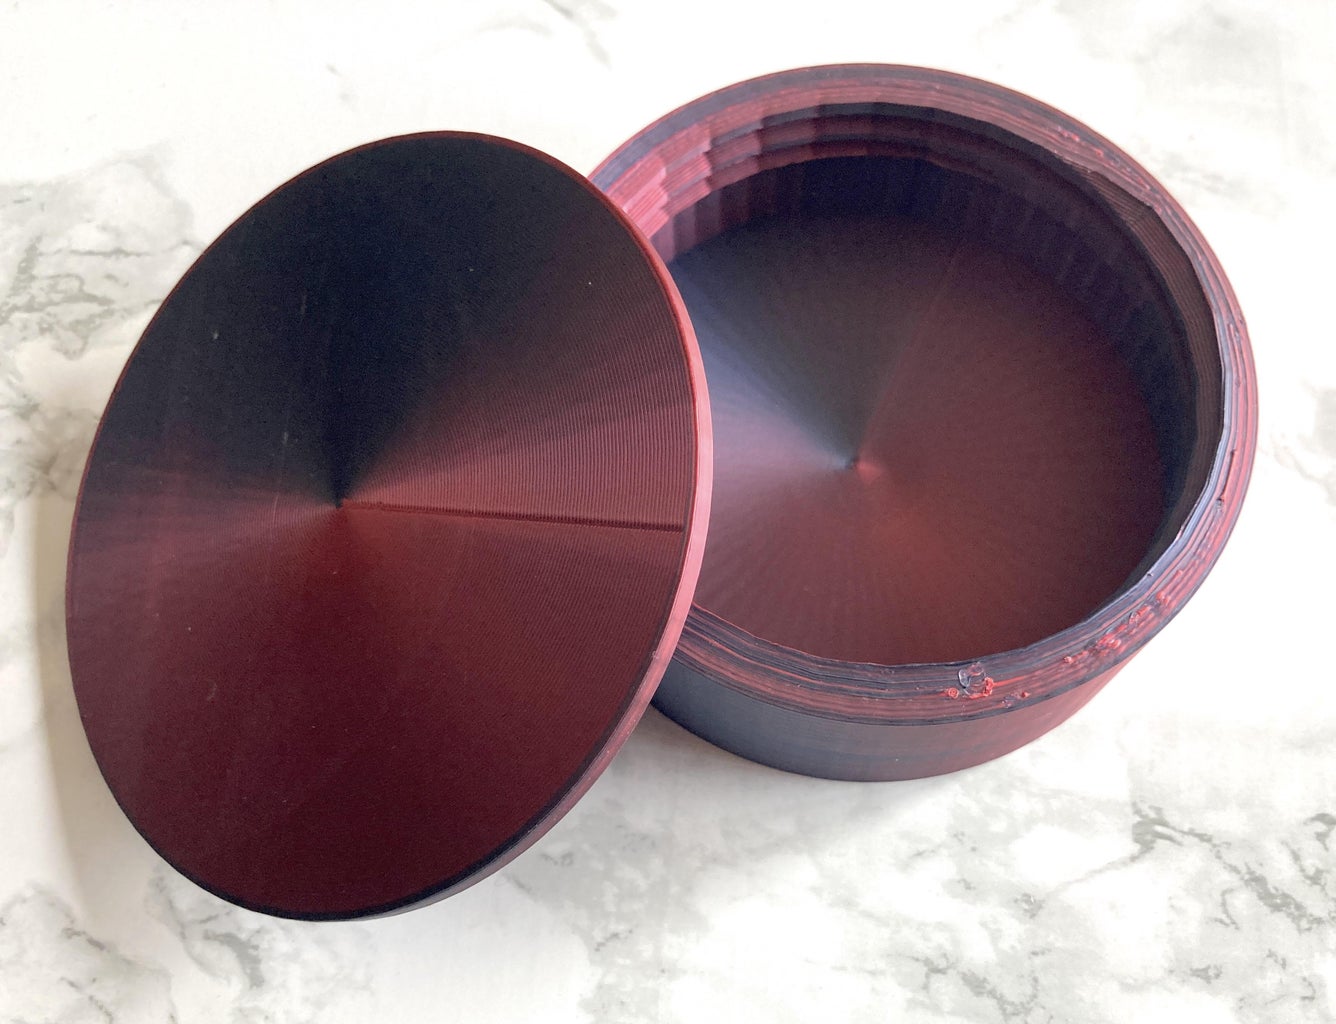
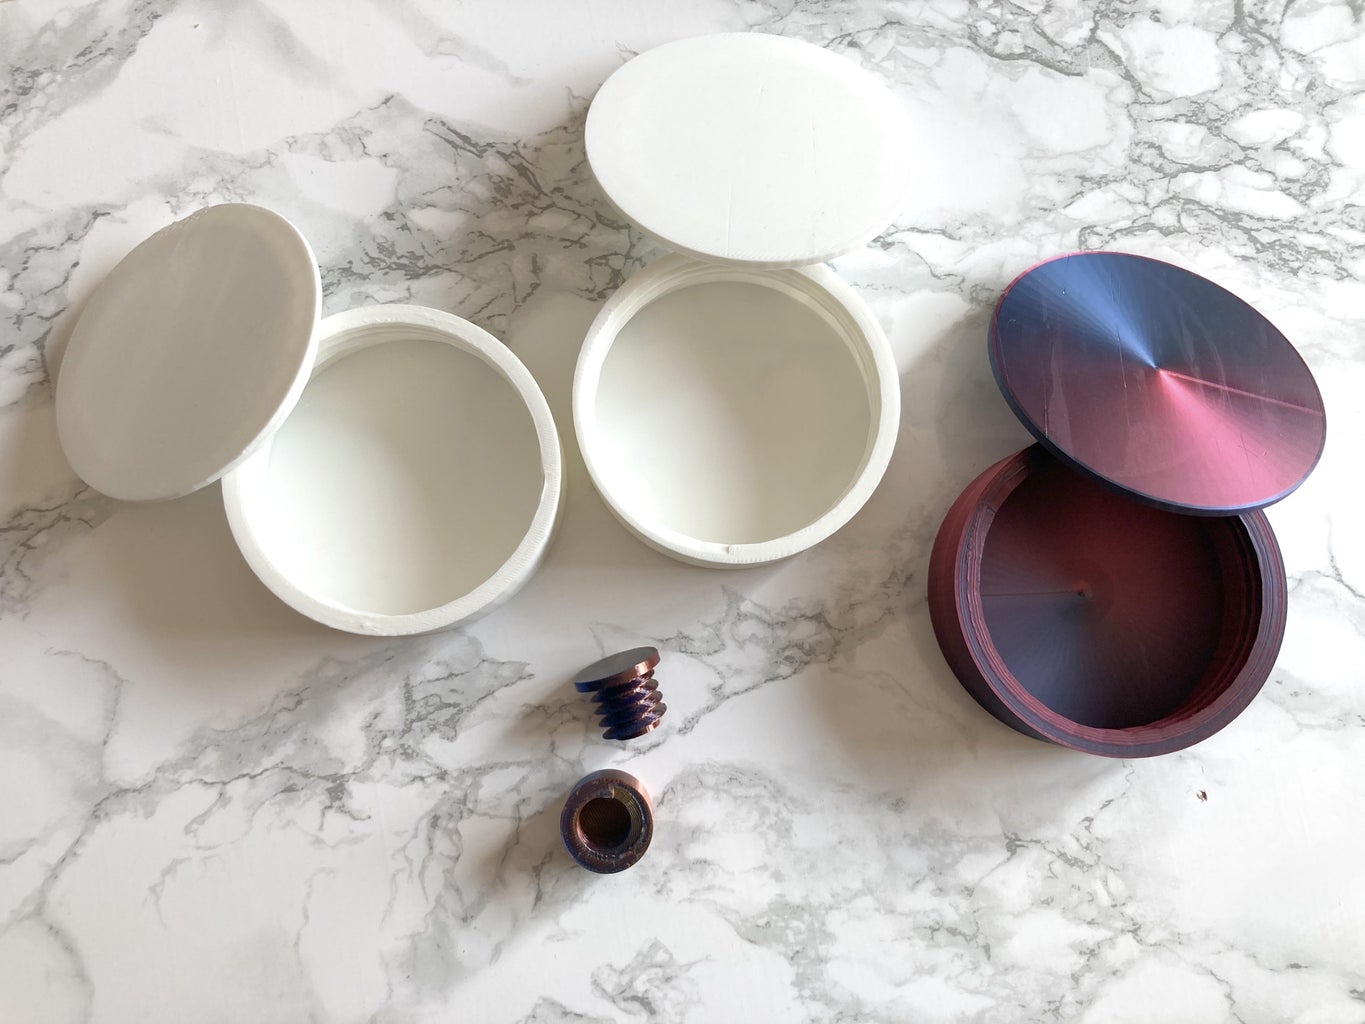
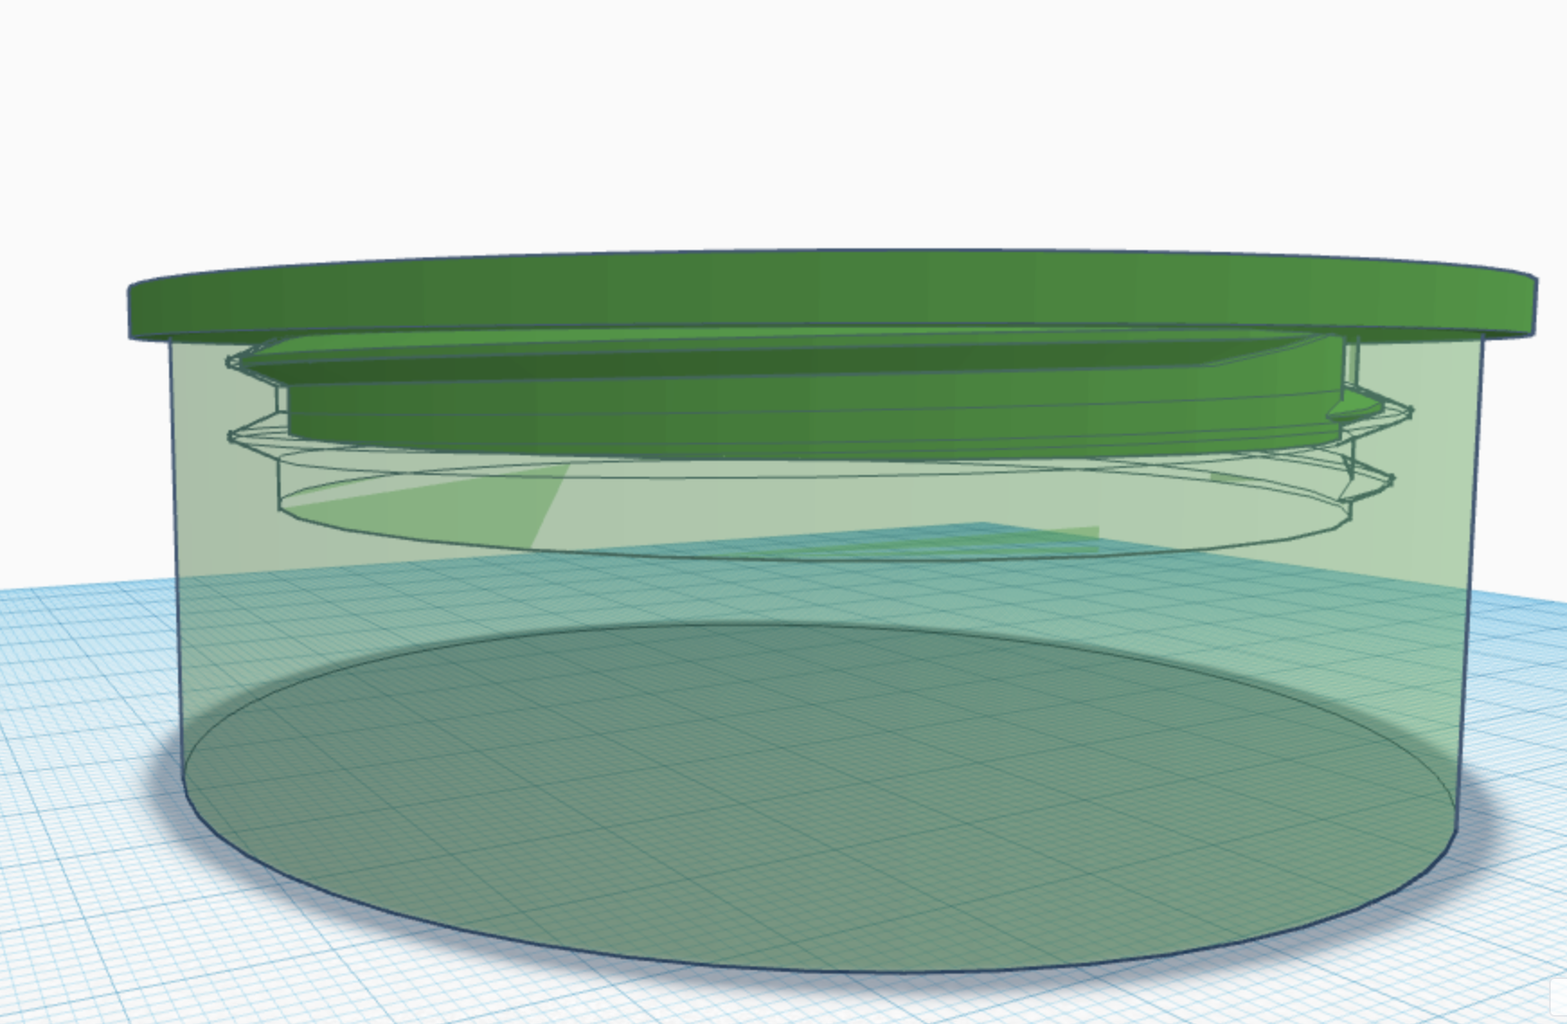
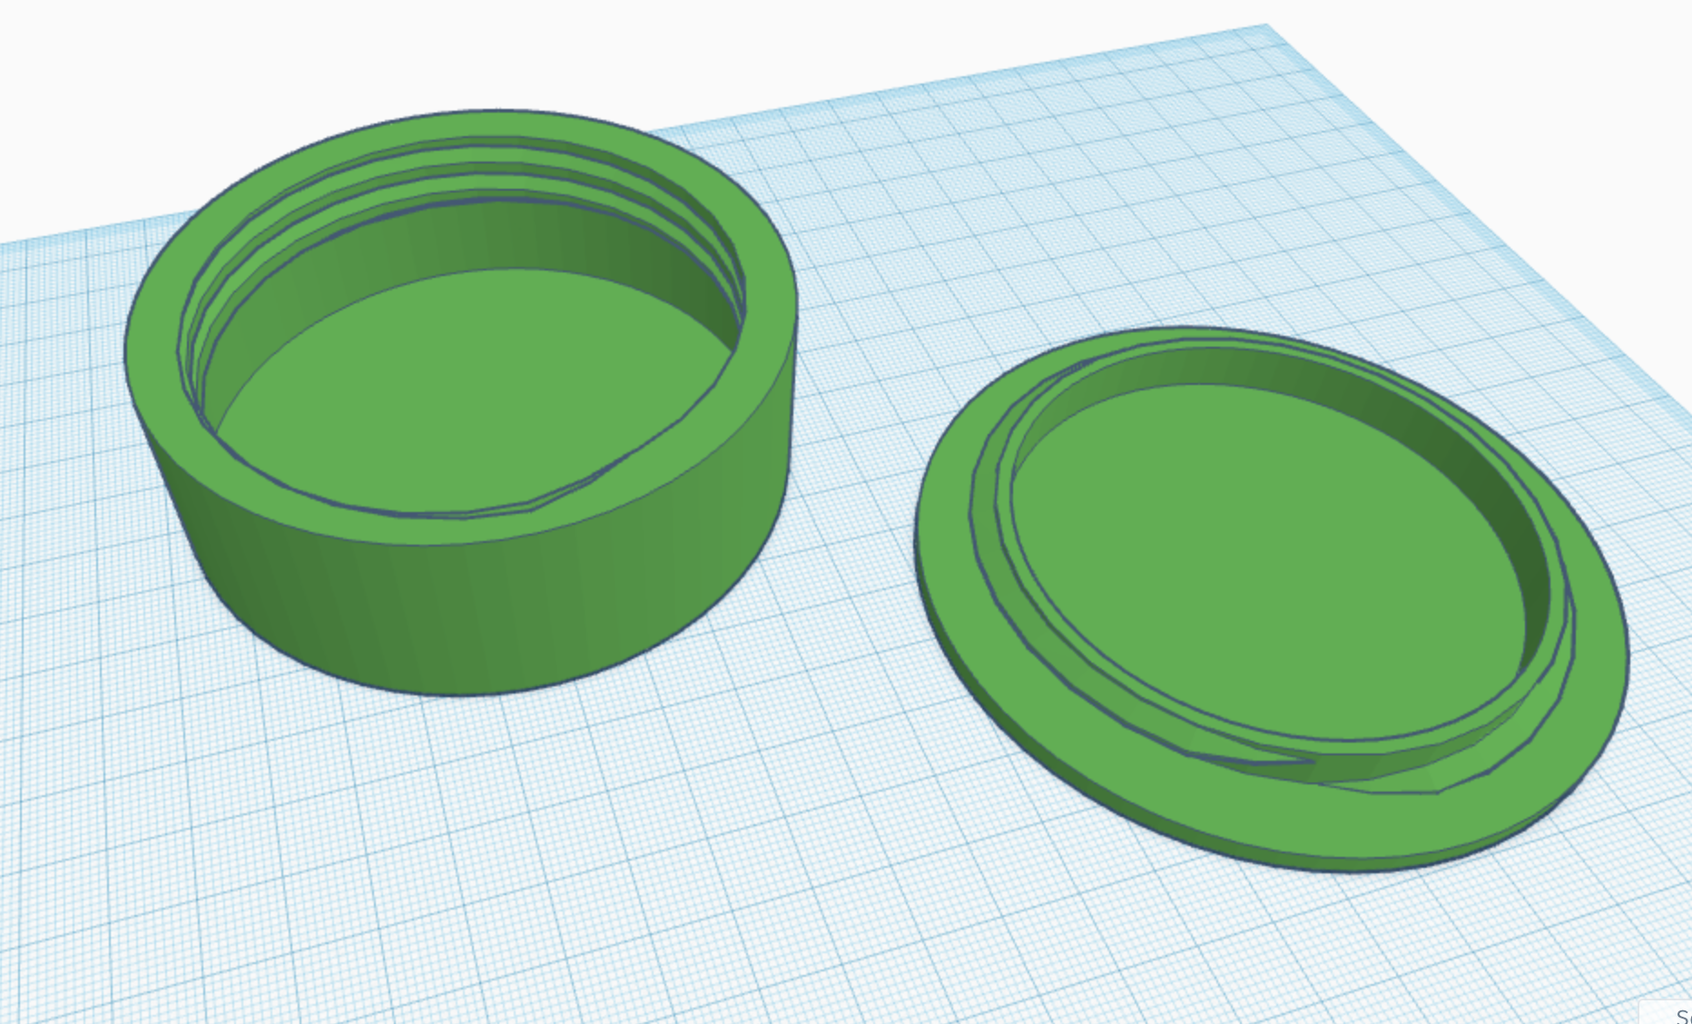
Step 8: Finished Container
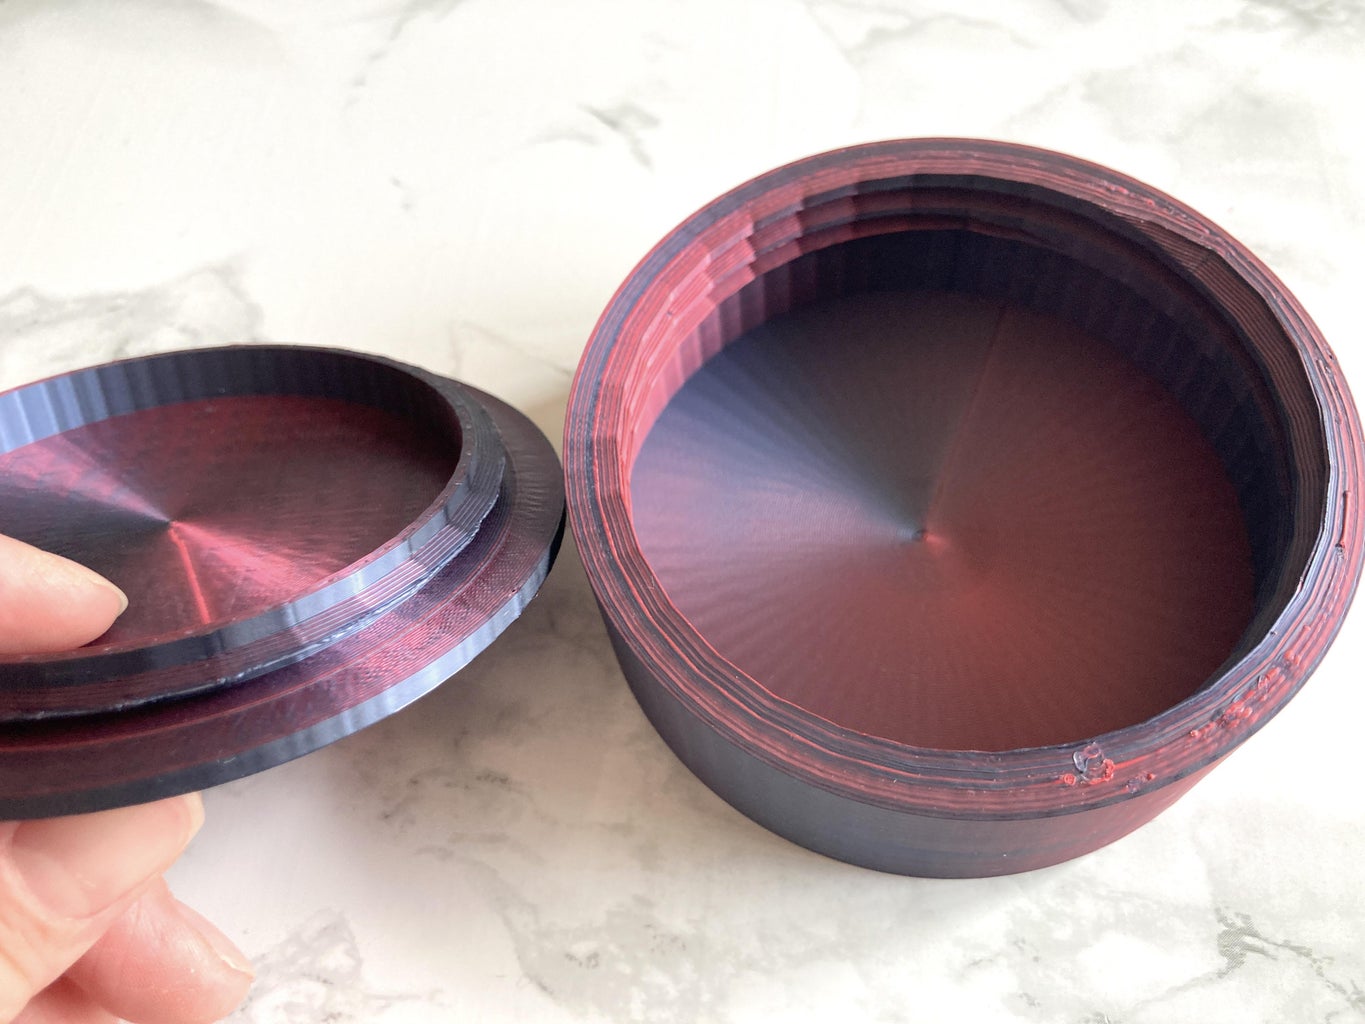

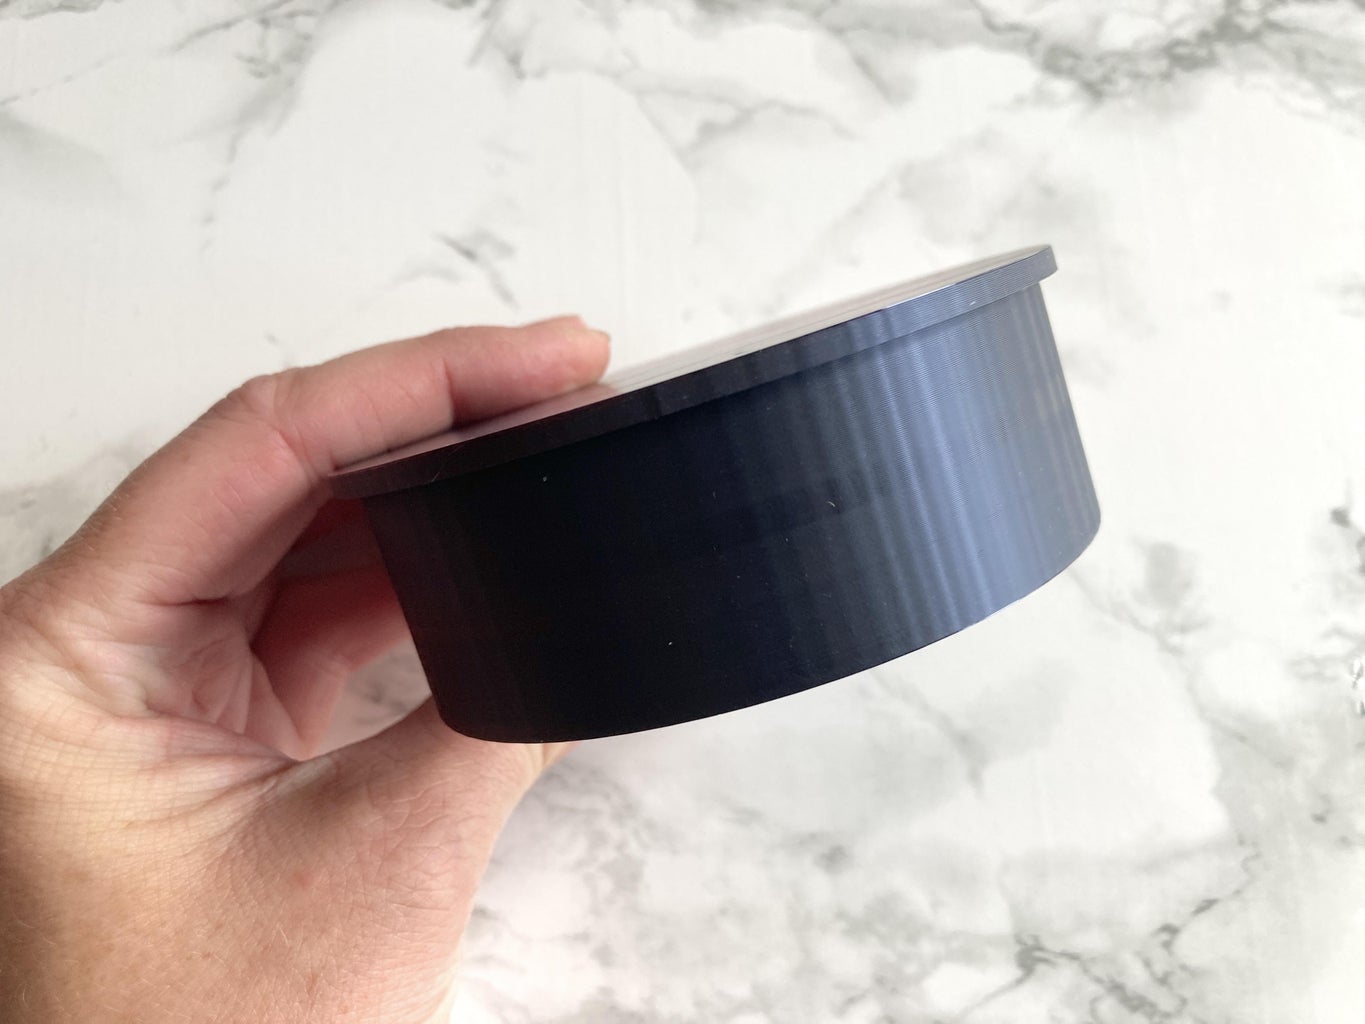

Make sure the lid fits well and you should be done! The extra space in the lid allows for you to overfill your container a bit! More room for candy ;)

This is an entry in the
Colors of the Rainbow Contest


4 Comments
Question 5 days ago on Step 8
Hi,
Thanks for sharing.
Could you please let us know what slicer you've used. It looks like the first layer of your print has been done as circles, which looks great in silk material. It gives a sheen that a diagonal base layer just doesn't have.
Thanks,
Geoff.
Answer 4 days ago
Hi! I used the Bambu slicer, but you should be able to do that in any slicer, you just need to change the Invill to Concentril. Bambu Slicer allows you to change the Top, Bottom and Middle infill layers and I just changed Top and Bottom to Concentric.
Reply 3 days ago
Thanks Penelopy!
I'll give that slicer a try. I've made a couple of small cases with clip on lids for earbuds and crochet accessories for our daughter and you've inspired me to make this an instructable too.
I was thinking to try screw caps as well, so will definately give this a try.
Cheers,
Geoff.
Reply 3 days ago
Glad my tutorial could be encouraging, and I look forwarding to seeing if you decide to share!