
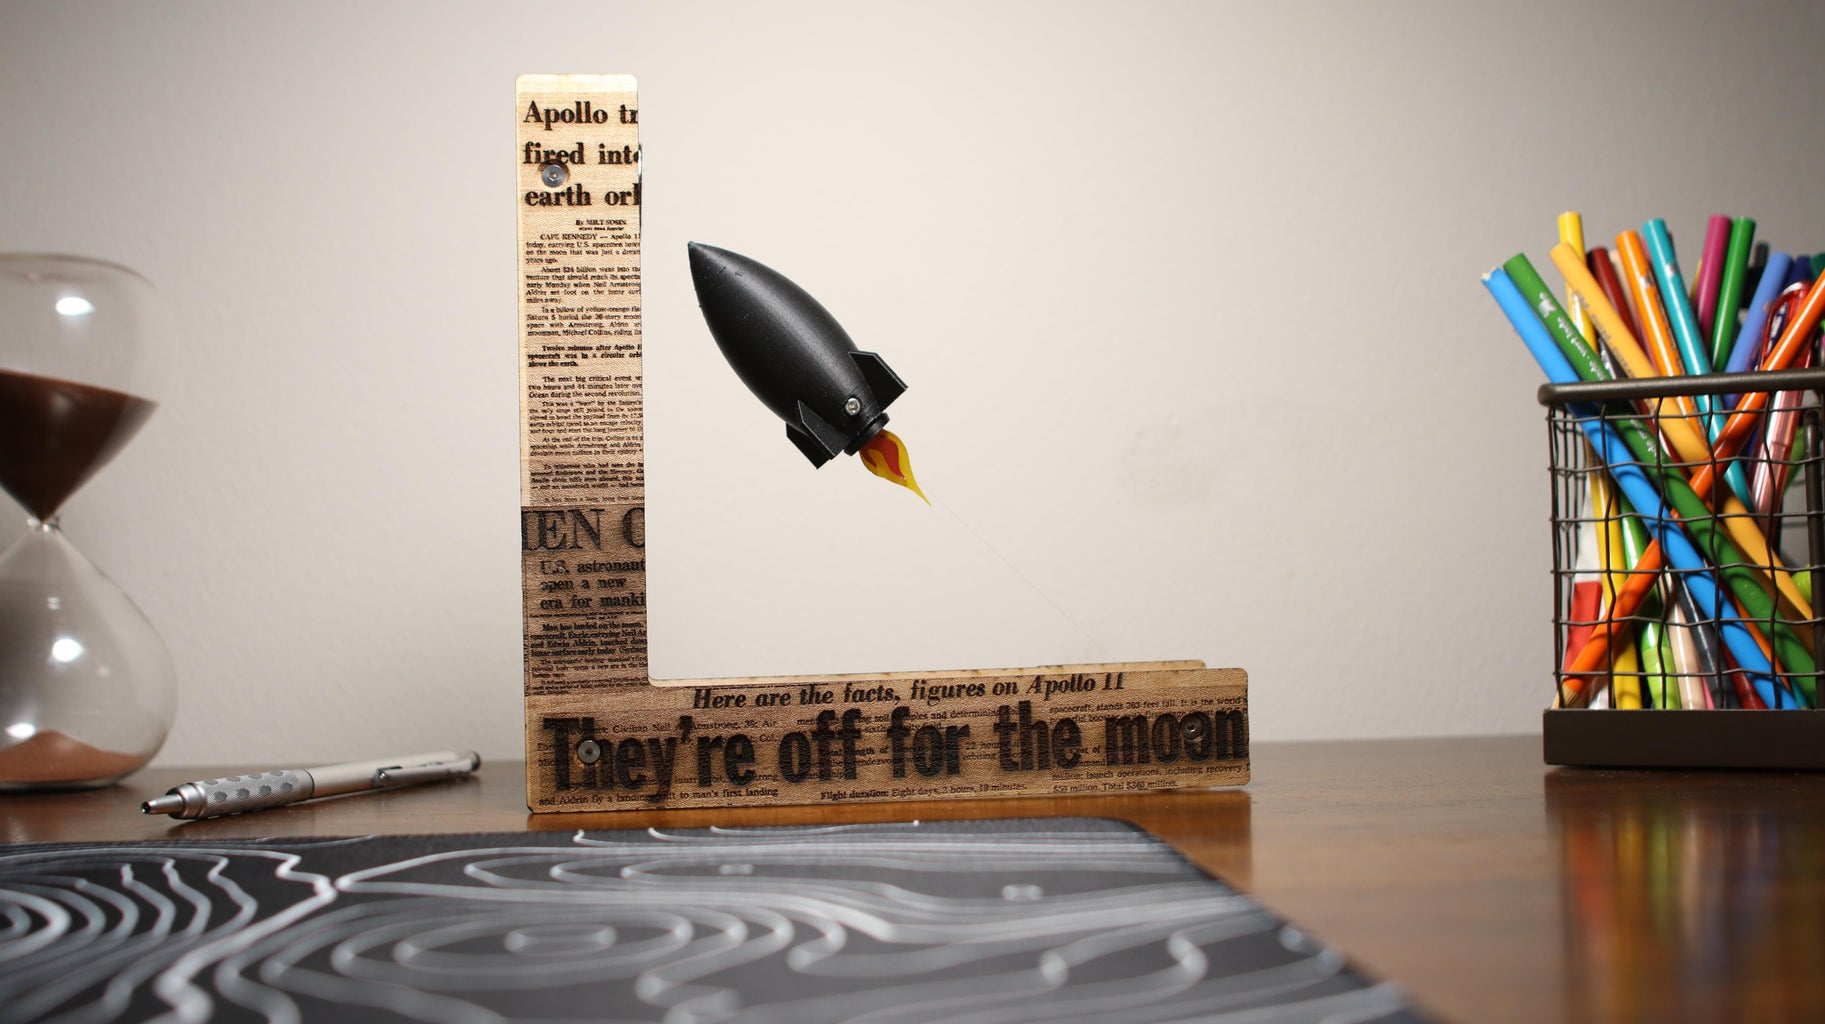
Introduction: Floating Rocket Desktop Display
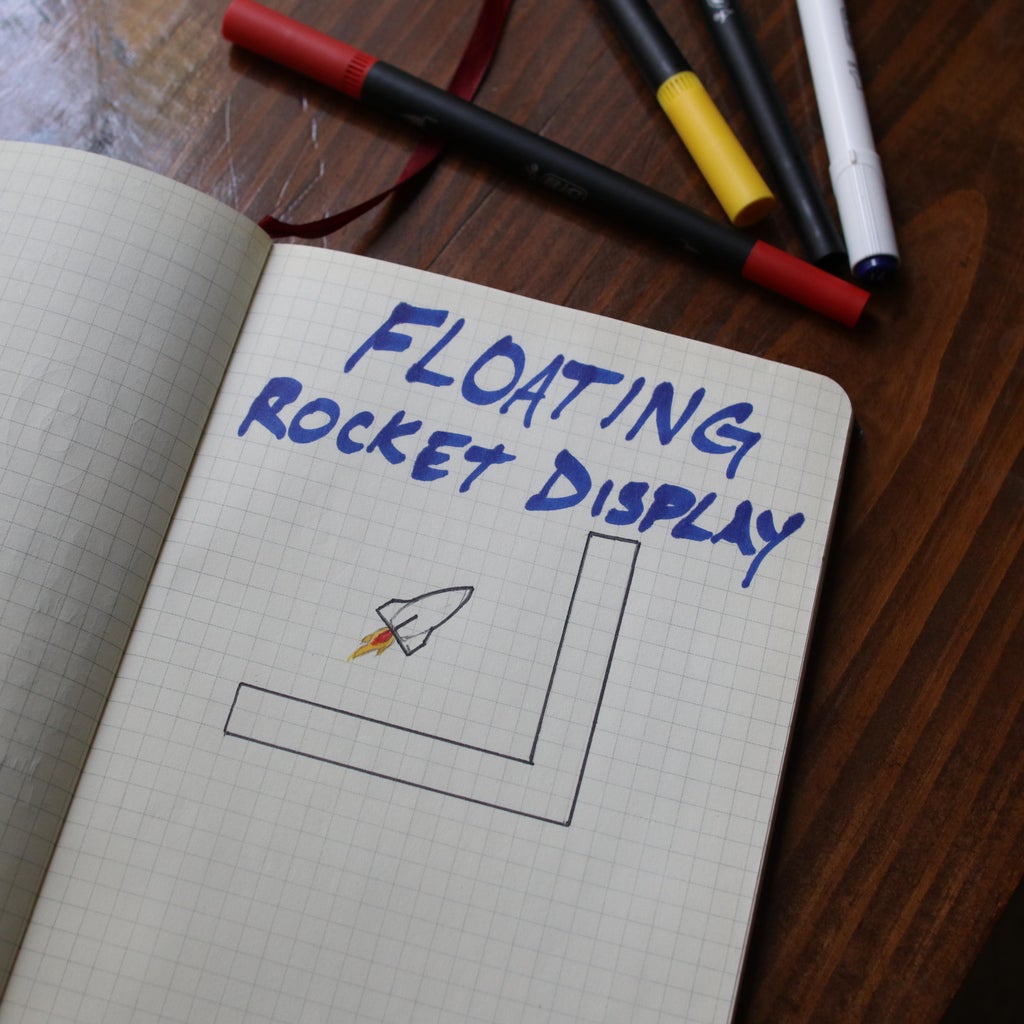


I've always enjoyed creating things that look like they shouldn't work. I think this display is something along those lines. It's very simple to build and adds a cool touch to your desk.
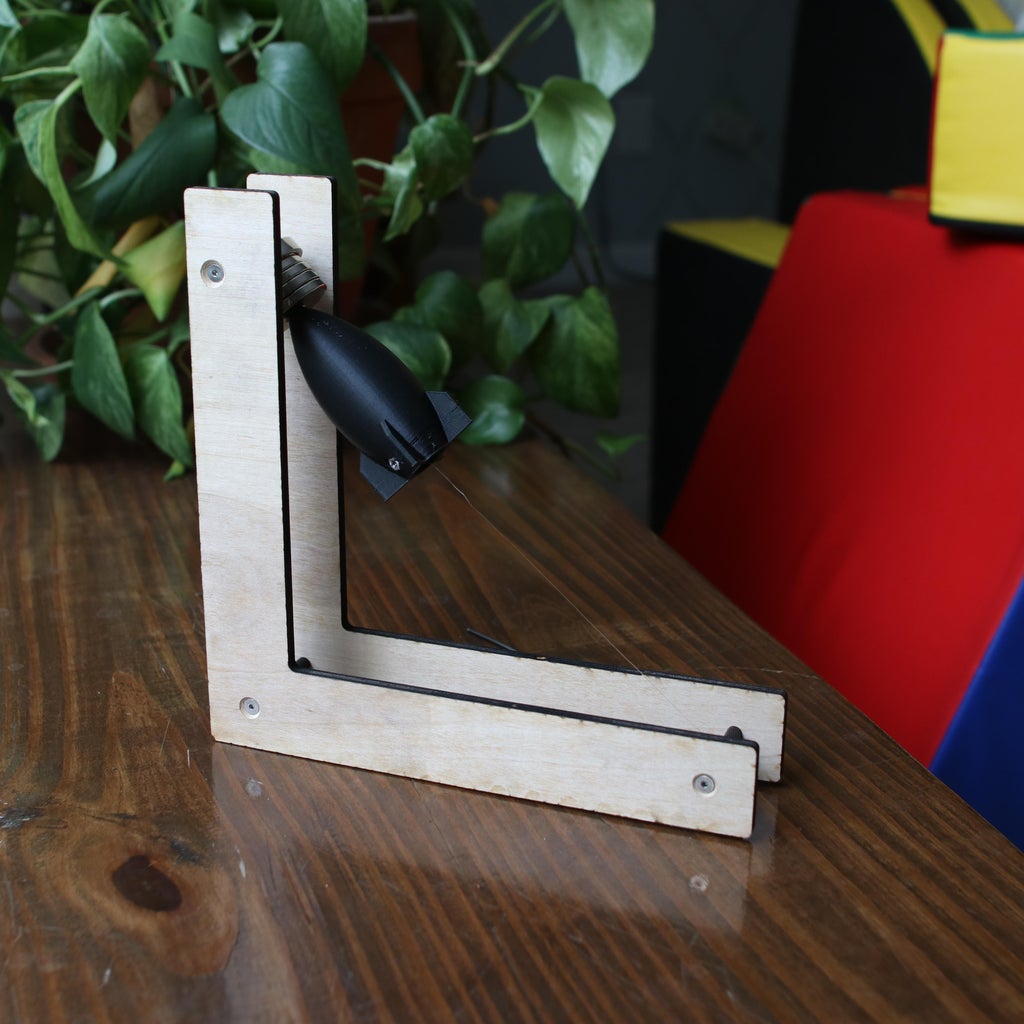
Why is the frame an L-shape and have no backing? Because I think it's important to show that there is nothing supporting the rocket from the top, or back.
Let's build!
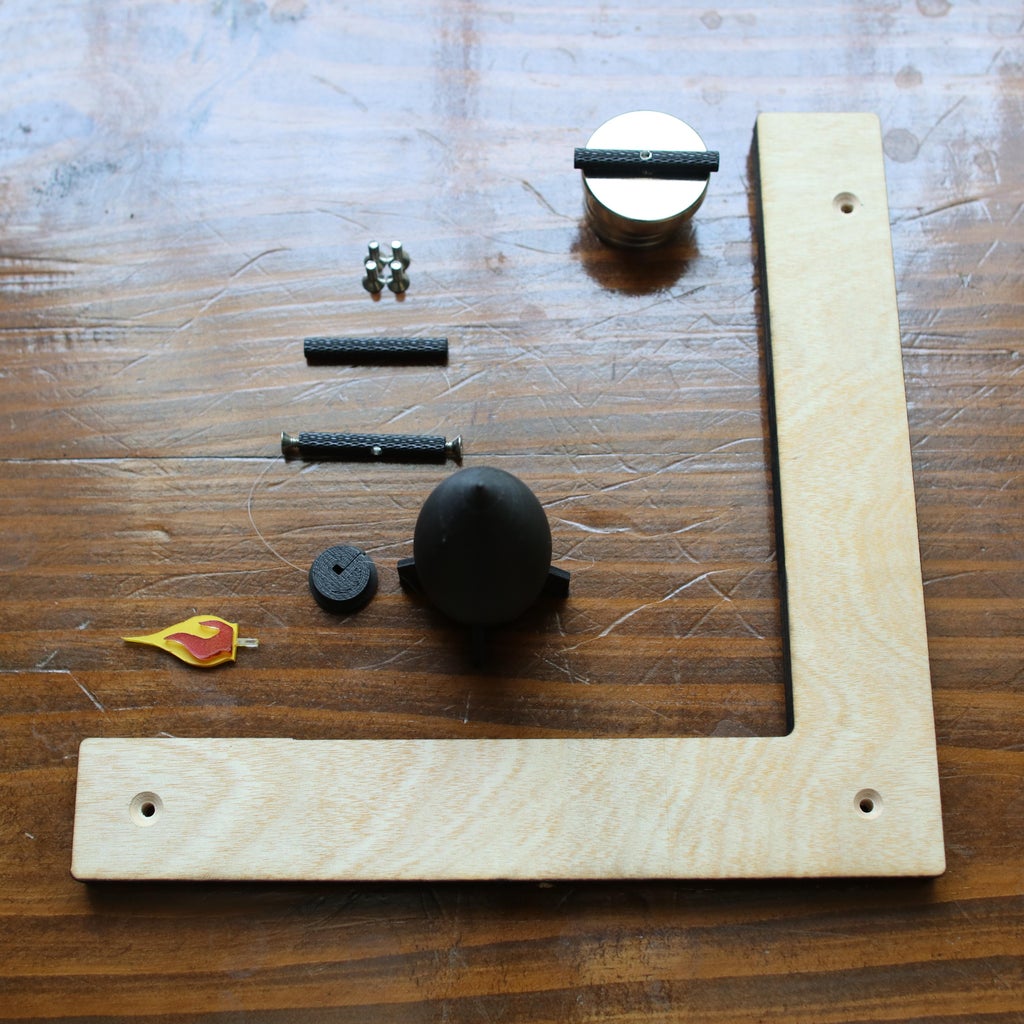
Supplies
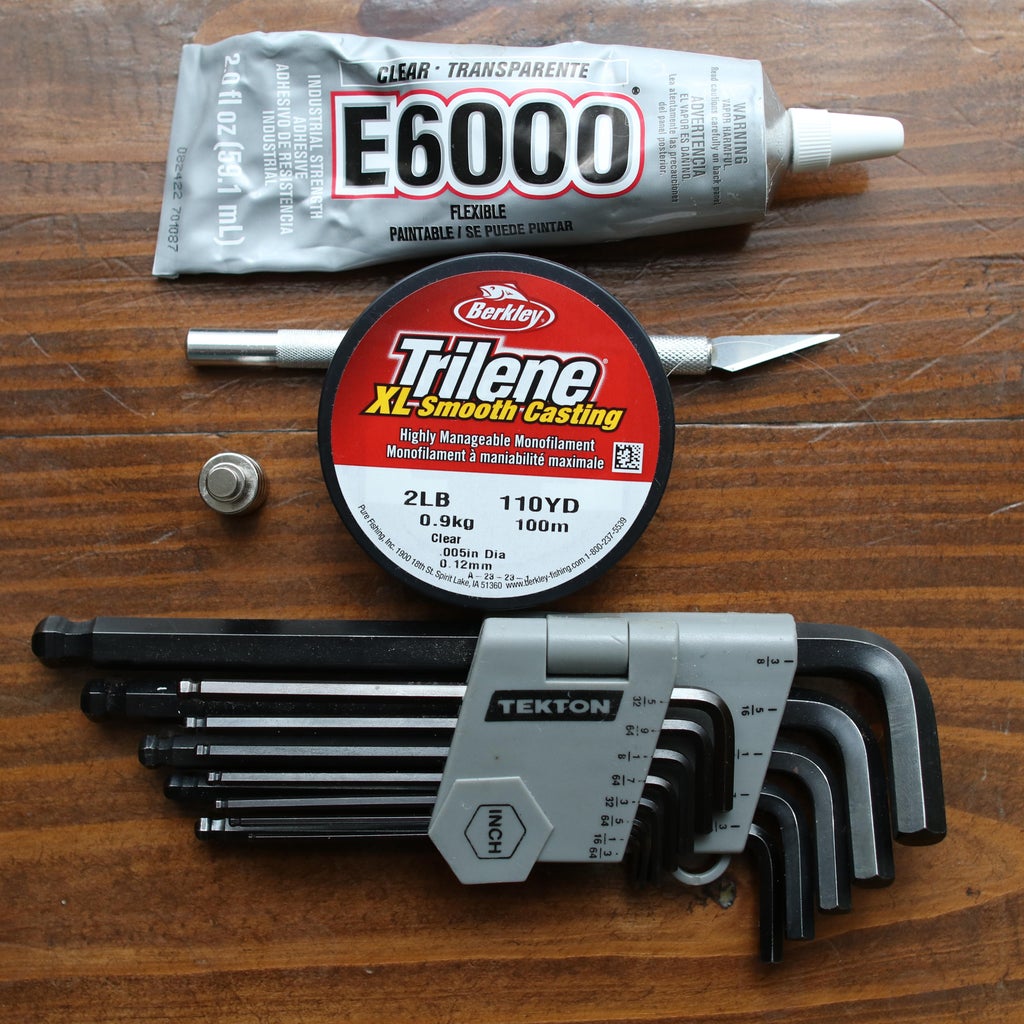
Here's what you need to build this project:
- Frame magnets - https://amzn.to/3JGGdSO
- More magnets (inside rocket)
- 0.125" x 0.5" - https://amzn.to/3reWCrc
- 2mm x 8mm - https://amzn.to/3JGDfO6
- 3mm x 6mm - https://amzn.to/44sx6x7
- Fishing line - https://amzn.to/44uWiTT
- Glue - https://amzn.to/3rkwGut
- Side panels - https://amzn.to/431fzLm
- 3d printer filament (PLA) - https://amzn.to/46rVAs5
- Fasteners - https://amzn.to/3NGeXp0
- Spacers - https://amzn.to/3XAzu2P
- Acrylic - https://amzn.to/3XRhukH
These are affiliate links and I may make a small commission from them when you purchase something (no extra cost to you!). I appreciate it if you do :)
Step 1: 3D Print Rocket and Nozzle
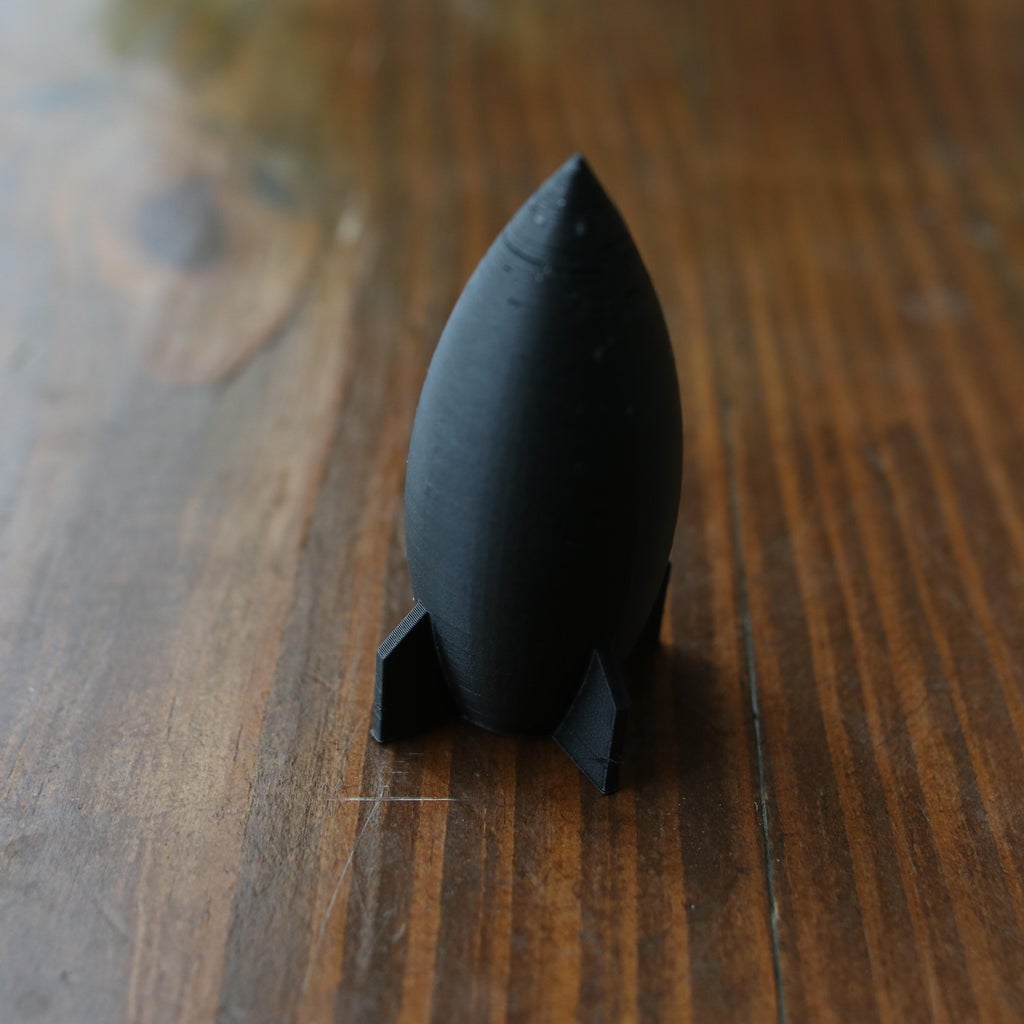
Print the rocket in vertical orientation, in liftoff position. I used support, and then removed the center section with pliers.
The nozzle should be printed as shown, no support.
If you don't have a printer and would like to buy the parts - here is a link:
Rocket - Rocket for Floating Rocket Display (GZ6JS7KEG) by sirjason132 (shapeways.com)
Nozzle - Rocket Nozzle (ETTEZCXSM) by sirjason132 (shapeways.com)


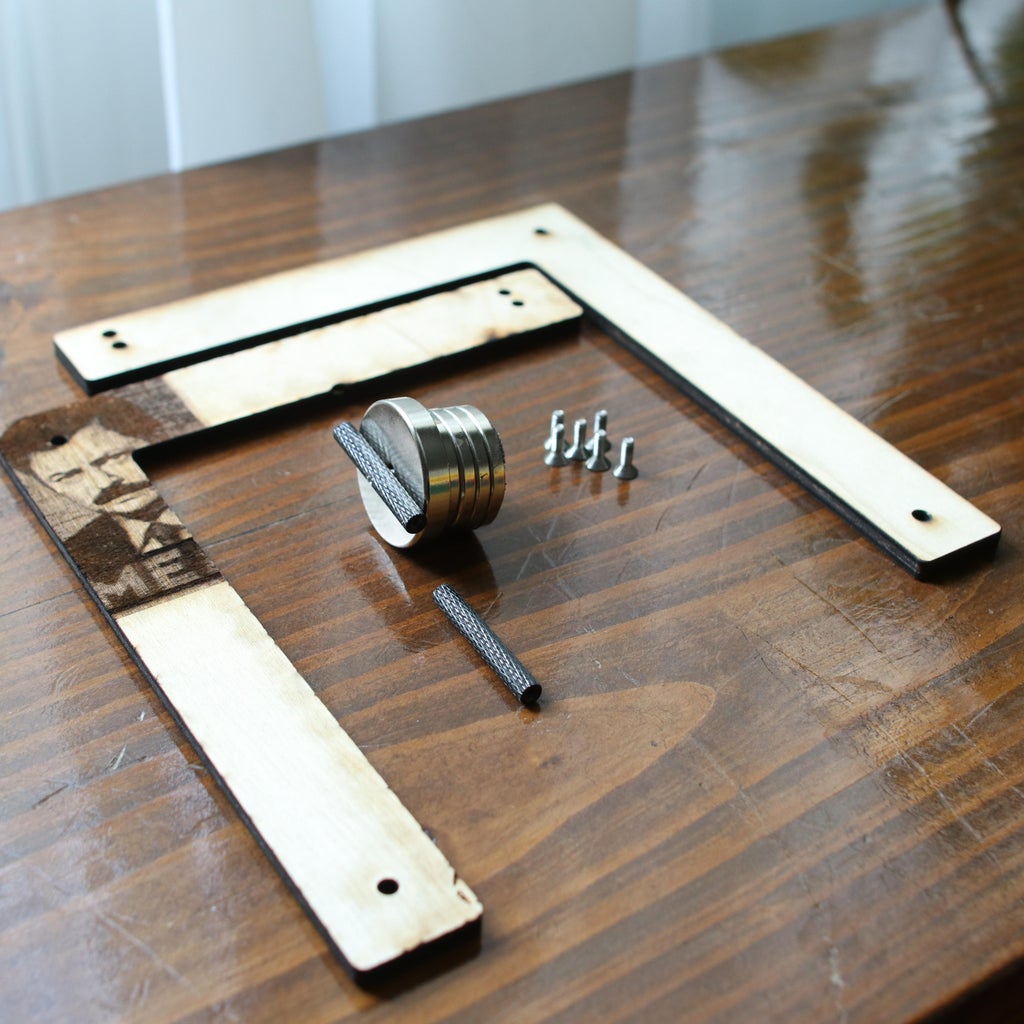
Step 2: Cut Side Panels
I laser cut these panels.
You could also 3d print these if that's what you have access to! Both sides are identical.
I ended up countersinking the holes and using flat head cap screws - I like the flush mount look.
I used M3 x 8mm flat head bolts.


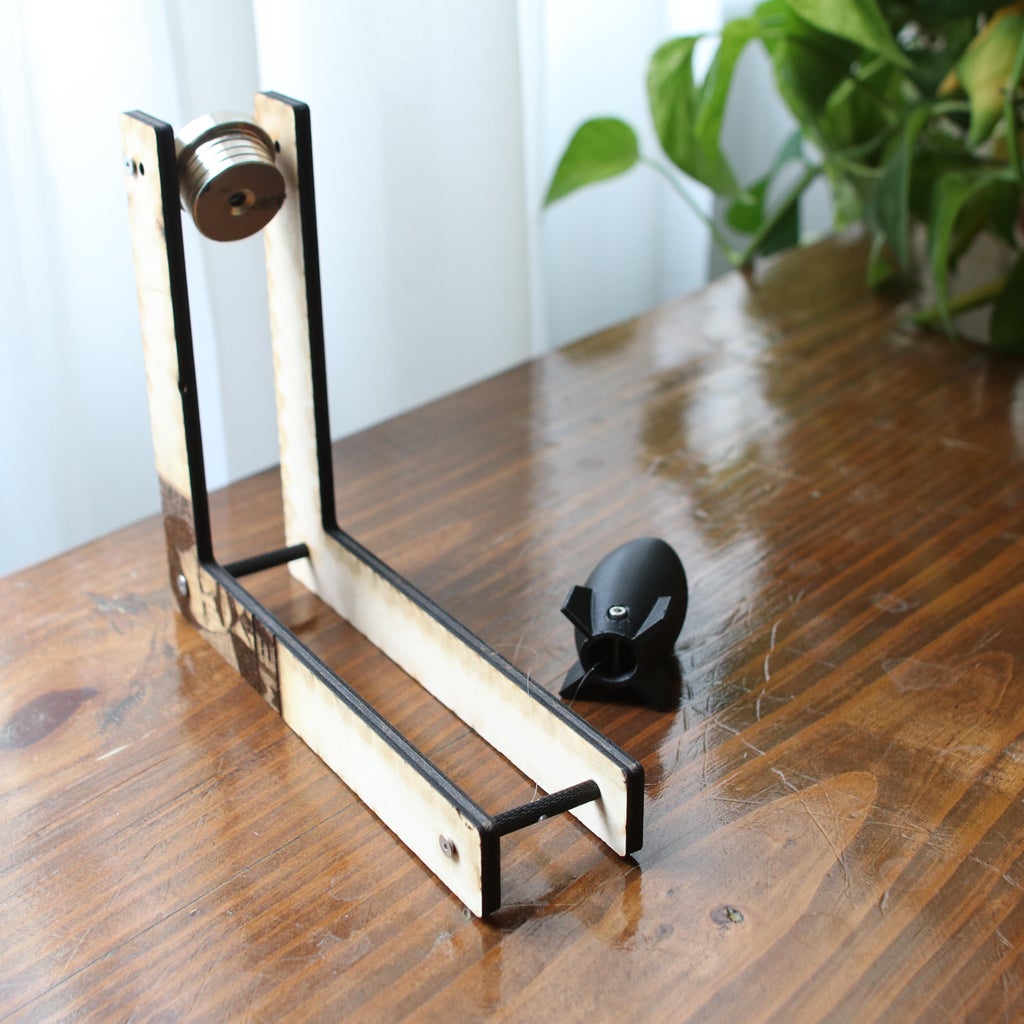
Step 3: Modify Spacers
I used these spacers: https://amzn.to/3XAzu2P
Two of them need to be modified and the corner one is left unmodified.
- The upper spacer needs to have a tapped hole added to it in the center. I tapped this one #4-40. However, tapping for M3 bolts will also work.
- The lower spacer needs to have a hole added in the middle for the fishing line. Hole size doesn't matter too much, as long as the fishing line fits through.
- Make sure that the holes is deburred really well - you'll want to avoid sharp edges that could cut through the fishing line!
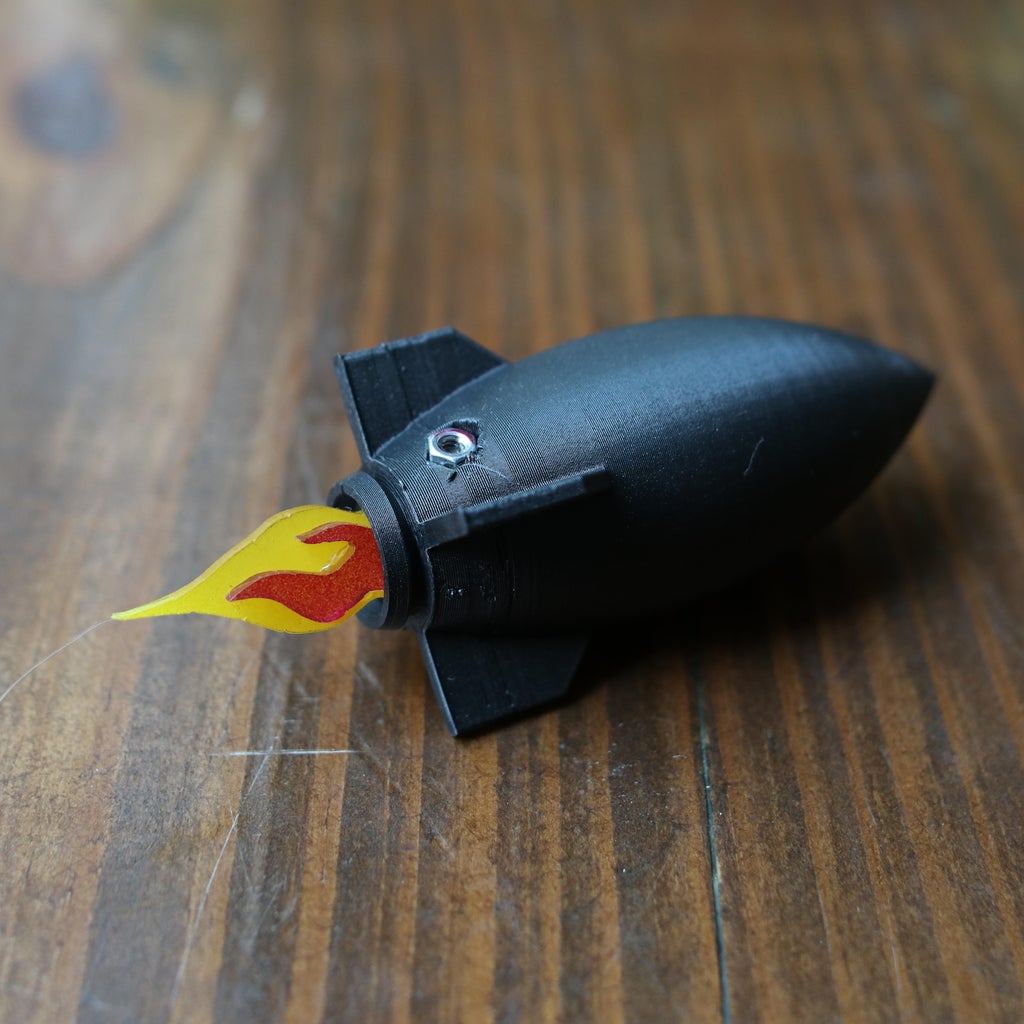
Step 4: Cut Flames
I cut my flames from 2mm thick acrylic and painted them
Acrylic: https://amzn.to/3XRhukH
You can also 3D print these.


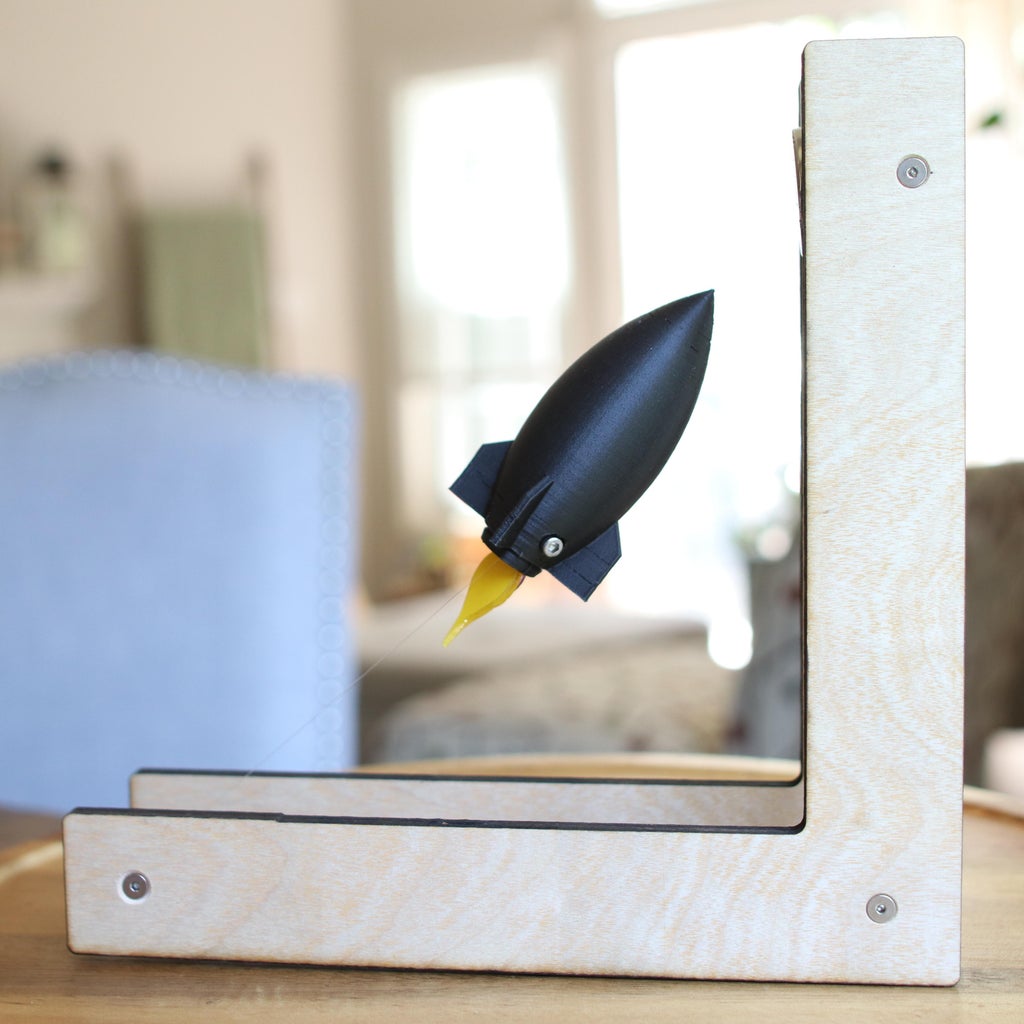
Step 5: Assemble!
- Bolt spacers to one side panel
- Join the other side panel and bolt it to spacers
- Bolt the magnets to the upper spacer
- Install magnets inside the rocket
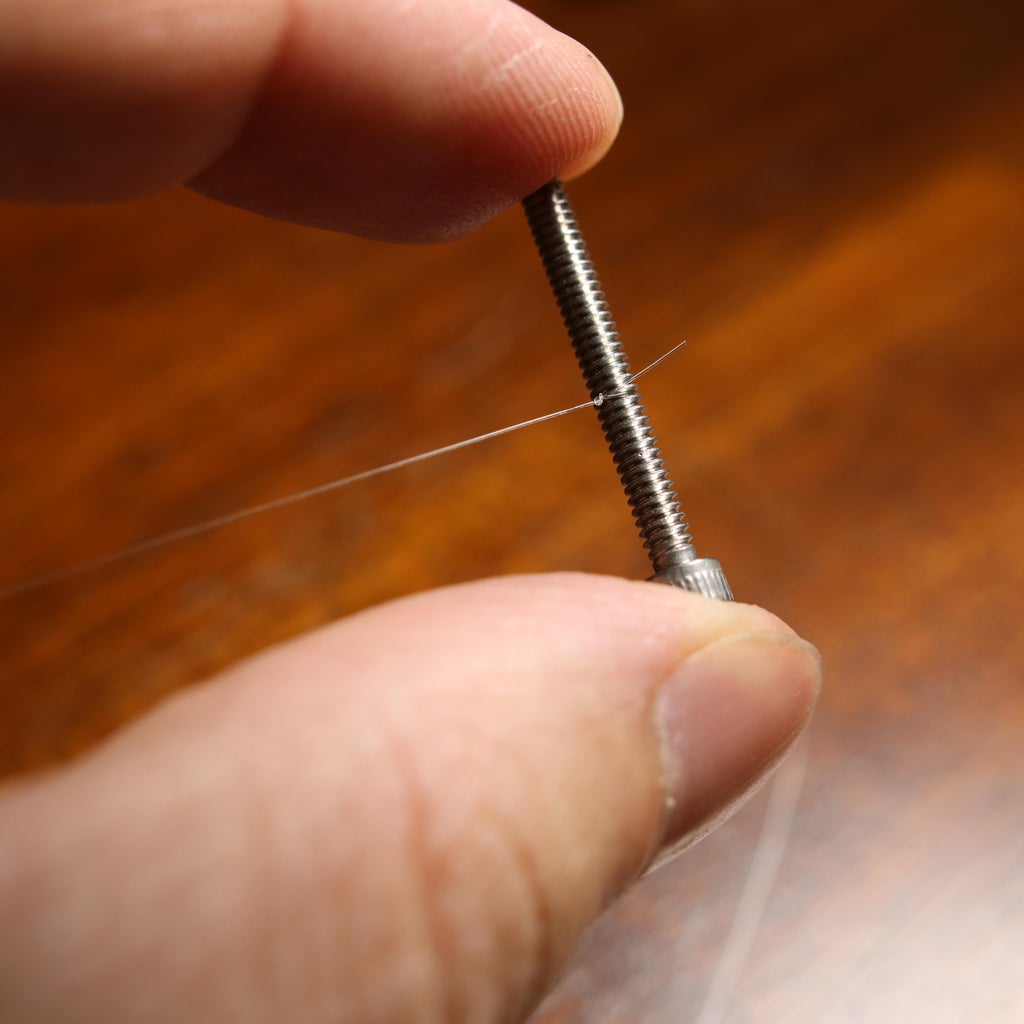
- Add bolt to rocket - I used M3 x 20mm
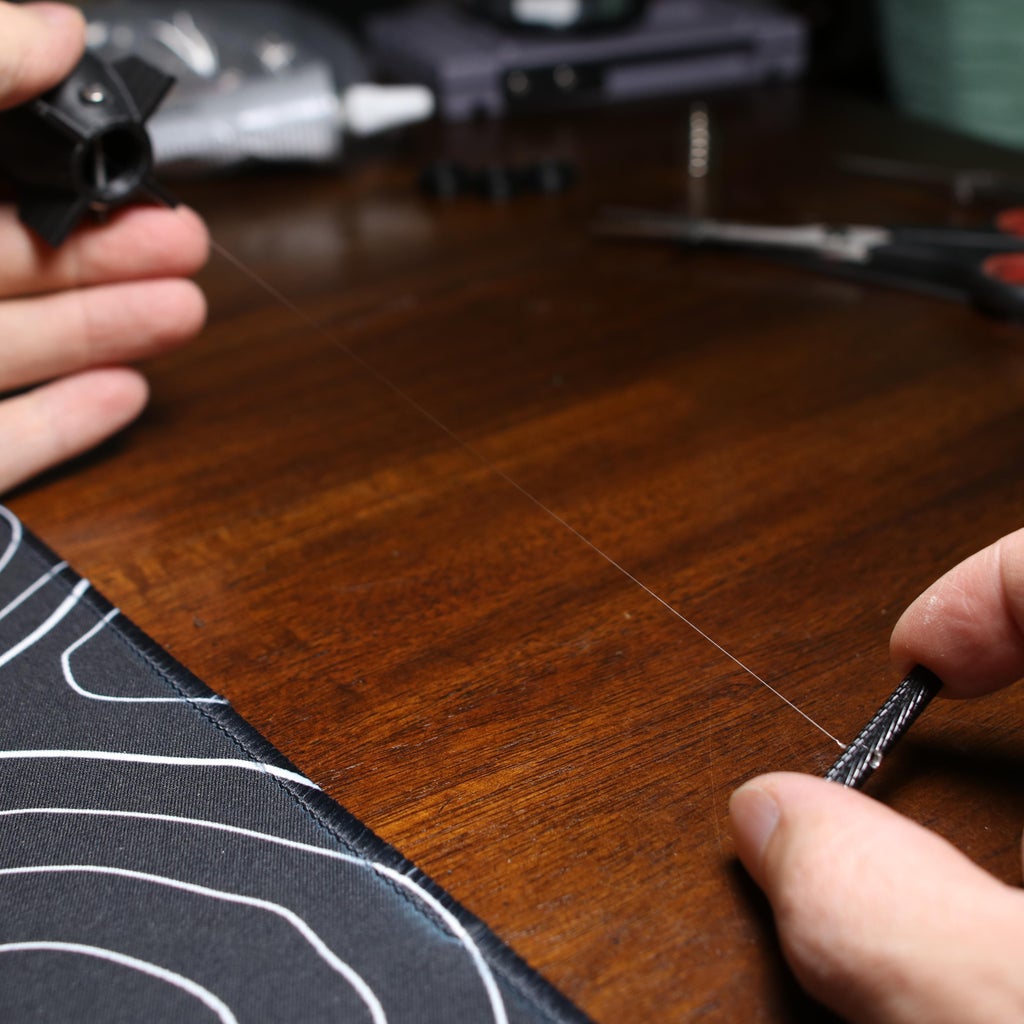
- Tie fishing line to bolt in rocket
- Tie fishing line to spacer on frame - leave it a little long on purpose
- Lift rocket towards frame magnet - it will pull, so get ready!
- Loosen the bolts on the lower spacer
- Rotate the spacer to take up slack on the fishing line
- Shorten the fishing line until rocket drops away from magnet, then increase length until rocket stabilizes
- Now tighten up the bolts on the spacer that the fishing line is attached to, and you're done!
- Congrats!
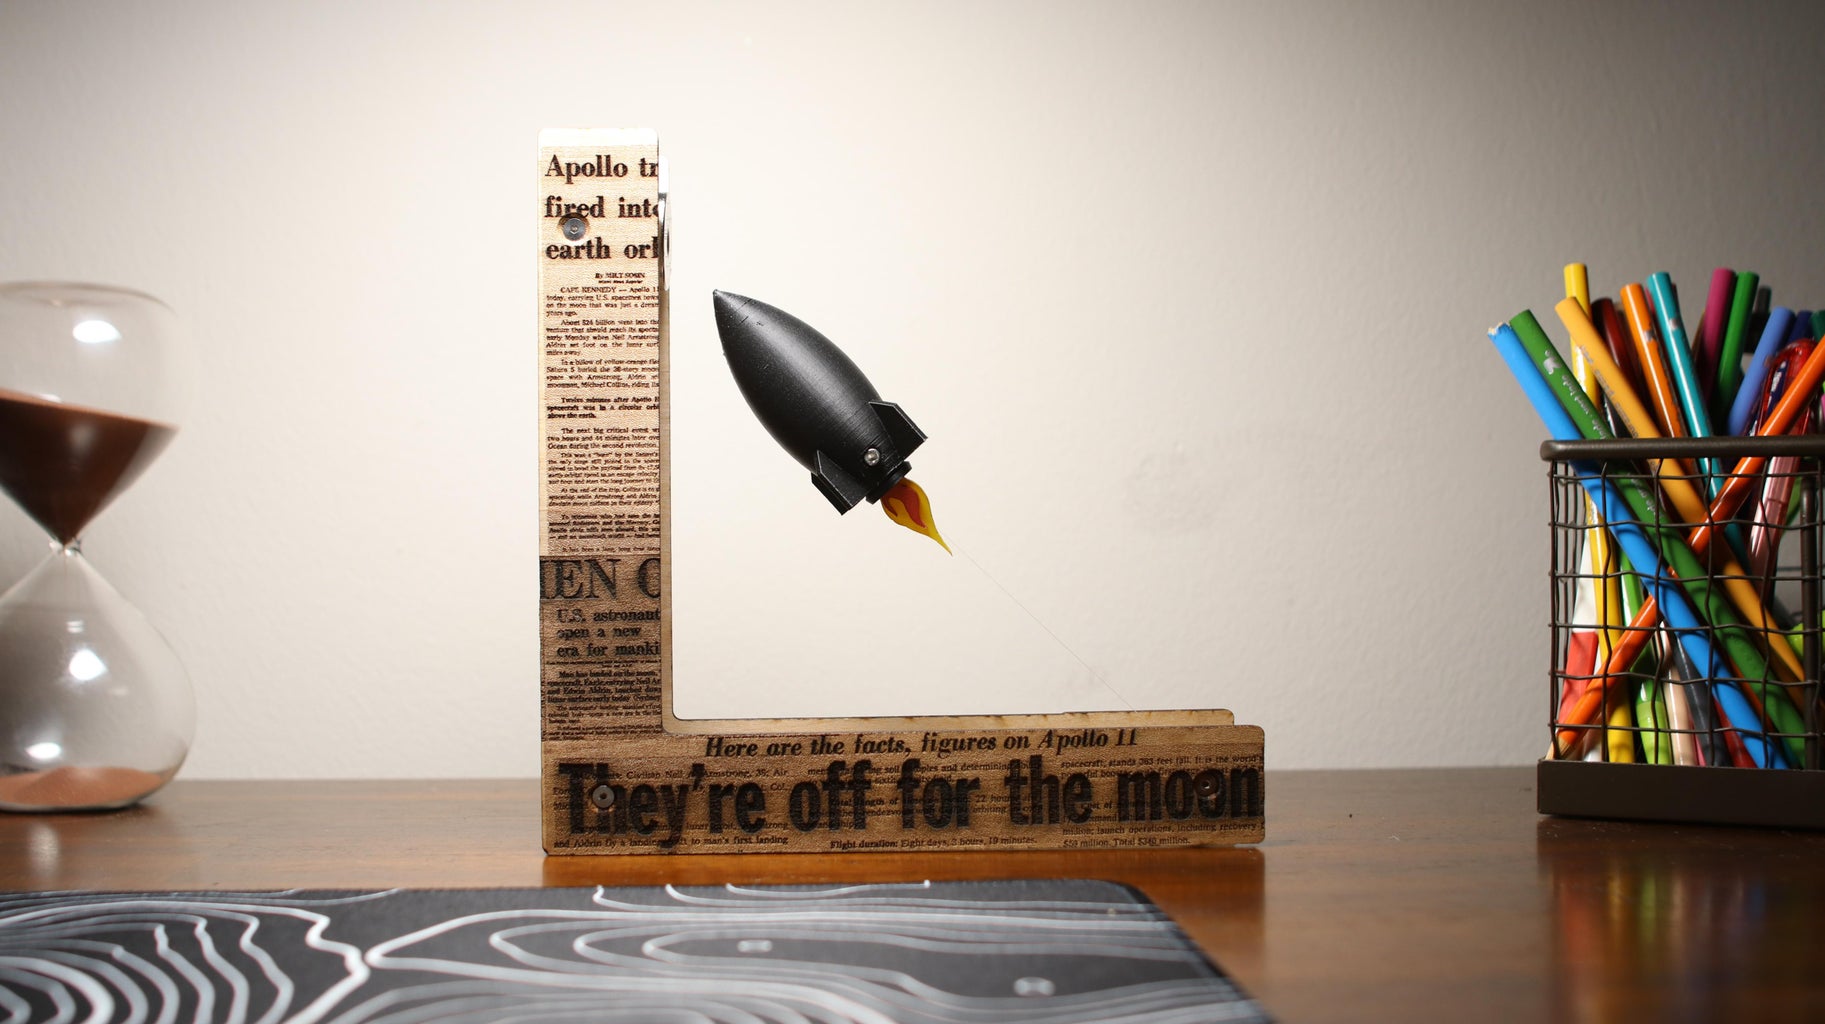
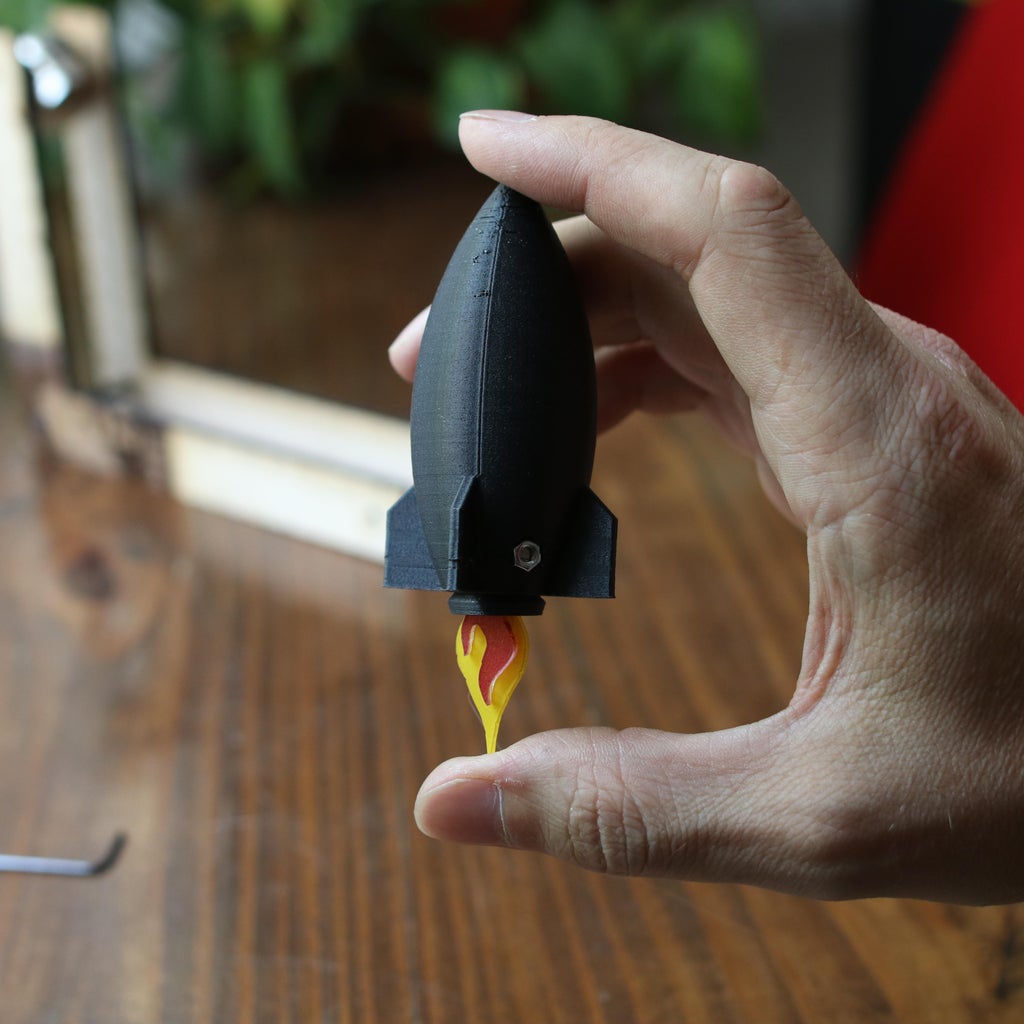
Step 6: Show Your Friends Your Cool Rocket
Now you can proudly display this on your desk for all to see!

Second Prize in the
Magnets Contest


3 Comments
Question 19 days ago
What causes the rocket to rotate, and does it keep rotating indefinitely?
Answer 19 days ago
The rocket was only rotating because I flicked it with my finger. It'll rotate for about 30 seconds or so.
25 days ago
That looks great!