Introduction: Dopp Kit Bag


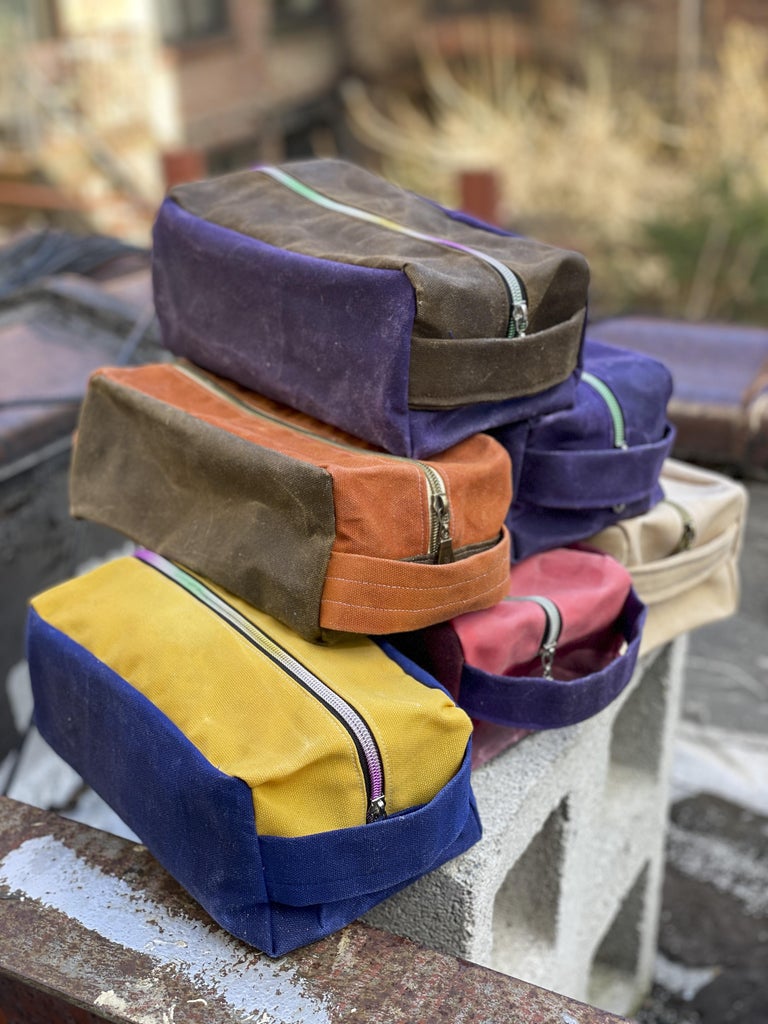


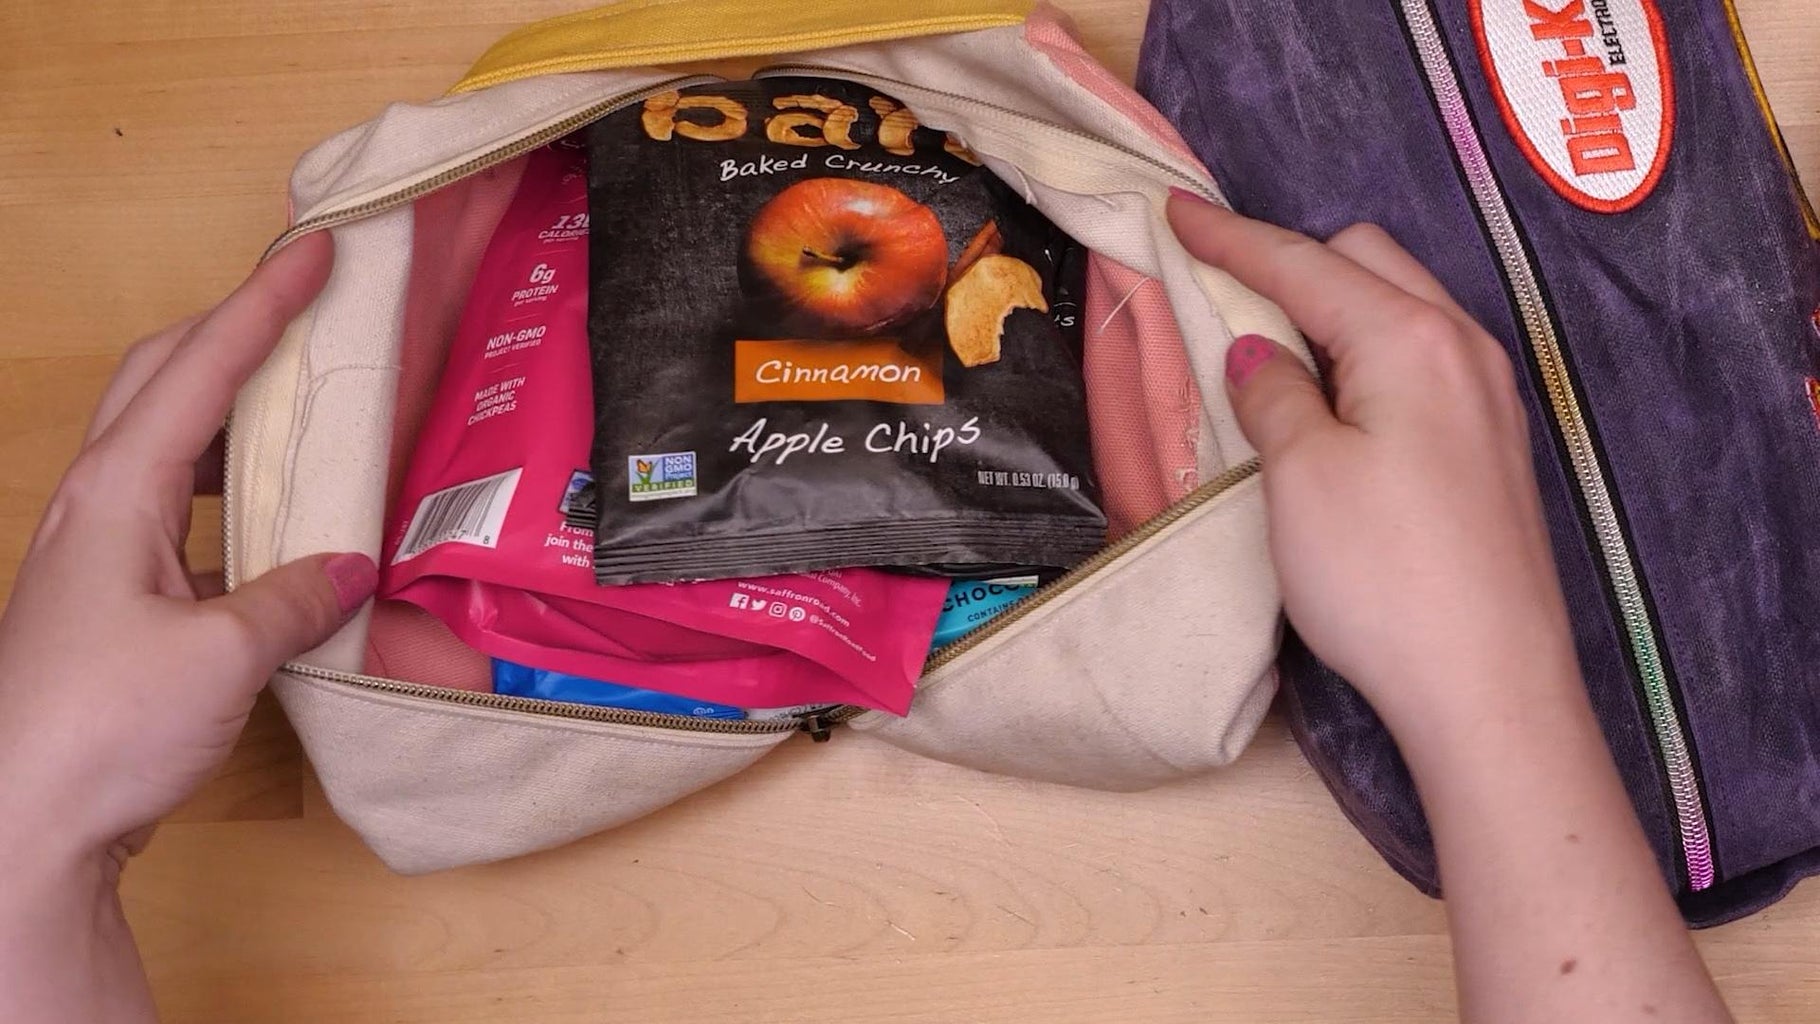
Last year I made my first Dopp Kit bag out of canvas as a companion piece to my Waxed Canvas Tool Roll. These bags are great for travel and storage, and you can use them for anything you want - tools, art supplies, makeup, etc. I have a couple in my van, one with snacks and one with picnic supplies.
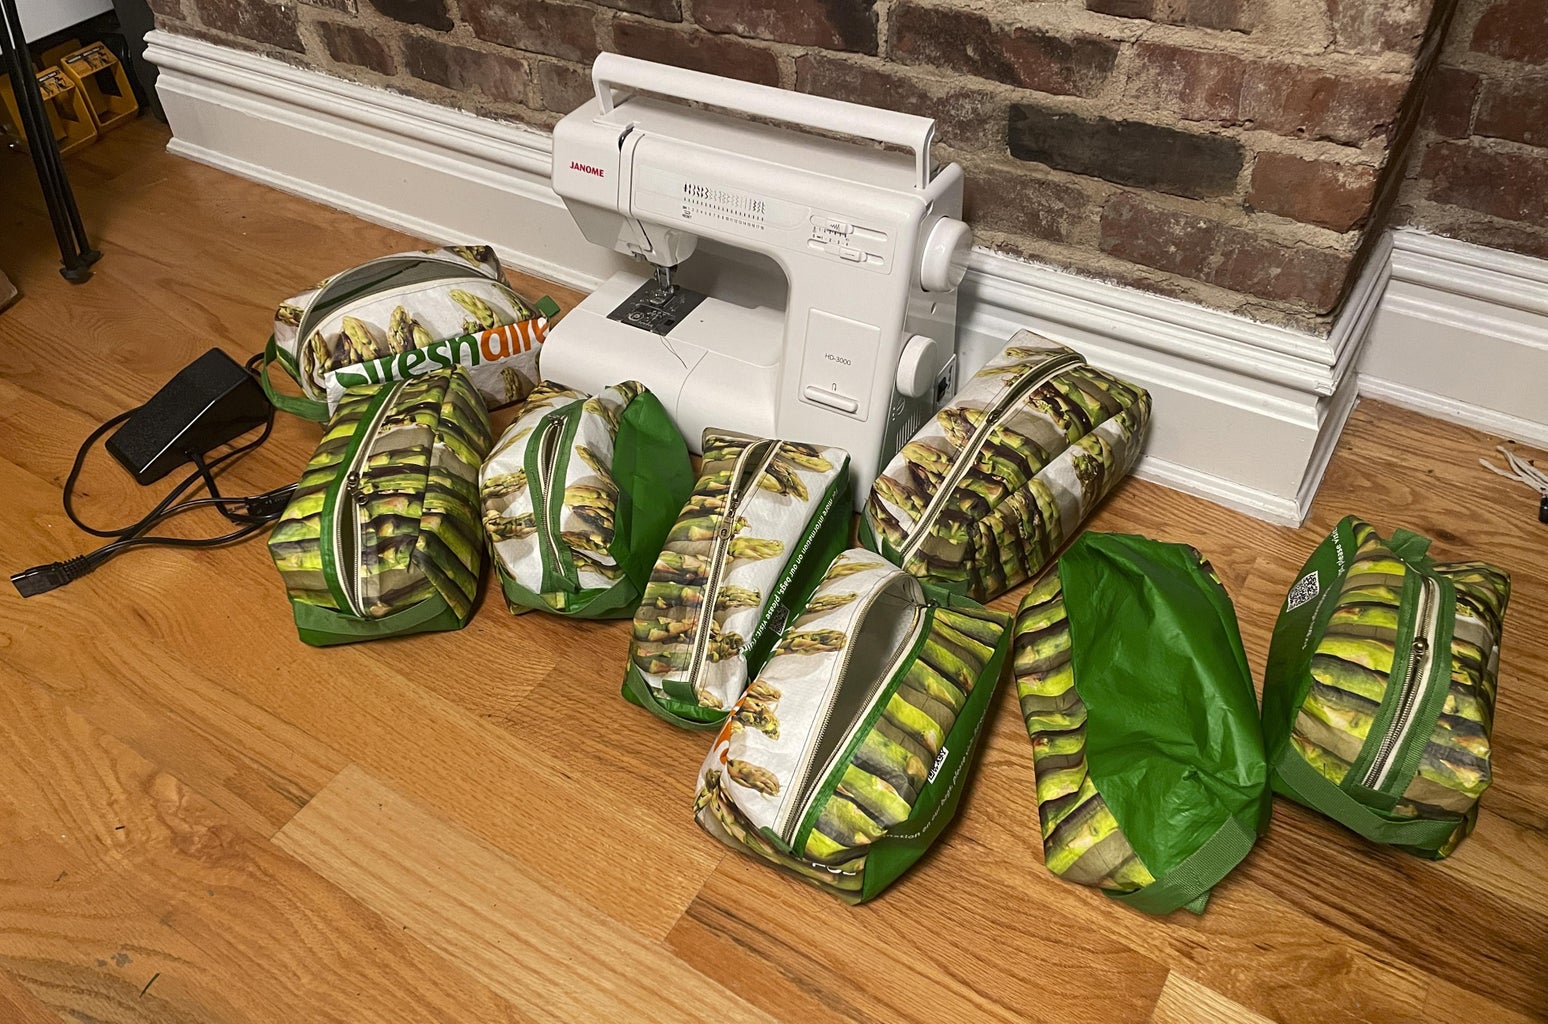
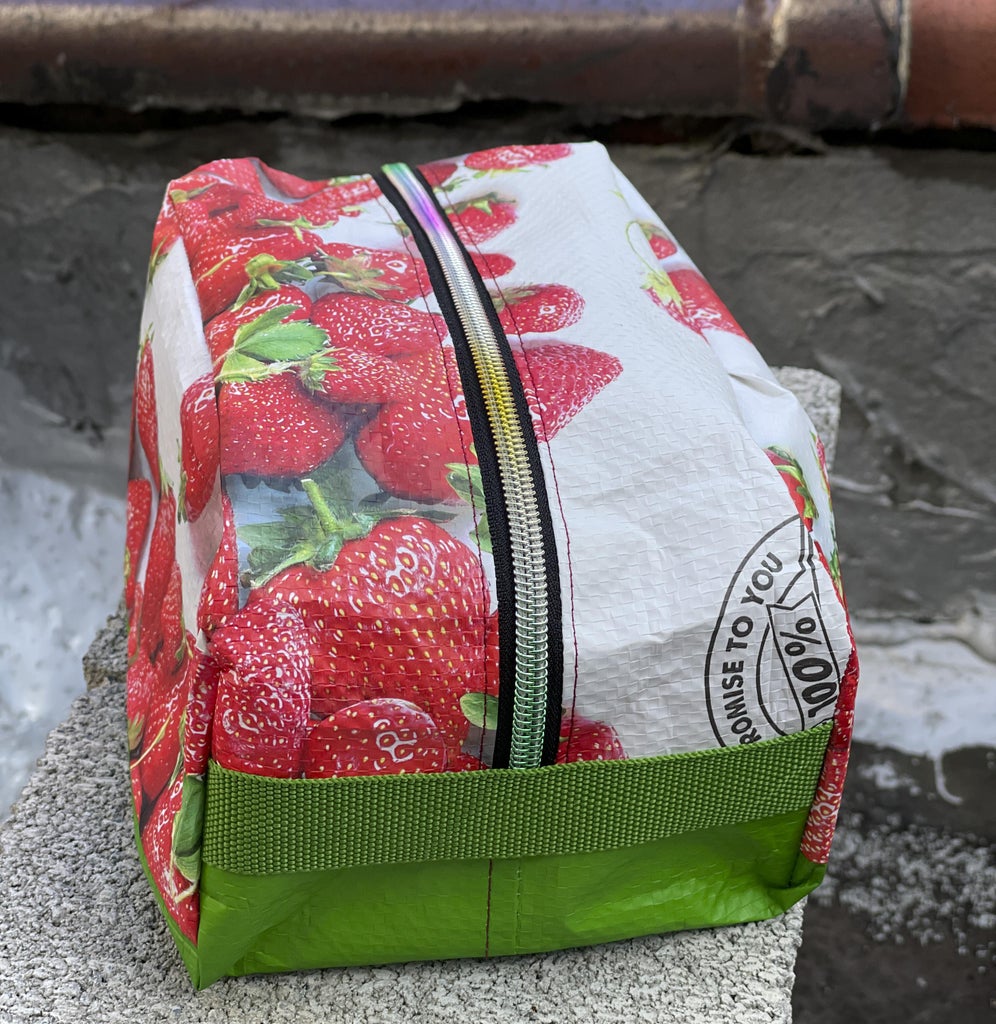
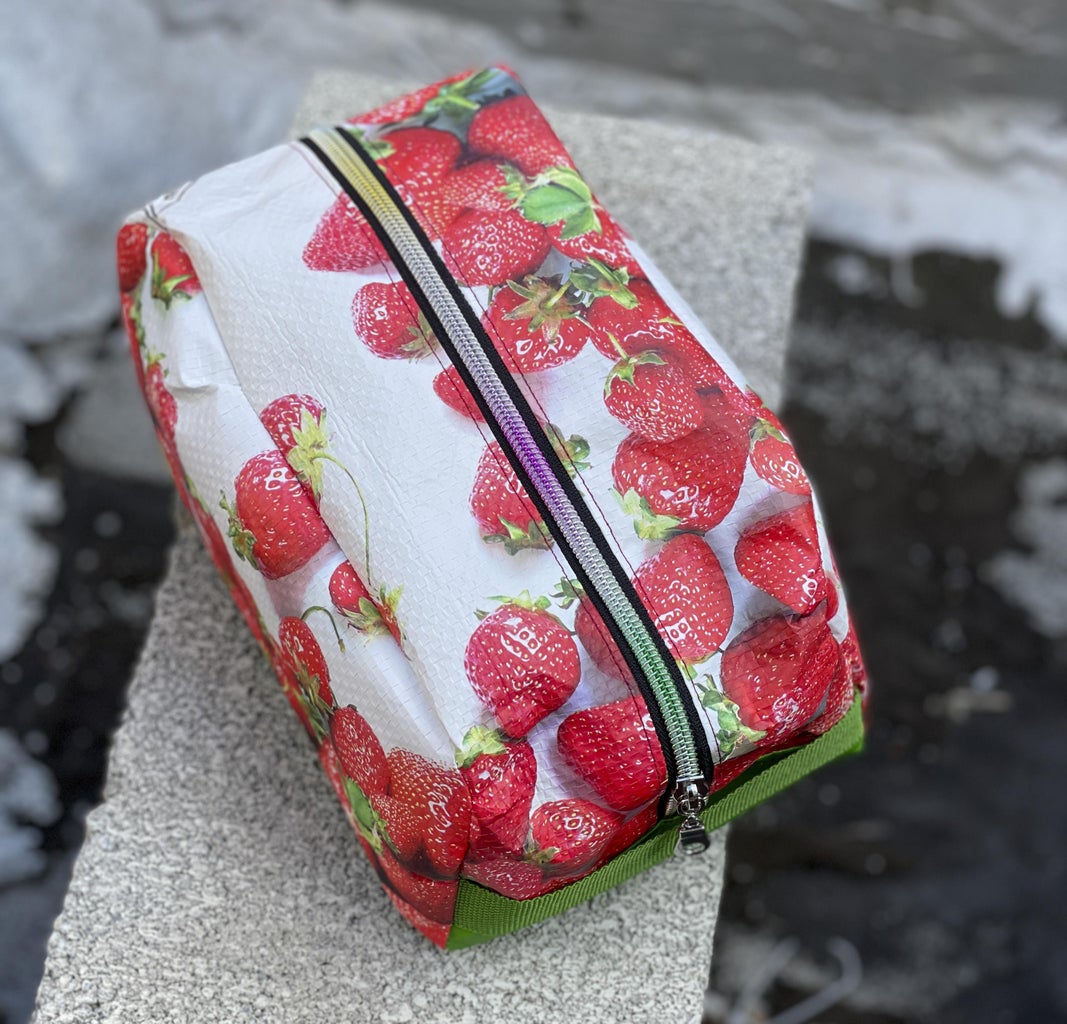
But I didn't just make bags out of canvas. I have a ton of bags from FreshDirect, which they stopped taking back a few years ago, so I made some Dopp Kit bags out of those as well. You can make this project out of canvas, your own extra grocery bags, or another durable material.
Supplies
Here’s everything you’ll need to make your own Dopp Kit:
- 10 oz Cotton Duck Canvas Fabric or other material of your choice
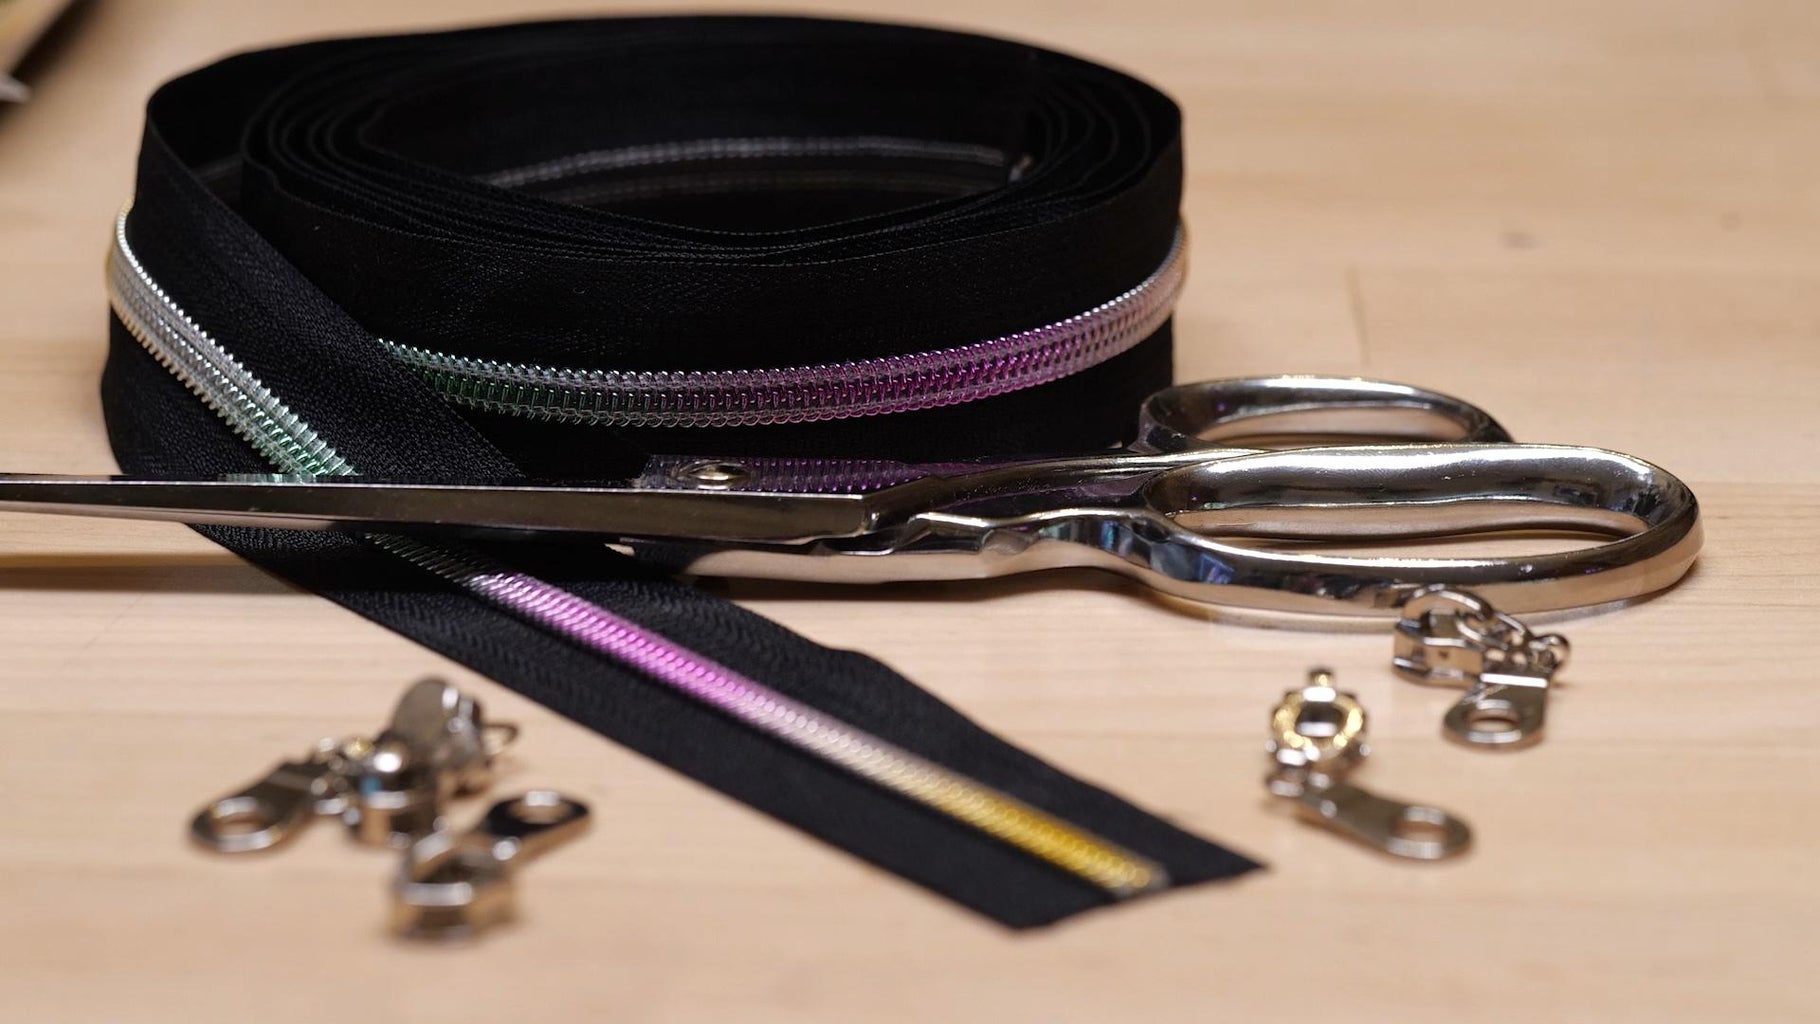
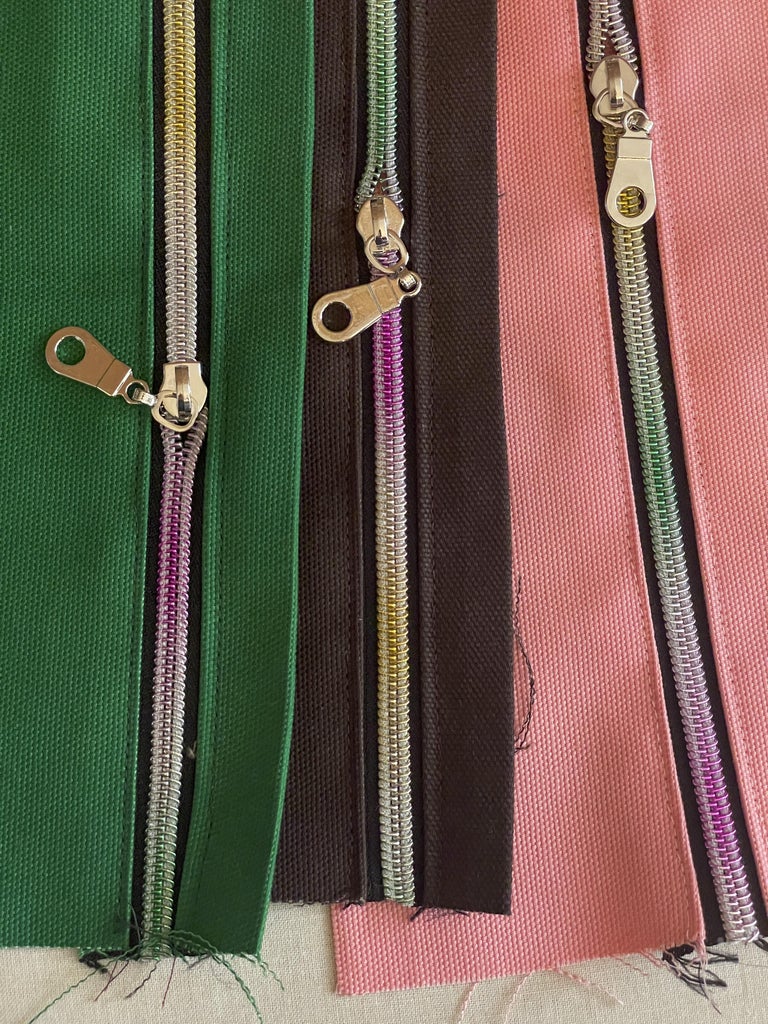
- Zipper
- Paper and printer for pattern — download pattern below
- Sewing pins or clips
- Sewing machine
- Thread
- Scissors
- Iron and ironing board
Step 1: Watch the Video
I've made a full video walkthrough of this project for my YouTube channel. Check it out for step-by-step instructions and visuals!
Step 2: Download the Pattern
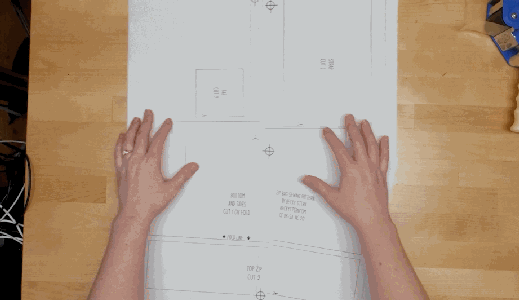
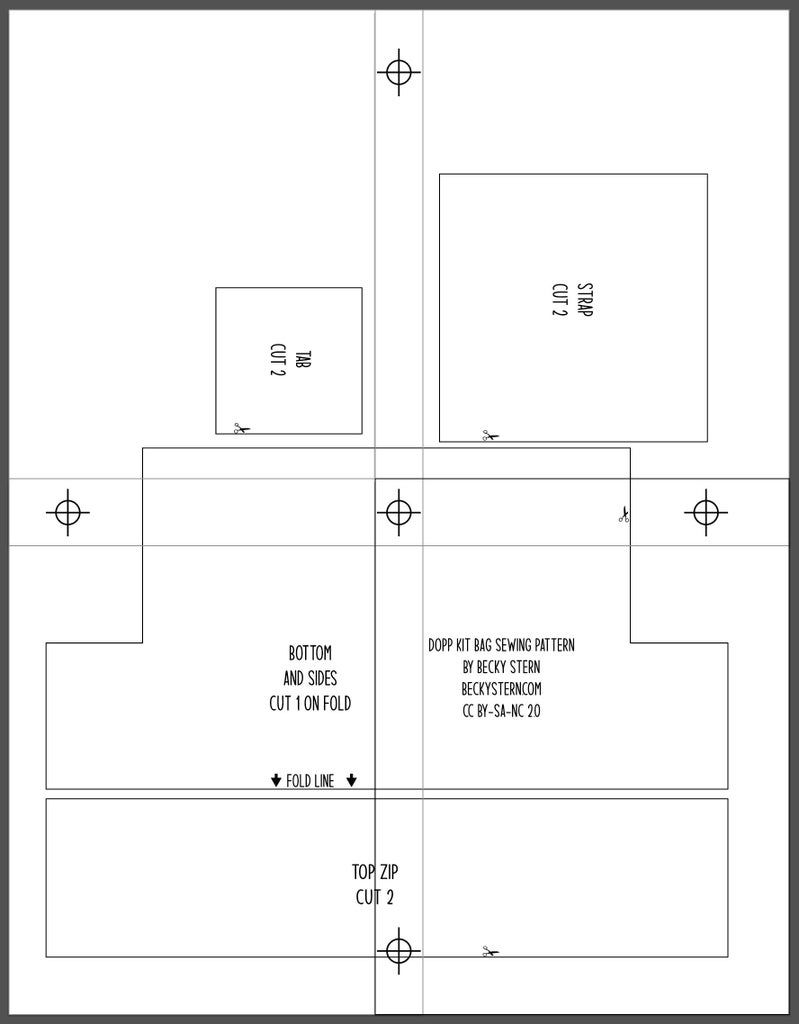
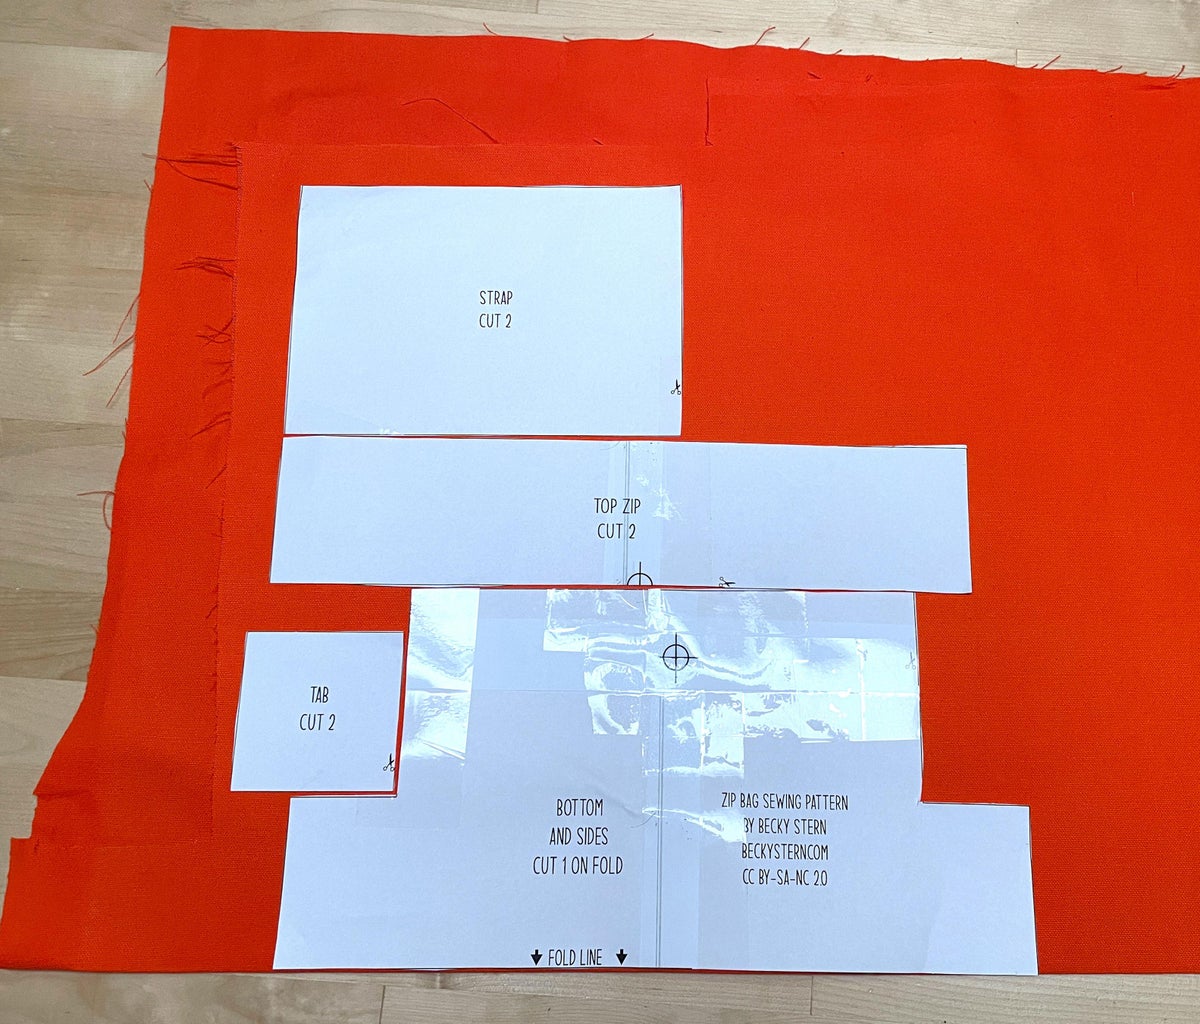
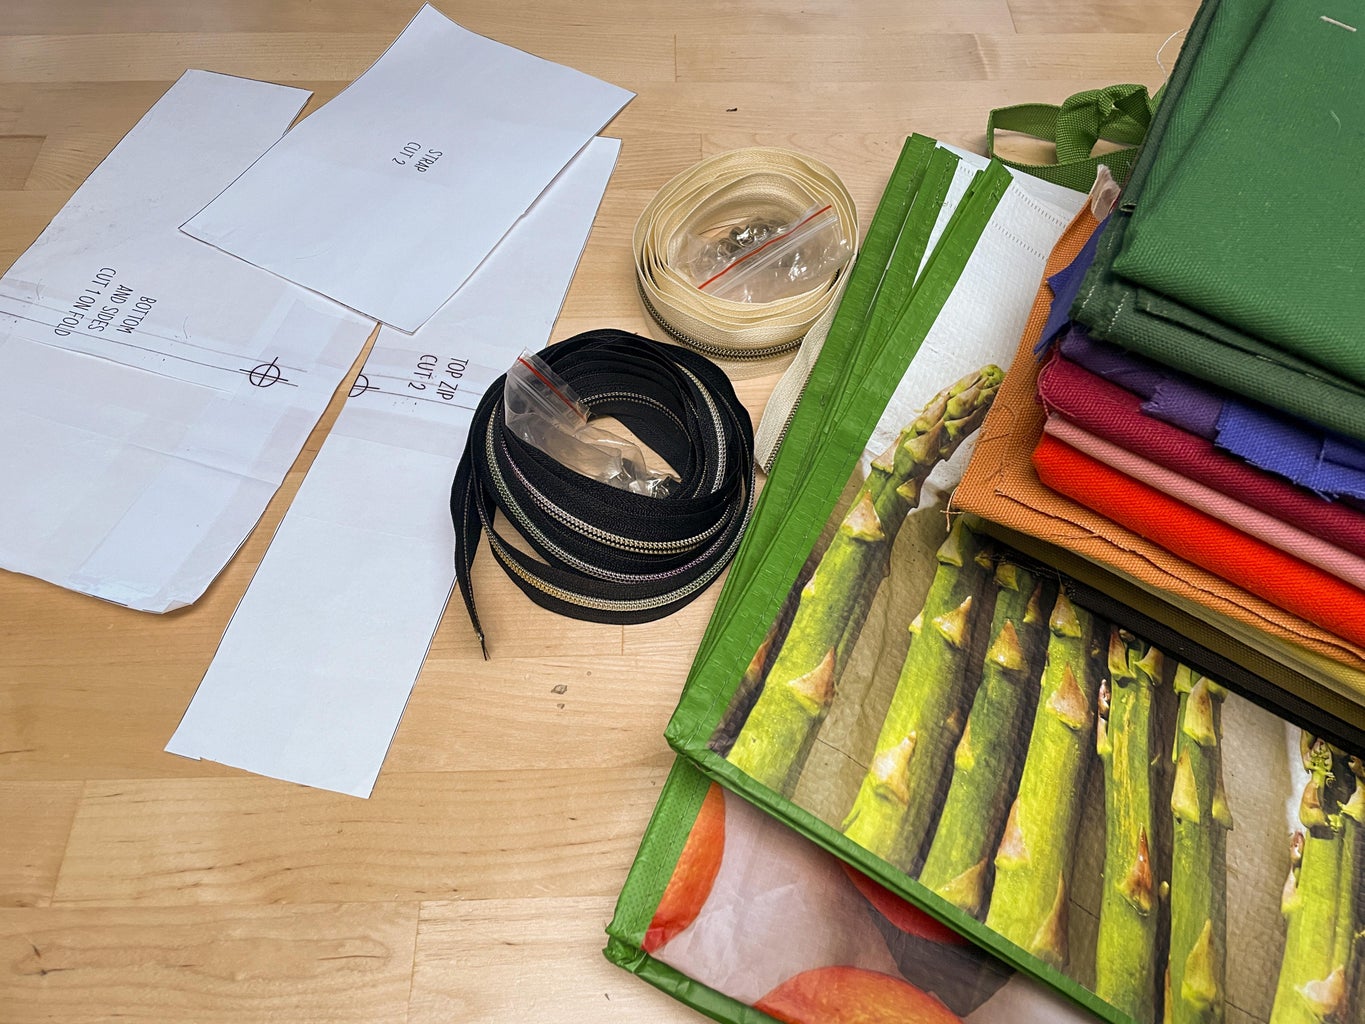
I’ve published a free pattern for this bag, which you can download below. Print the file out on regular-sized paper, and then use the registration marks to tape it all together and cut out the individual pieces. I’ve also shared the pattern source file, in case you’d like to make any modifications for your own bags.
If you have been following me for some time, you know I really love sharing information for free, and I never put my content exclusively behind a paywall. But I do need money to live, so I appreciate it when those of you who are able to show your support financially. If you enjoy this pattern and want to show your support, here are some ways you can do that:


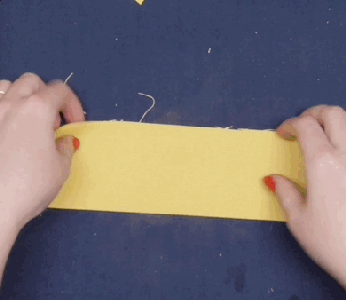
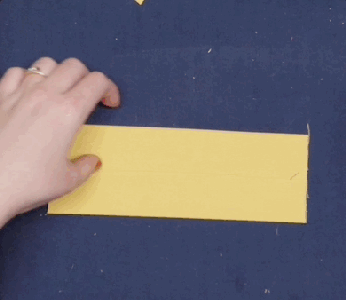
Step 3: Cut the Pattern Pieces
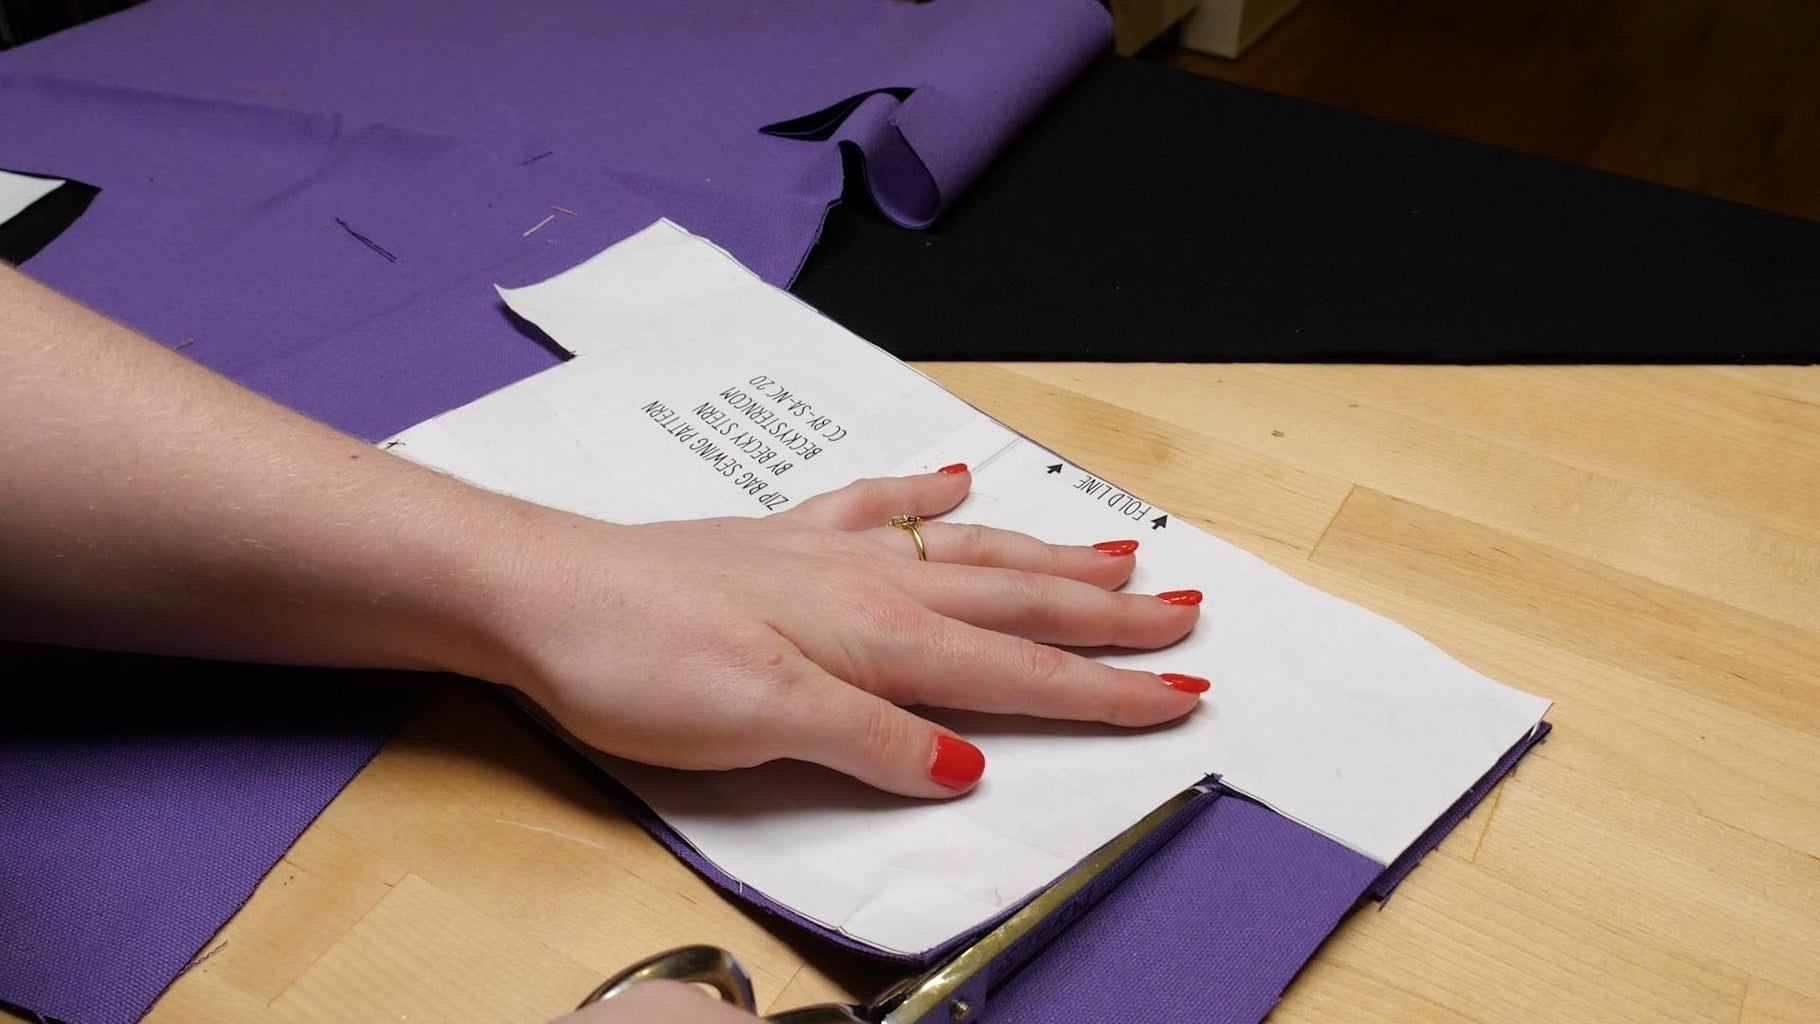
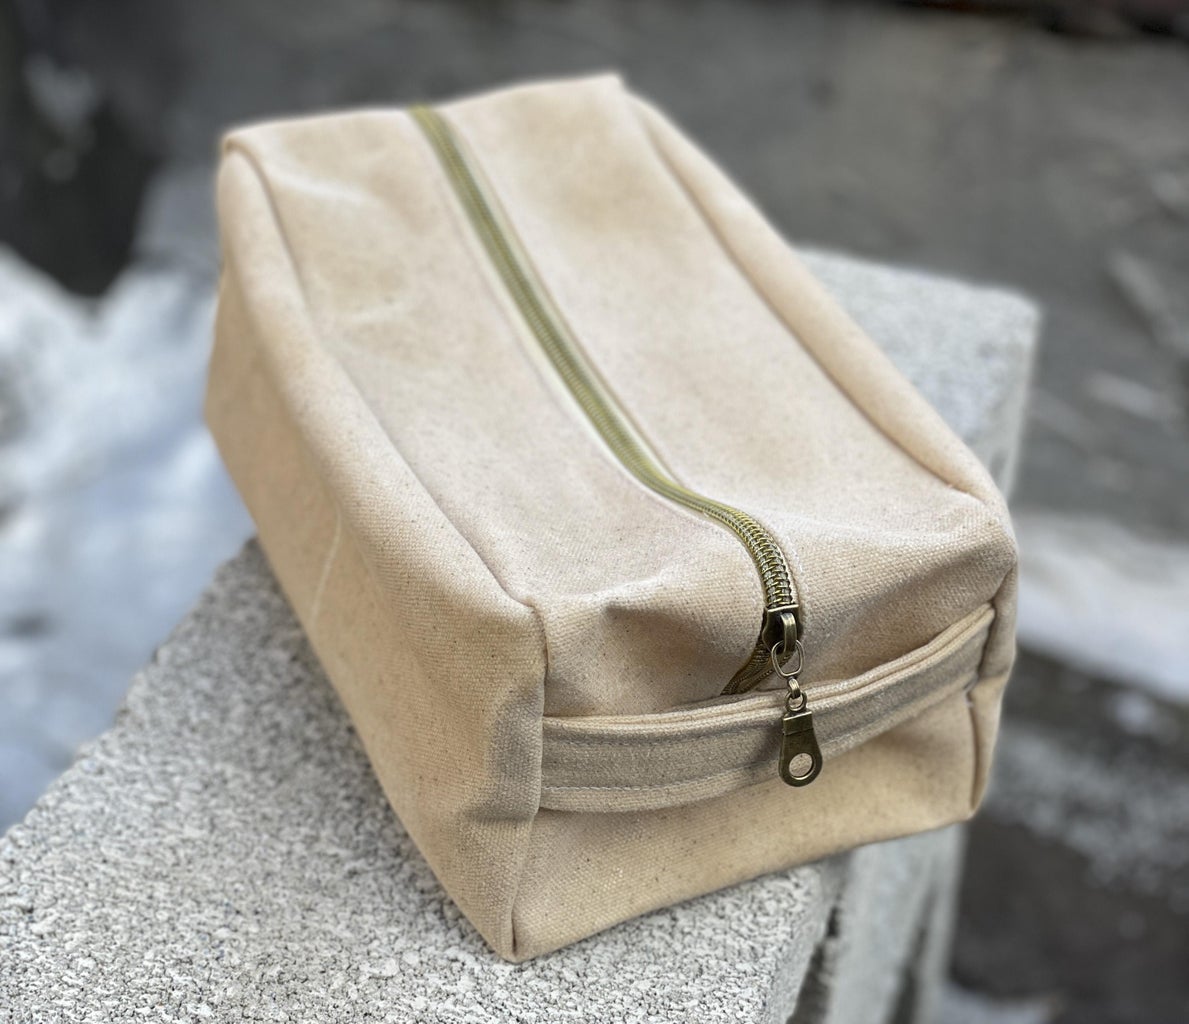
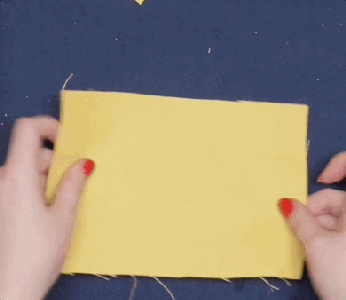
Wash and iron your fabric. Then, use the pattern pieces to cut all of the shapes you need from your fabric. In the images you see here, I’m using medium-weight cotton canvas fabric I bought online.
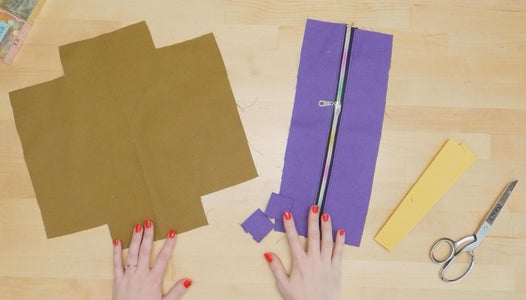
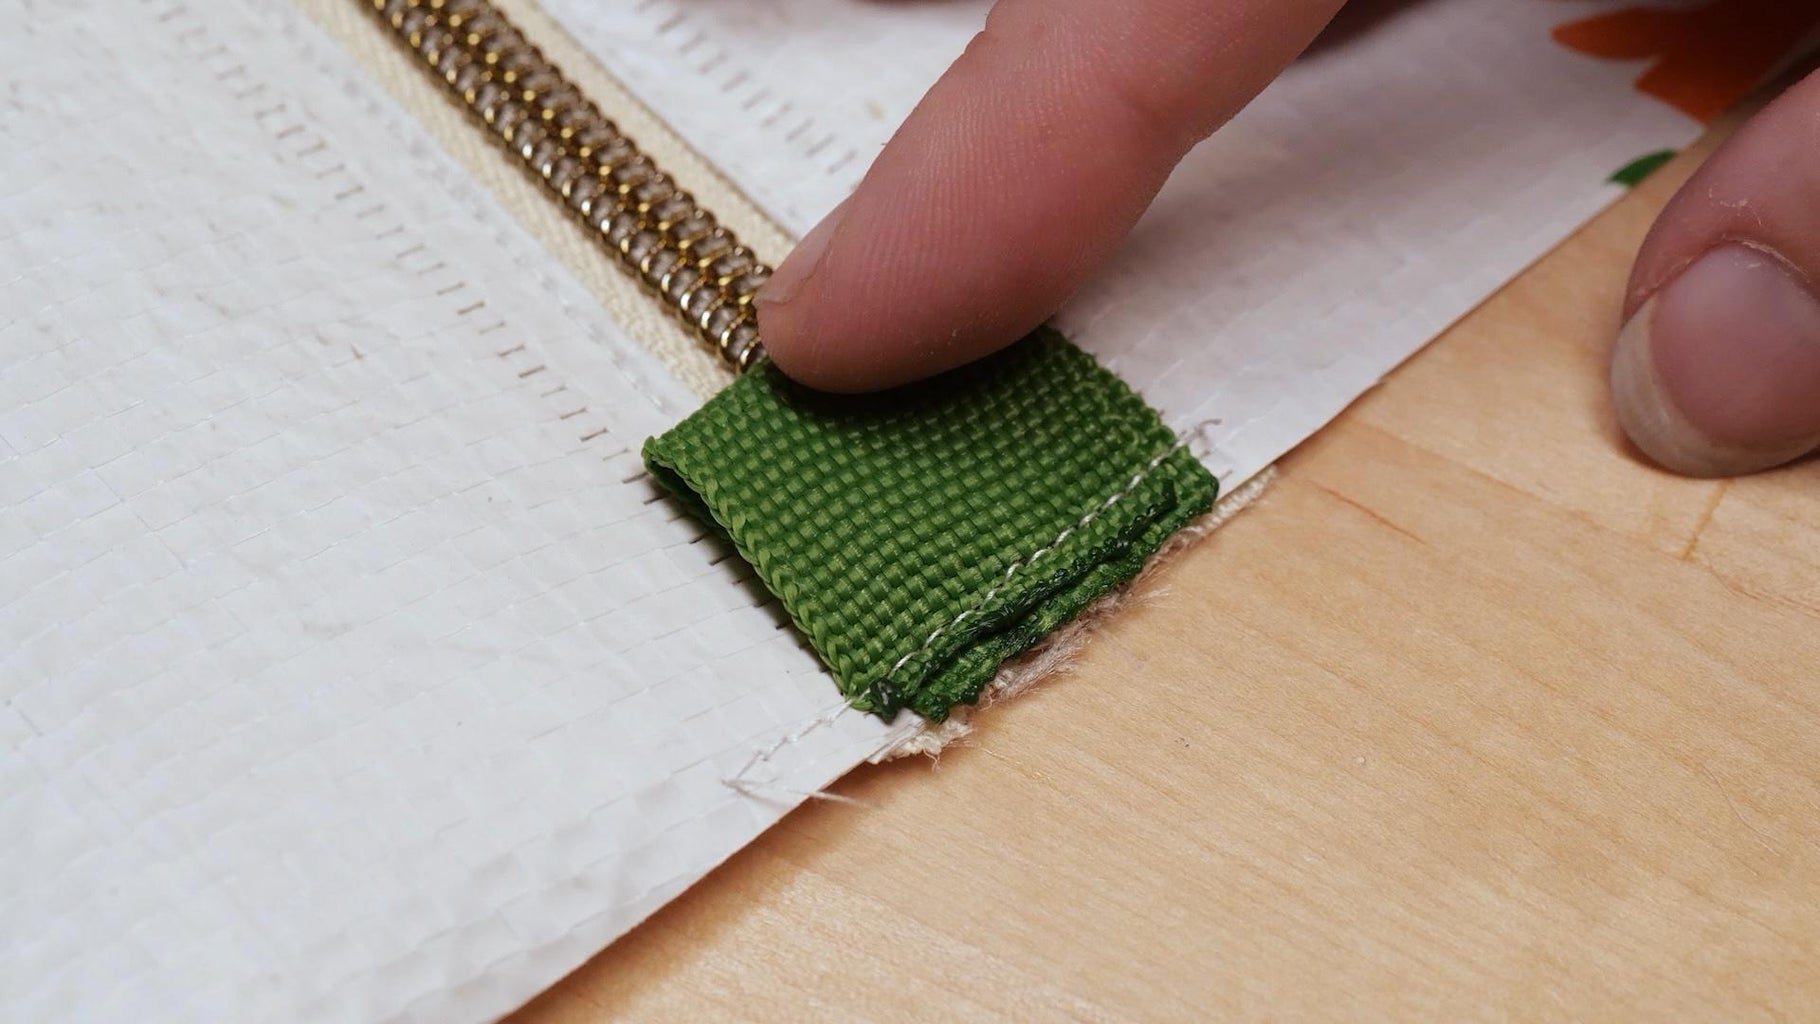
You’ll have two rectangular pieces that frame the zipper and form the top of the bag, one piece shaped like a plus sign that forms the bottom and sides of the bag, and two pieces for each strap handle and each zipper tab.
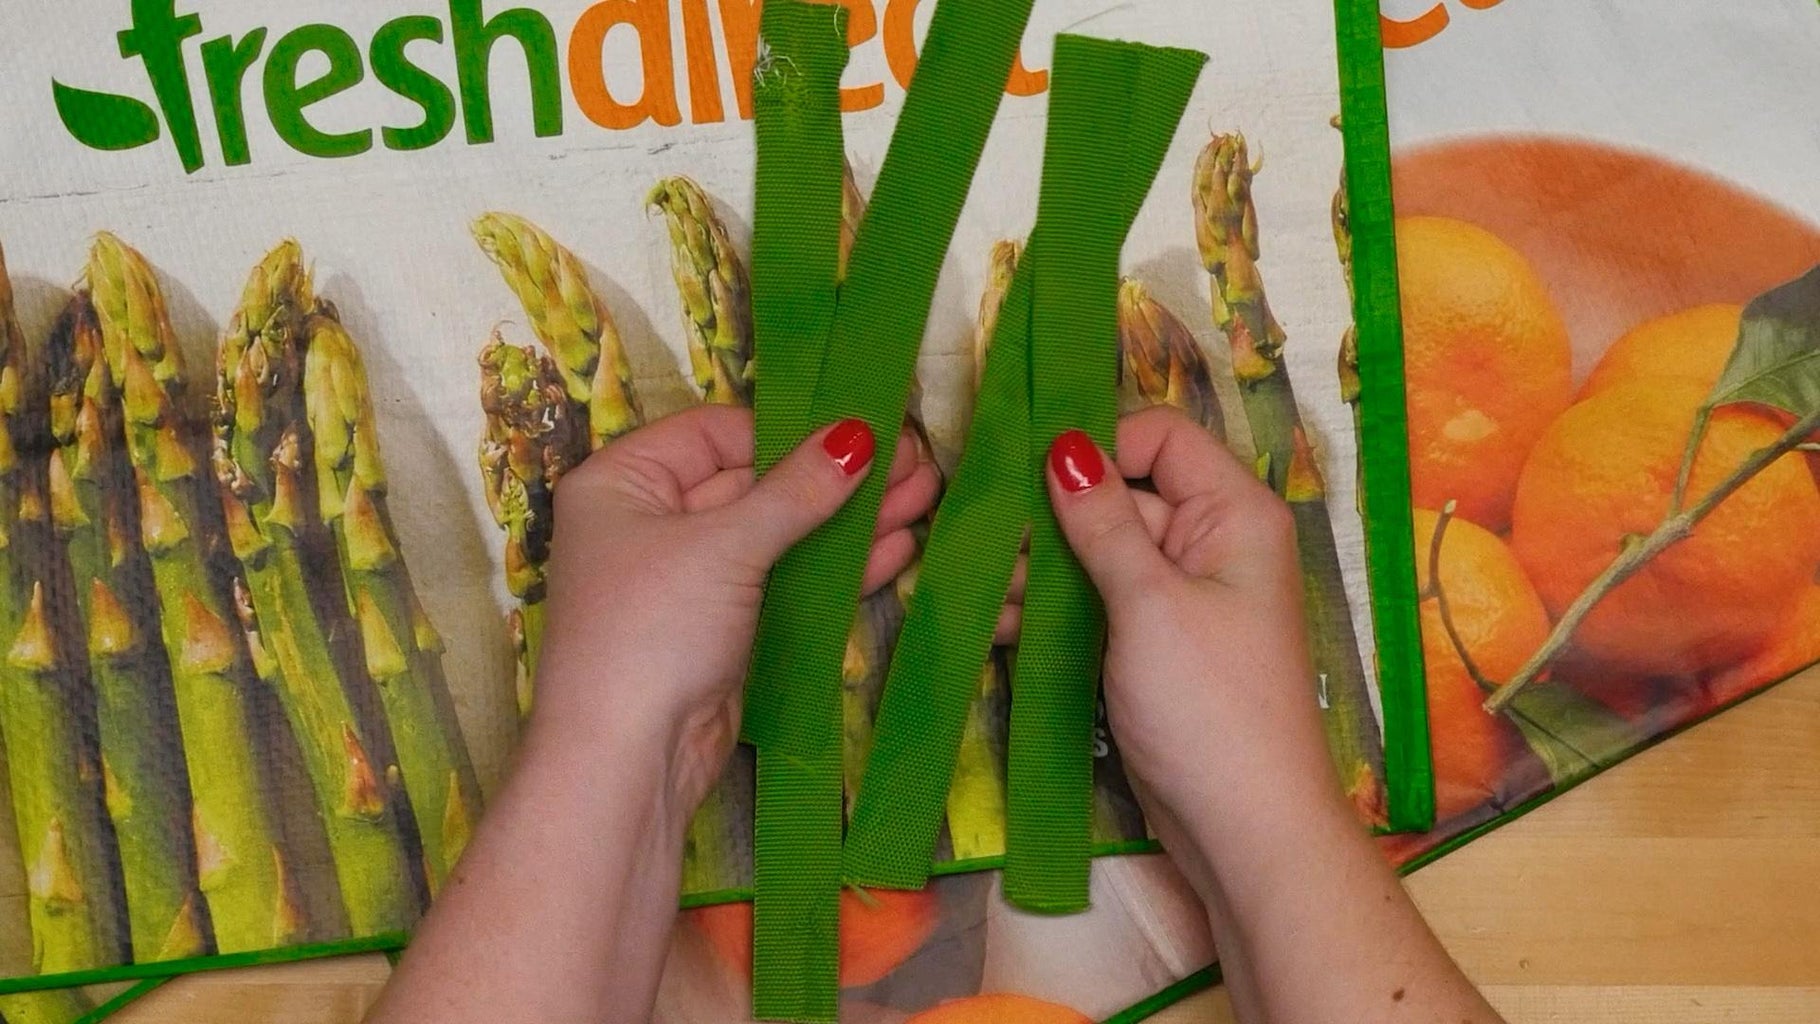
Step 4: Make the Straps
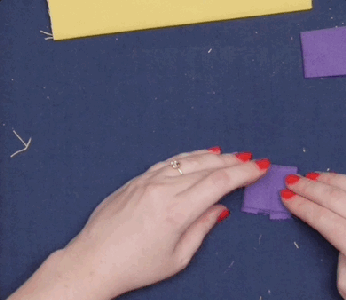

Iron the straps and tabs in half, then fold the edges to the center and iron again. Then fold the straps lengthwise once more, and fold the tabs the other way.
You can use some nylon webbing for the straps and tabs if you prefer, like the handles of these grocery bags. If you do use this webbing, you’ll want to melt the ends with a lighter before sewing so the strap doesn’t fray and come apart.
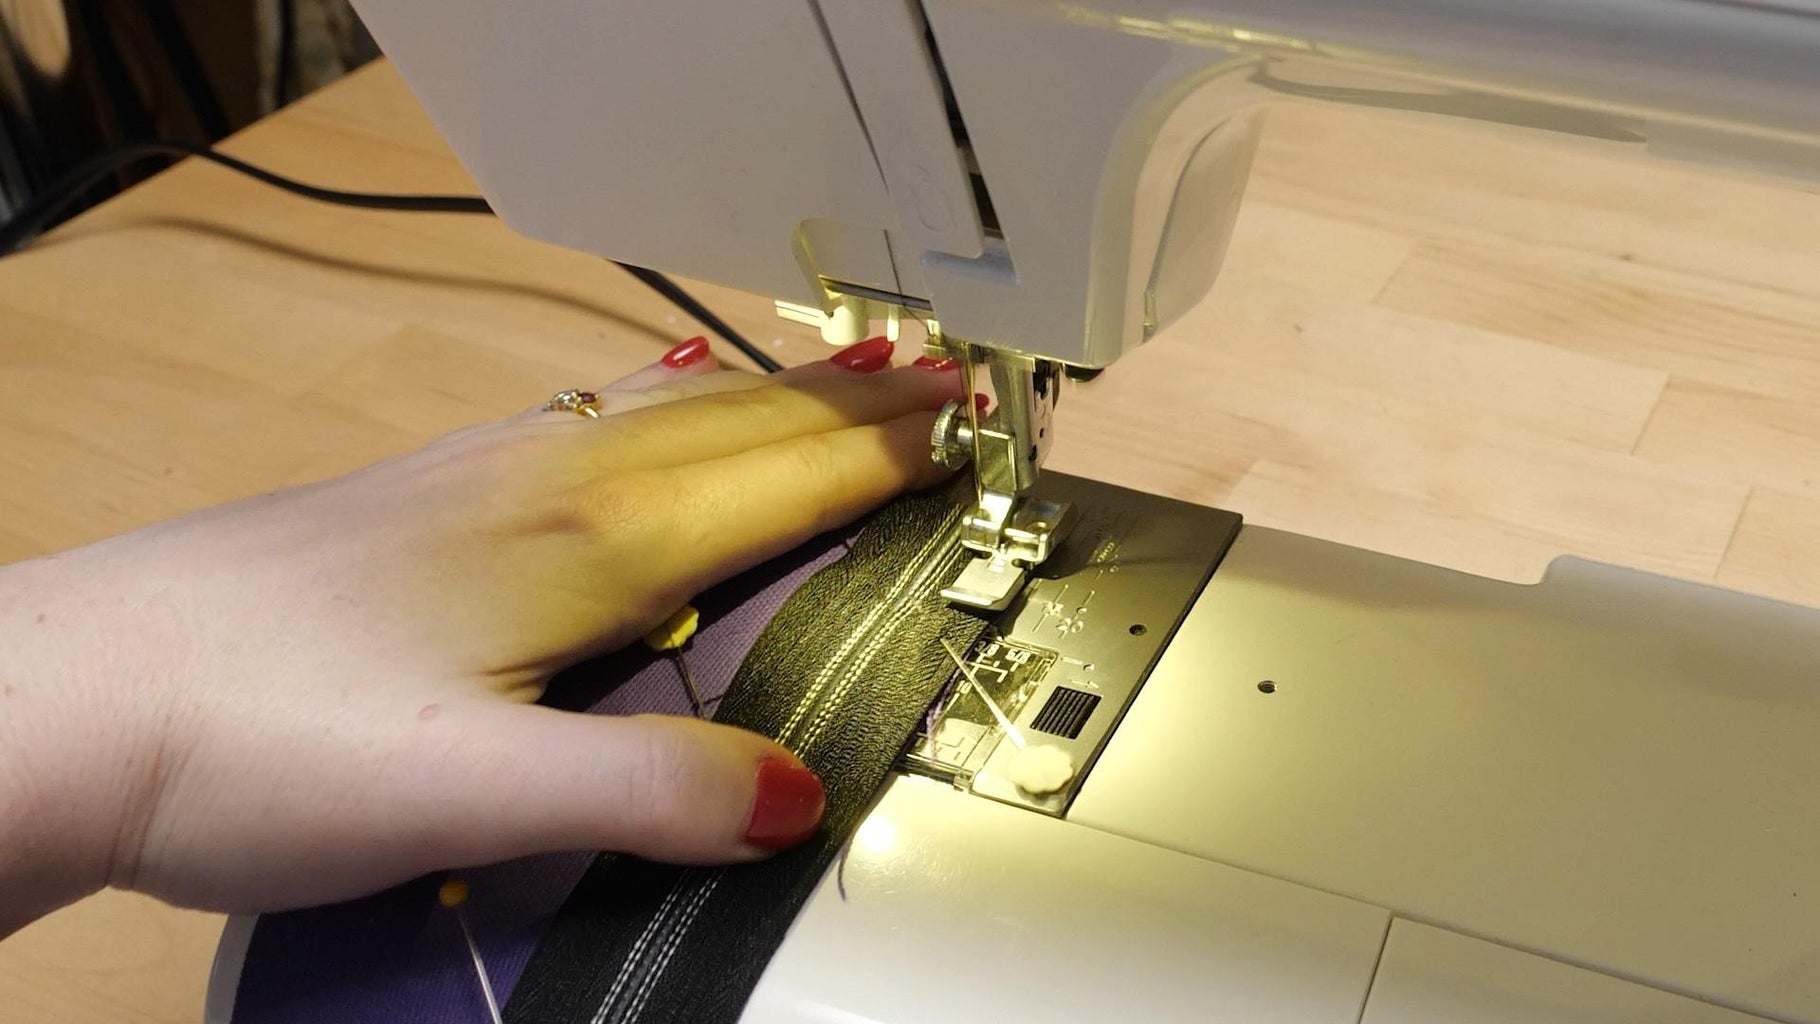
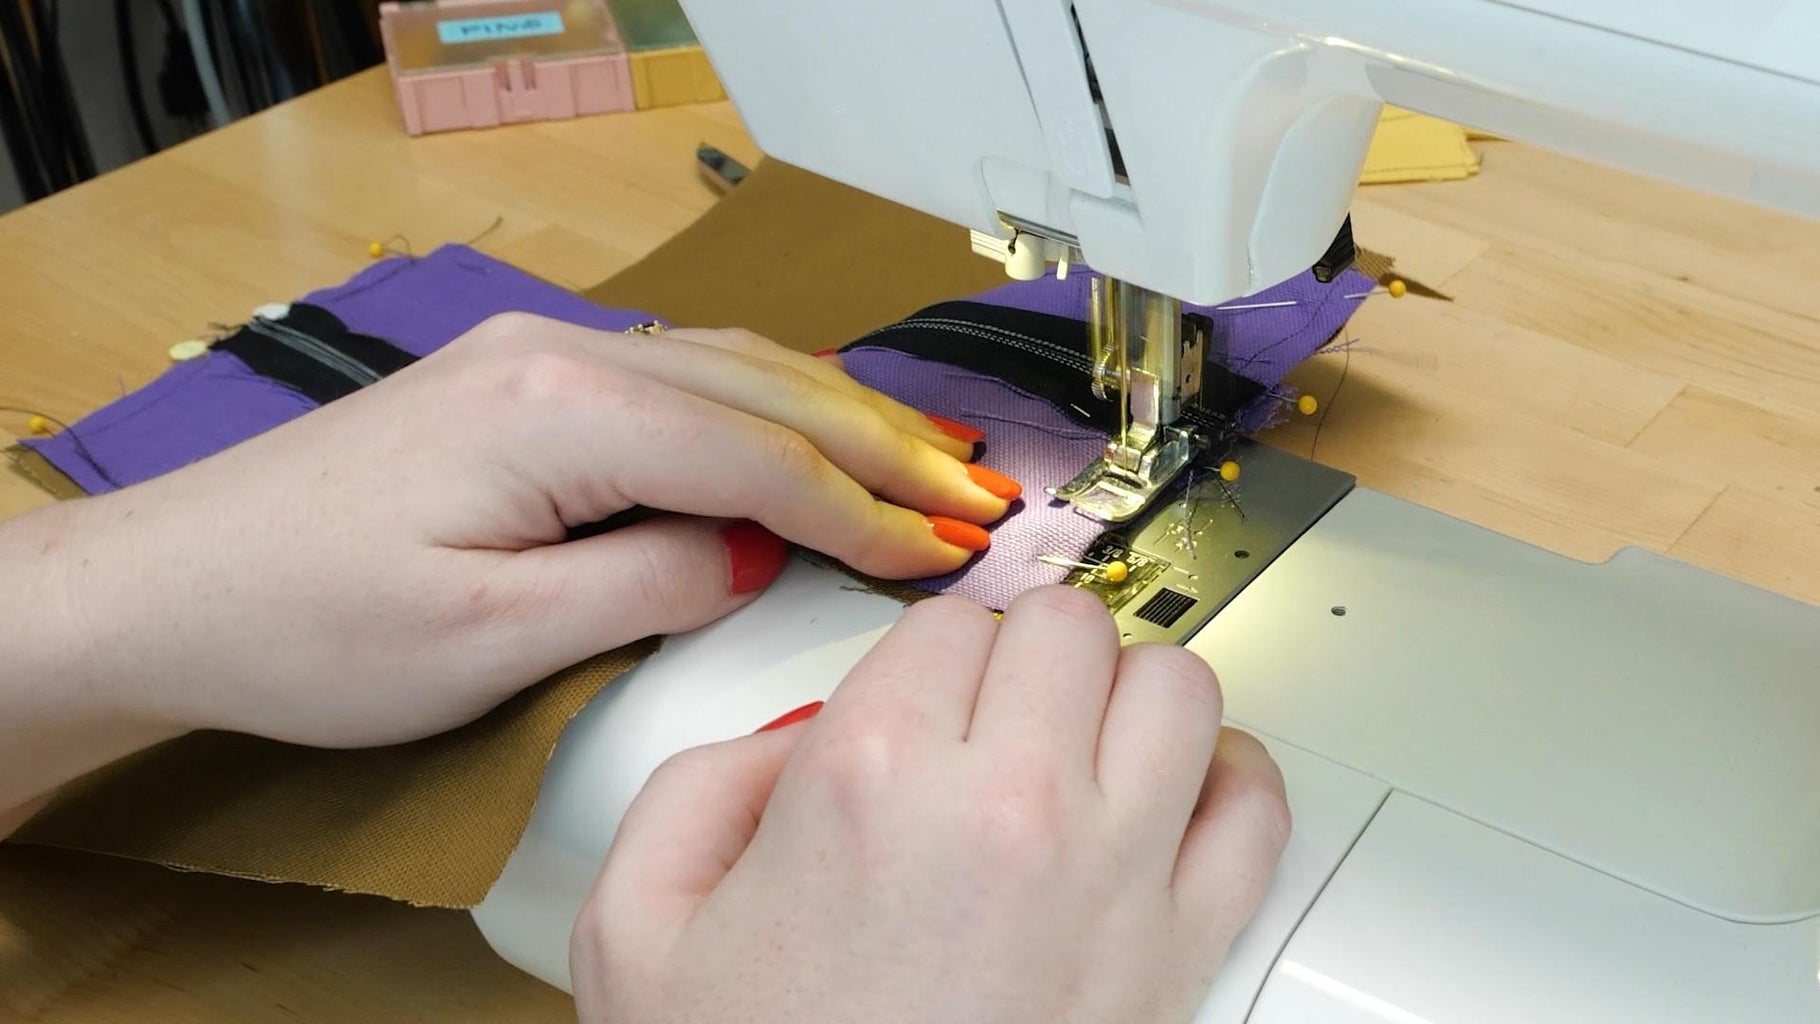
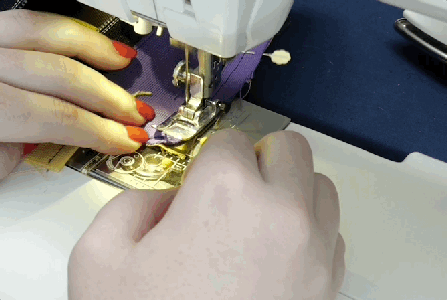
Step 5: Install the Zipper

Next up, install the zipper.
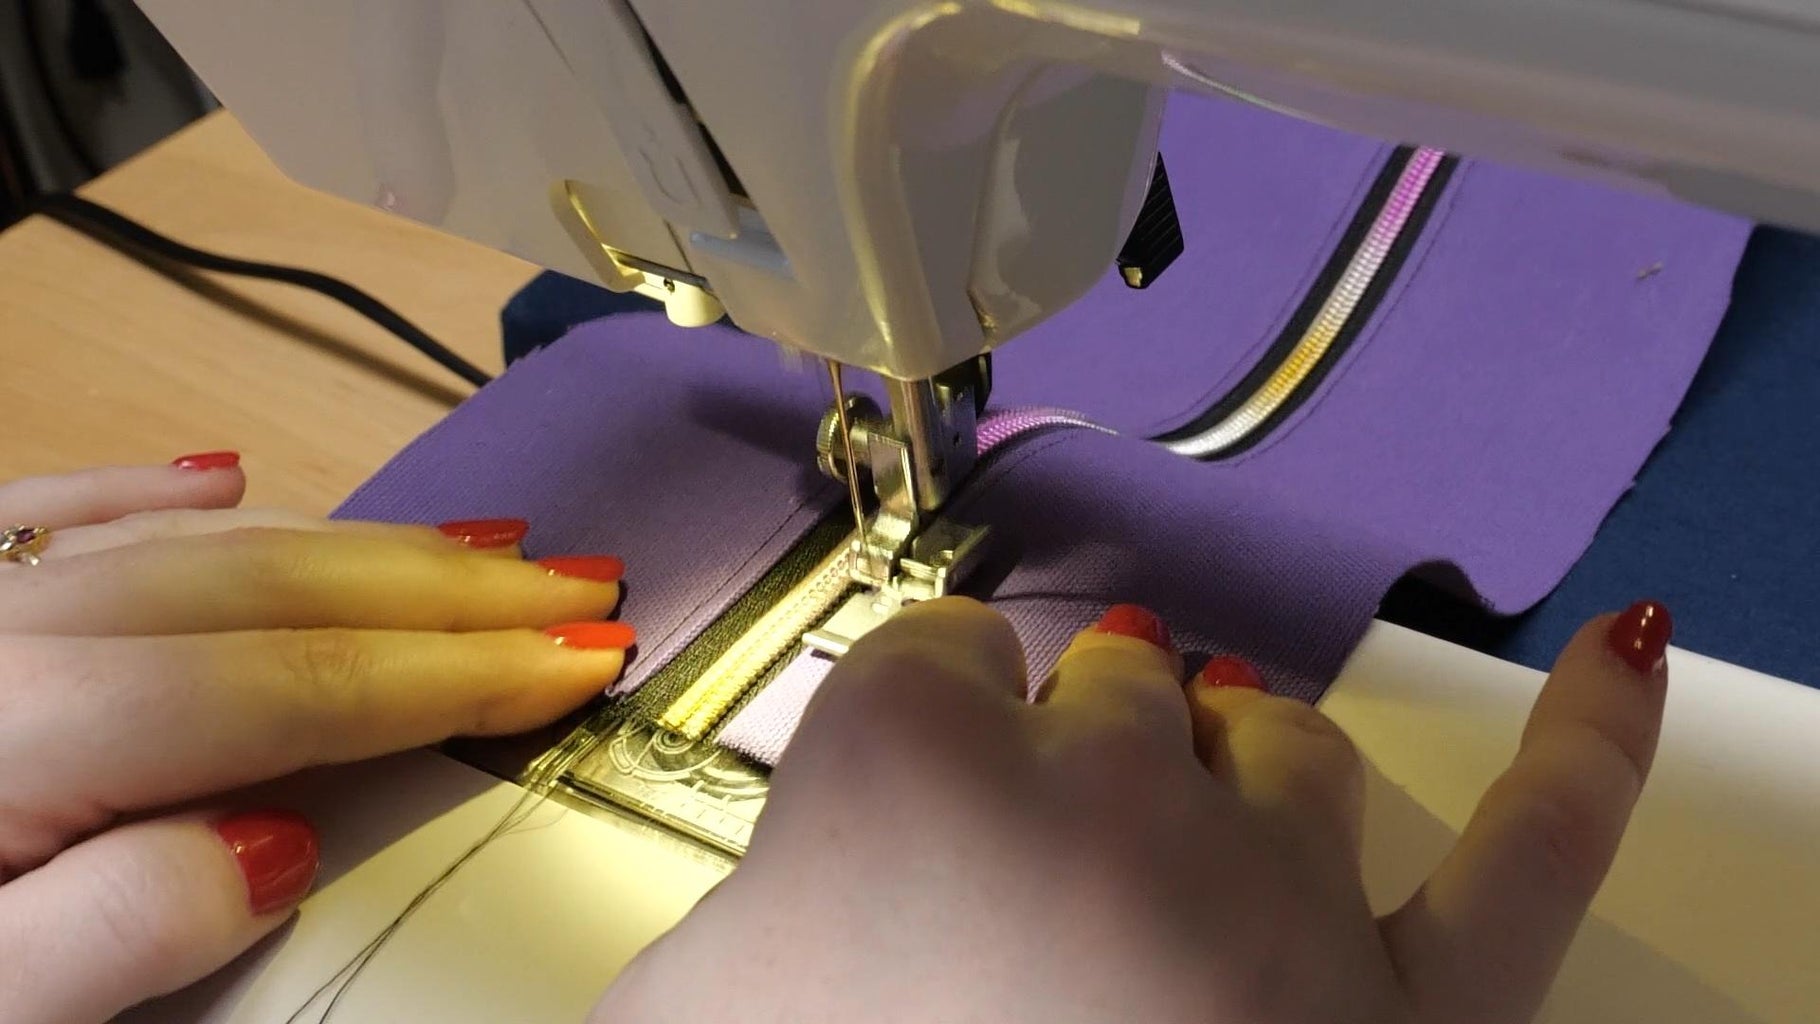
I buy this stuff in a big roll, then cut it and add a zipper pull for each application. Because of this, I can easily sew the right side of the bag fabric to the right side of the zipper using a zipper foot, which only puts pressure on one side of the needle. Repeat on the other side, and iron the seams away from the zipper coil. I also added a topstitch for extra strength and a more finished look.
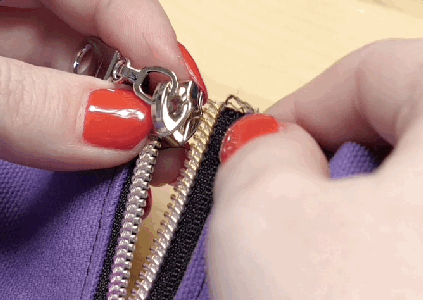
After that, I add the zipper pull. If you’re using a zipper with a pull already installed, you’ll need to stitch each zipper seam in two sections and move the zipper pull out of the way between sections.
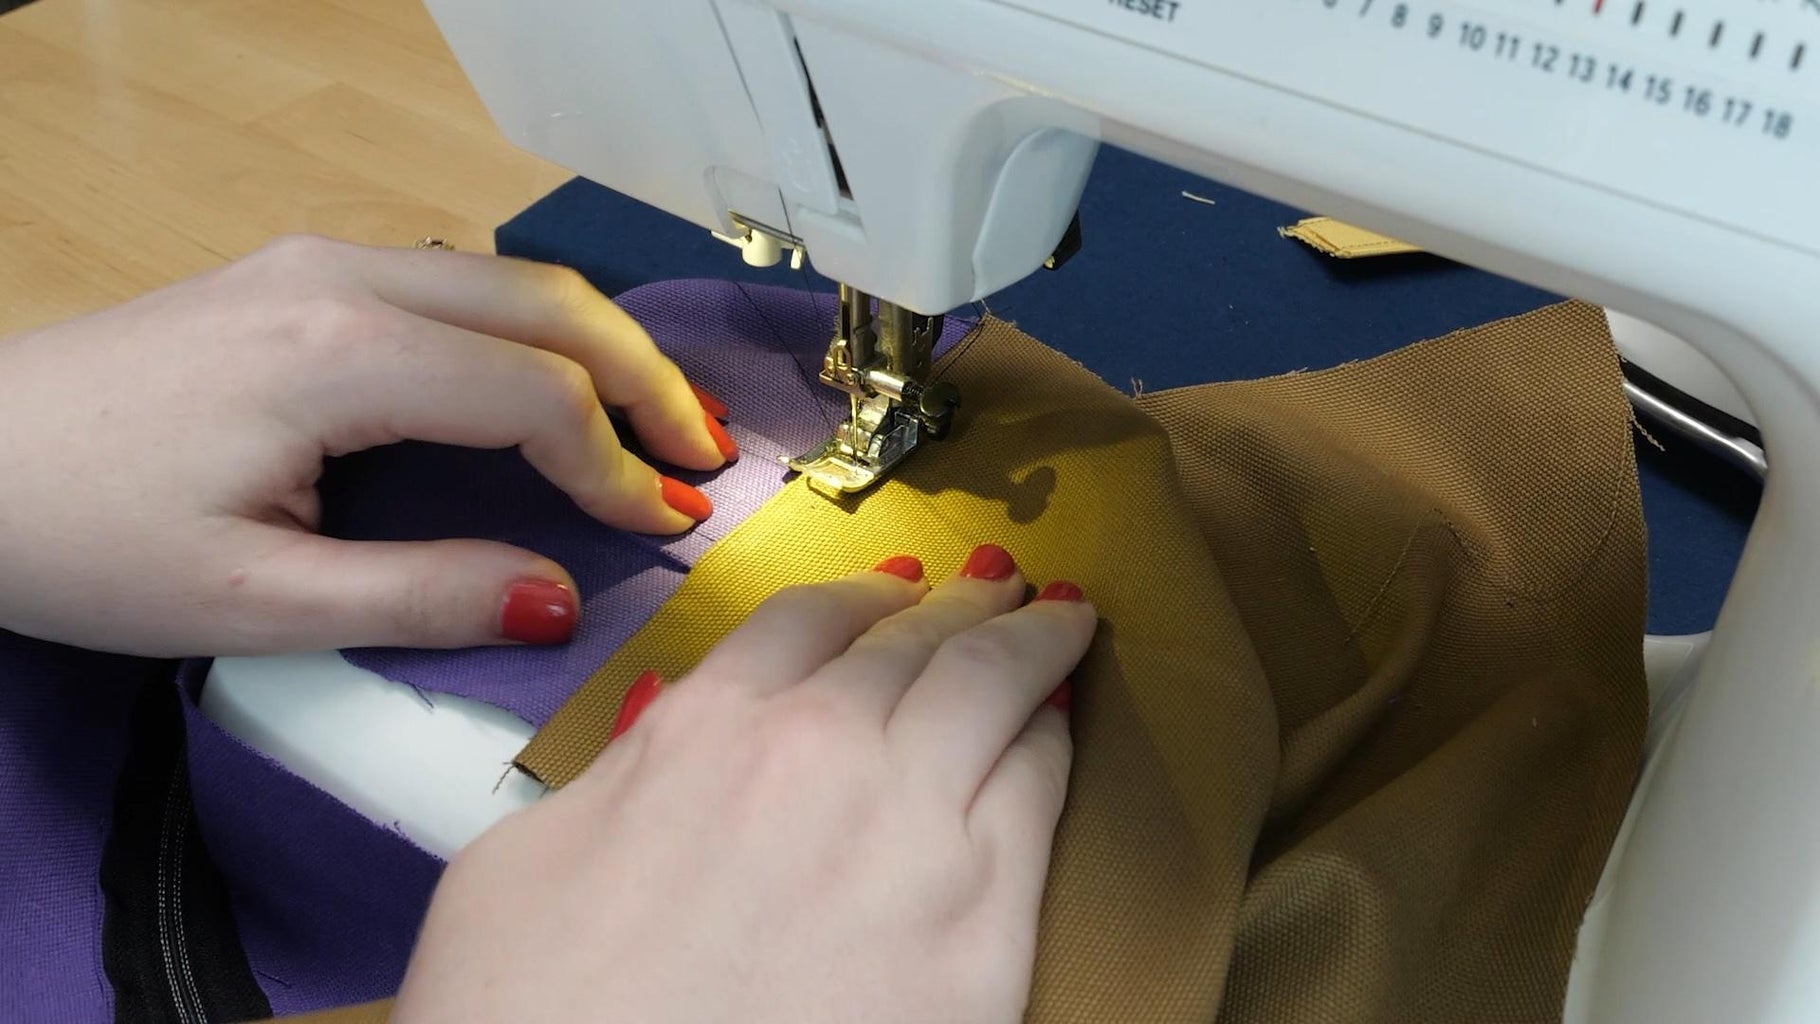
Switch back to the normal presser foot, then topstitch the straps and tabs.
Step 6: Assemble the Bag
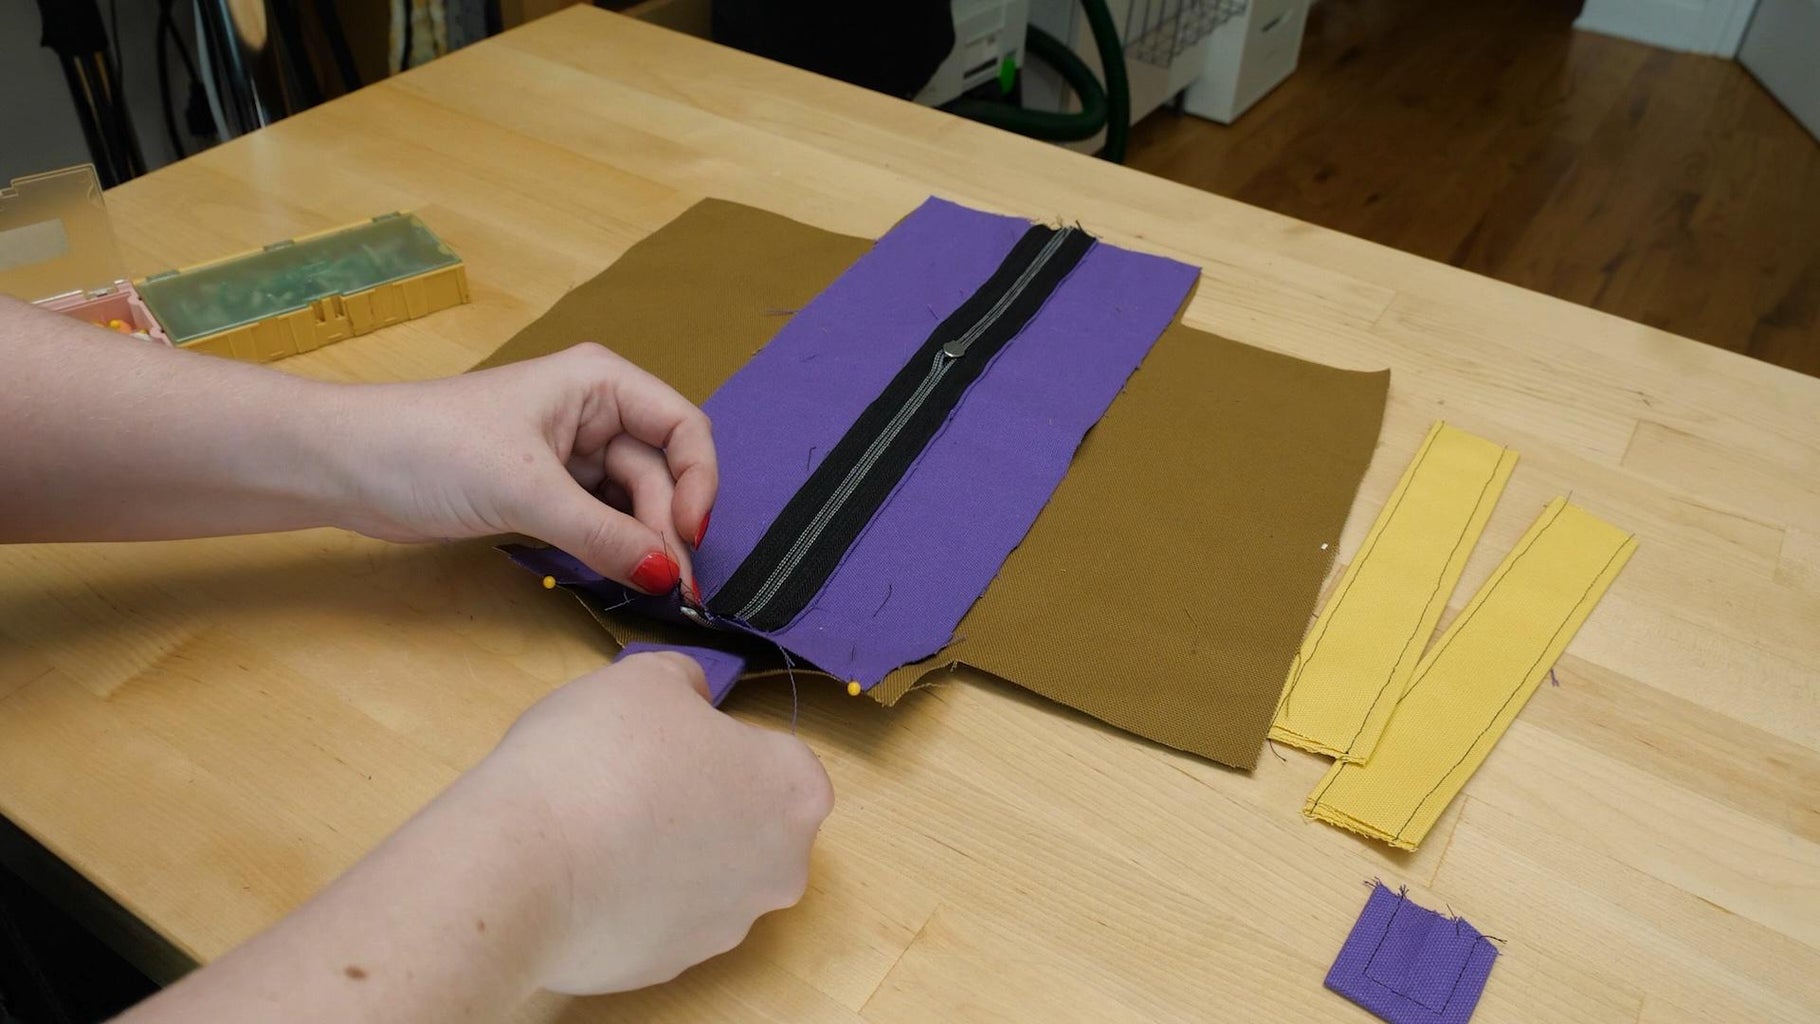
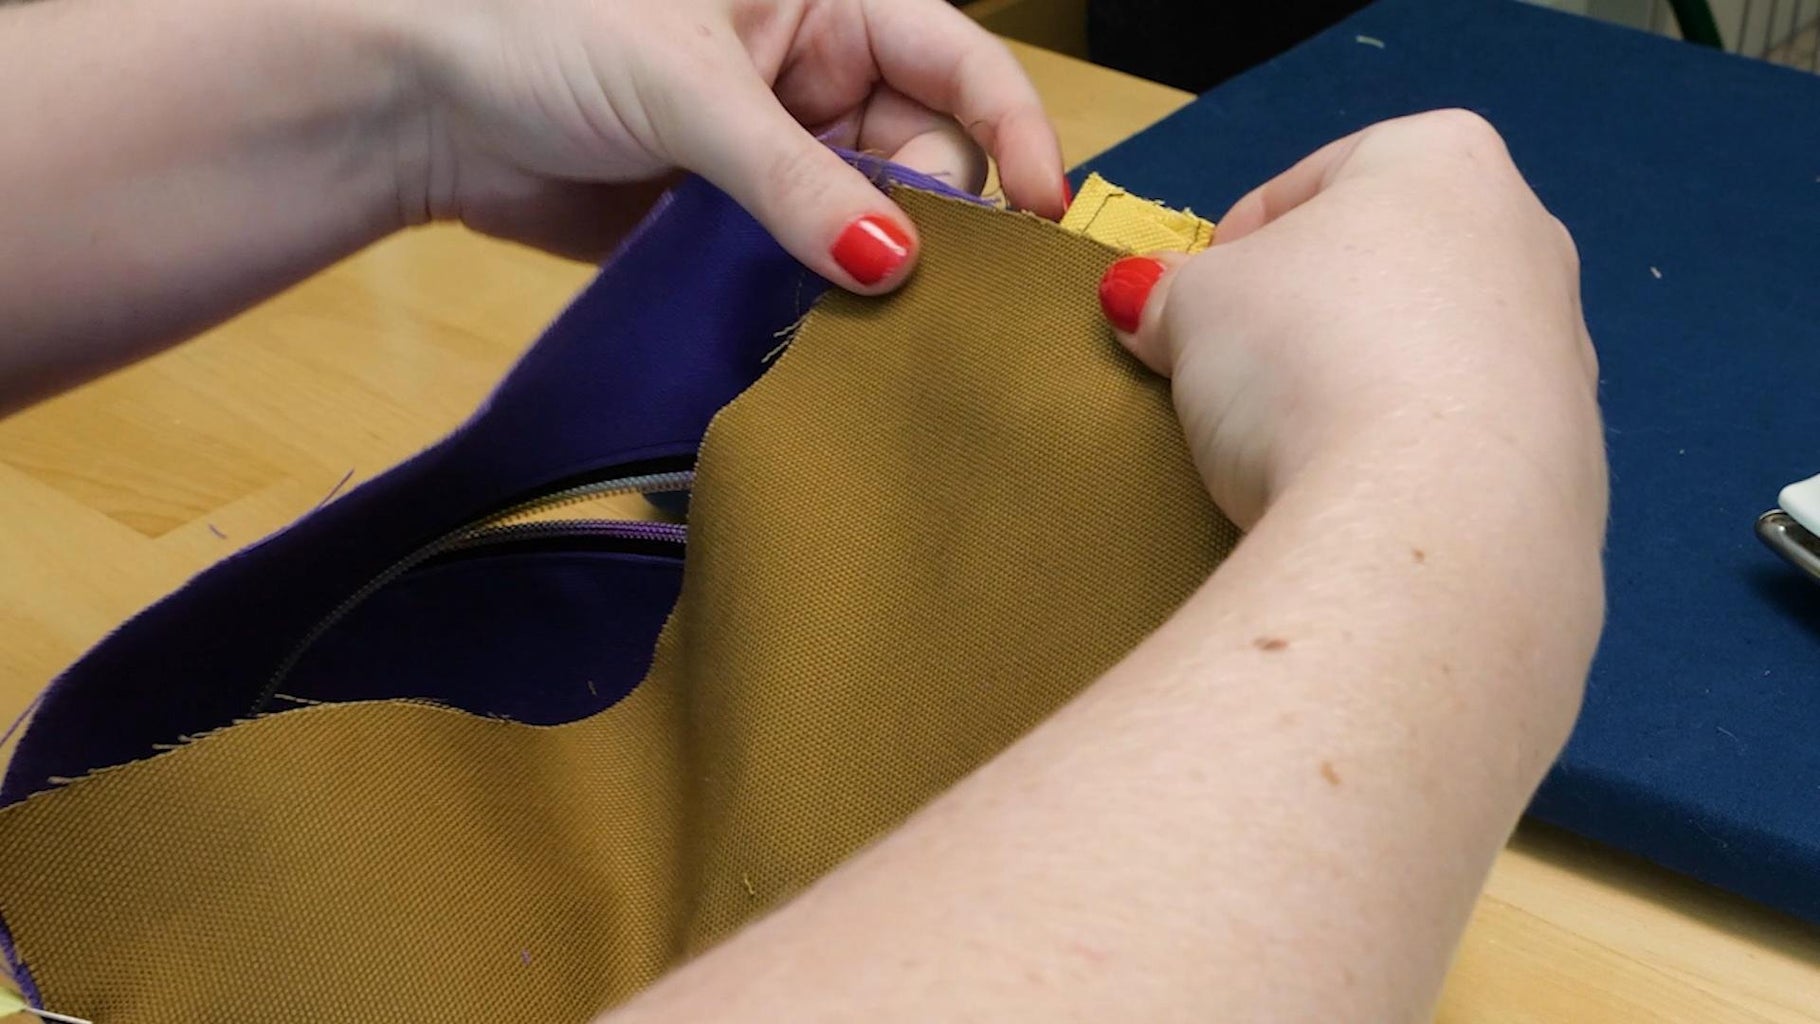

Now it’s time to pin and stitch these pieces together, starting with the seams across the ends of the zipper. Pin the right sides together, add a tab in between the layers at the center where the zipper is, then sew a straight stitch across. Repeat at the other end. Then, iron the seams away from the zipper, turn right-side out, and topstitch to secure the seam allowance and add extra strength.
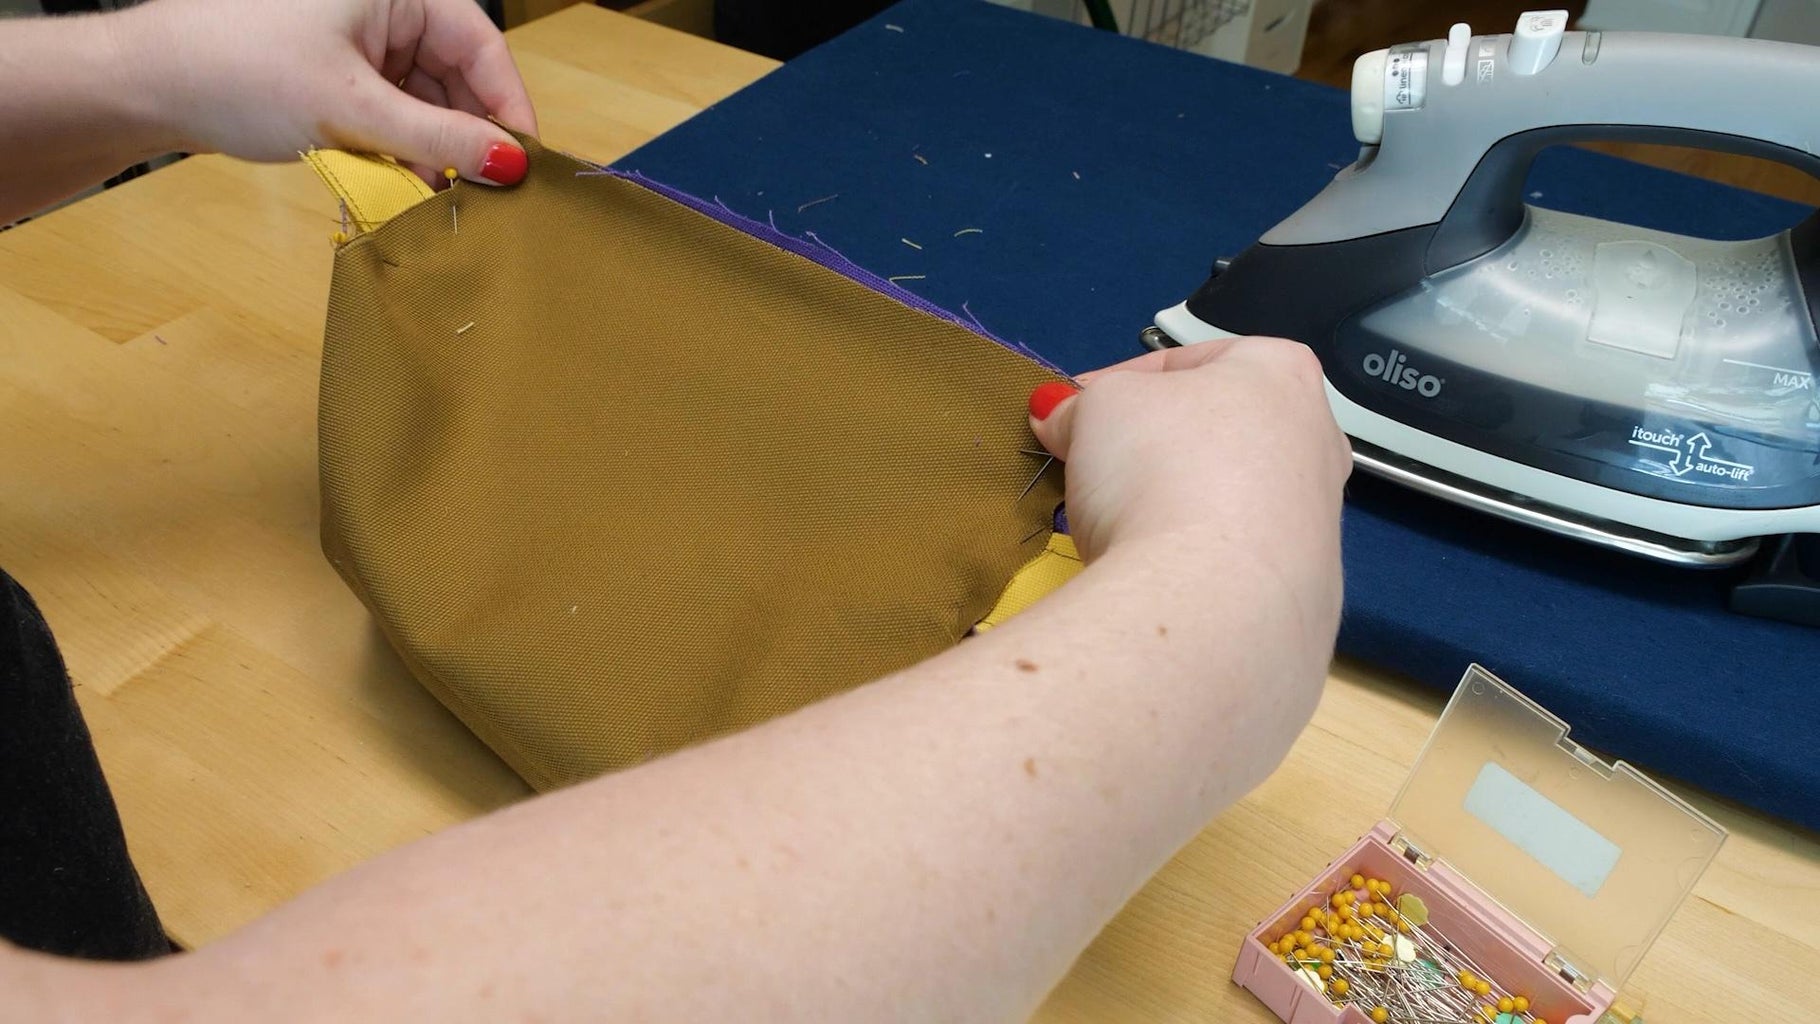
If you’re new to sewing, or using a slippery material, you may want to sew the tabs in place before stitching this seam. The same goes for the strap handles- it can be helpful to stitch them in place at either end of the seam you just finished before sewing up the long side seams, so they don’t move around.
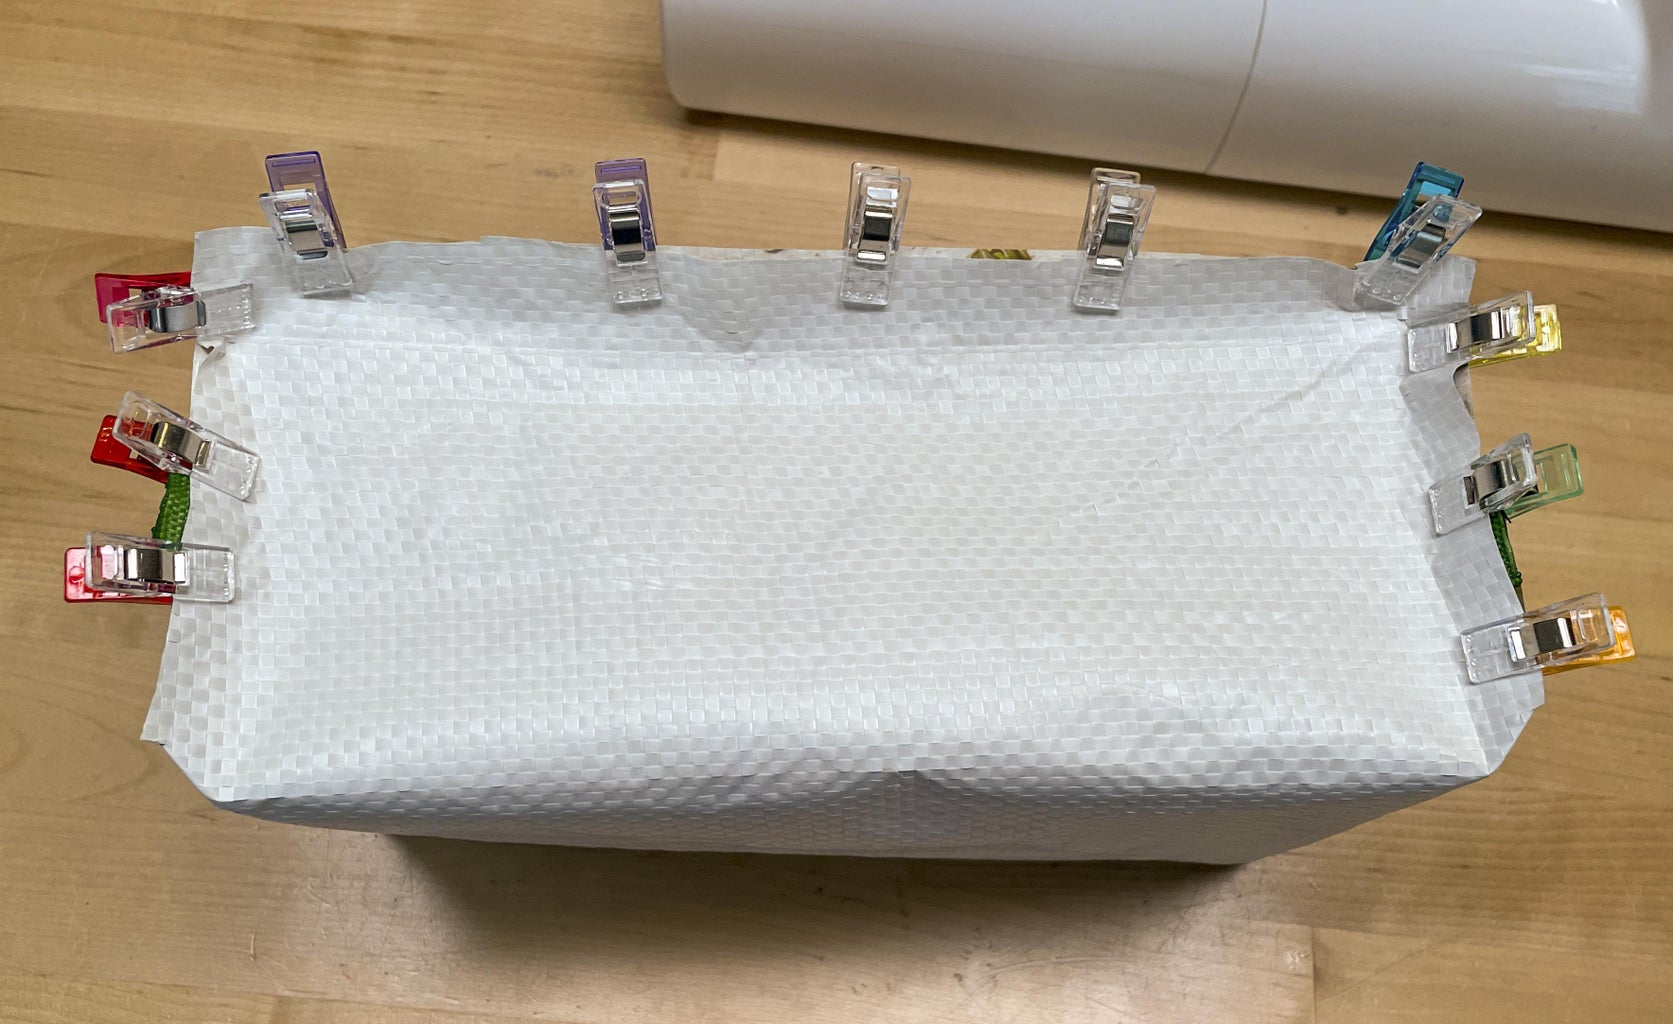
The easiest way to pin up the side seams is by first lining up the bottom corners of the “u” shape, and then spreading out the rest along the top edge. Depending on your fabric and preference, you may want to use sewing clips instead of pins for this part. Sew a straight stitch along this entire seam, backstitching at the start and end. To pivot at the corners, put the needle down, then raise the presser foot, pivot the fabric, put the presser foot back down, and keep sewing.
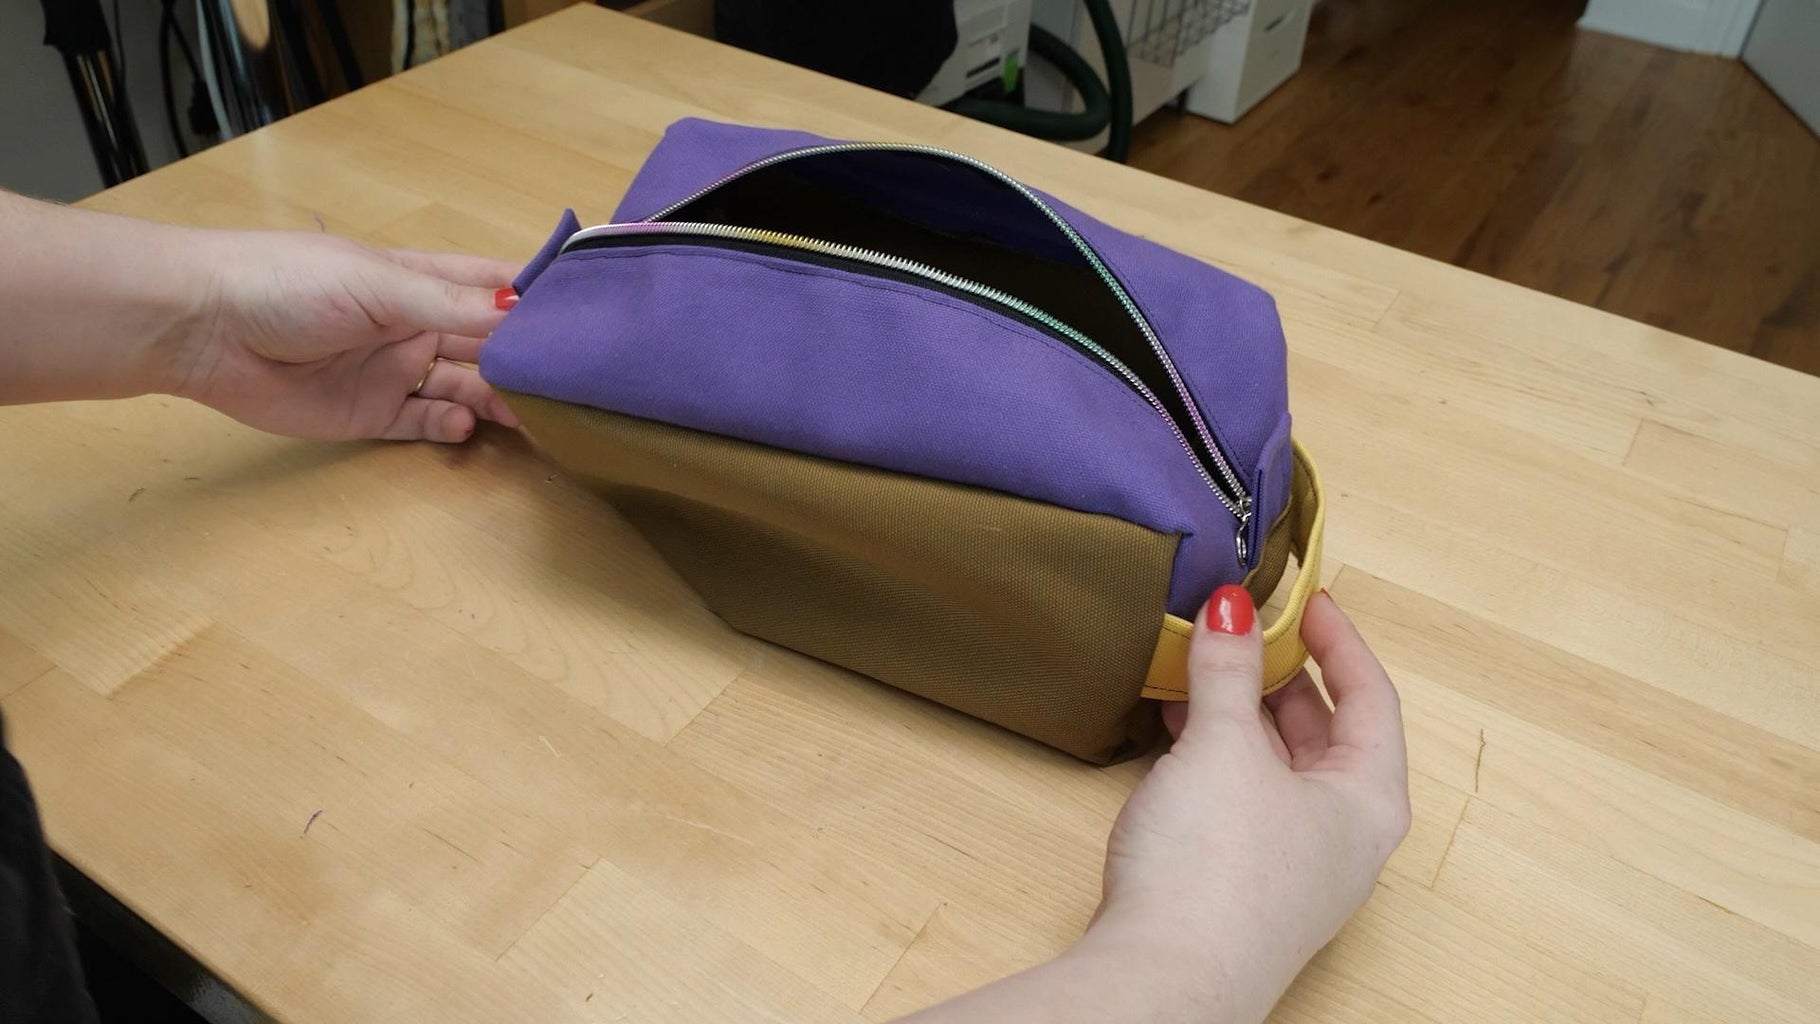
Once you’ve sewn both side seams, you can turn the bag right side out and admire your handiwork.
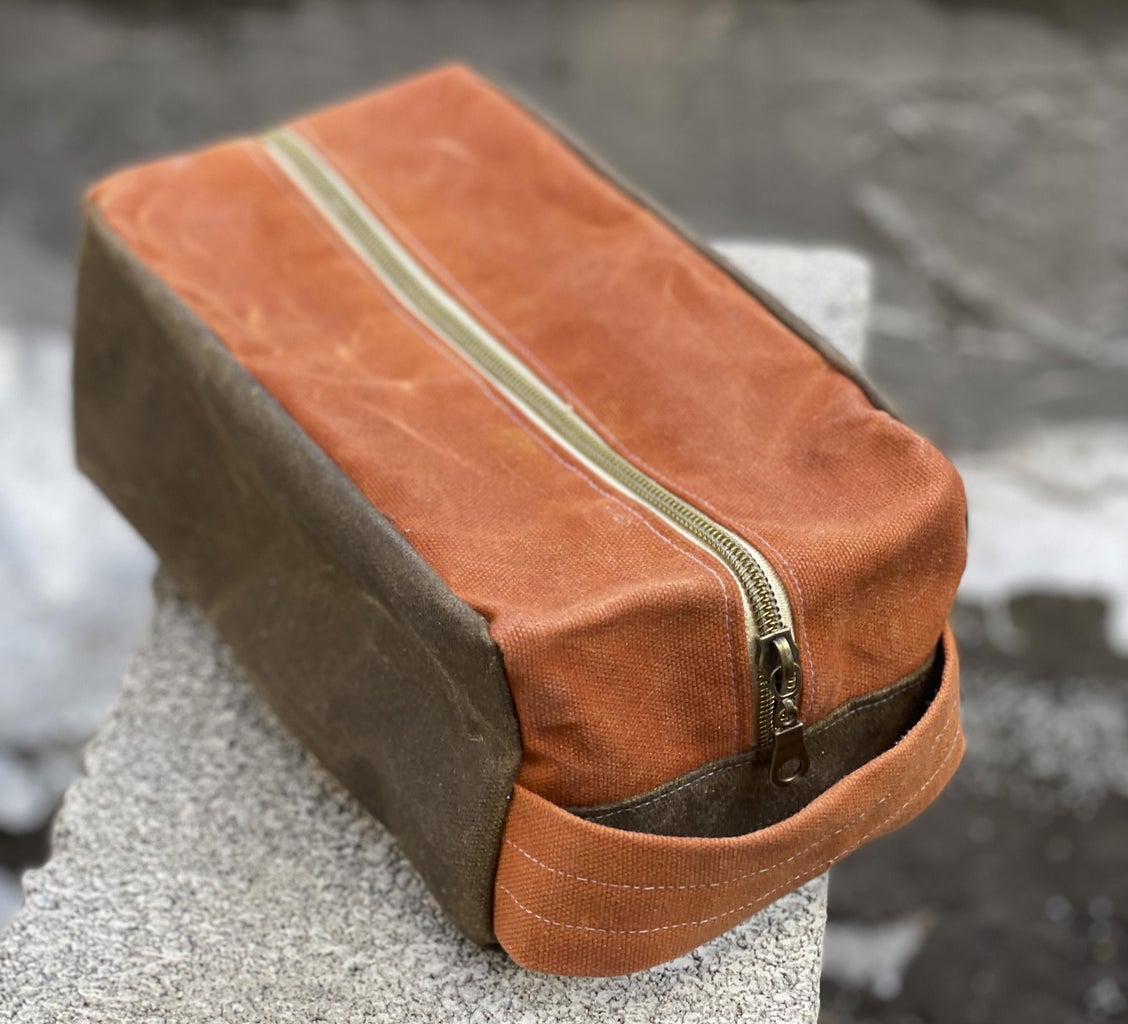
Step 7: (Optional) Add Wax
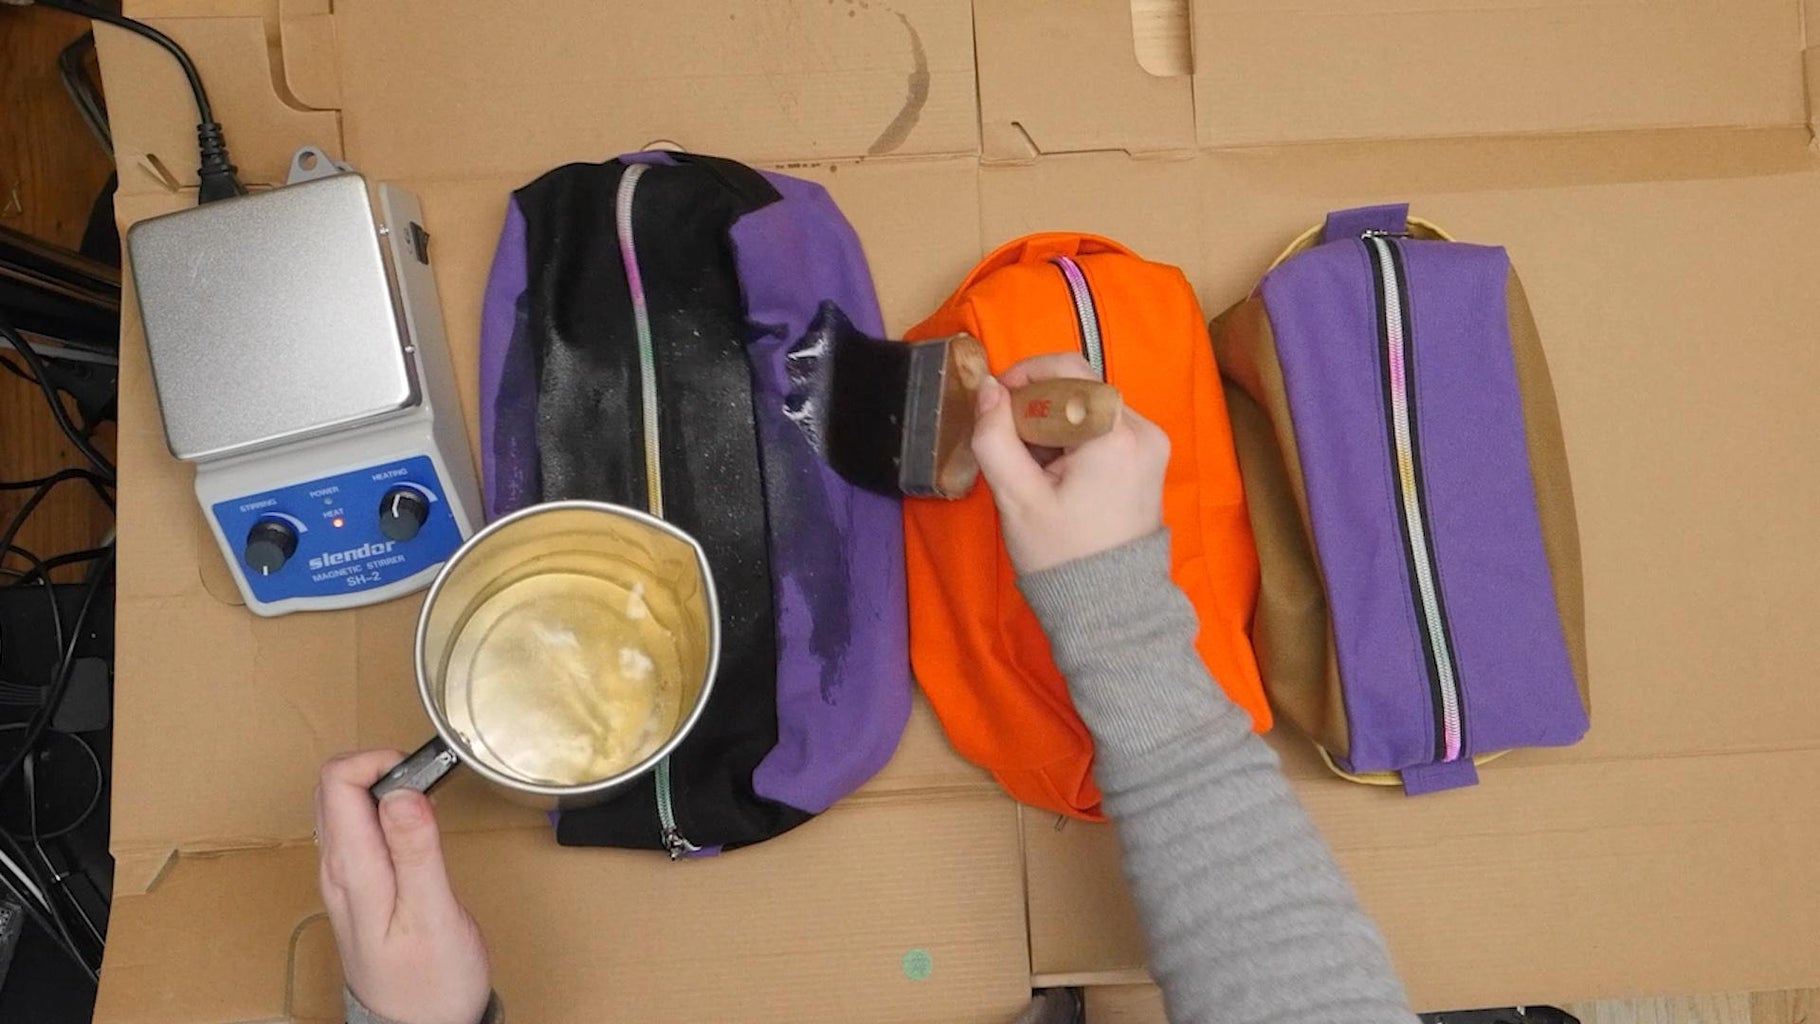
To add more durability and water resistance to your Dopp Kit bag, waxing is an optional step that elevates this bag to another level.
First, cover your work surface with a thick protective material, like a double layer of cardboard. Heat up your wax until it’s a liquid consistency– I’m using a blend of half beeswax and half paraffin. I’m also using a hot plate to heat my wax, although you could also use a double boiler on the stove.
I follow the same process I used for my Waxed Canvas Tool Roll: I brush melted wax onto the bag. But since I made the Tool Roll video I’ve learned a new trick that saves a bunch of time– after applying the first round of wax, I’ll just pop these in the oven on a covered baking sheet at its lowest temp for a few minutes, until the wax has all soaked in. This is way less work than melting it in with a heat gun, though you may find you still want to touch up some spots with the heat gun after they come out of the oven.
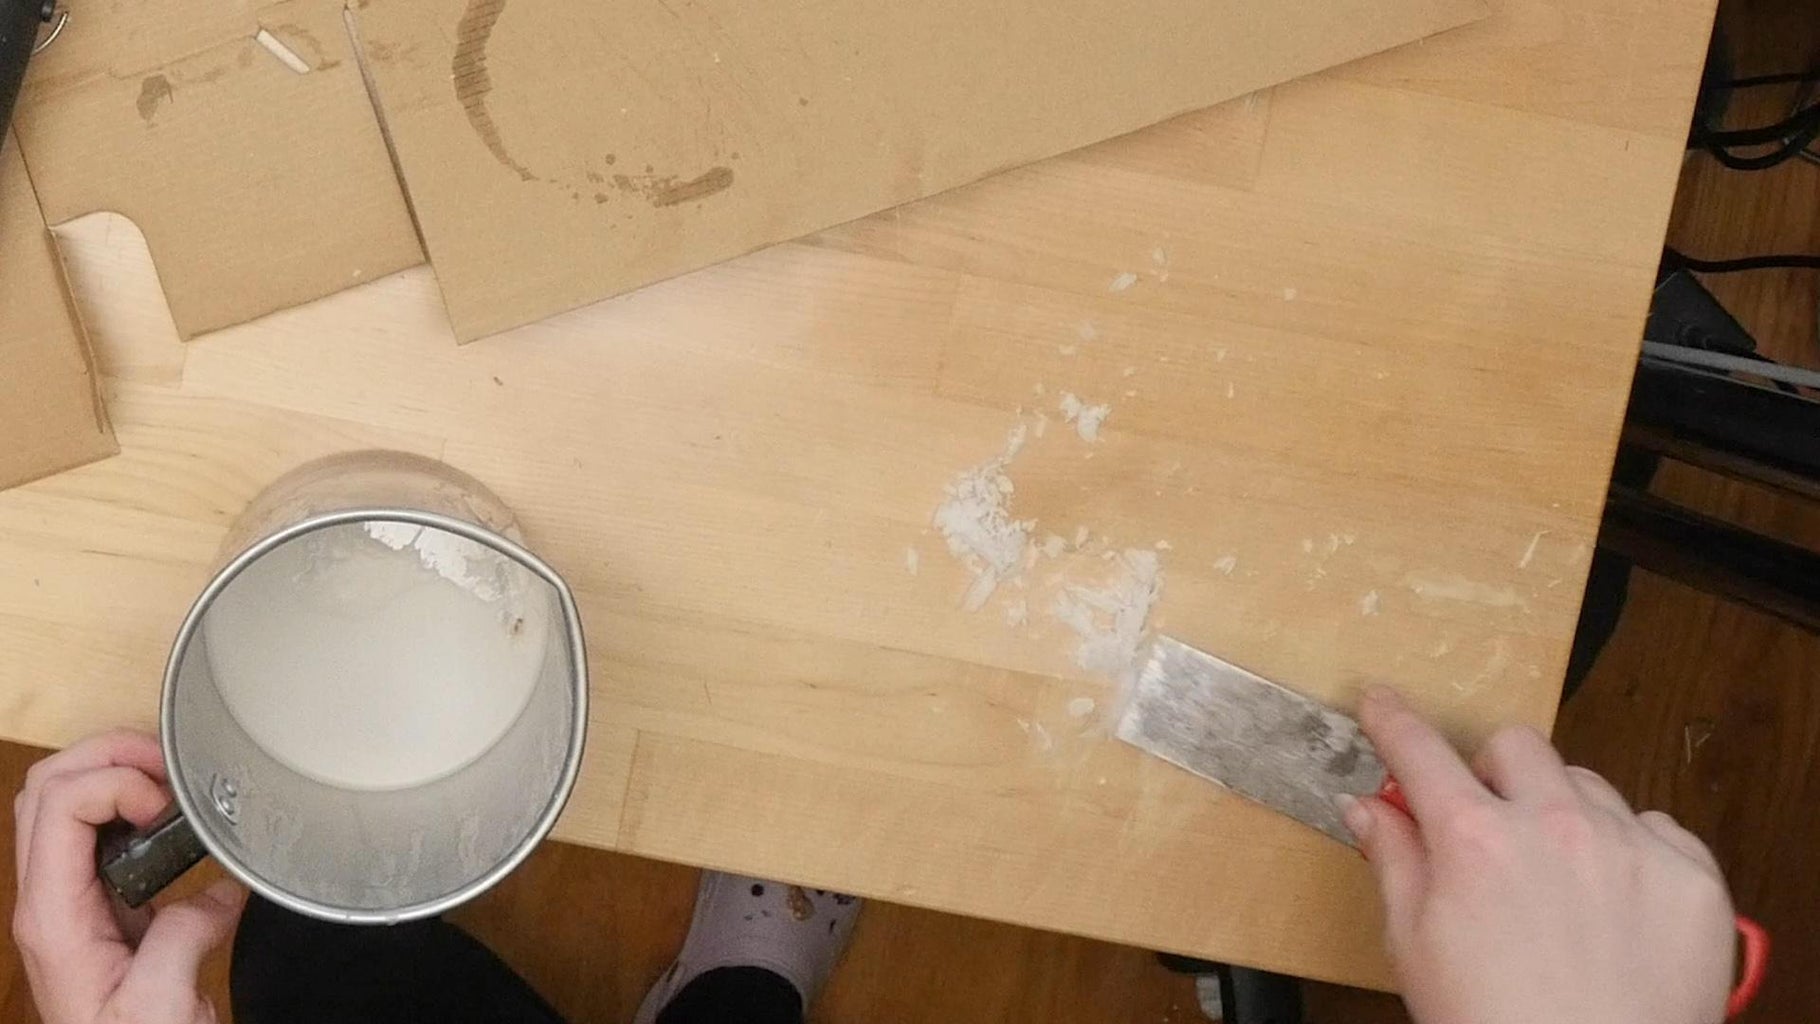
If you spill your wax (like I did), provided it’s on a hard surface, you can just wait for the wax to cool and solidify, then scrape it up with a scraper or a metal ruler. Sweep or vacuum up the big chunks of wax, then come back with your heat gun or blow dryer and a dry paper towel. Melt the wax and wipe it up as you go.
Step 8: (Optional) Add Patches
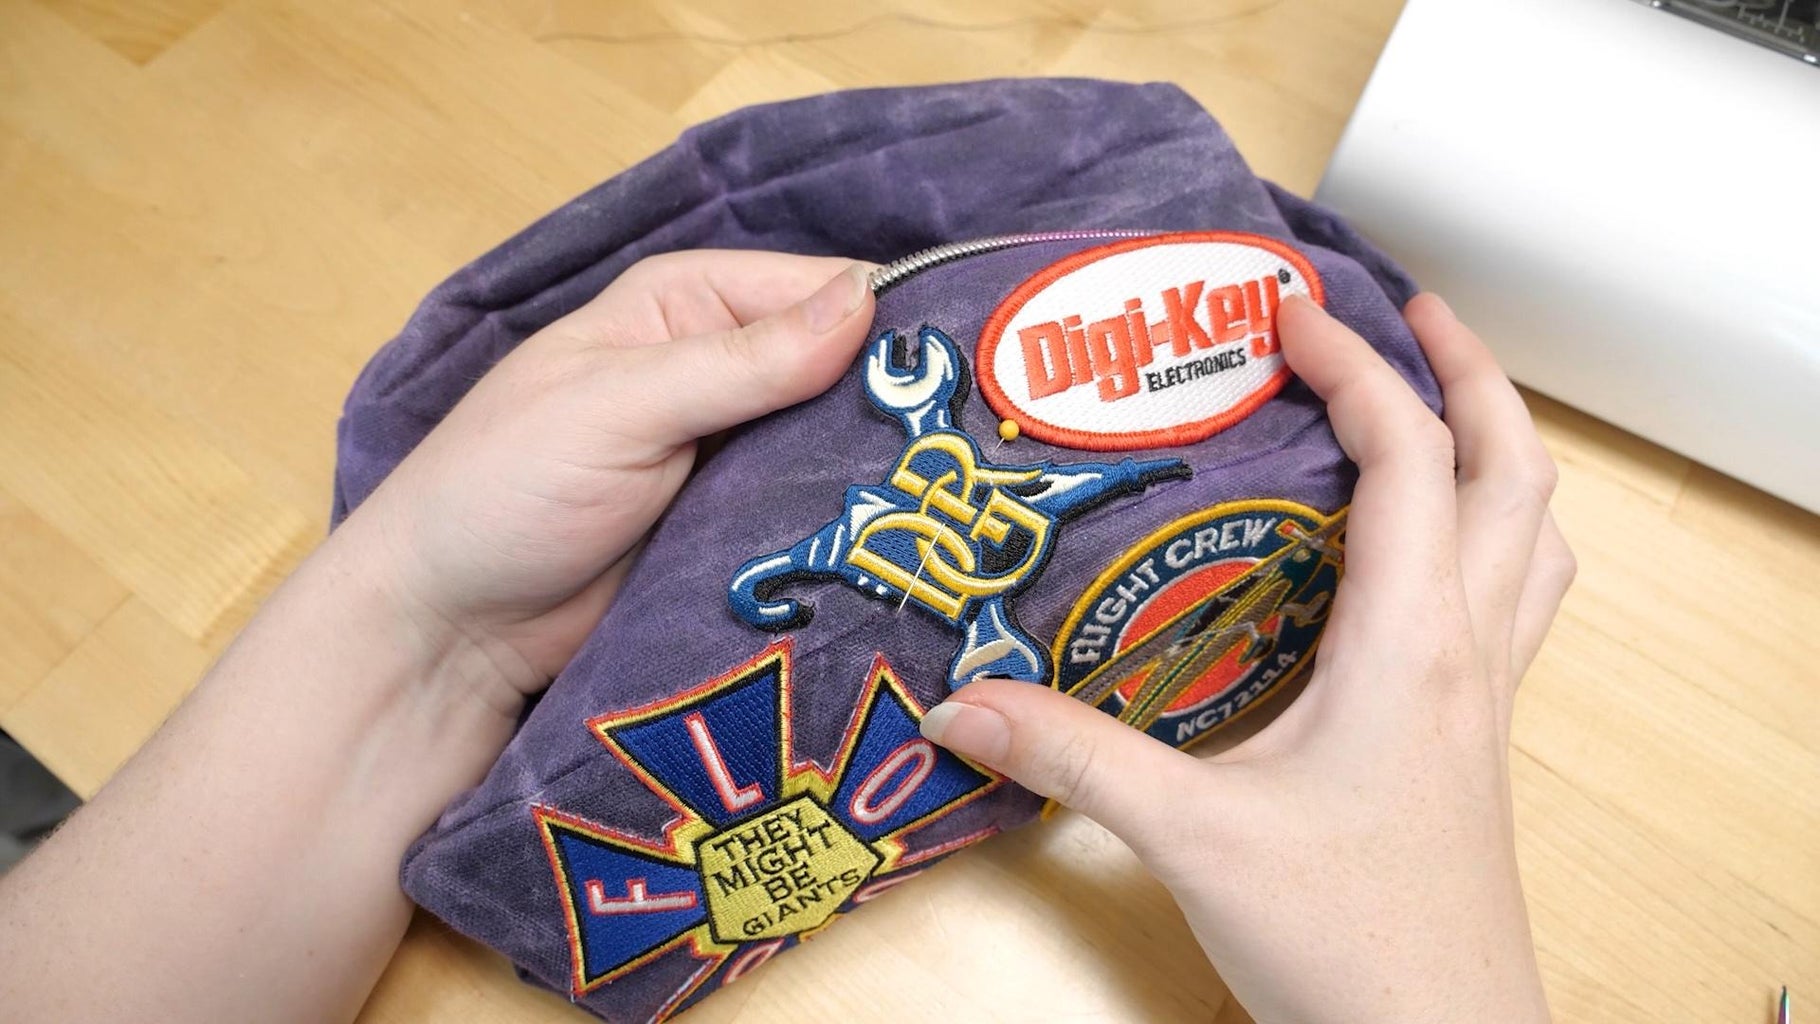
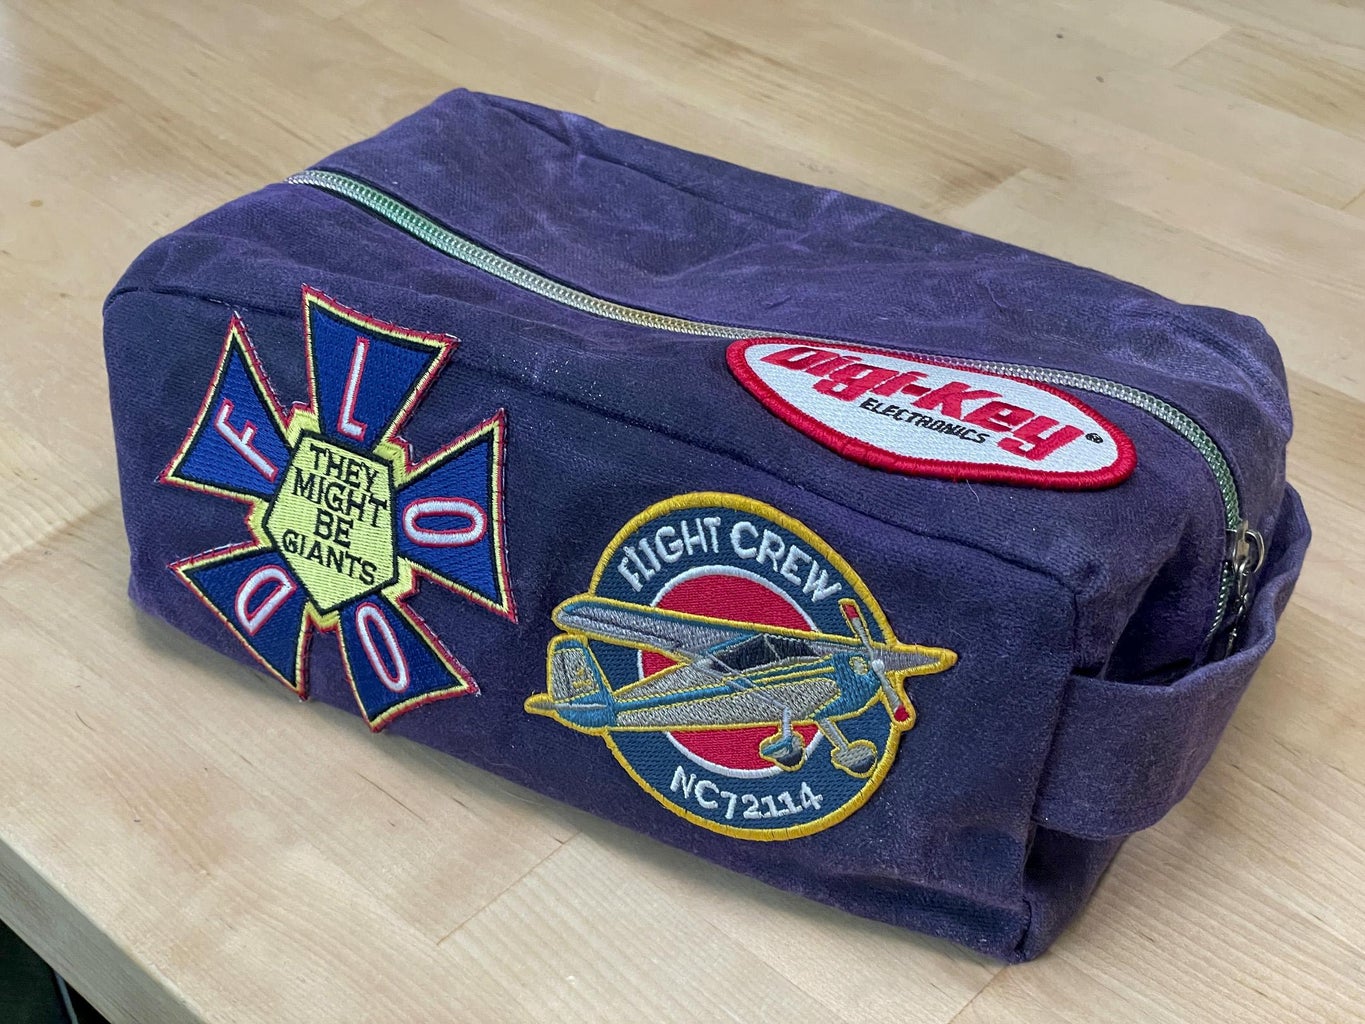
You can also accessorize your bag by stitching on some patches.
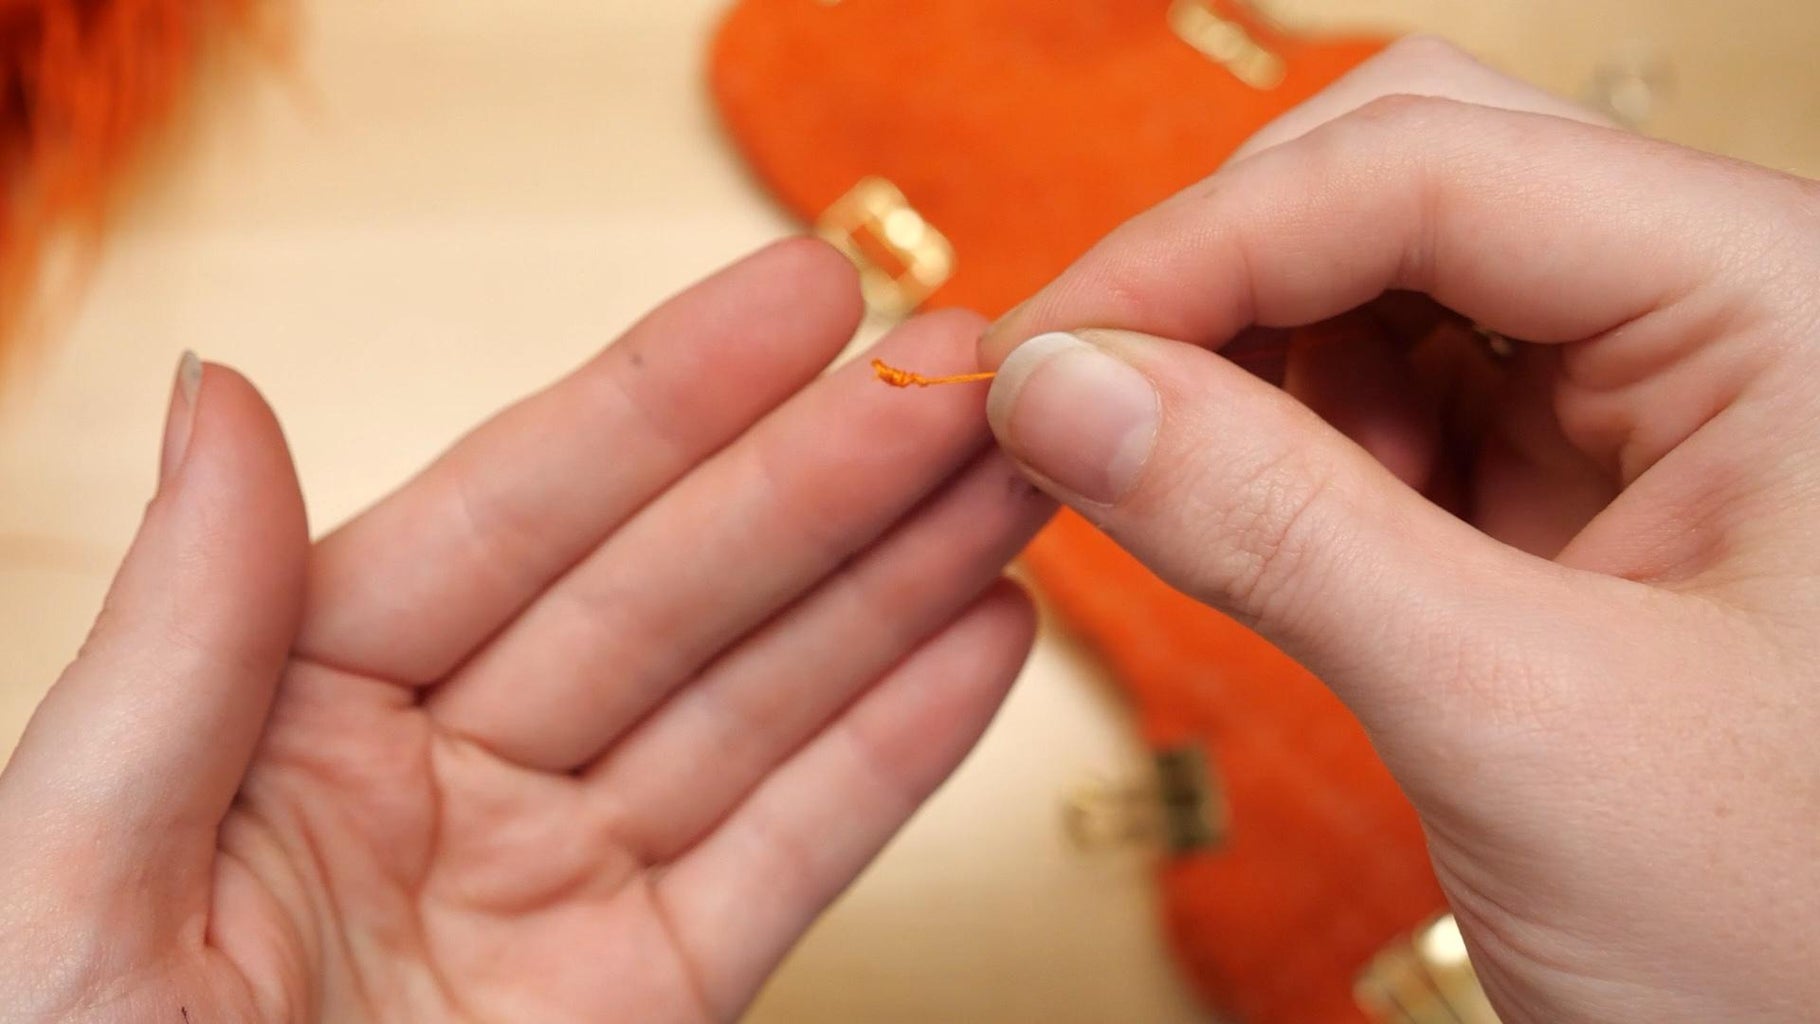
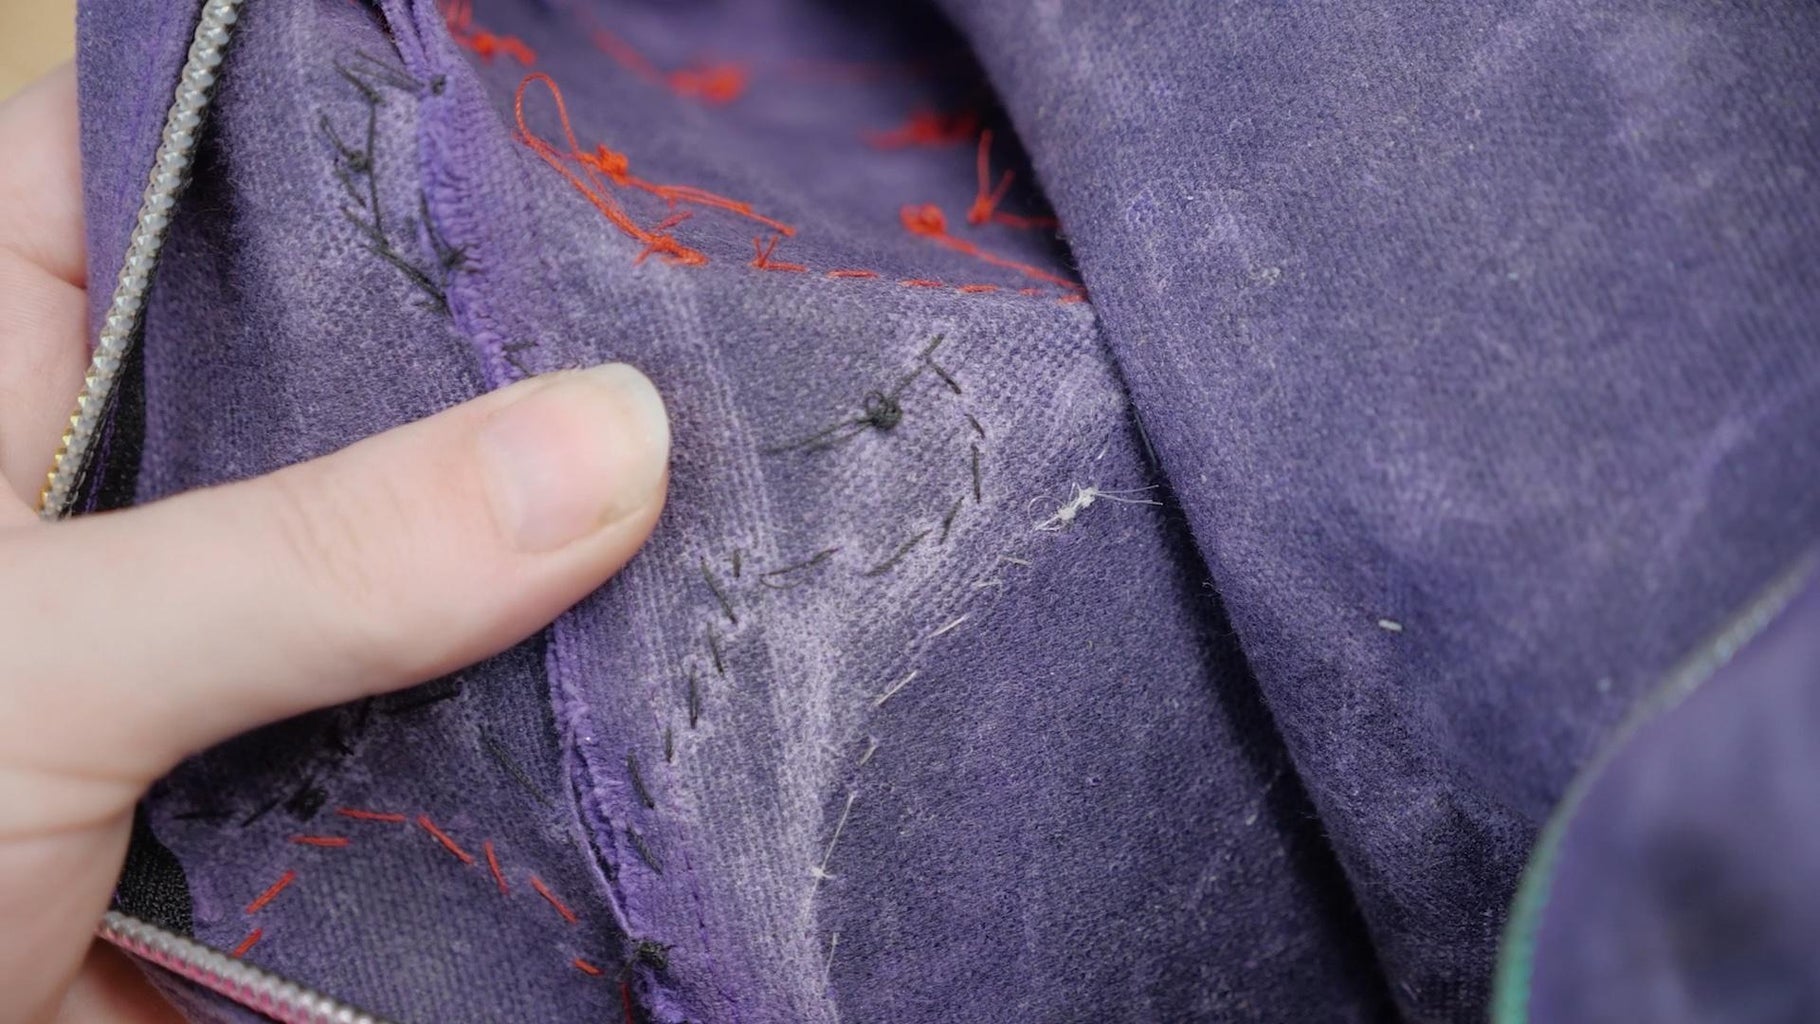
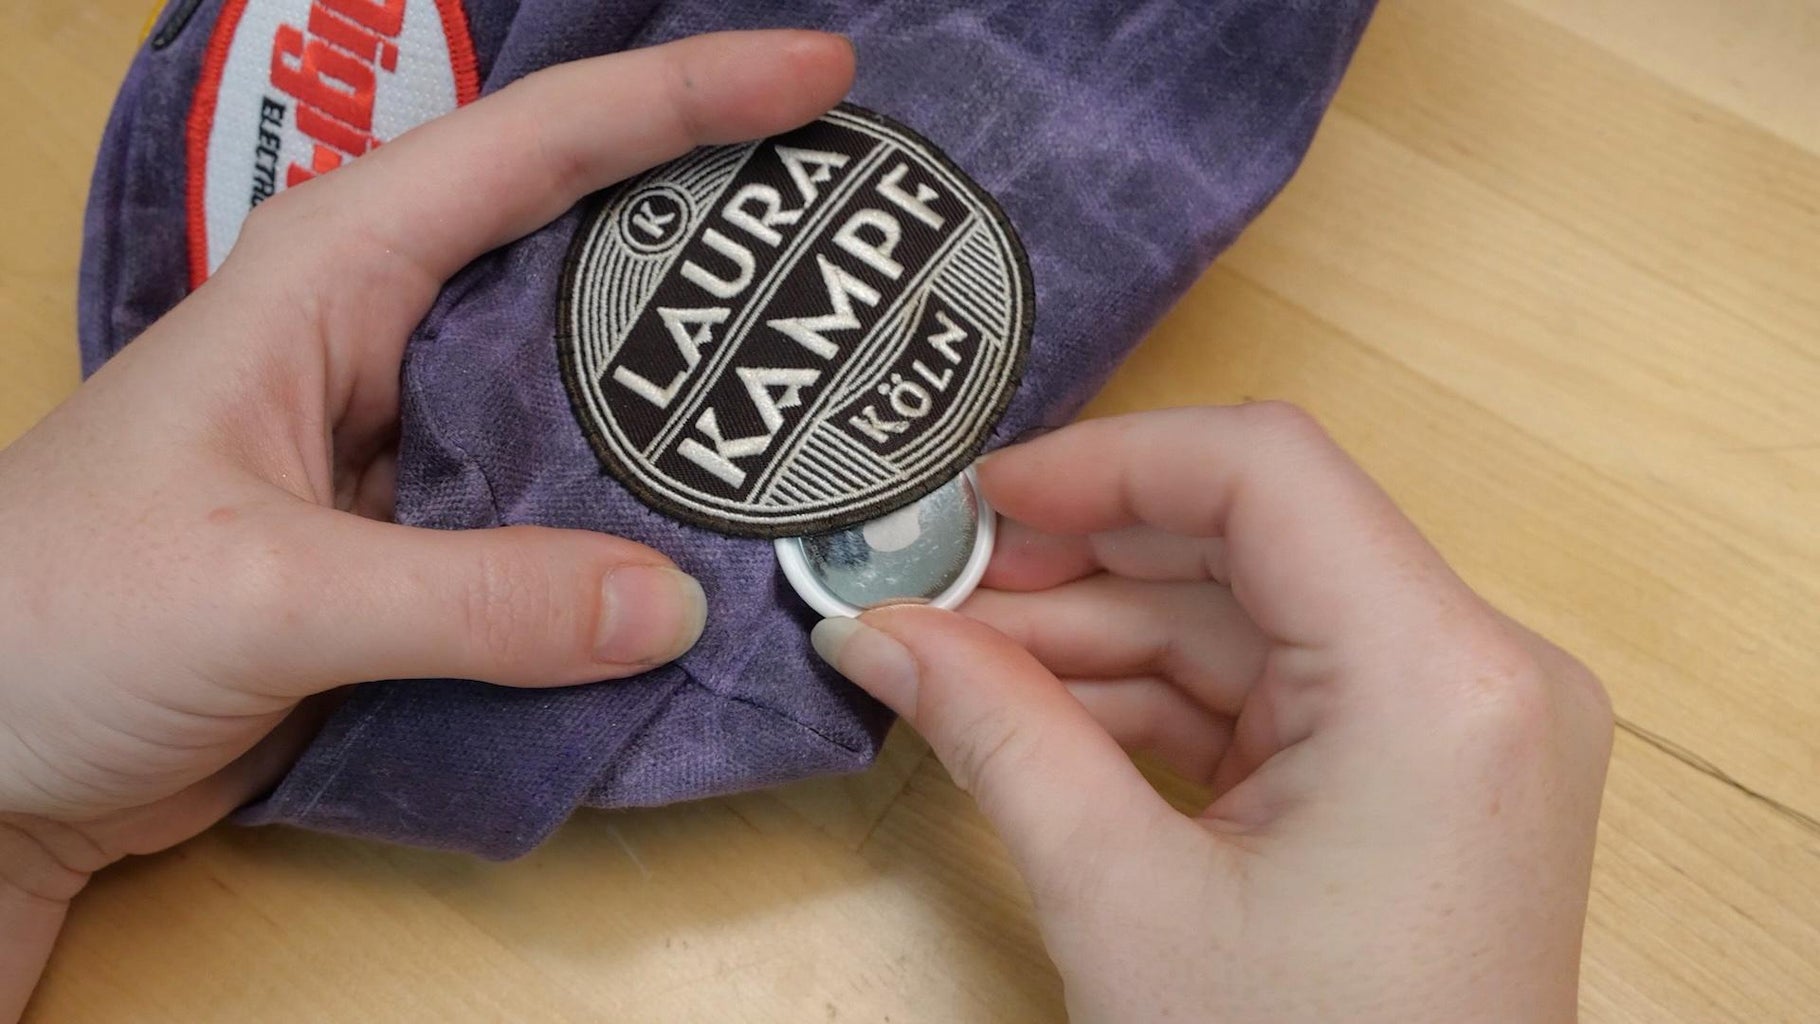
Thread a sewing needle with thread that matches the perimeter of your patch, then double it over and tie a knot at the ends. Starting from the inside of the bag, make small stitches perpendicular to the edge of the patch to secure it to the bag. You can stitch small sections on opposite sides to make it easier to hold the patch in place while you stitch everywhere else. You can even hide an AirTag behind a patch to ensure your bag doesn’t get misplaced.
After a while, the waxed canvas will relax a bit, since all that moving around will create creases and soften the overall look and feel. If you want to bring it back to crisp newness, you can hit it with the heat gun or hair dryer. Personally, I’m a fan of the worn-in texture.
Step 9: Use or Gift It!


And there you have it! Your very own handmade waxed canvas Dopp Kit, perfect for traveling or as a unique gift for someone special.


Comments
27 days ago
Looks like I'm going to need a sawing machine! Thanks for sharing your projects :)