
Introduction: Grogu Green Hat - for Babies or Toddlers
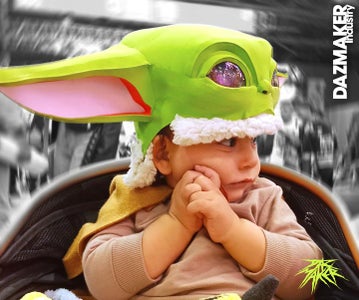


Hello fellow creators, today I will explain step by step how to create a green hat for the youngest of the family, based on the design of Grogu, the little young Padawan from The Mandalorian series.
This hat is perfect for cold days or cosplay conventions, You can put this hat on your baby for any occasion and since it is not a full face mask it will not suffocate or tire him out.
I wanted to make the hat inspired by Grogu since I think this is the perfect age to represent this character.
Supplies
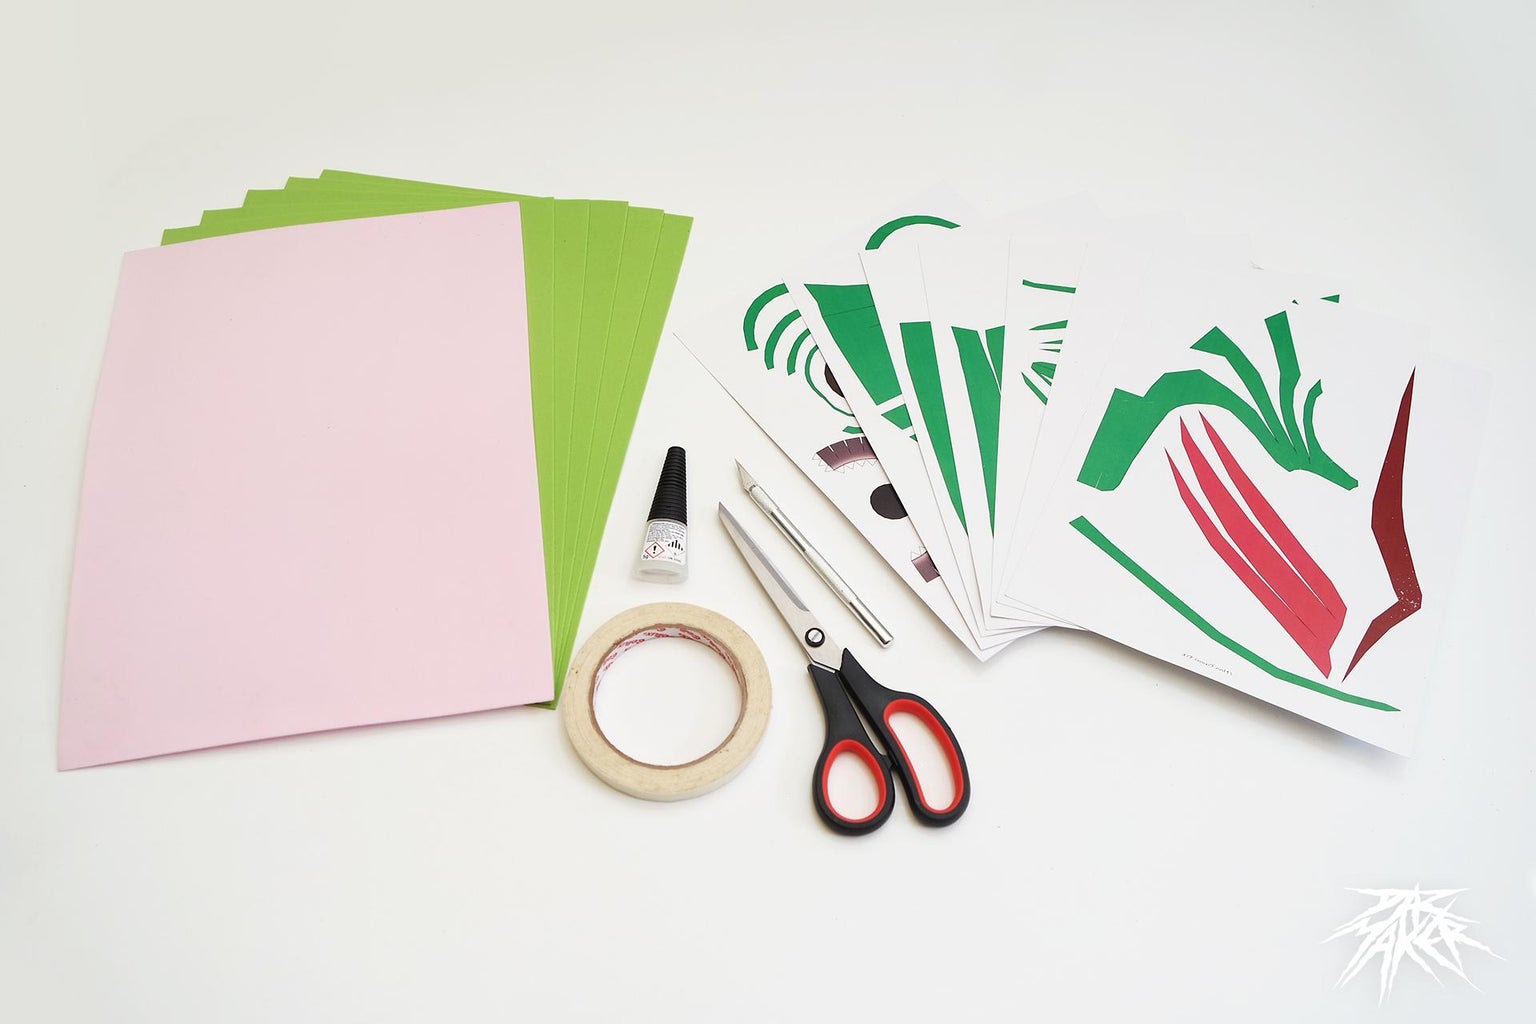
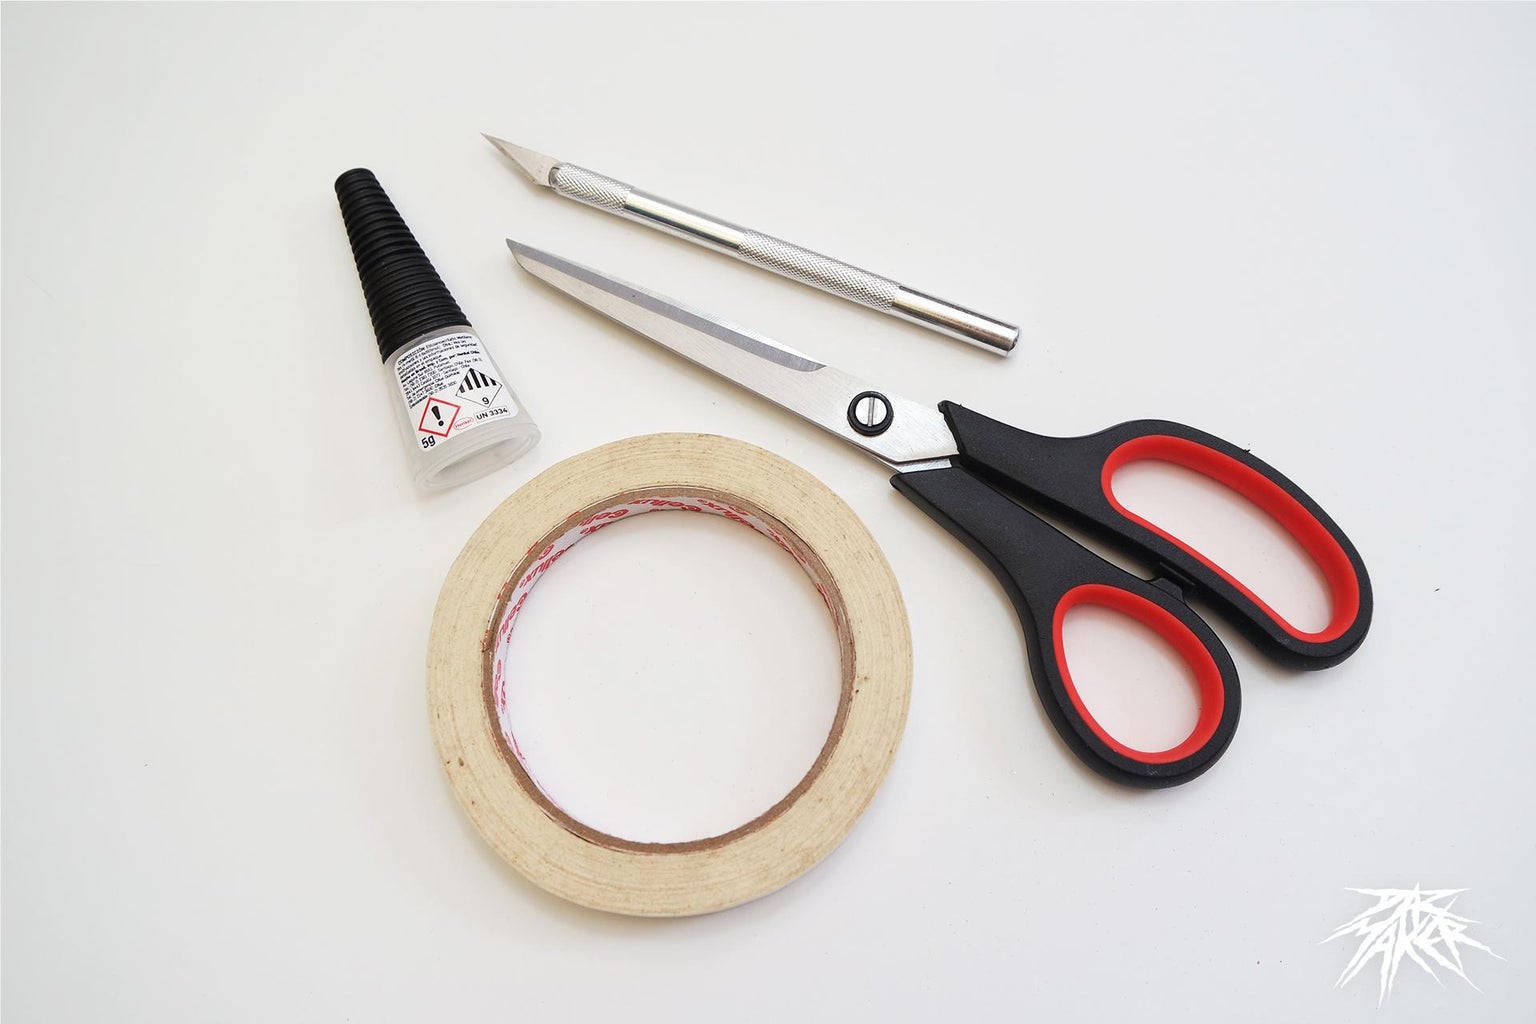

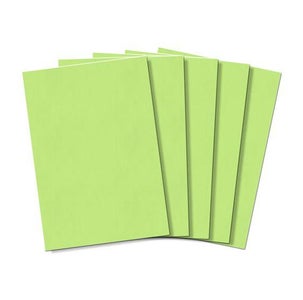
For our little hat we will need basic craft elements, such as scissors, glue, tape, green eva foam, and some paper templates and guides specifically designed to give our hat the shape of the grogu head.
some extra materials will be a transparent plastic bottle and woolen fur cloth, although they are not essential later you will see how I will use them
Step 1: References

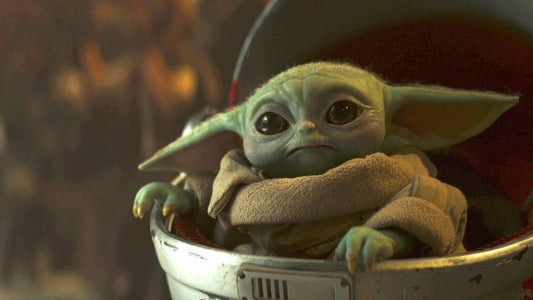
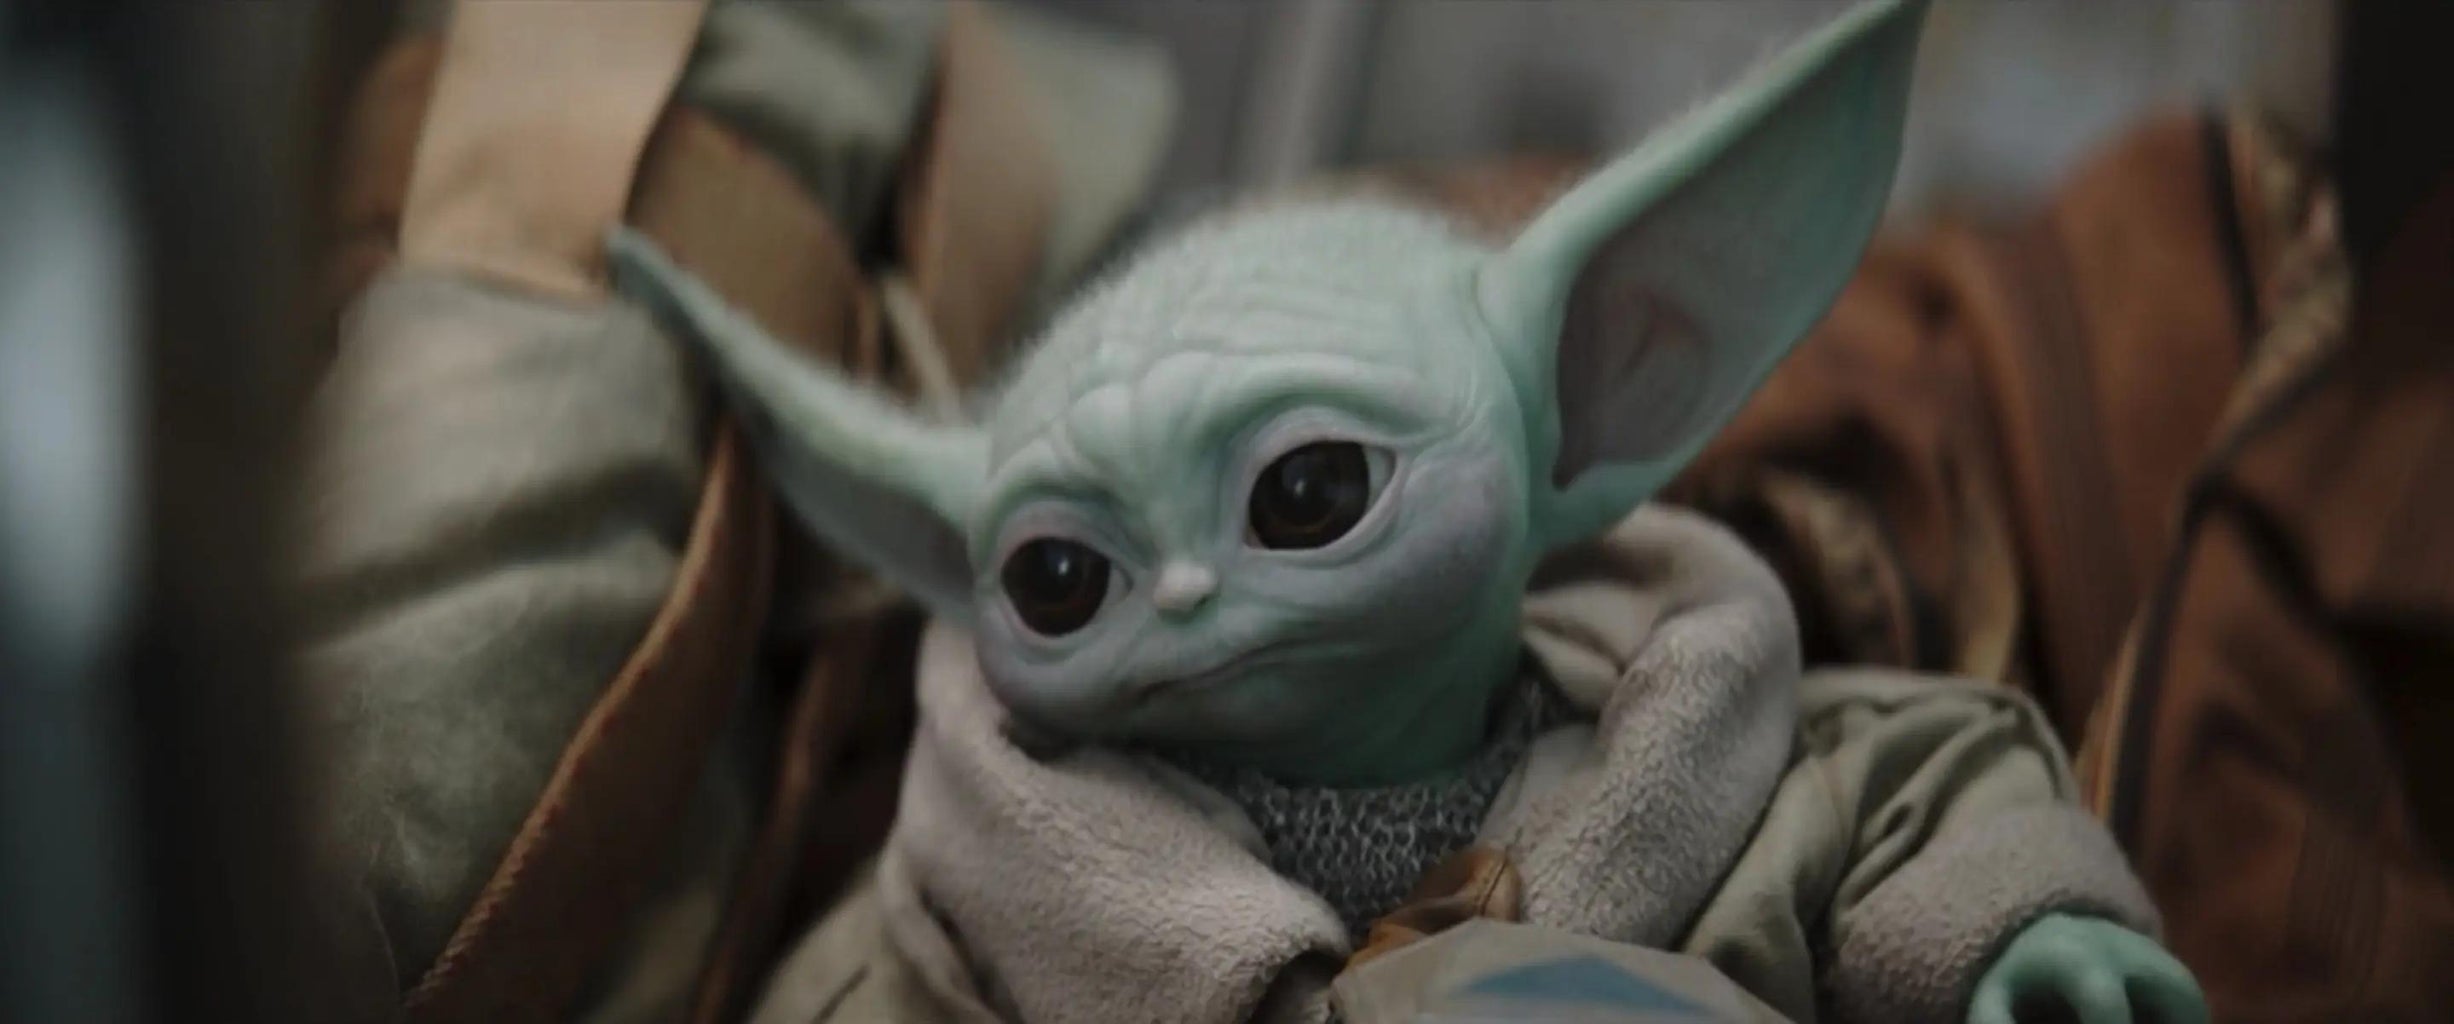
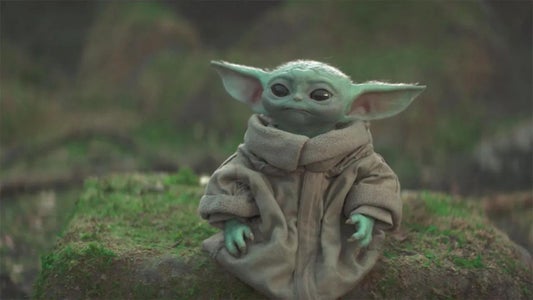
Grogu, better known as "the Child", is a green-skinned Jedi Padawan and a Mandalorian foundling, who belongs to the same species as Jedi Grand Master Yoda, Grogu was born around 41 before the Battle of Yavin, and was raised in the Jedi Temple on Coruscant.
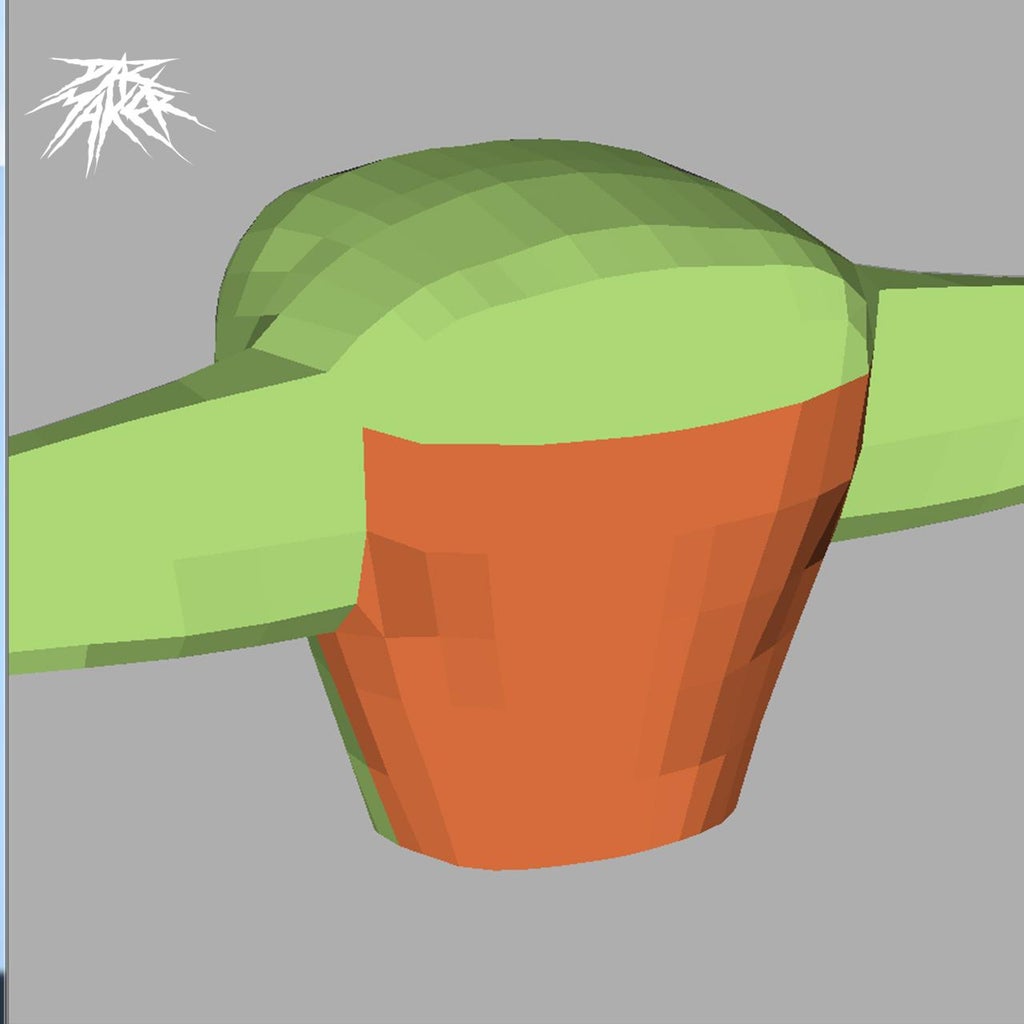
Step 2: The Grogu Design

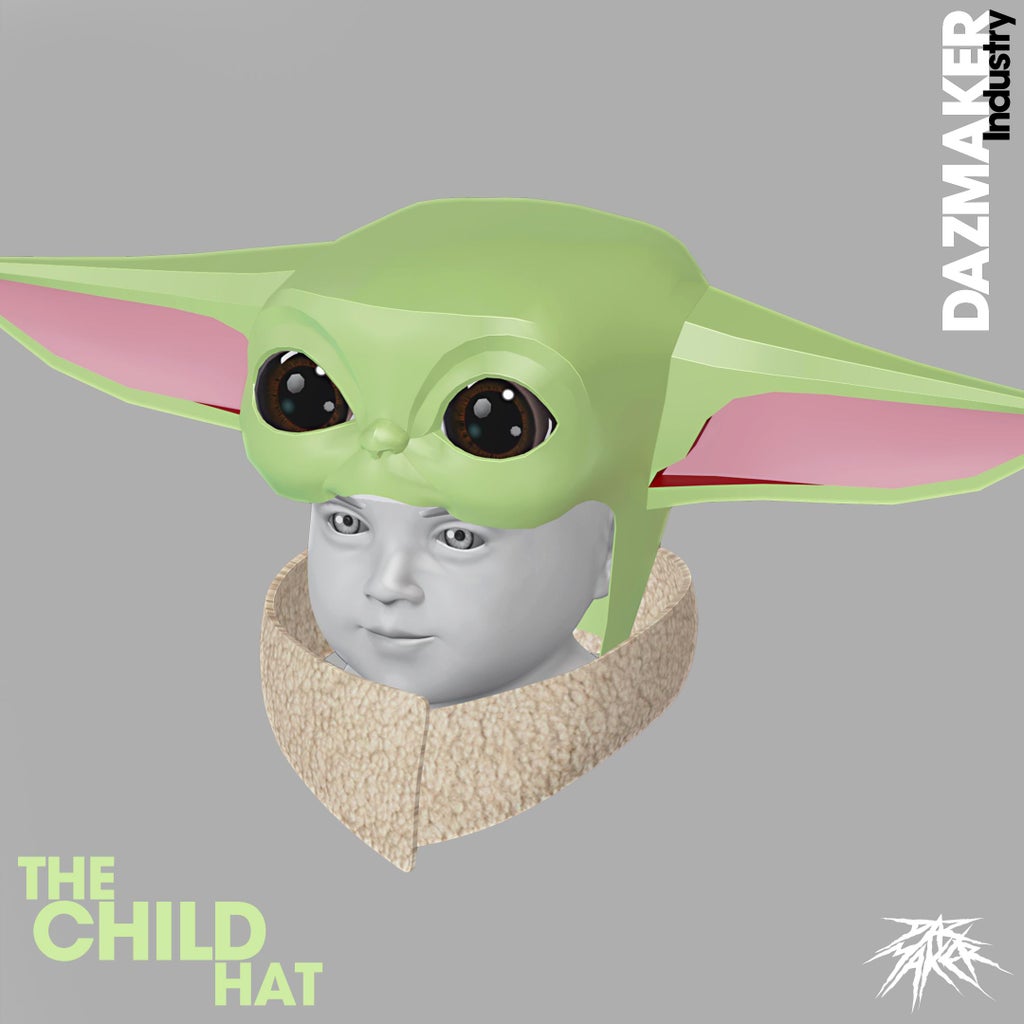
For the design of the hat, I based on the more representative features of Grogu, his big eyes, his tiny nose and his extended ears, I wanted it not to be a mask since I wanted it to be functional for a baby from 10 months to 18 months *, since at this age of the infant the things that cover his face can be annoying or can harm his breathing.
The most recommended thing when we dress up a baby with a costume or cover a baby due to the weather, is always to give him good space to breathe, so also look for With the piece of the scarf that is 100% removable, it was functional and served as a generator of warmth for the child.
*If you would like an adult size hat for your use let me know so I can modify the size and layout of the templates.
Step 3: Templates
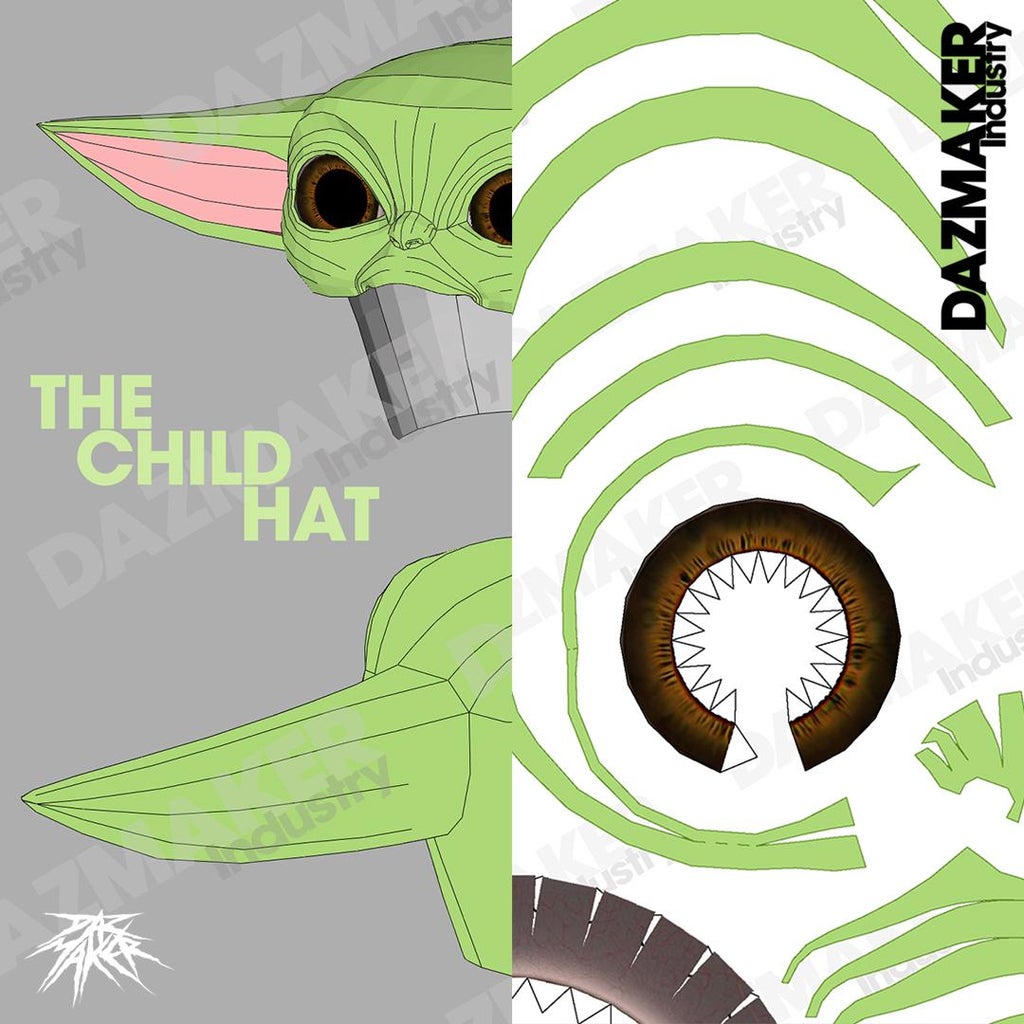
You can find and download the Grogu hat templates here:
>>>Get it Here!<<<
If you find any errors or have difficulties in assembling, send me a message, Although the order is quite intuitive, you just have to follow the steps in this Instructable and review the guides attached in the template.
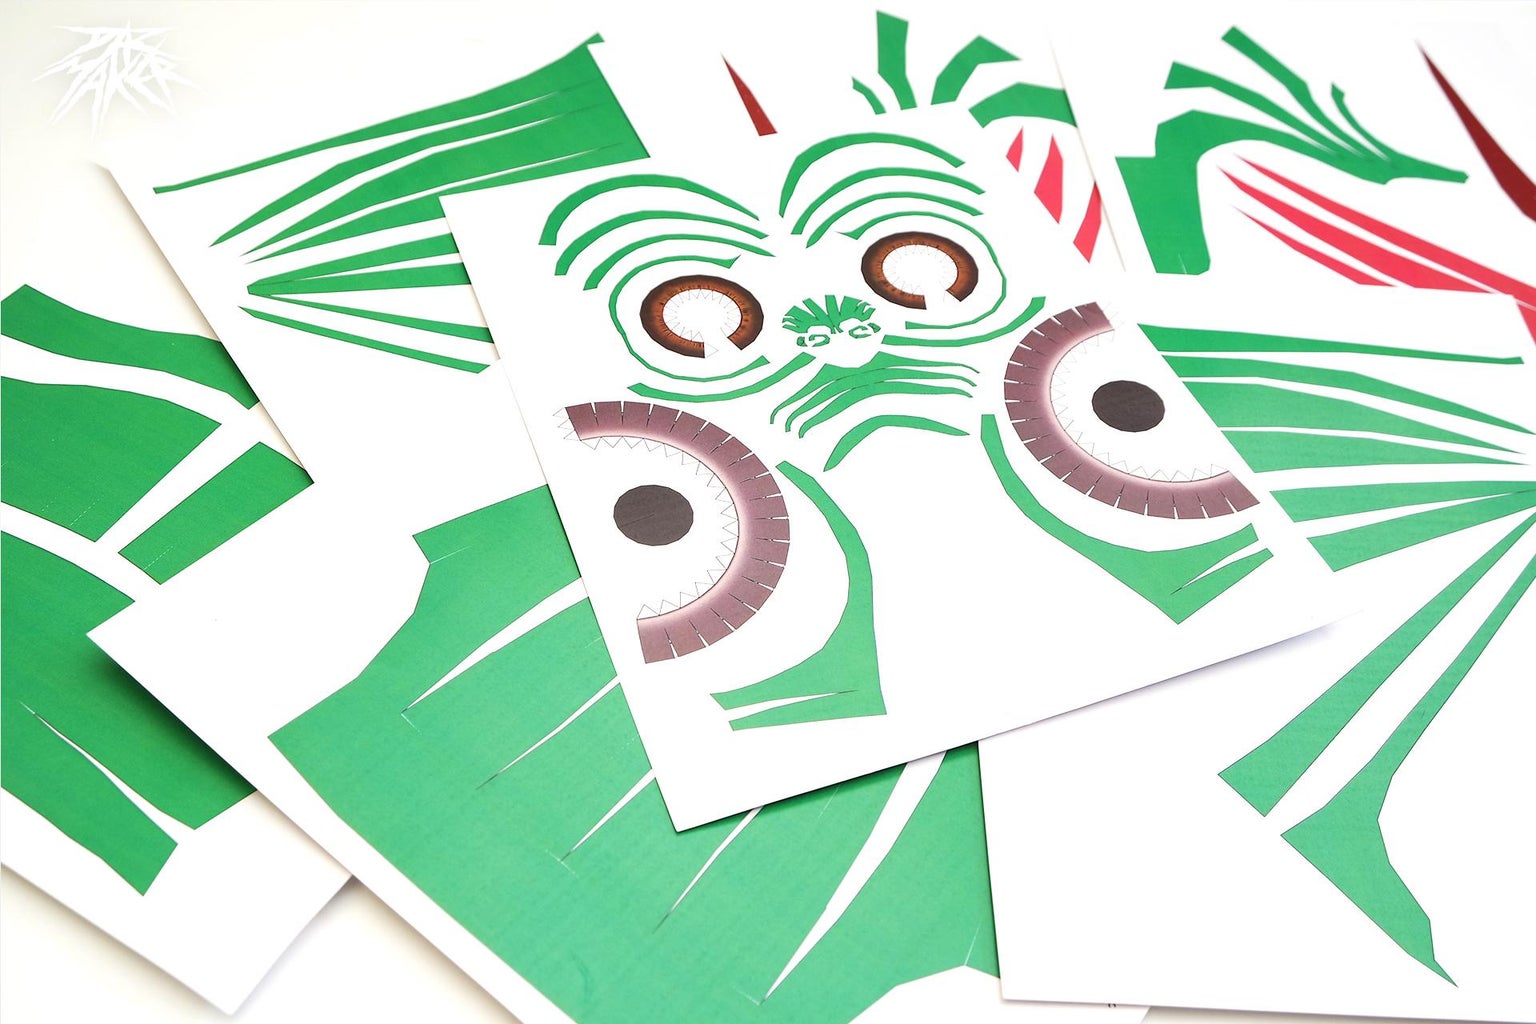
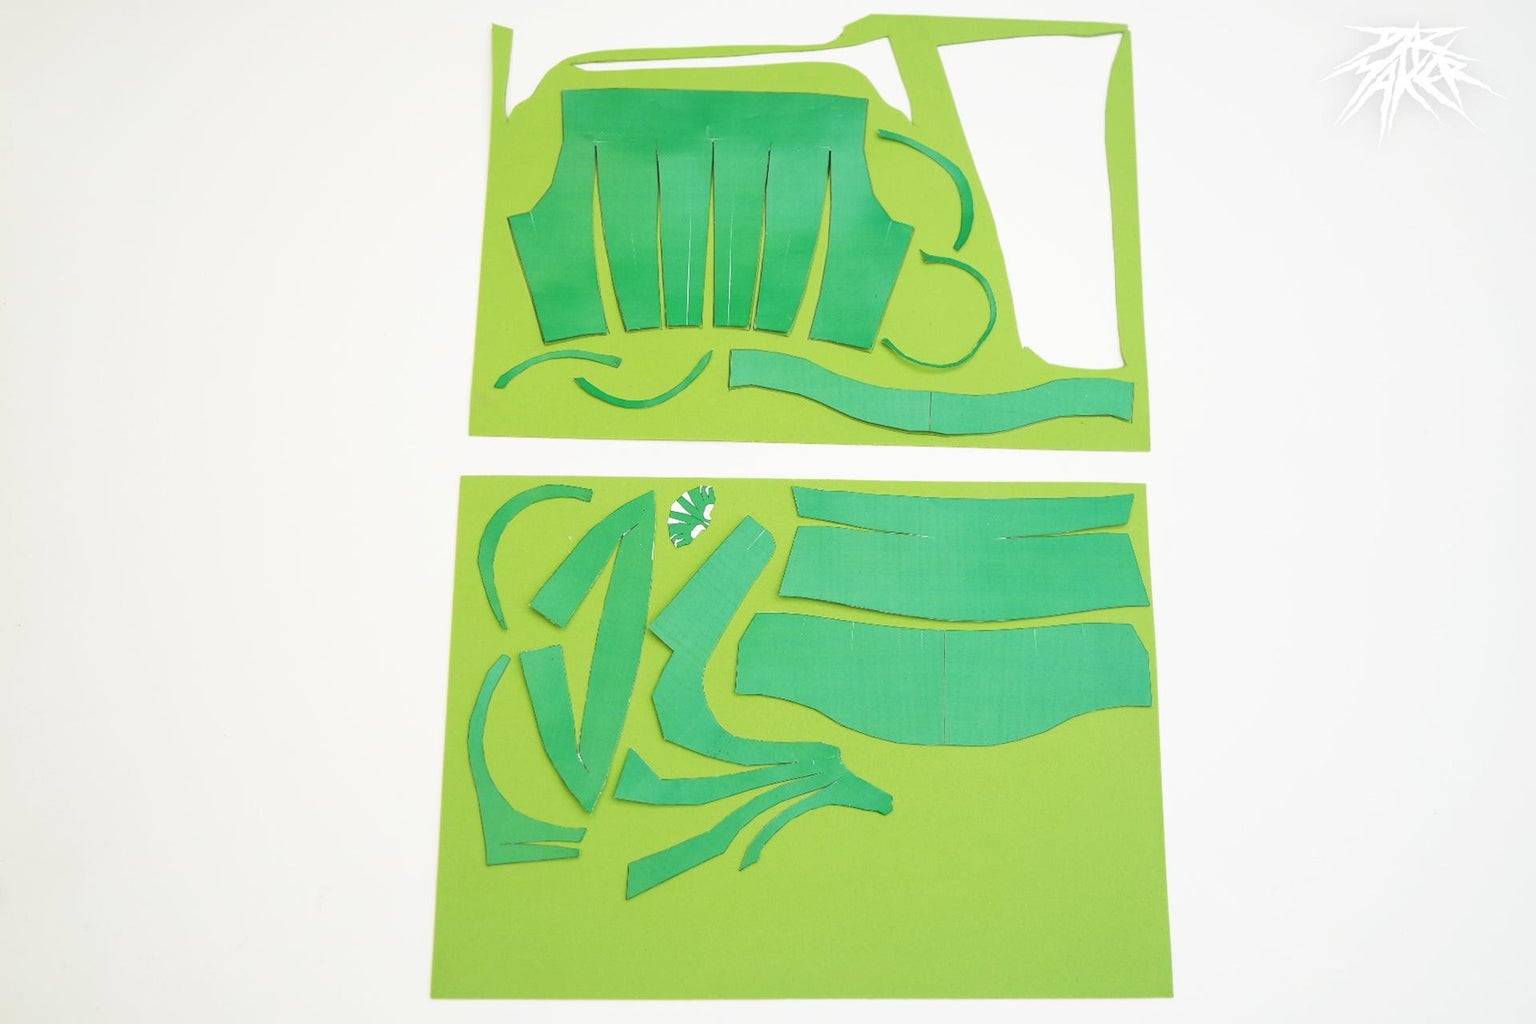
Step 4: Cutting the Templates
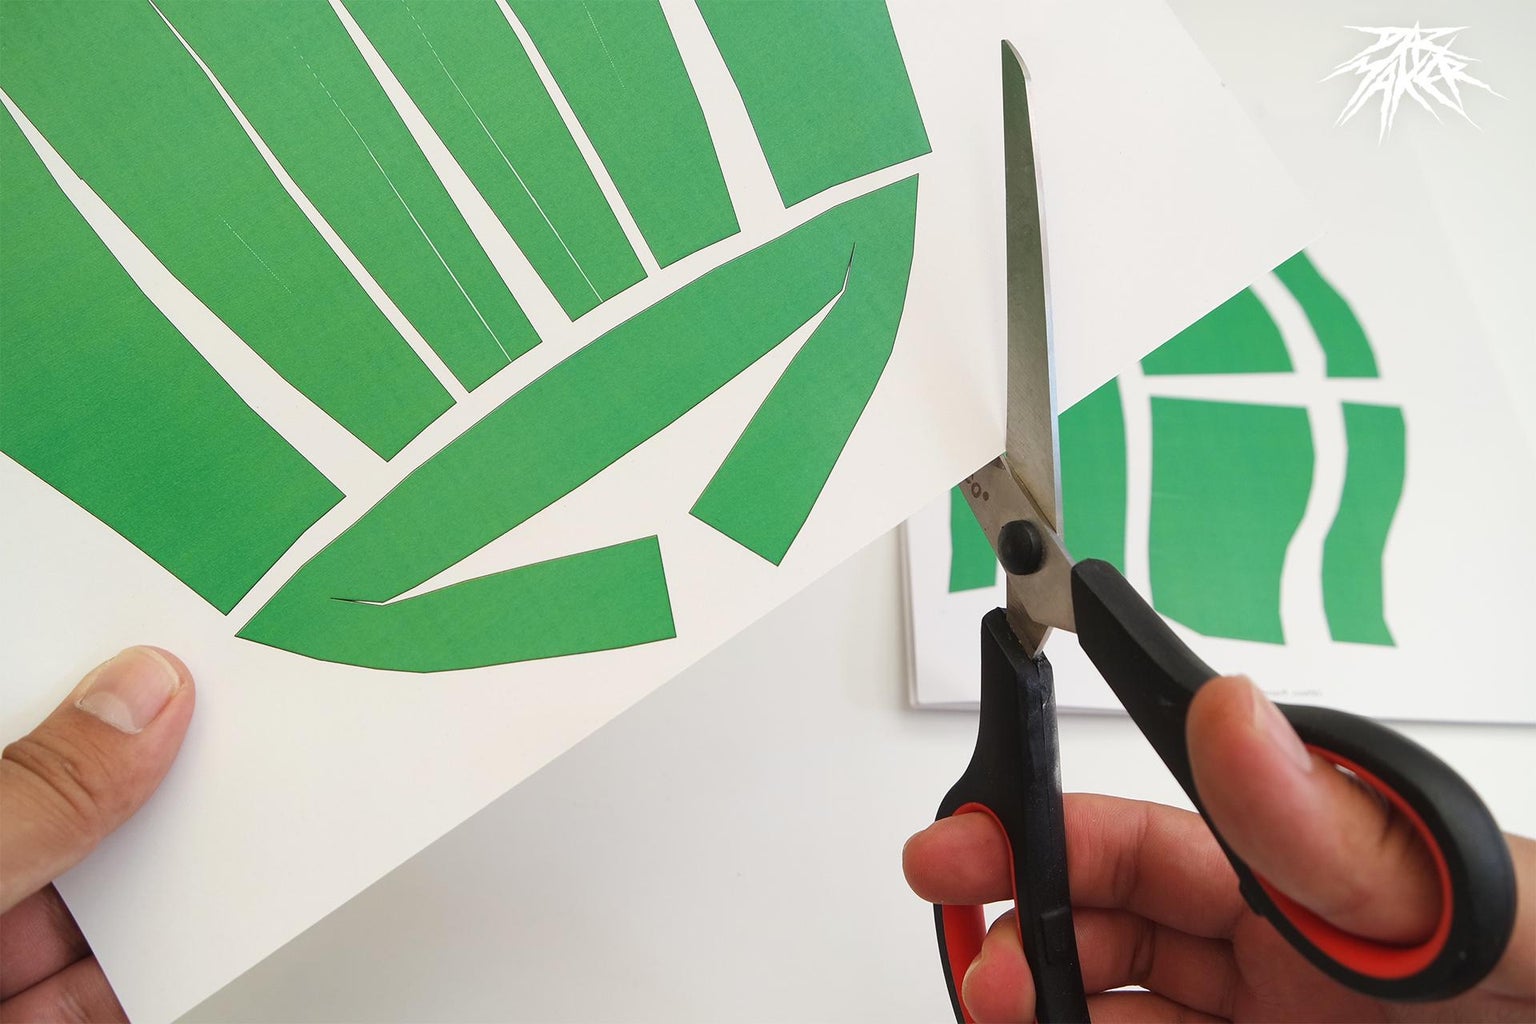
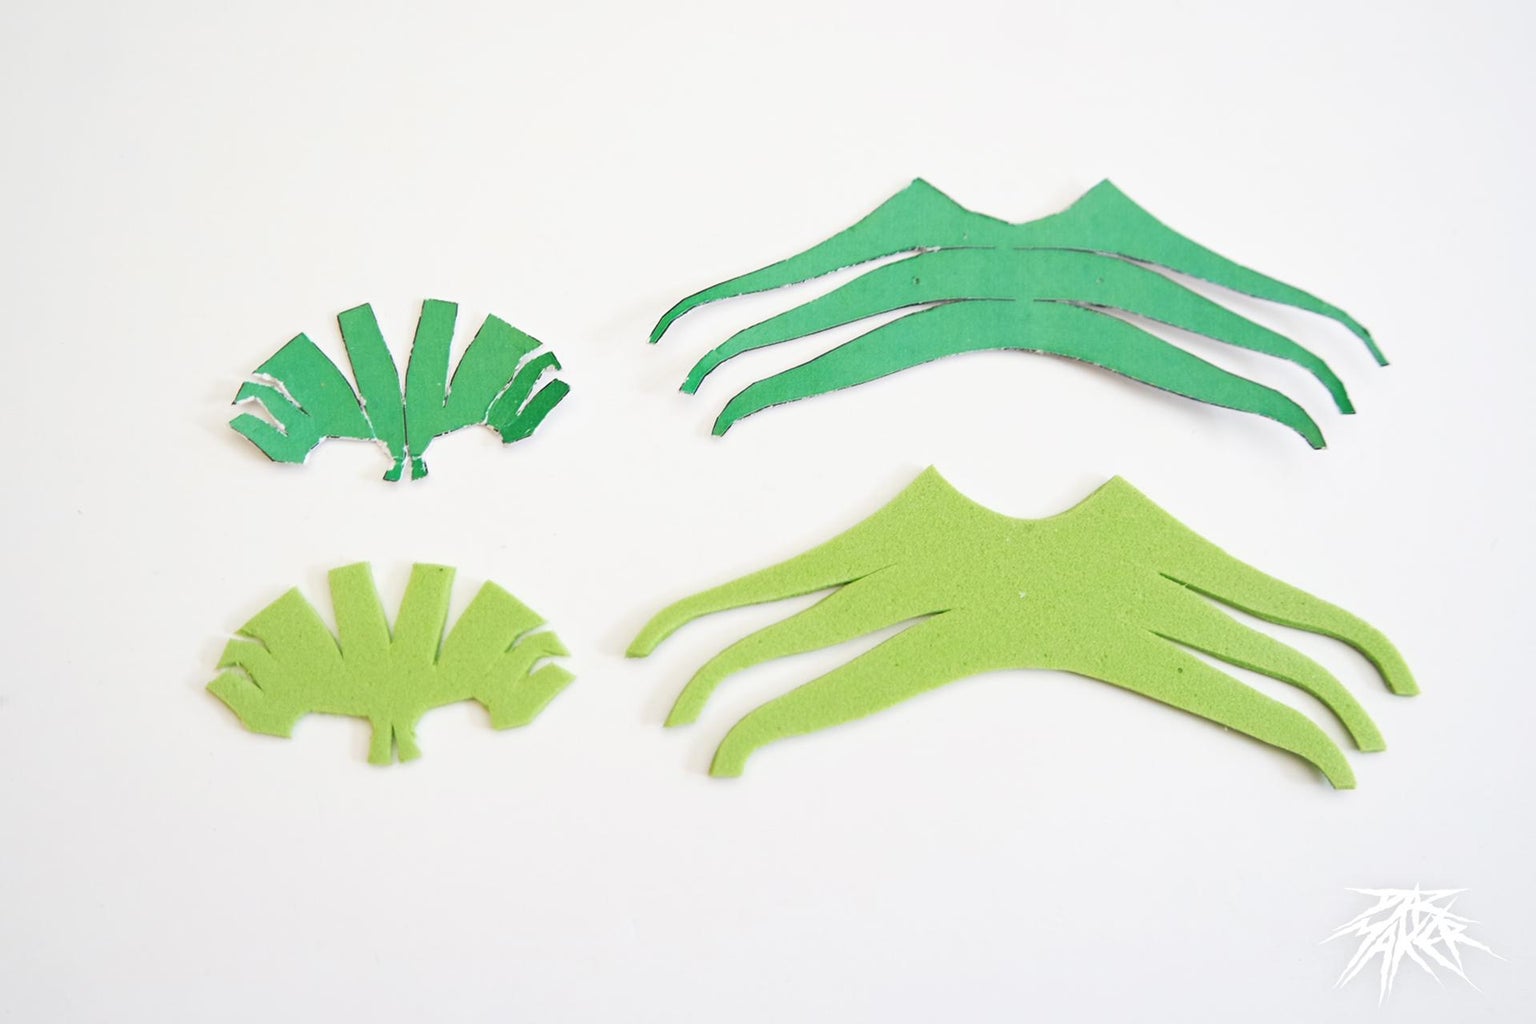
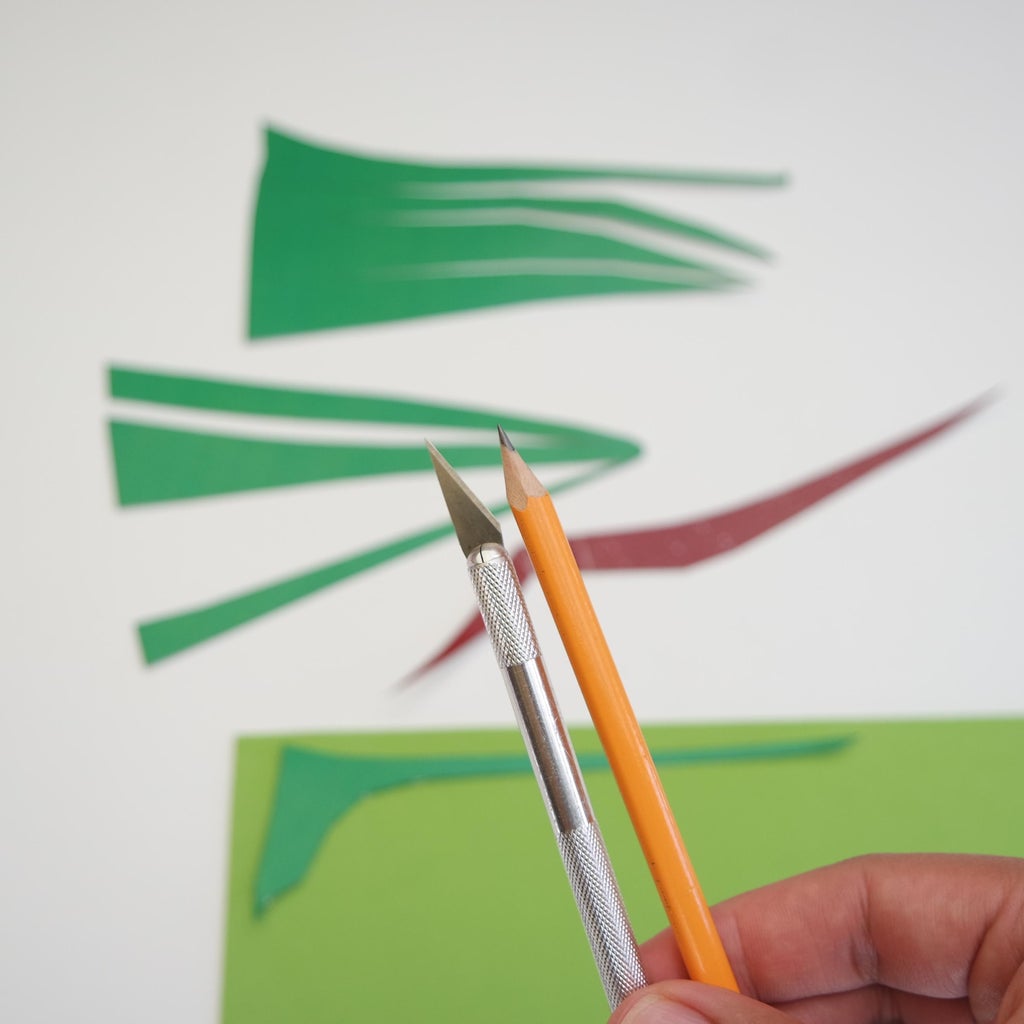
Now what we will do is cut out our templates, for that use the scissors or the exacto one as it is easier for you, I recommend the exact one to use for detailed parts such as the nose.
being careful with the long scissors cuts!
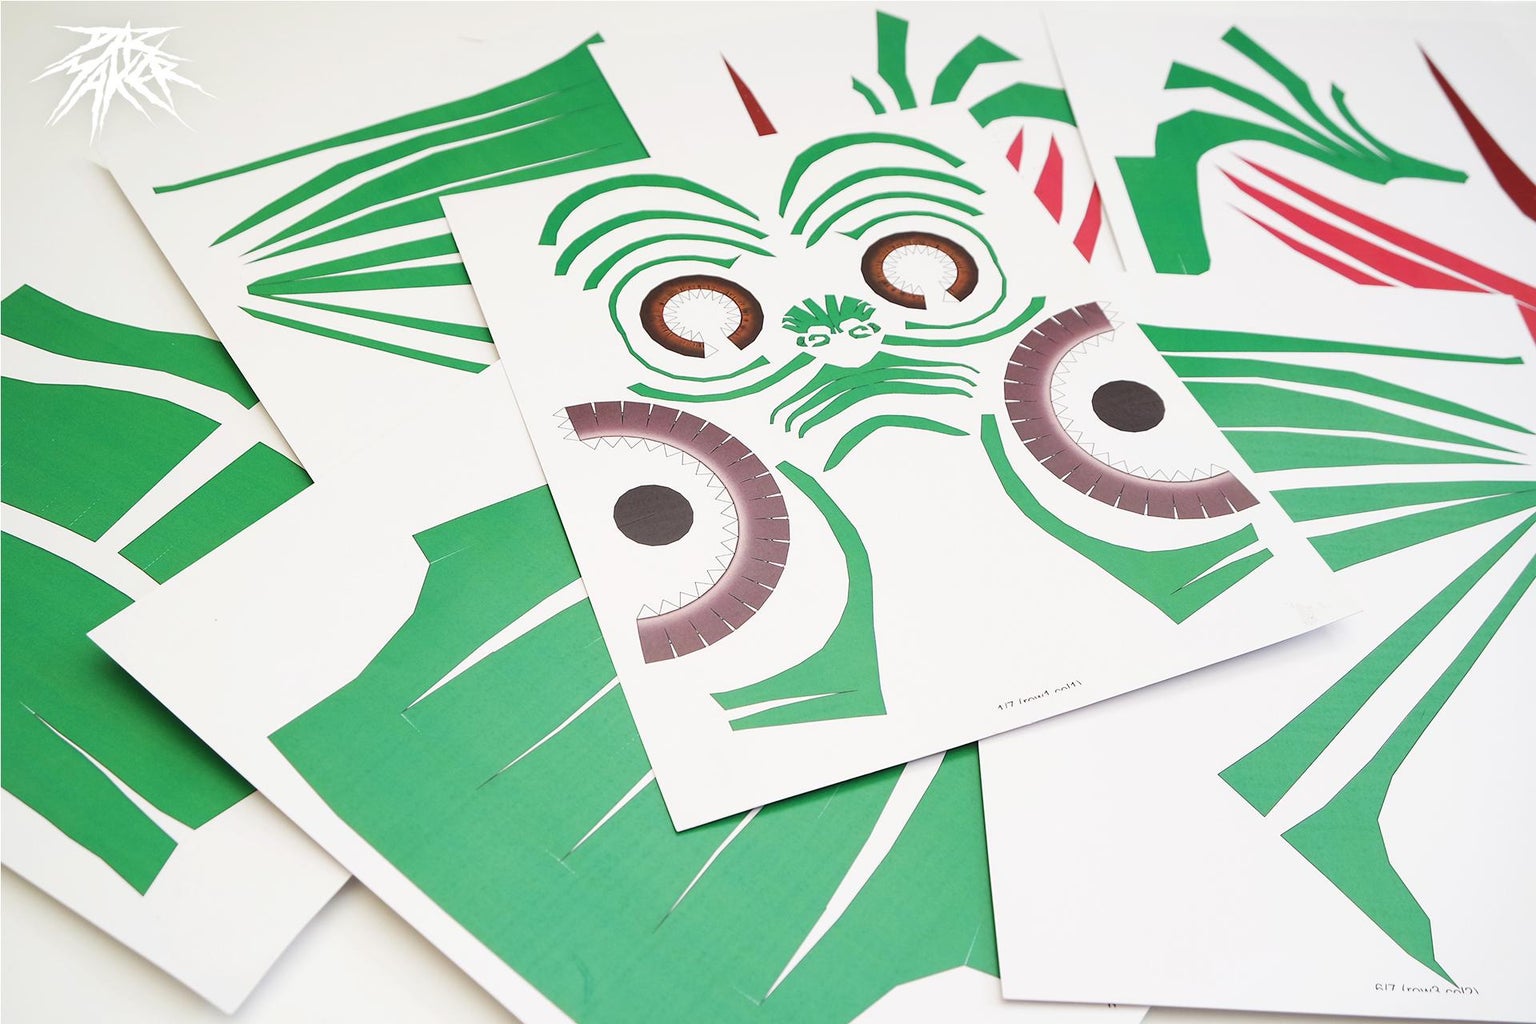
I printed the patterns in a darker green to transfer them onto the lighter green eva foam and not cause confusion.
Step 5: Order

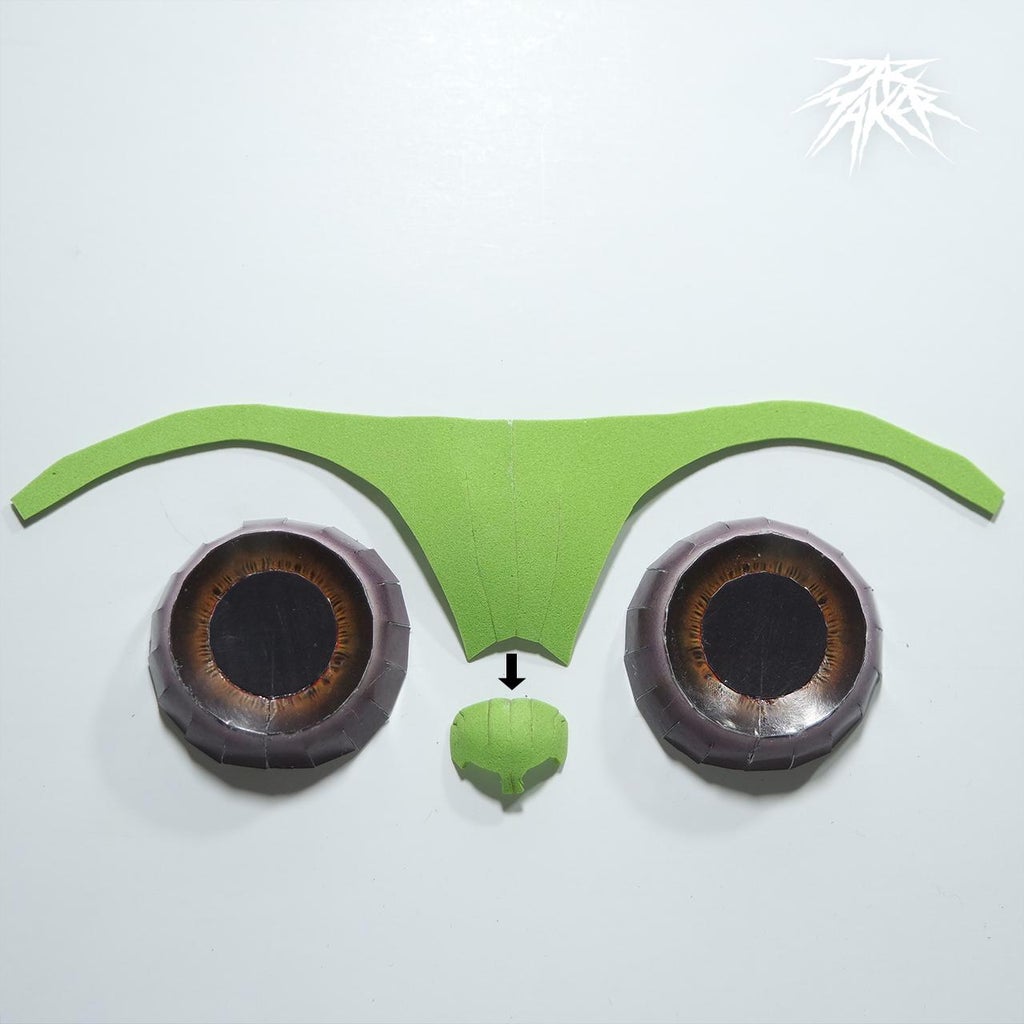
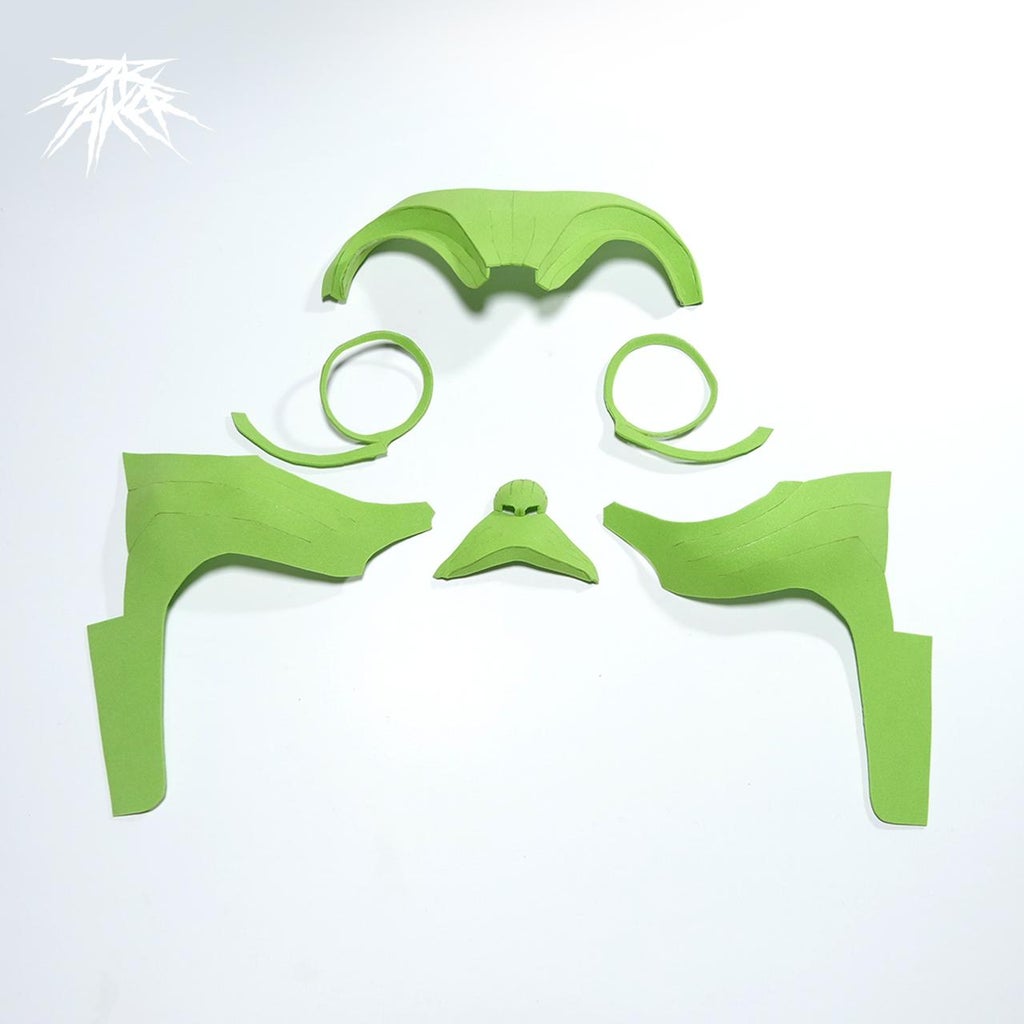
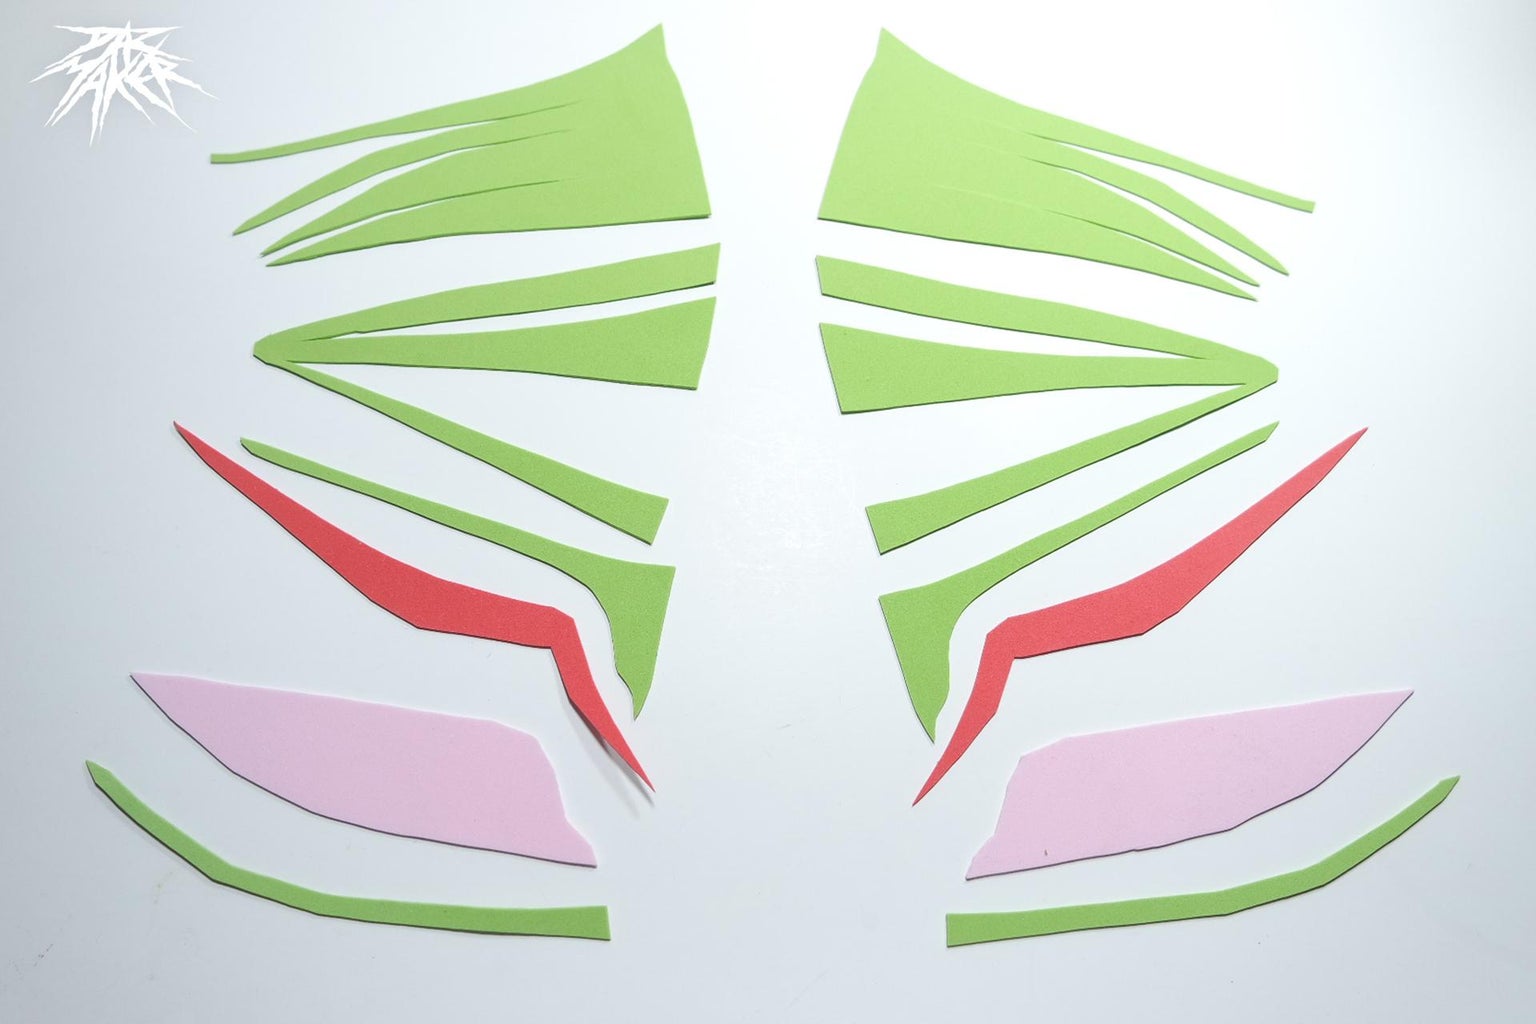
In the following image you will find a basic guide of how each part goes, so that you take it into account when assembling
Step 6: Correct Green


Now we must choose the most successful green for our hat. for this refer to the color palette of grogu, the colors do not have to be exact, but I leave the color palette as an example for a better approximation.
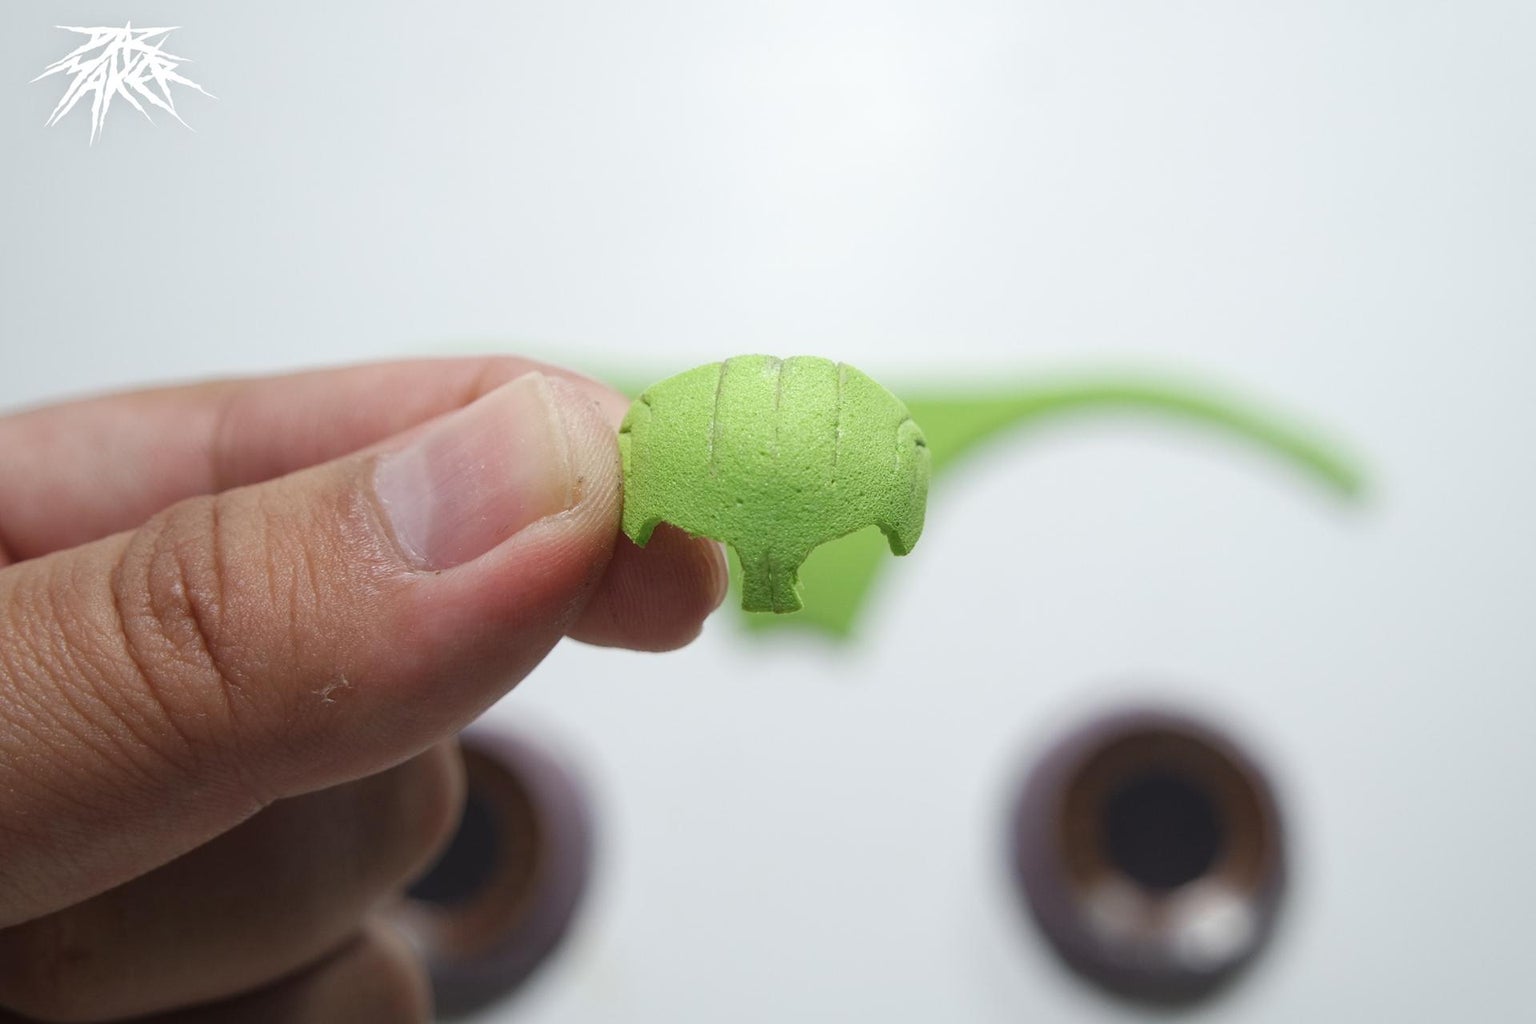
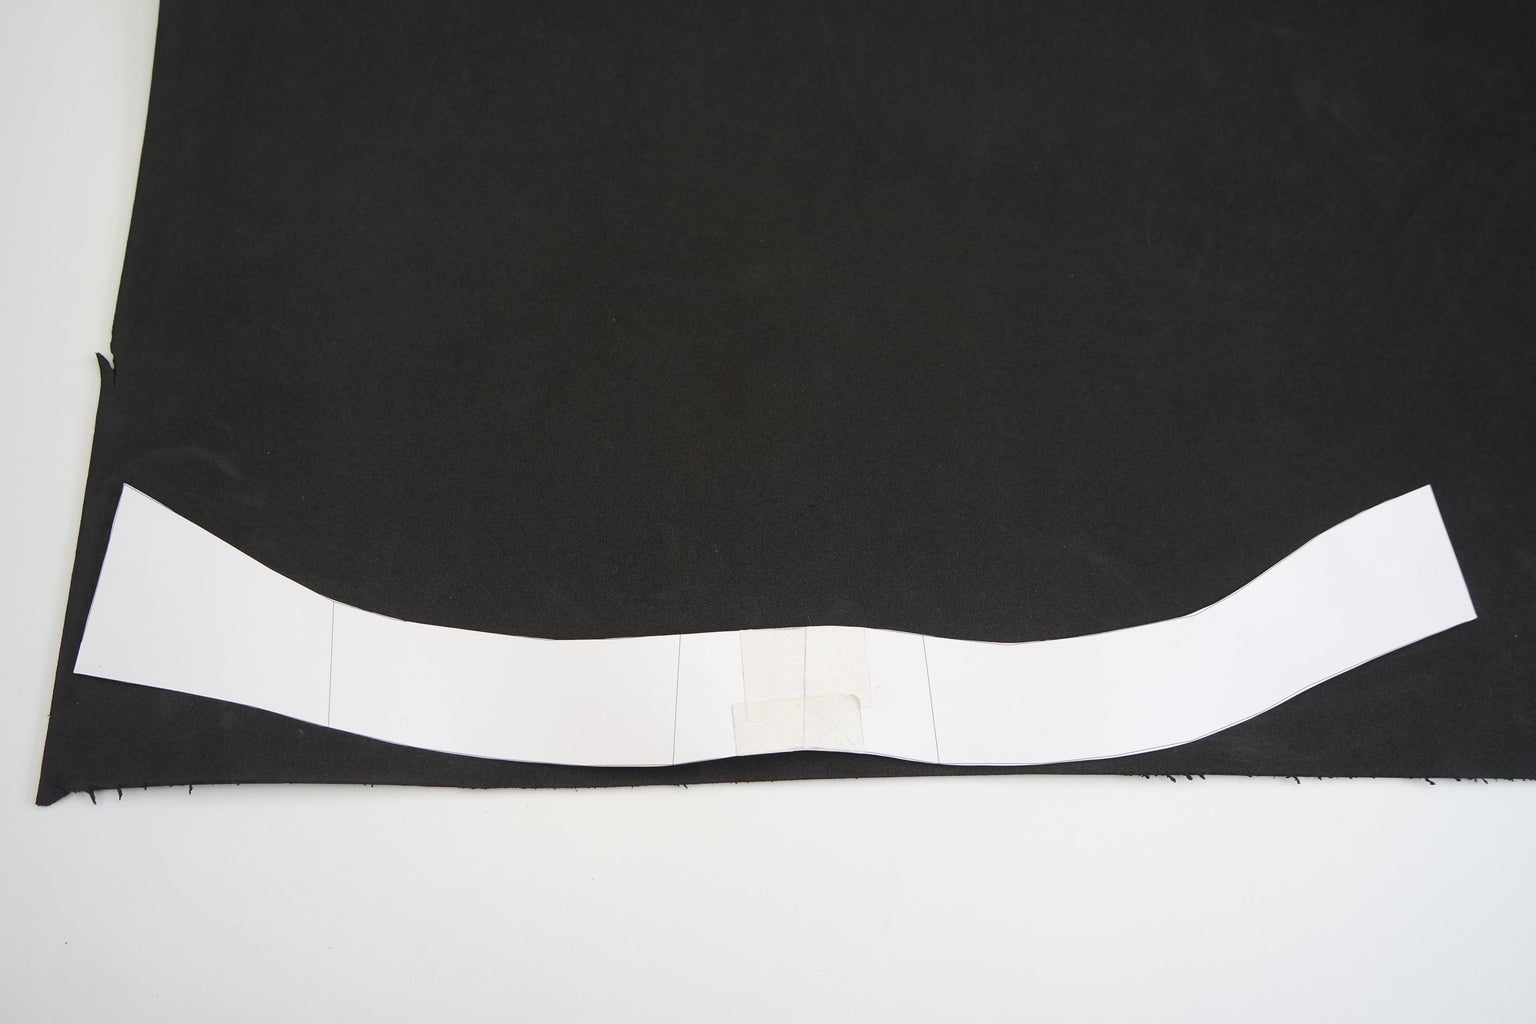
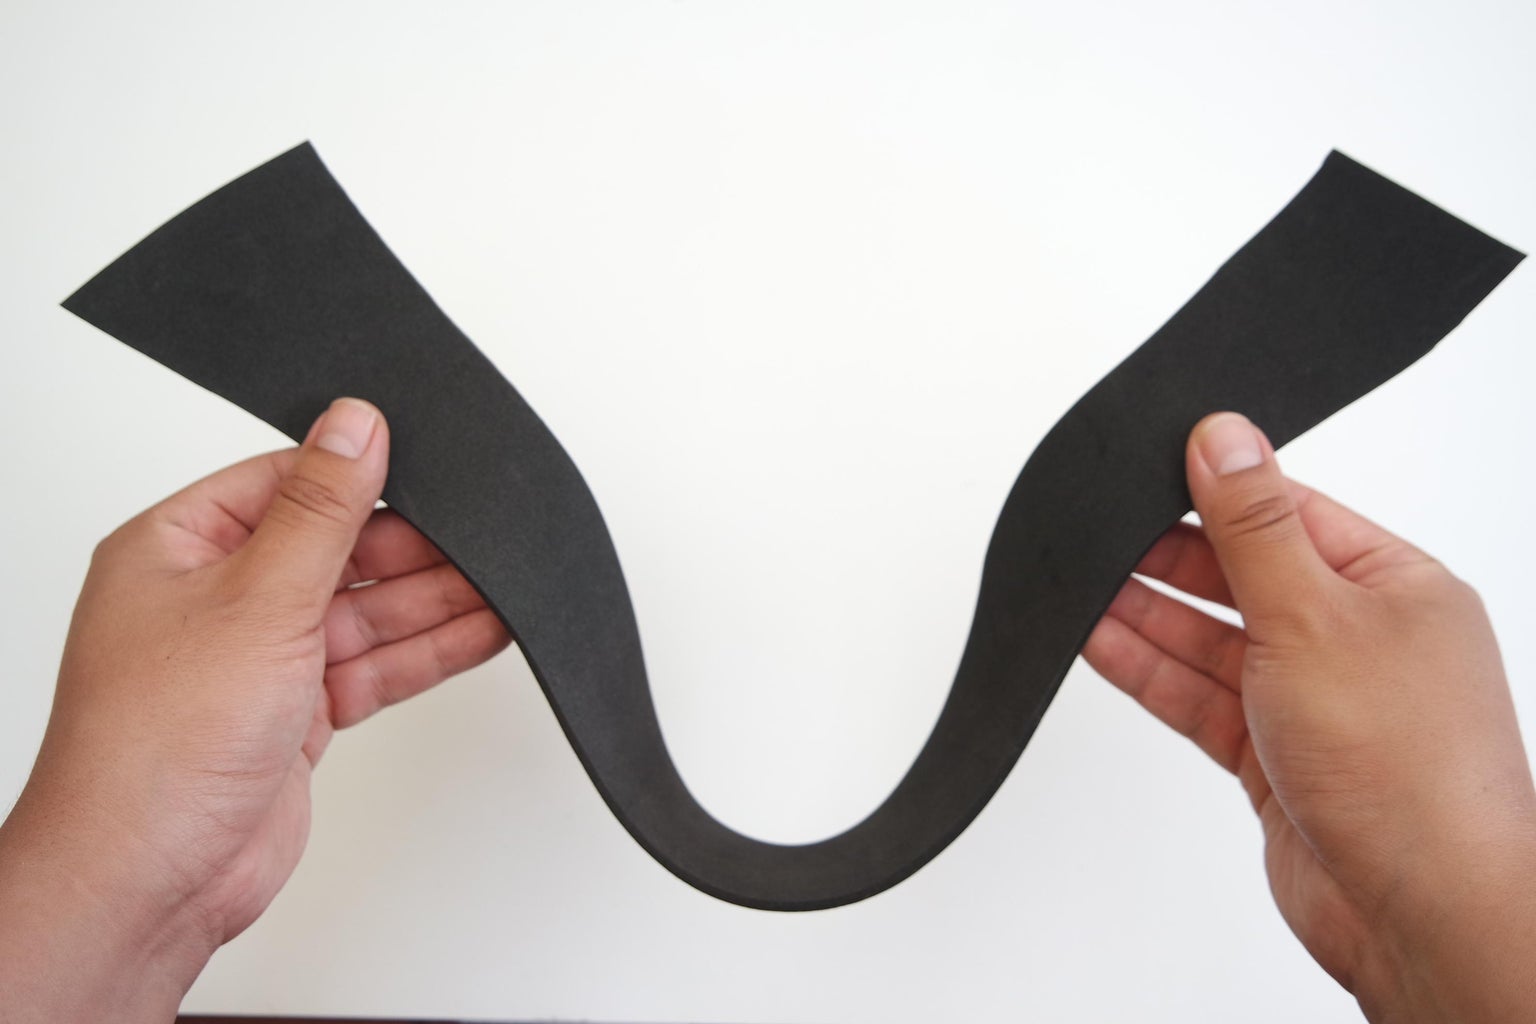
Step 7: Back of Hat
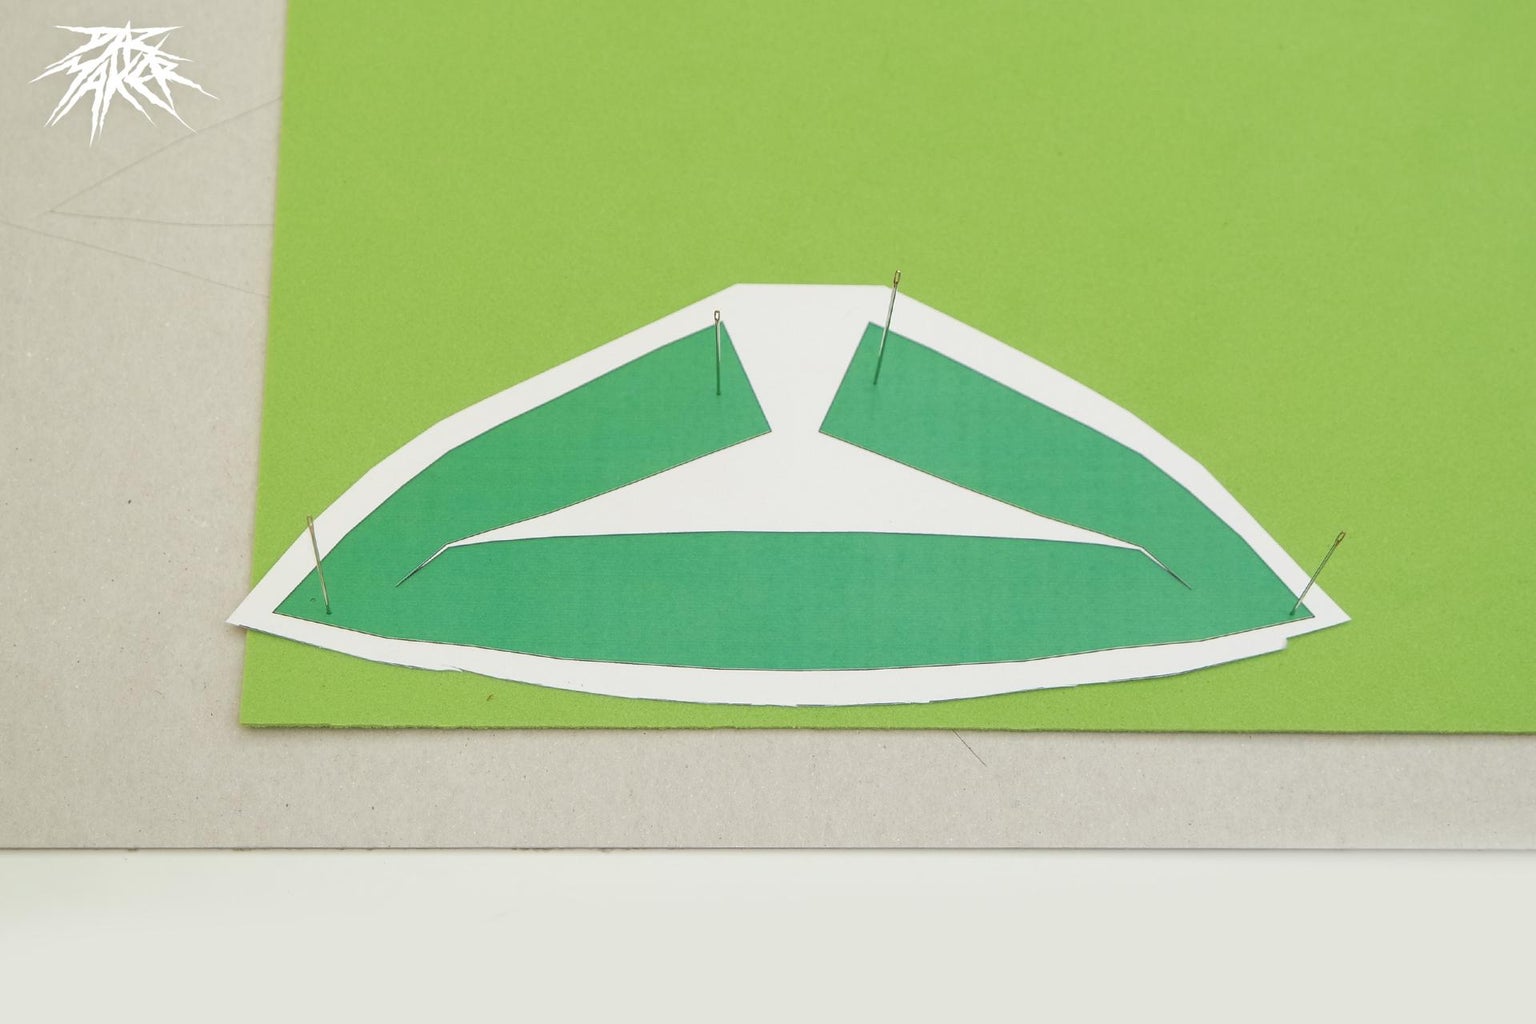
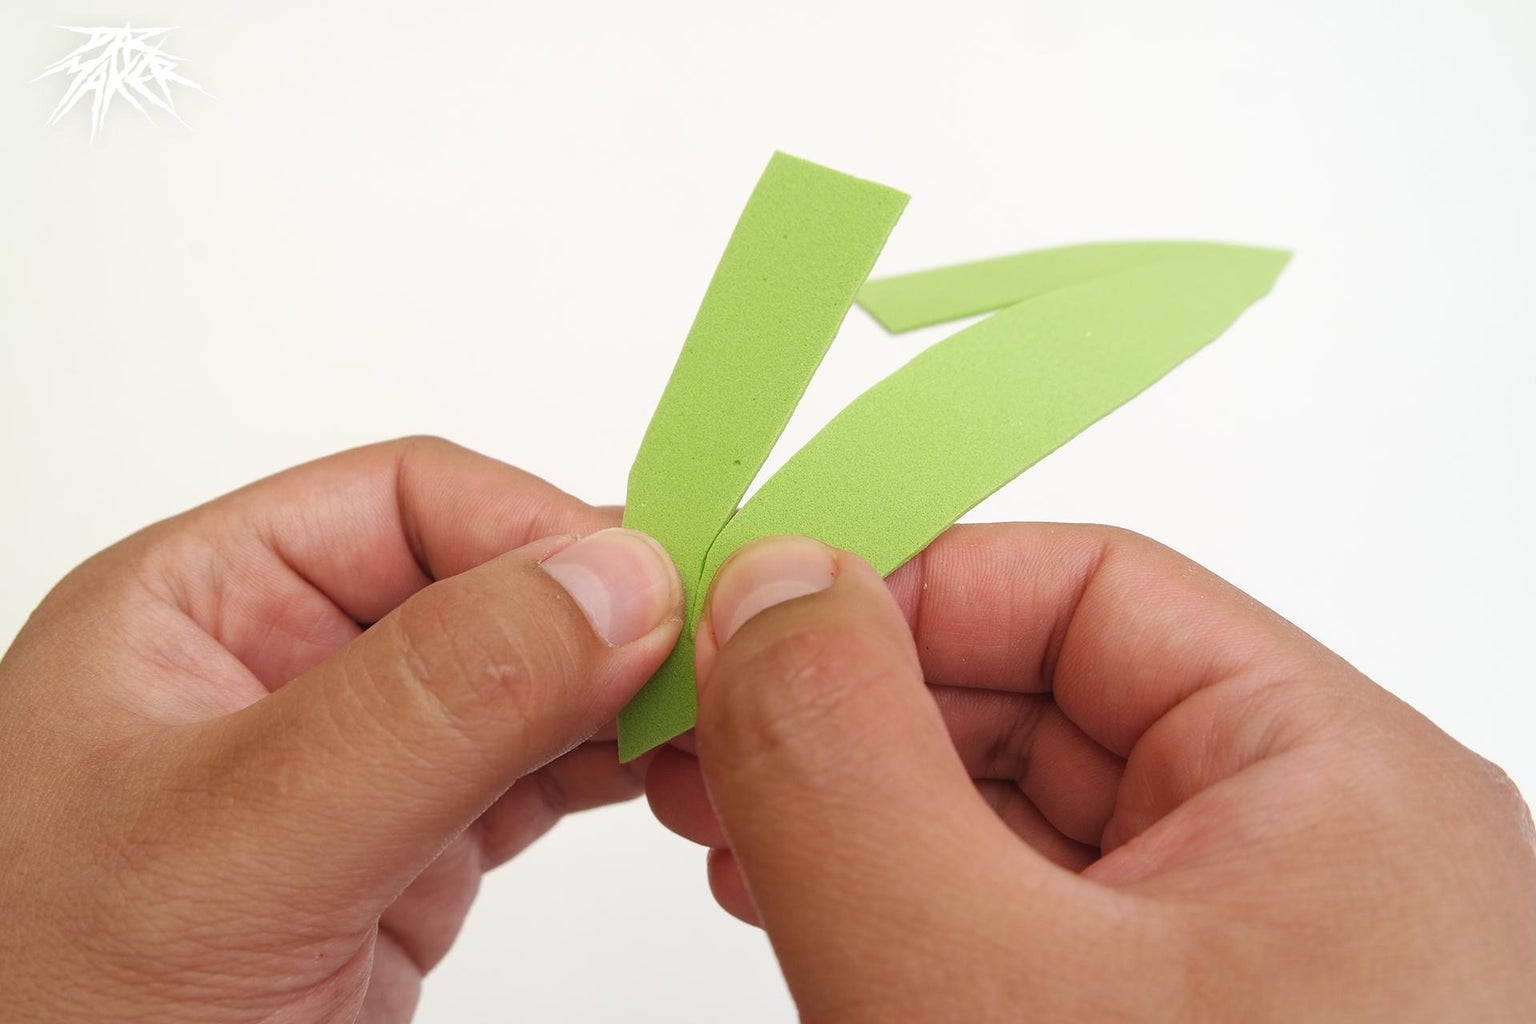
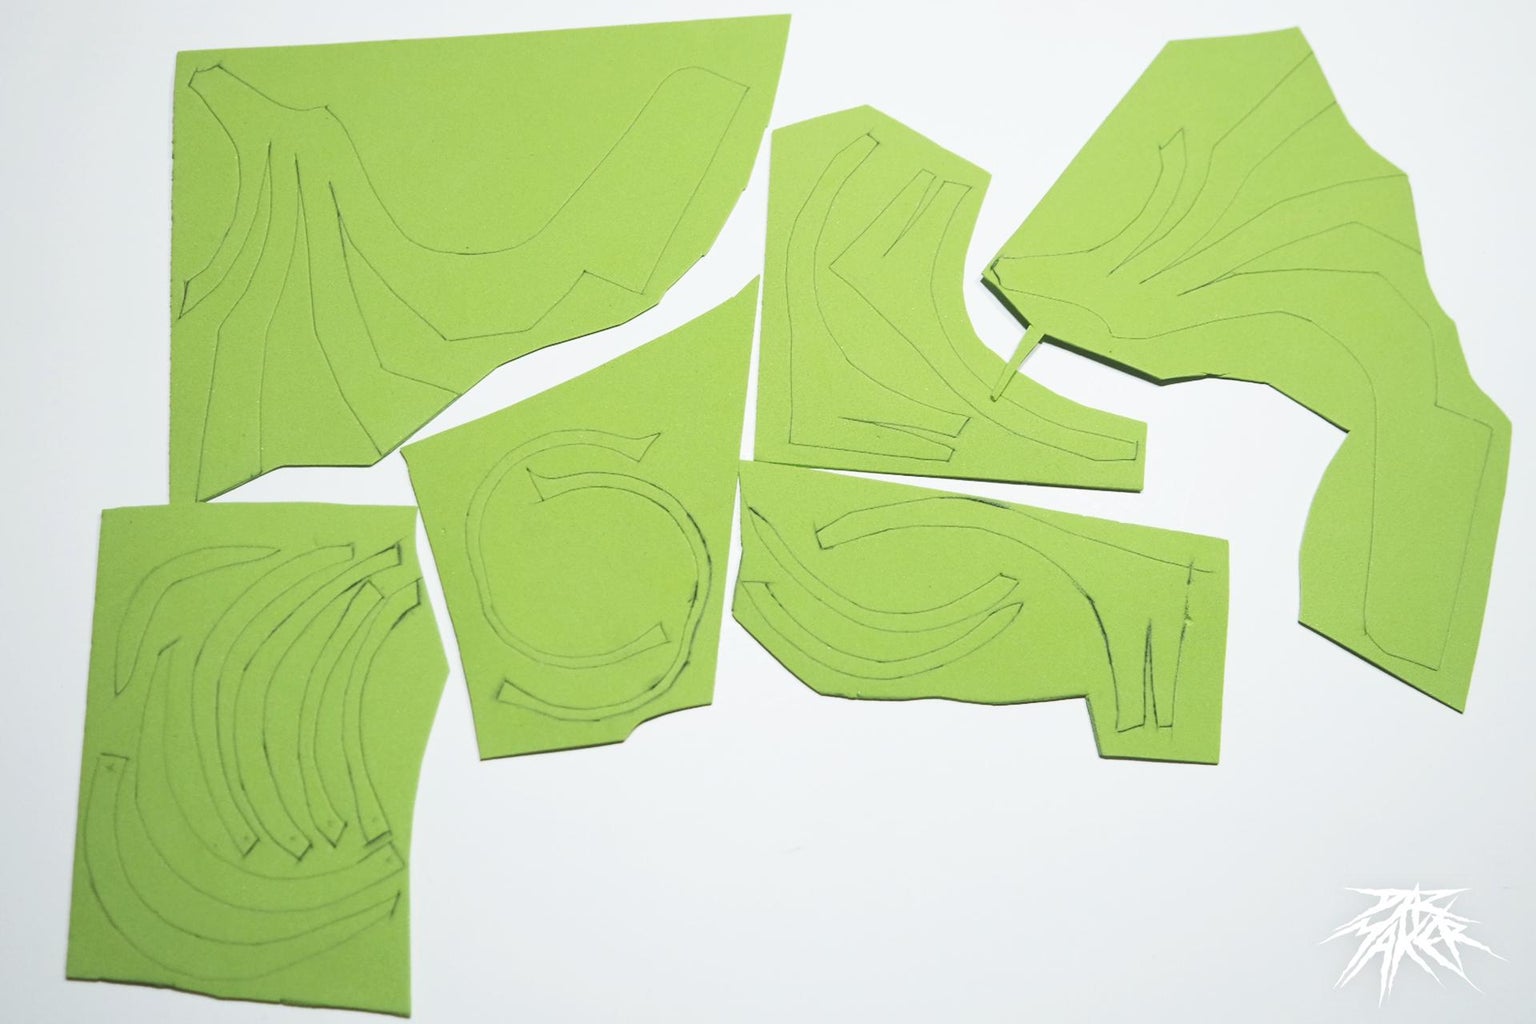
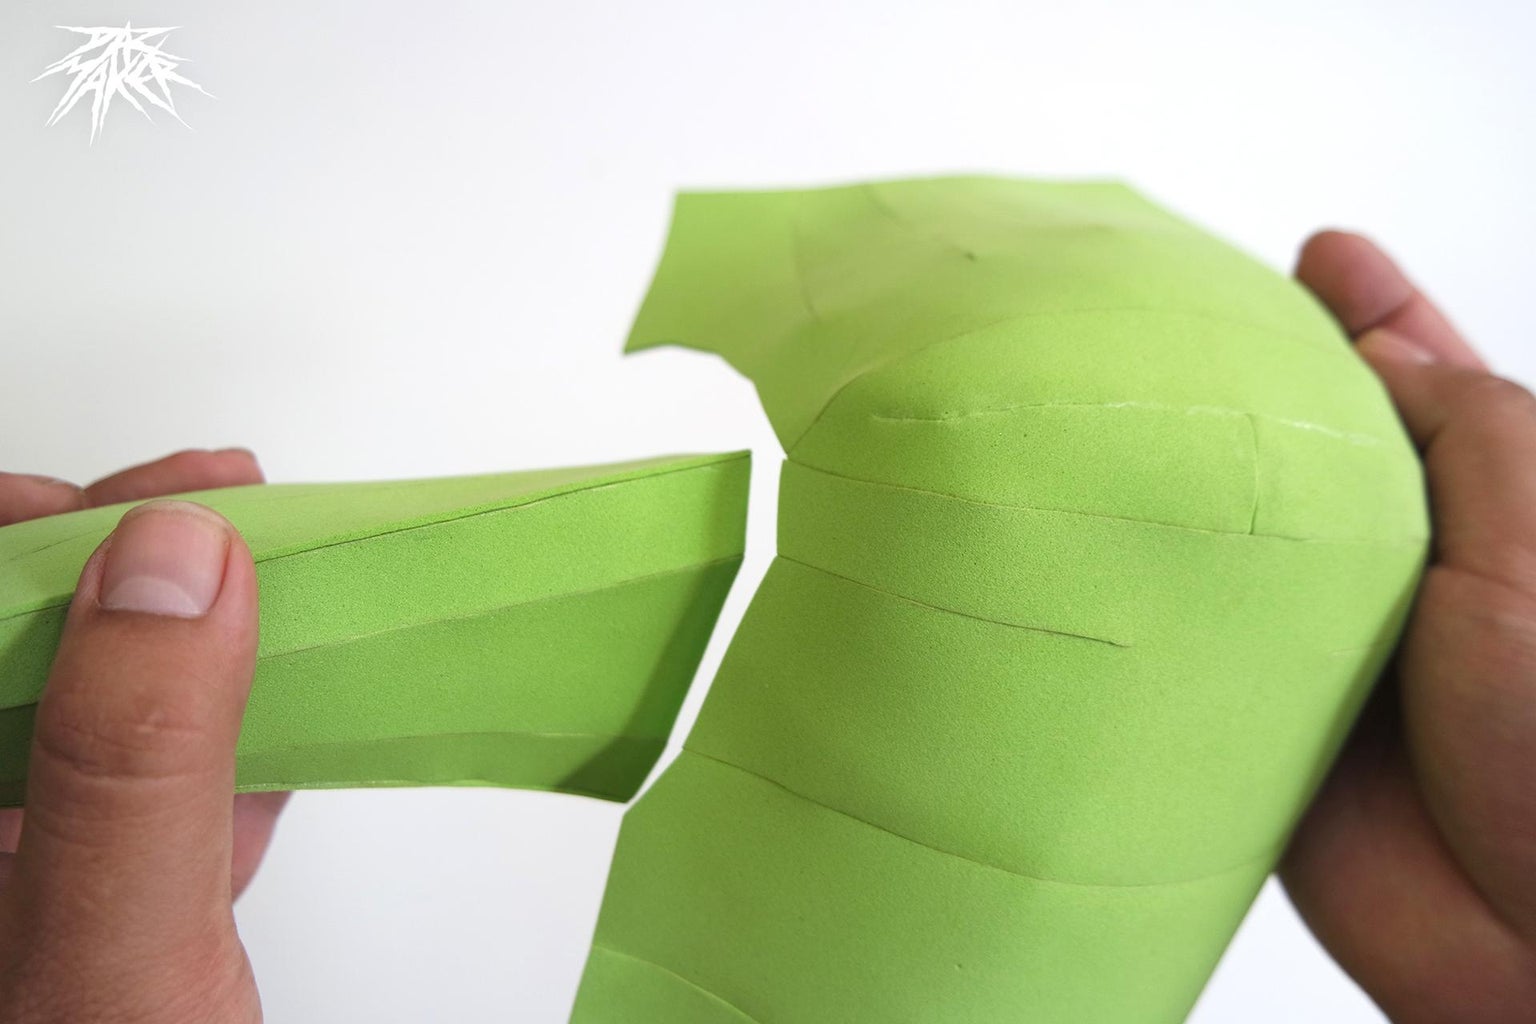
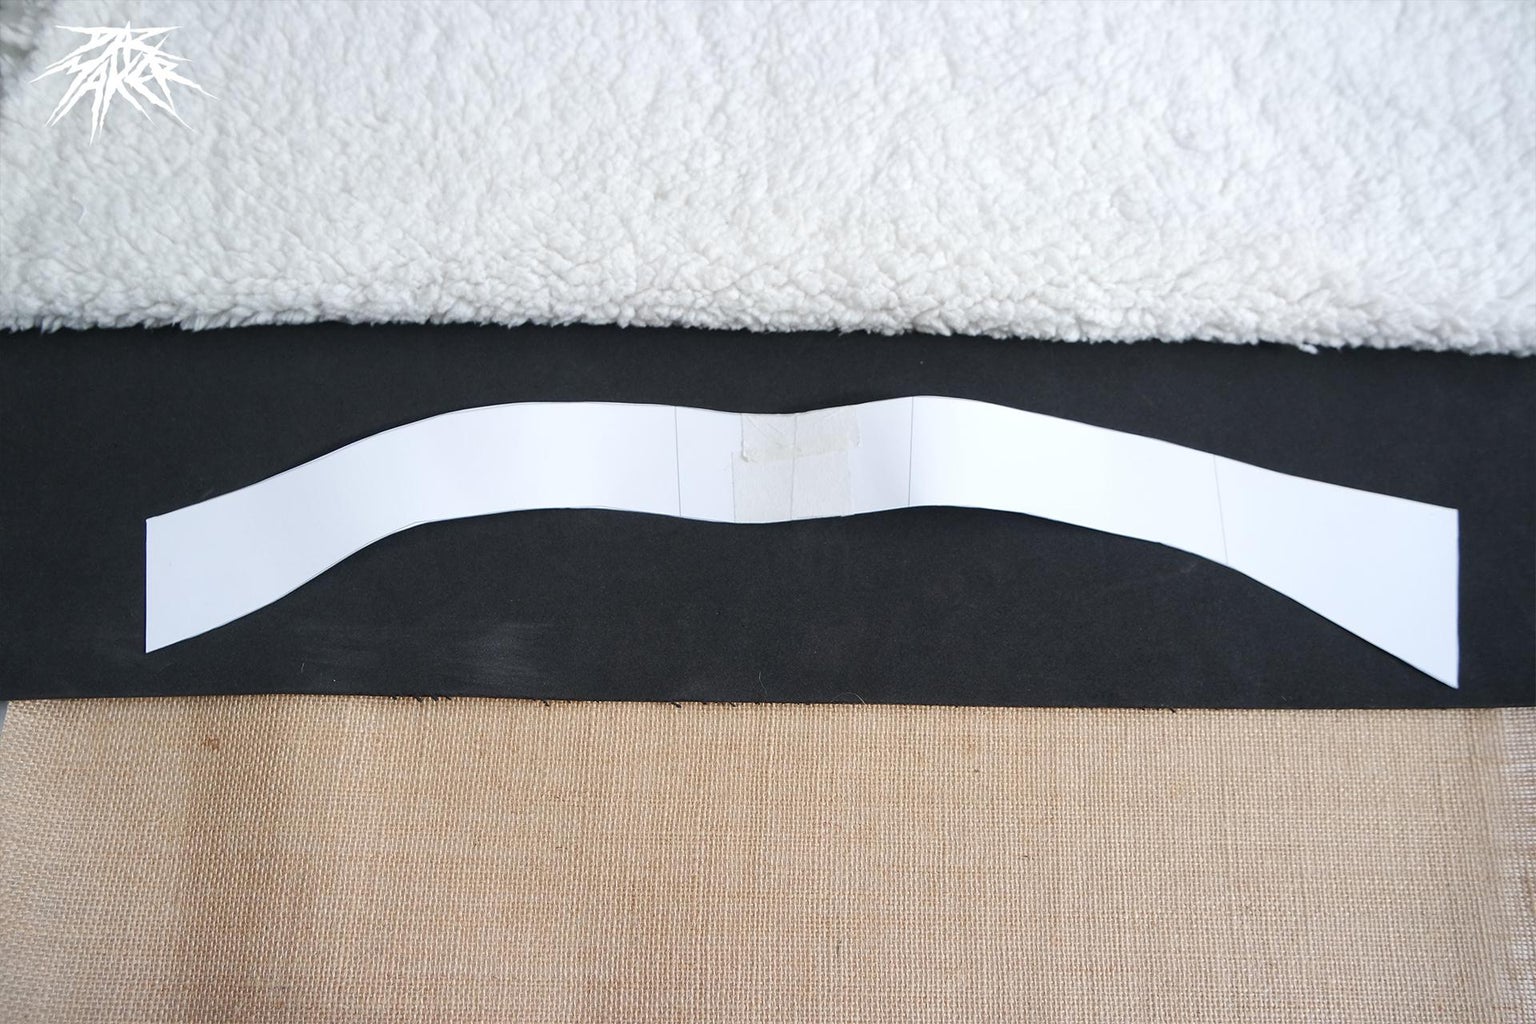
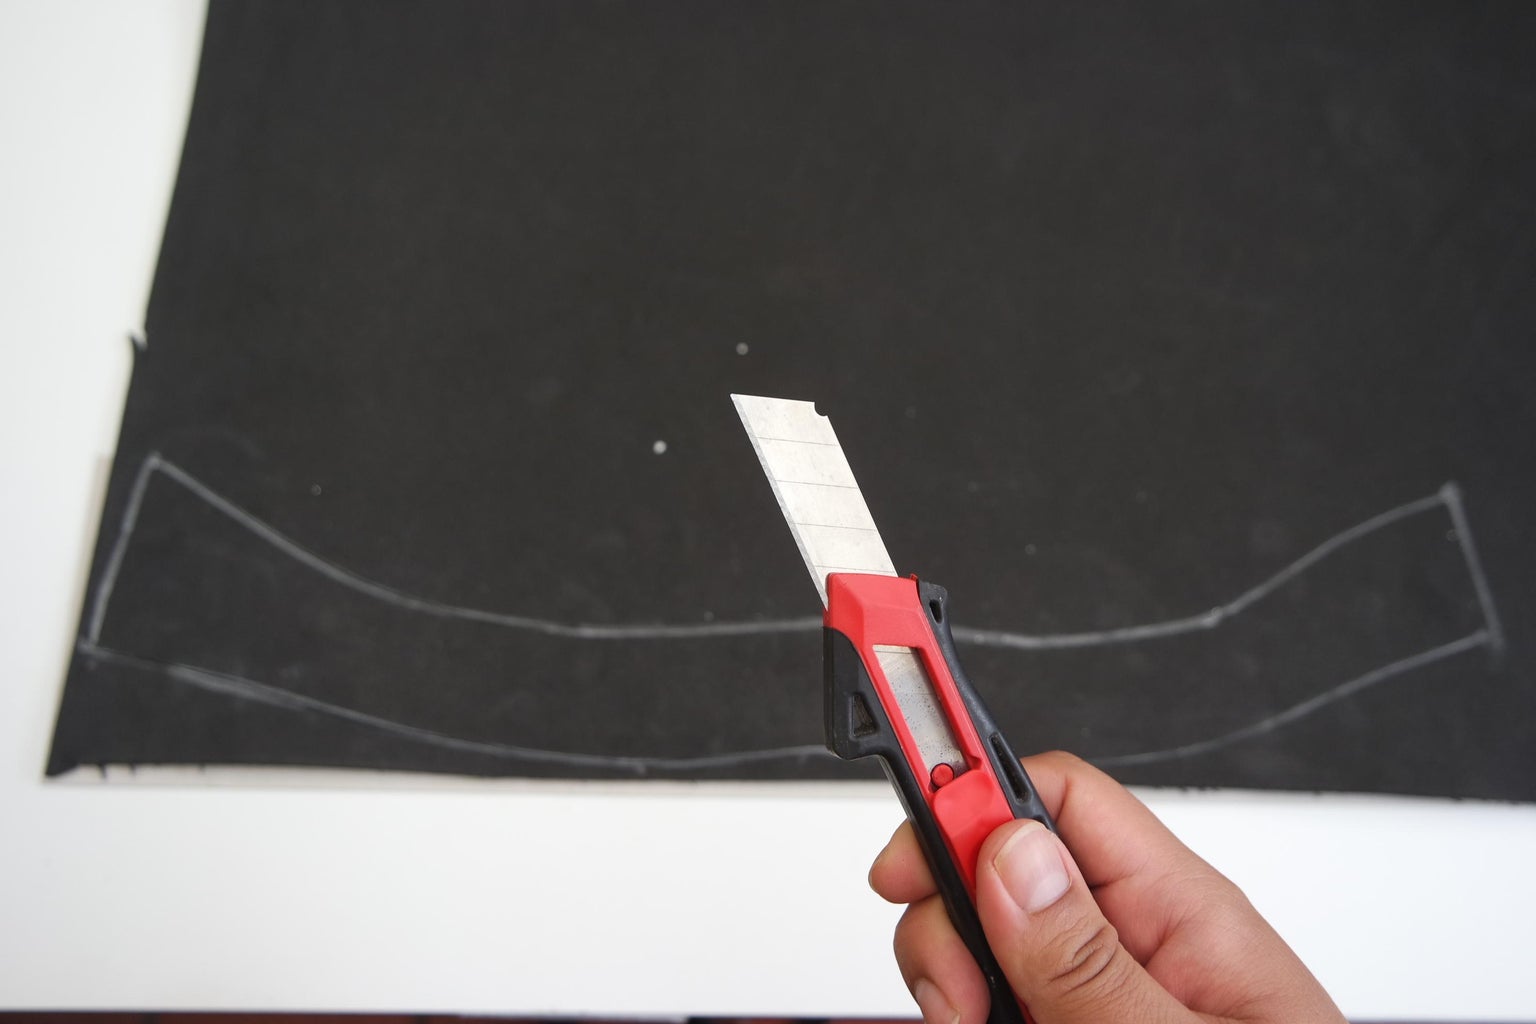
we will start with the curved piece on the back and from there we will glue piece after piece giving shape to the hat, we can use needles or pins to keep our mold still while we cut directly or we can use tape to mount it on the green foamy as later I will explain it.
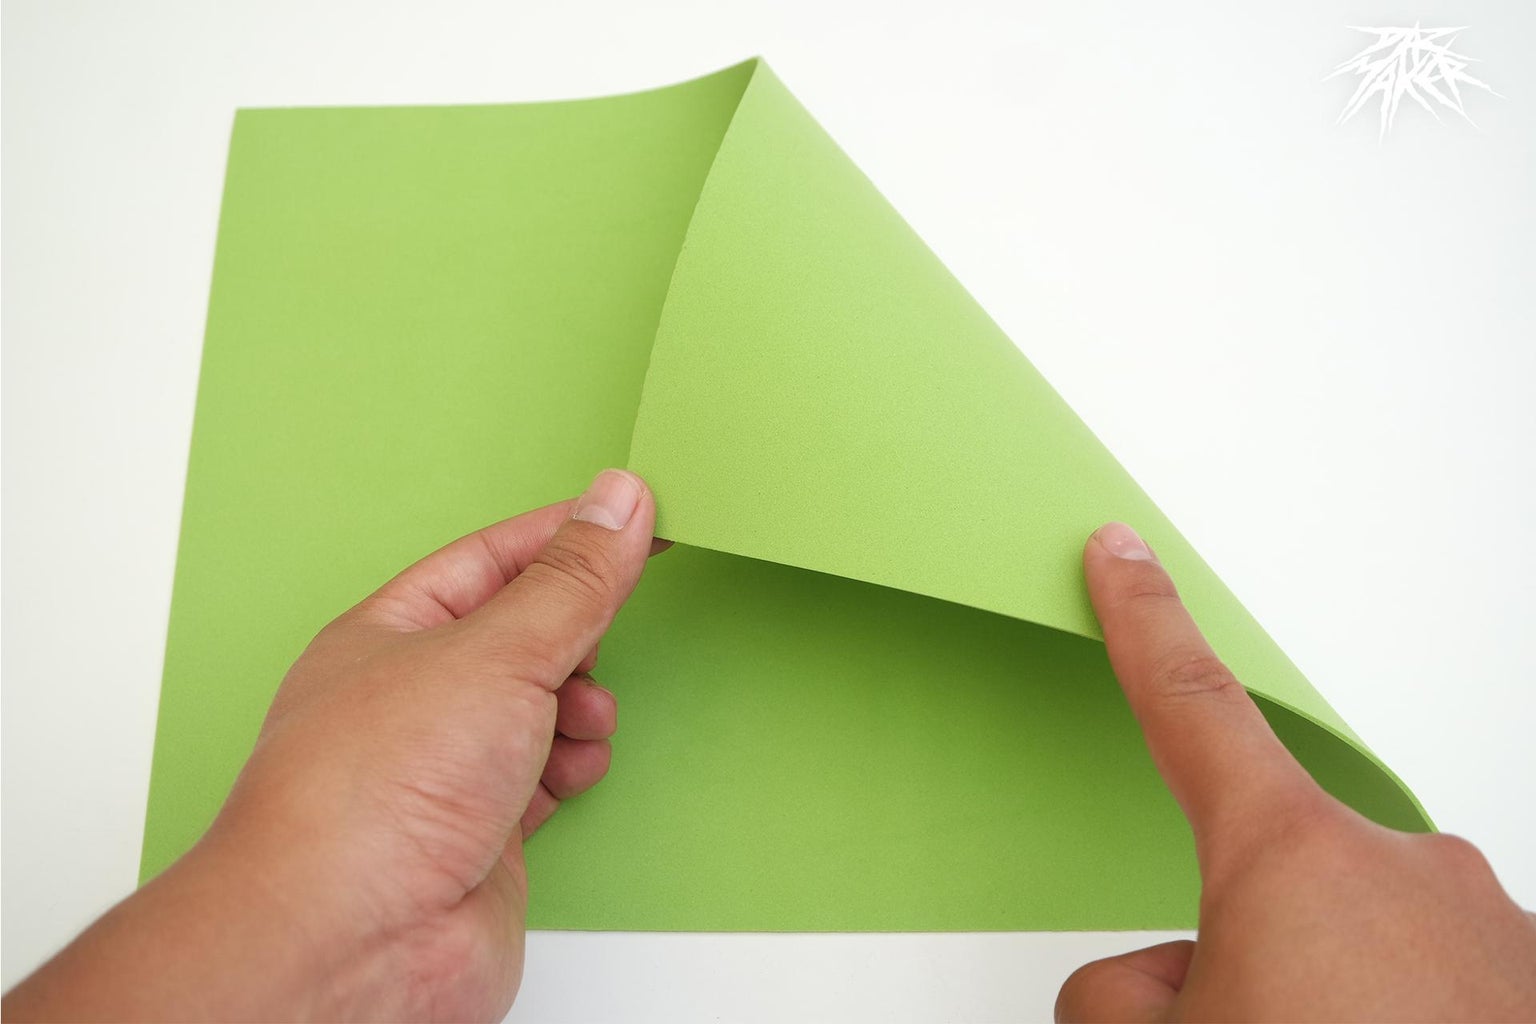
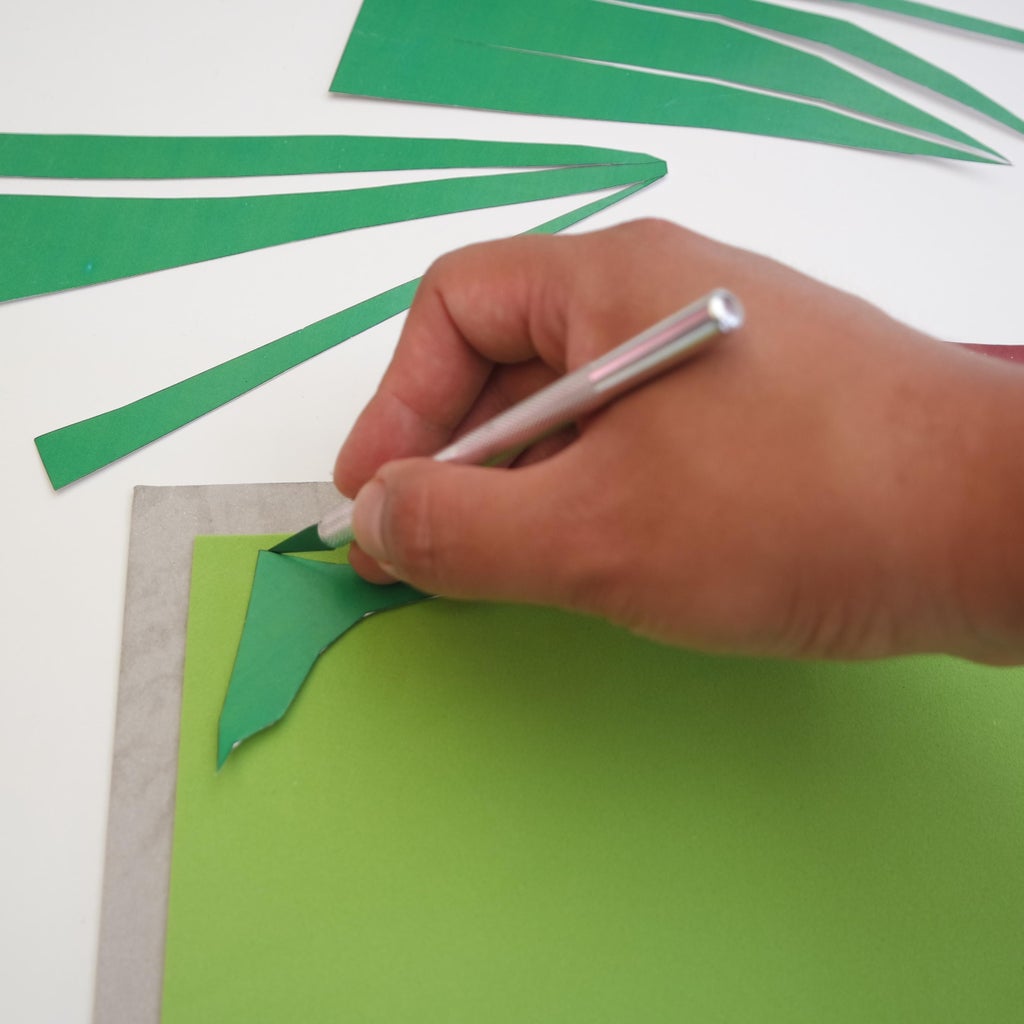
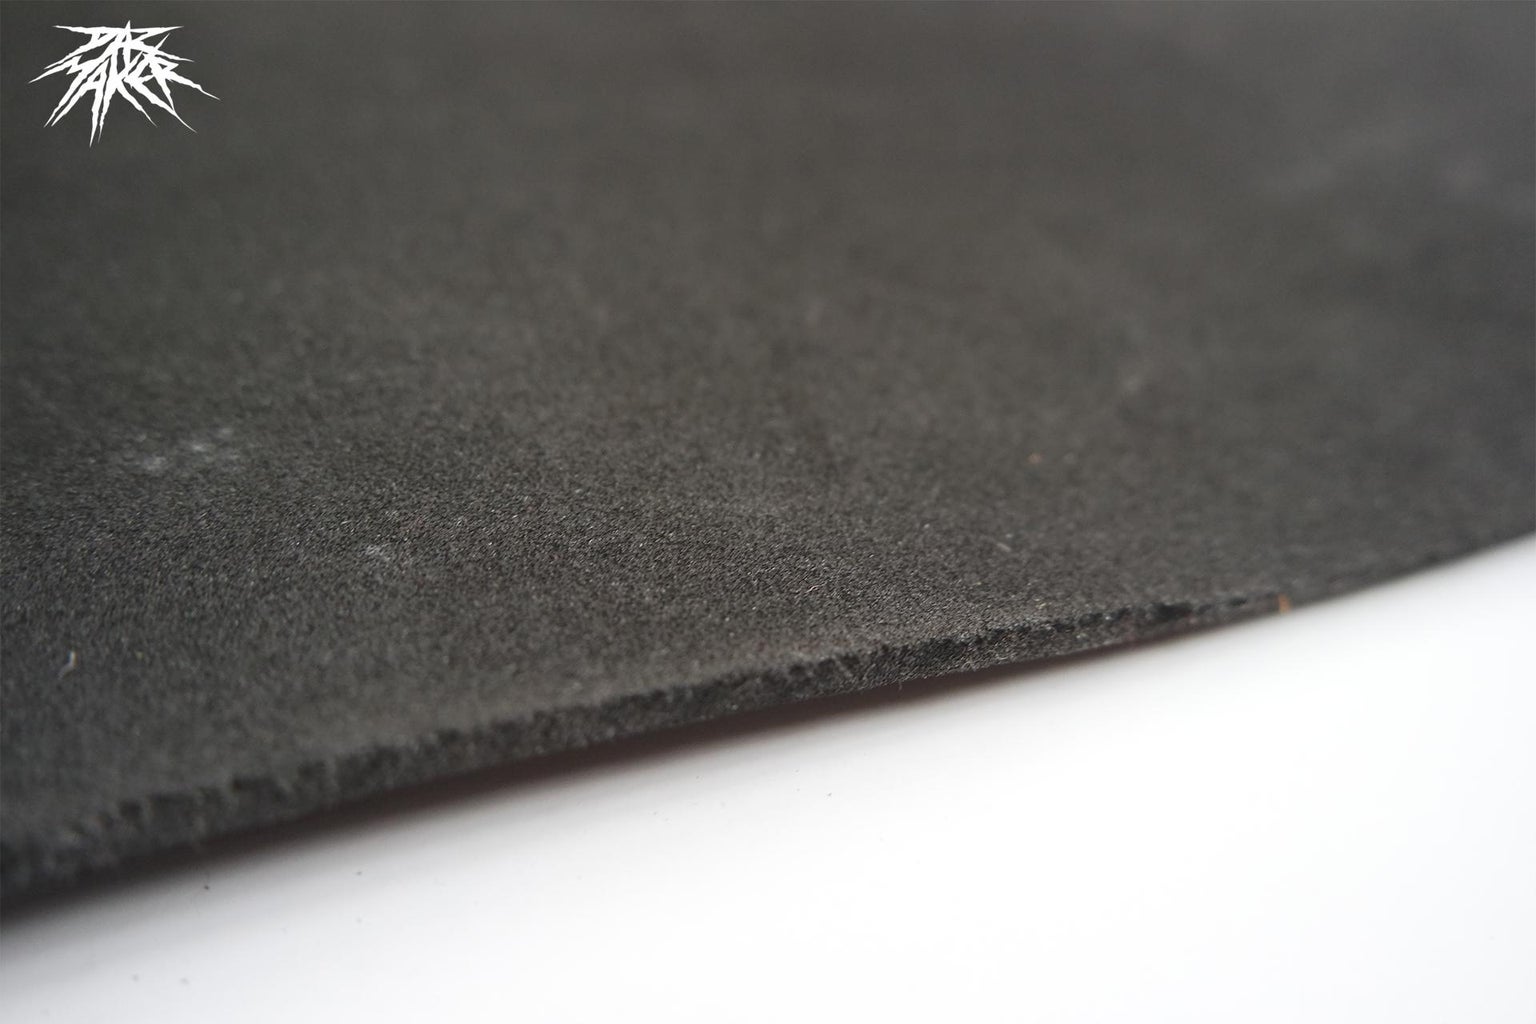
Before transferring the molds to the foamy, I recommend you check the quality of the material. Usually, one side is finer and the other is more porous, so the ideal is to transfer with the pencil on the porous side so that the superficial part is fine. that is to say, contrary to the mold
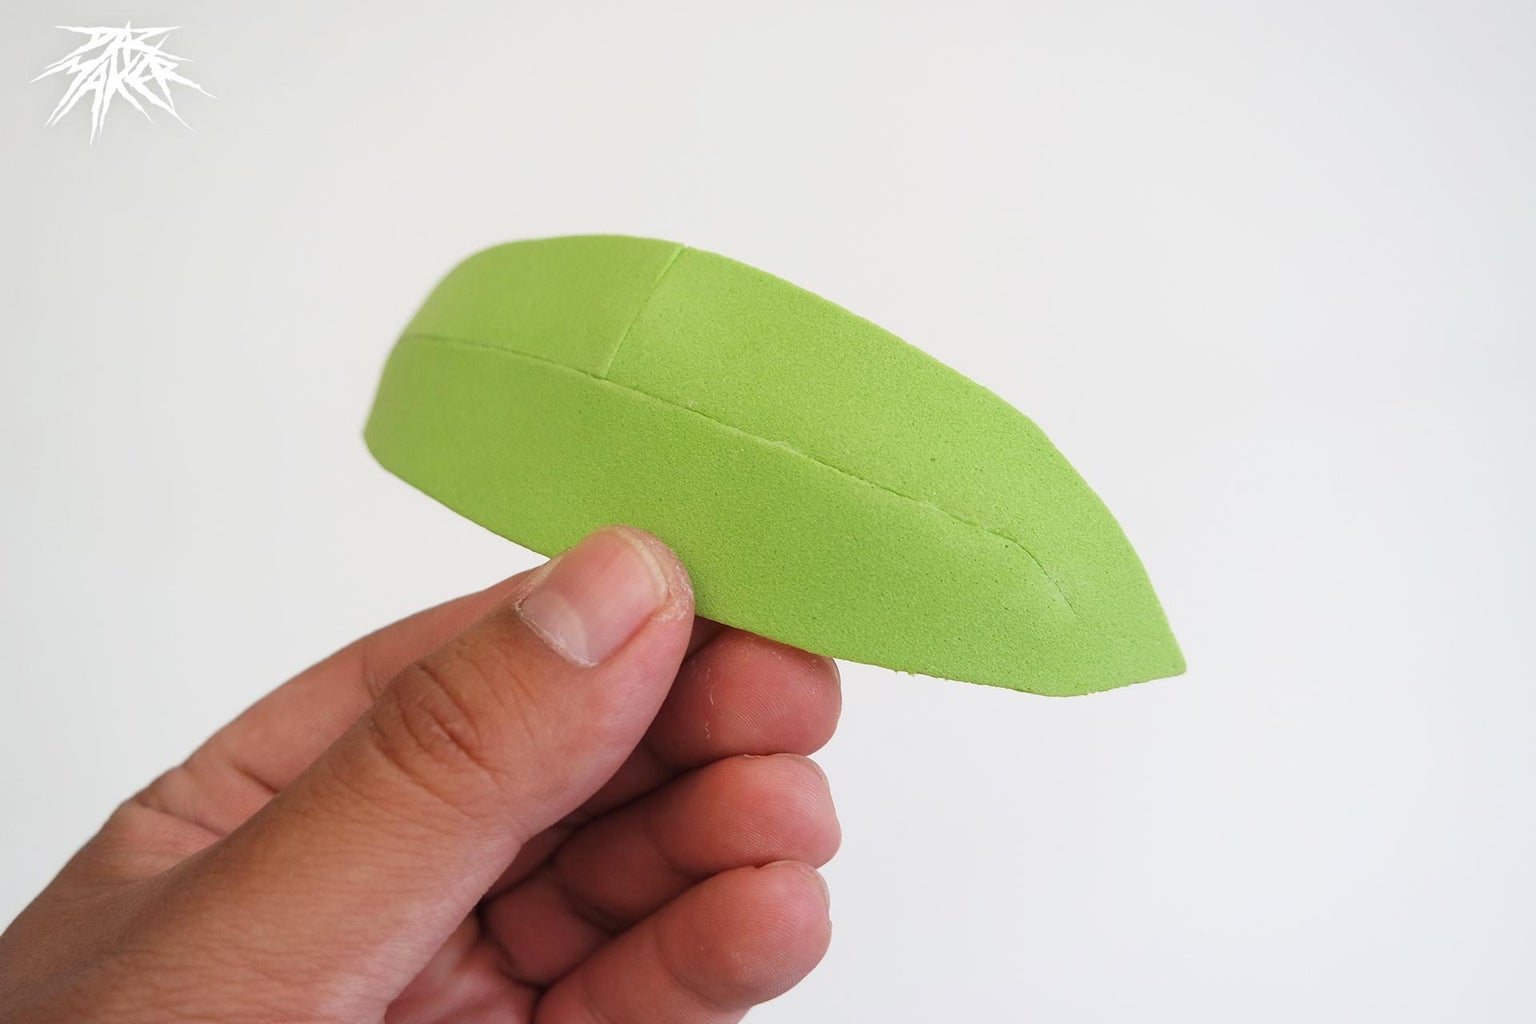
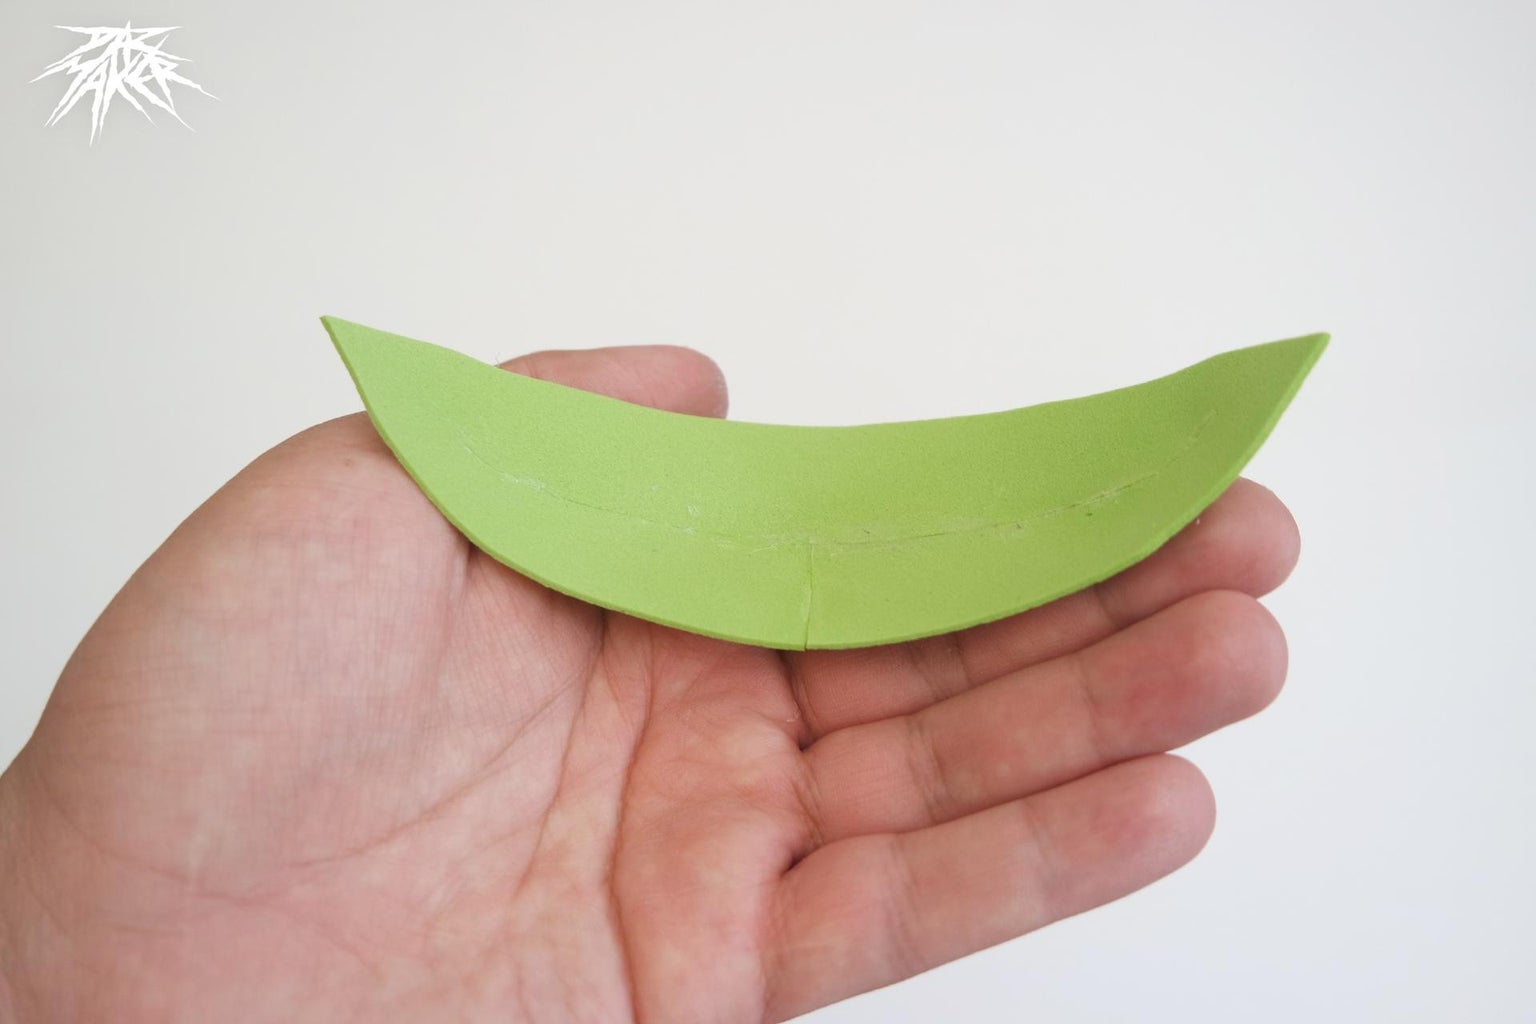
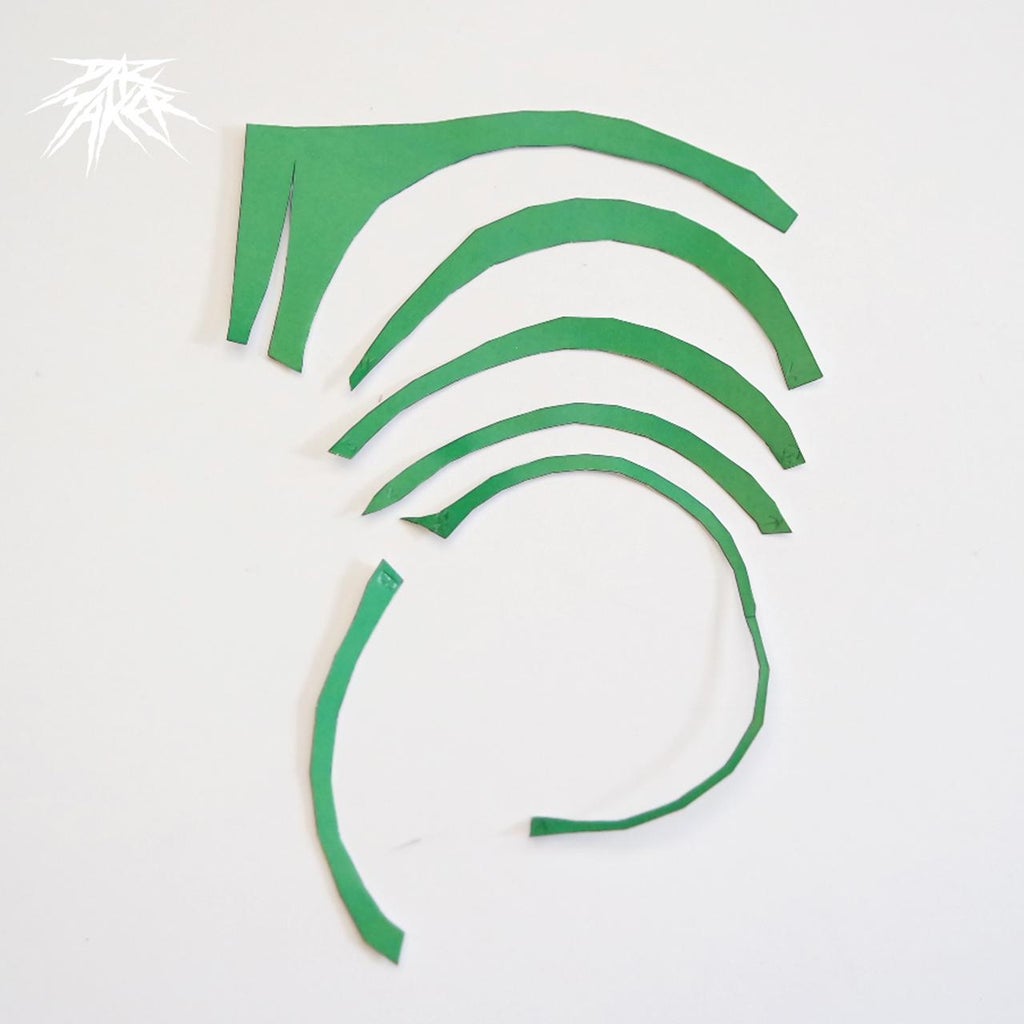
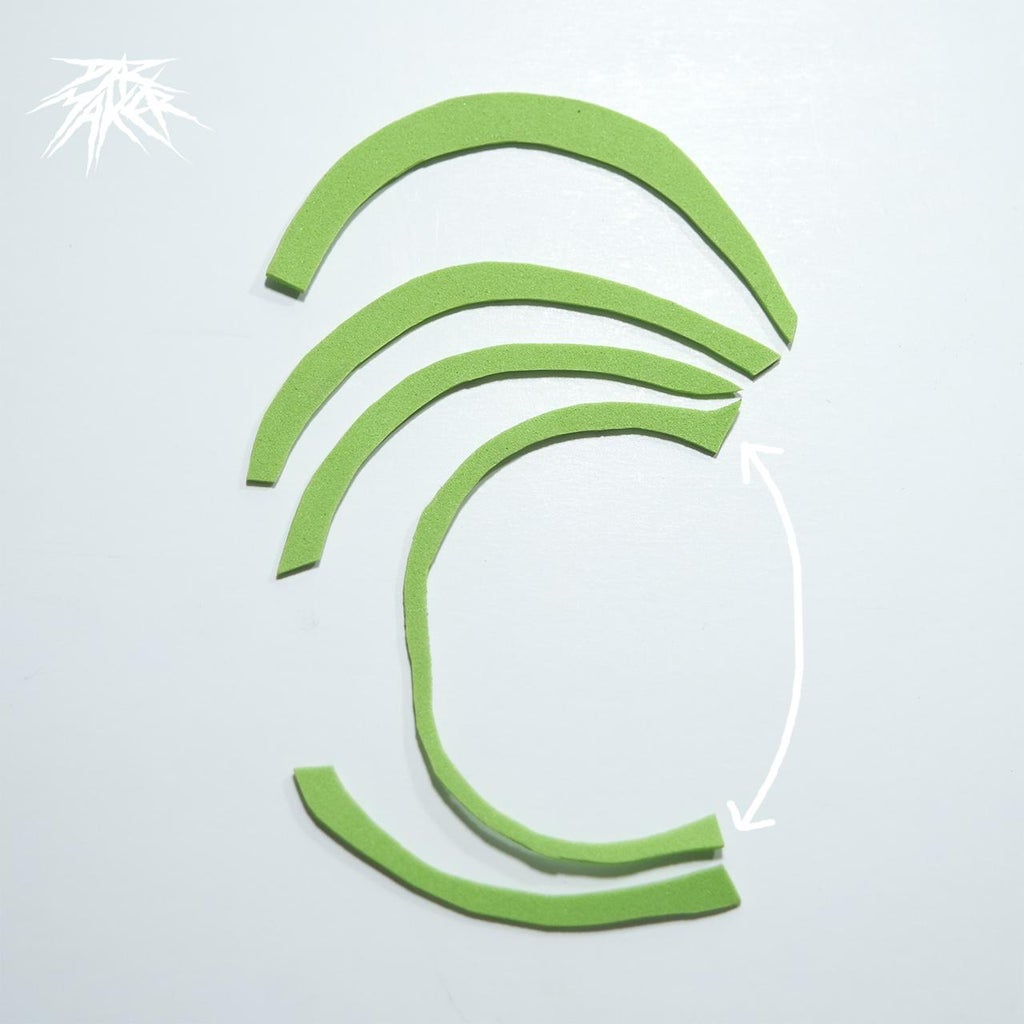
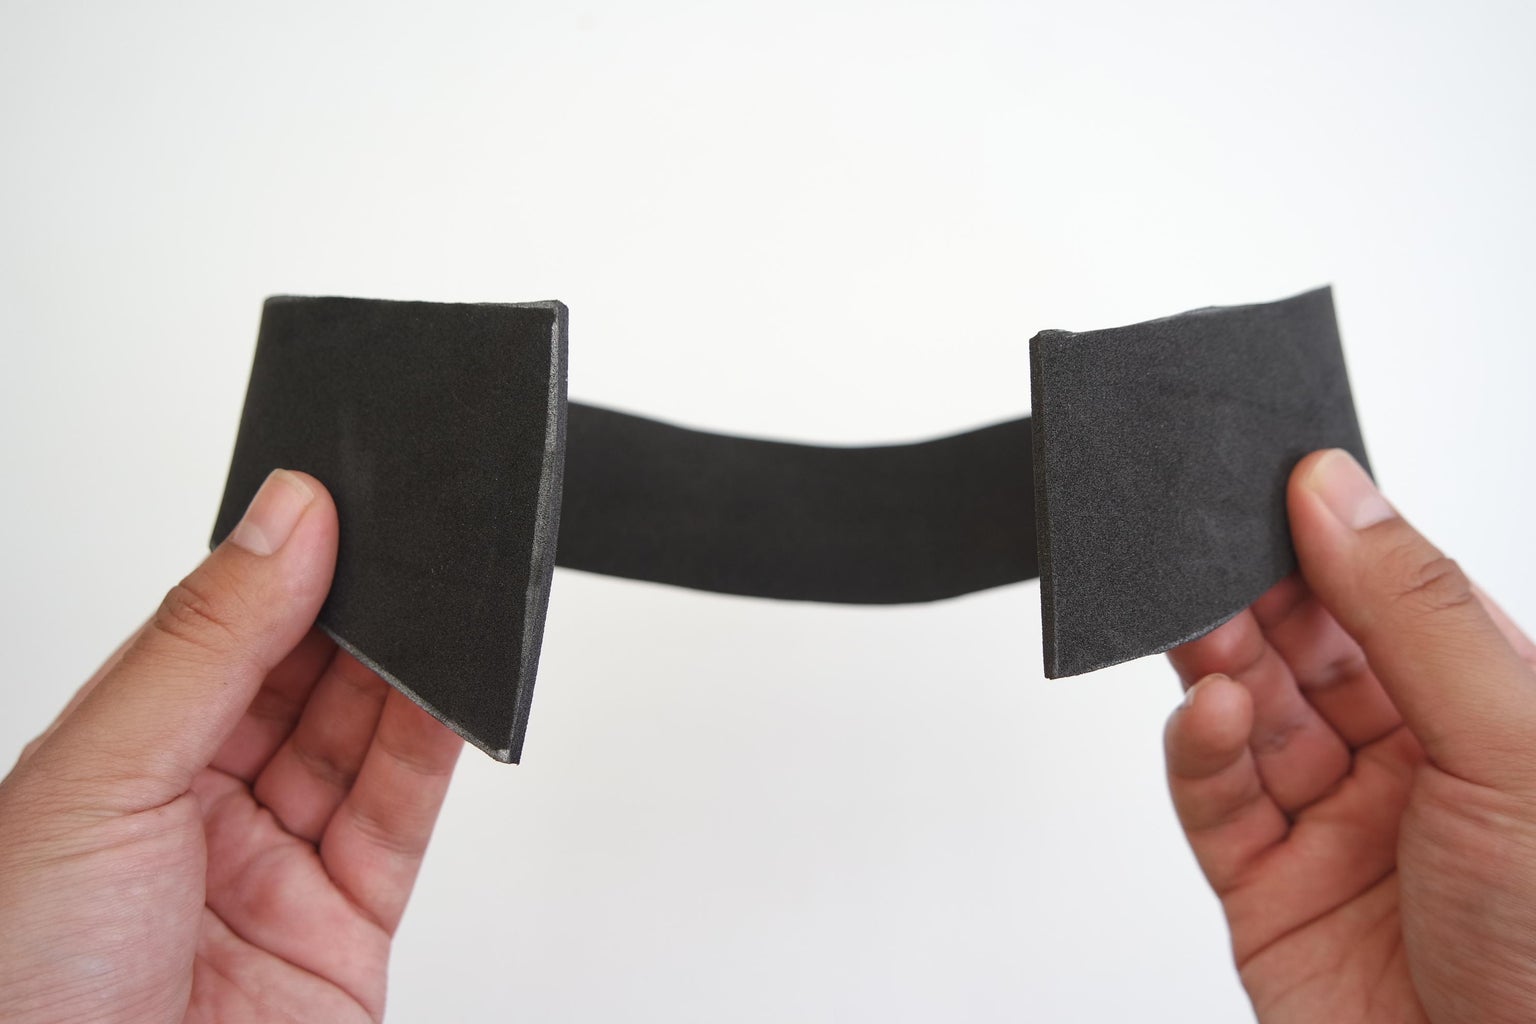
Step 8: Back of Hat II
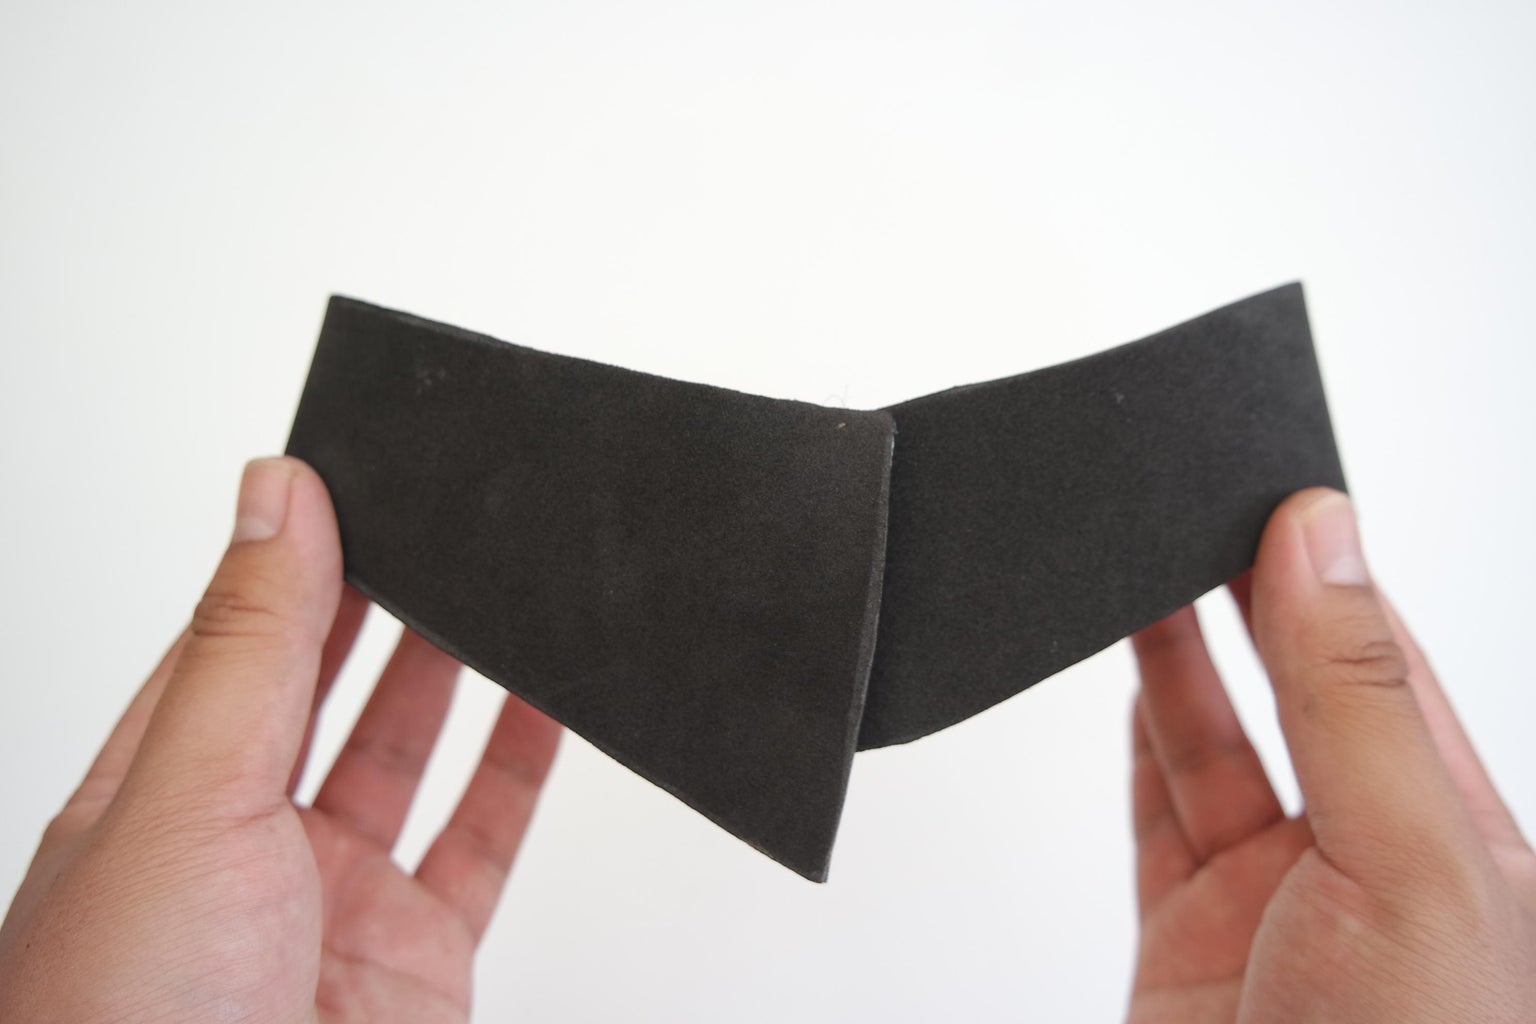
After making the curved piece from the previous step, you will need to glue it to the edges of its counterparts in the image of this step. You can follow the order of each piece.
remember to paste the respective joints of each piece, before gluing the set of pieces
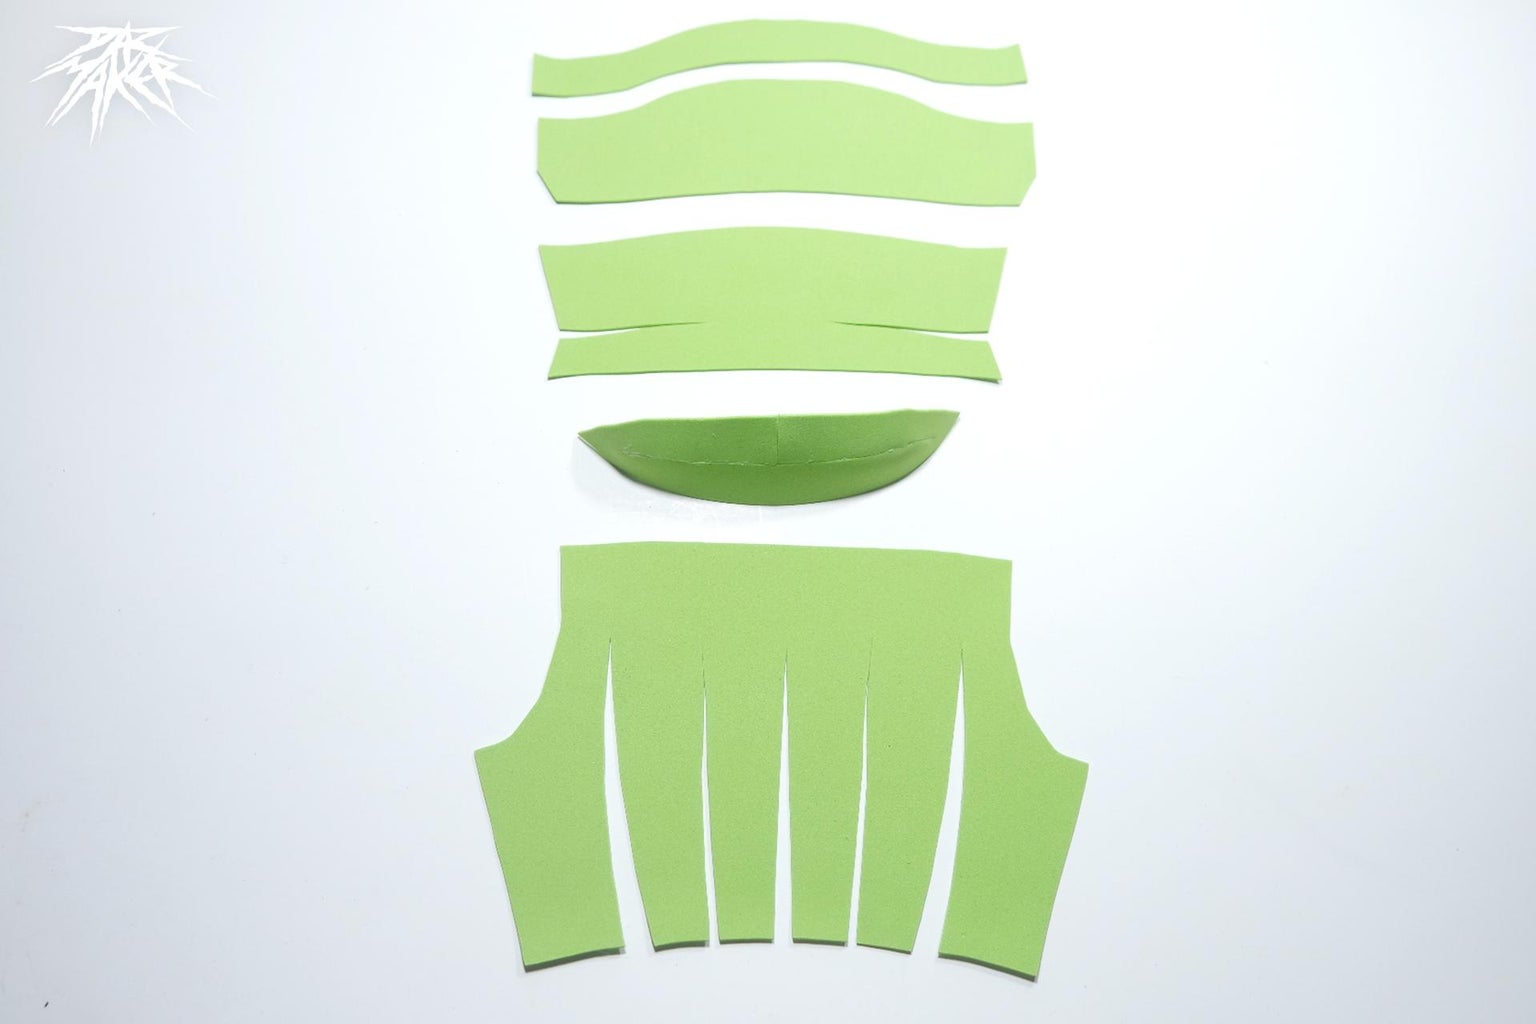
Step 9: Optimize the Use of Materials
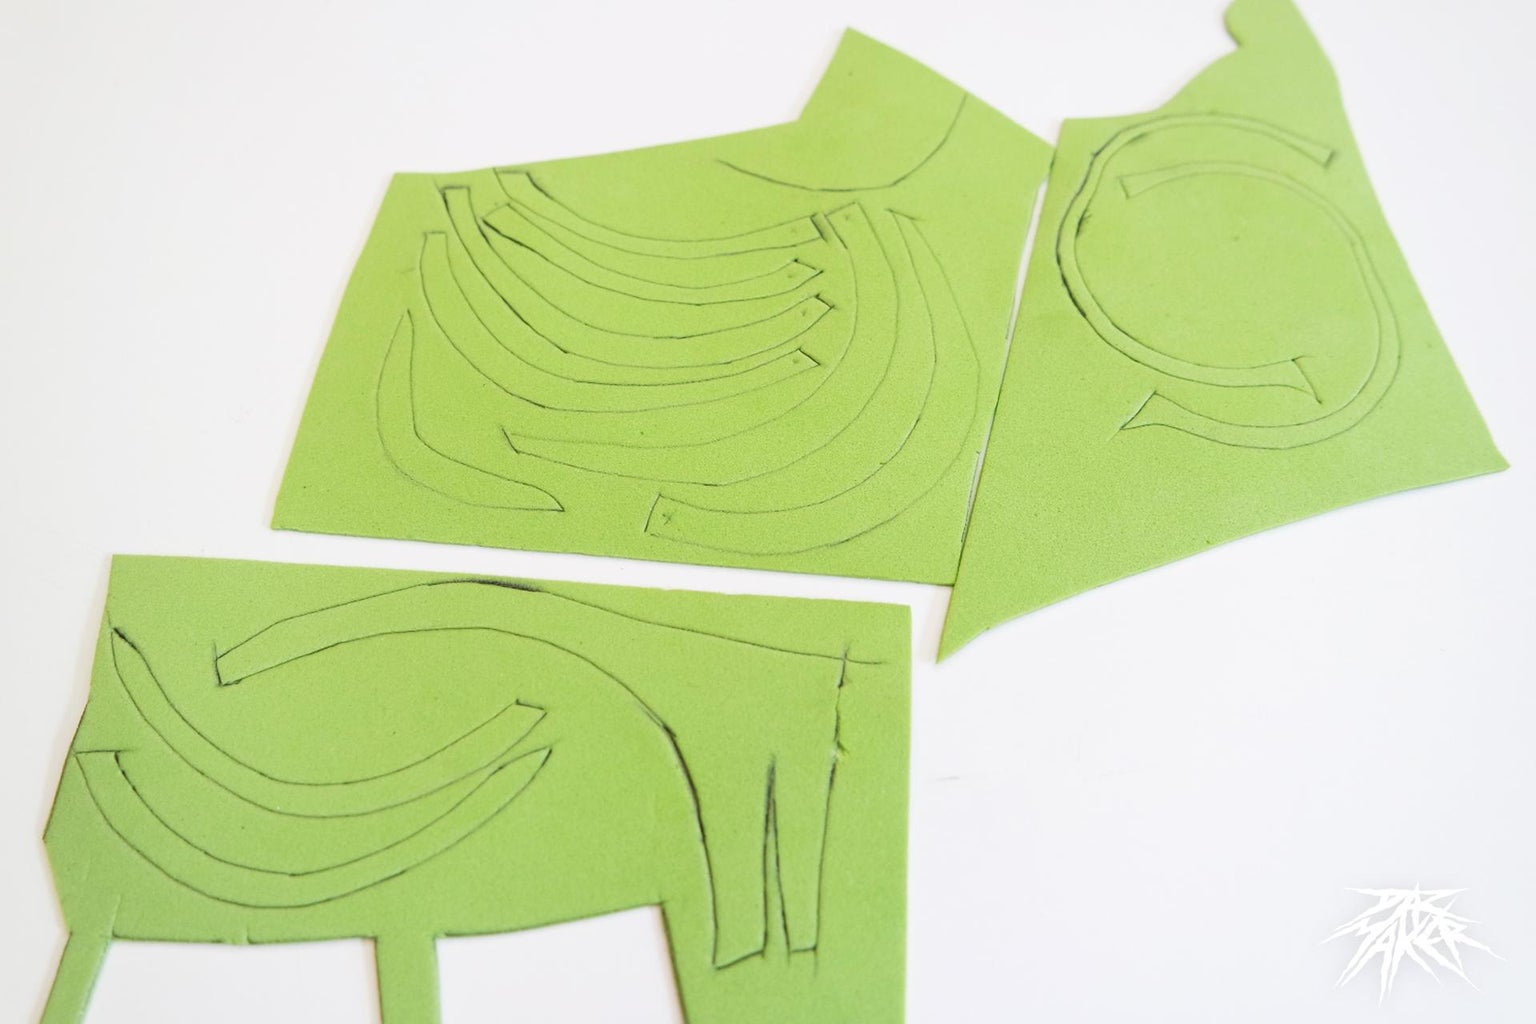
To optimize the use of resources and not waste material, I recommend assembling all the pieces on the foamy, organizing them in such a way that they are organized taking advantage of spaces, to waste as little material as possible.
Step 10: Gluing the Pieces
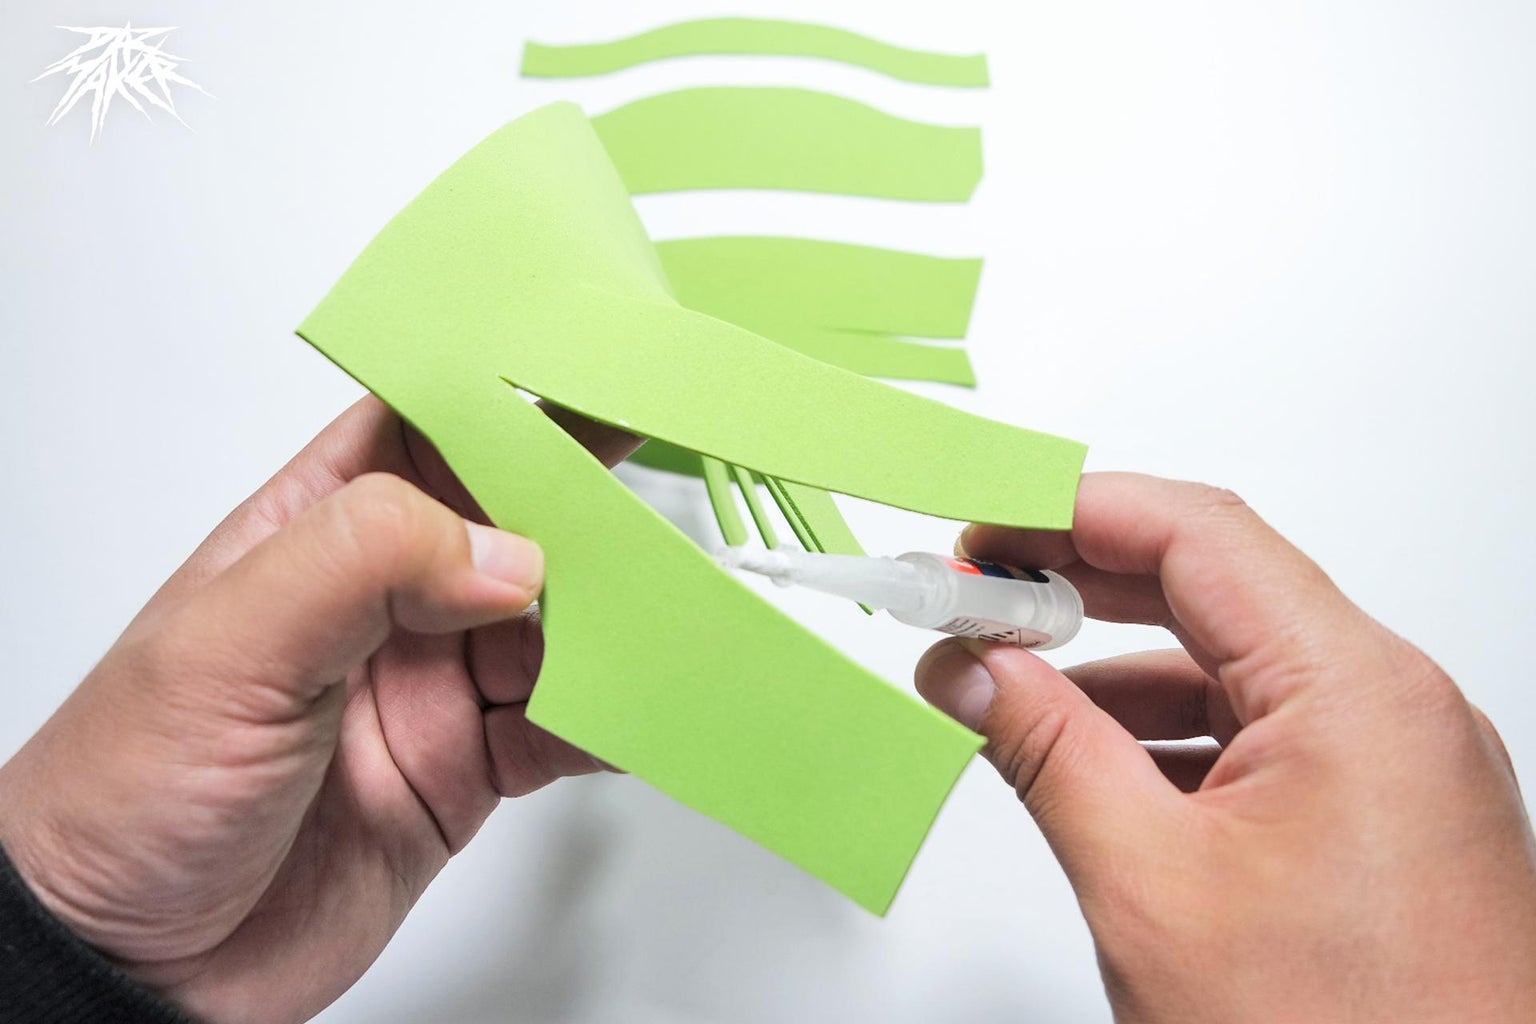
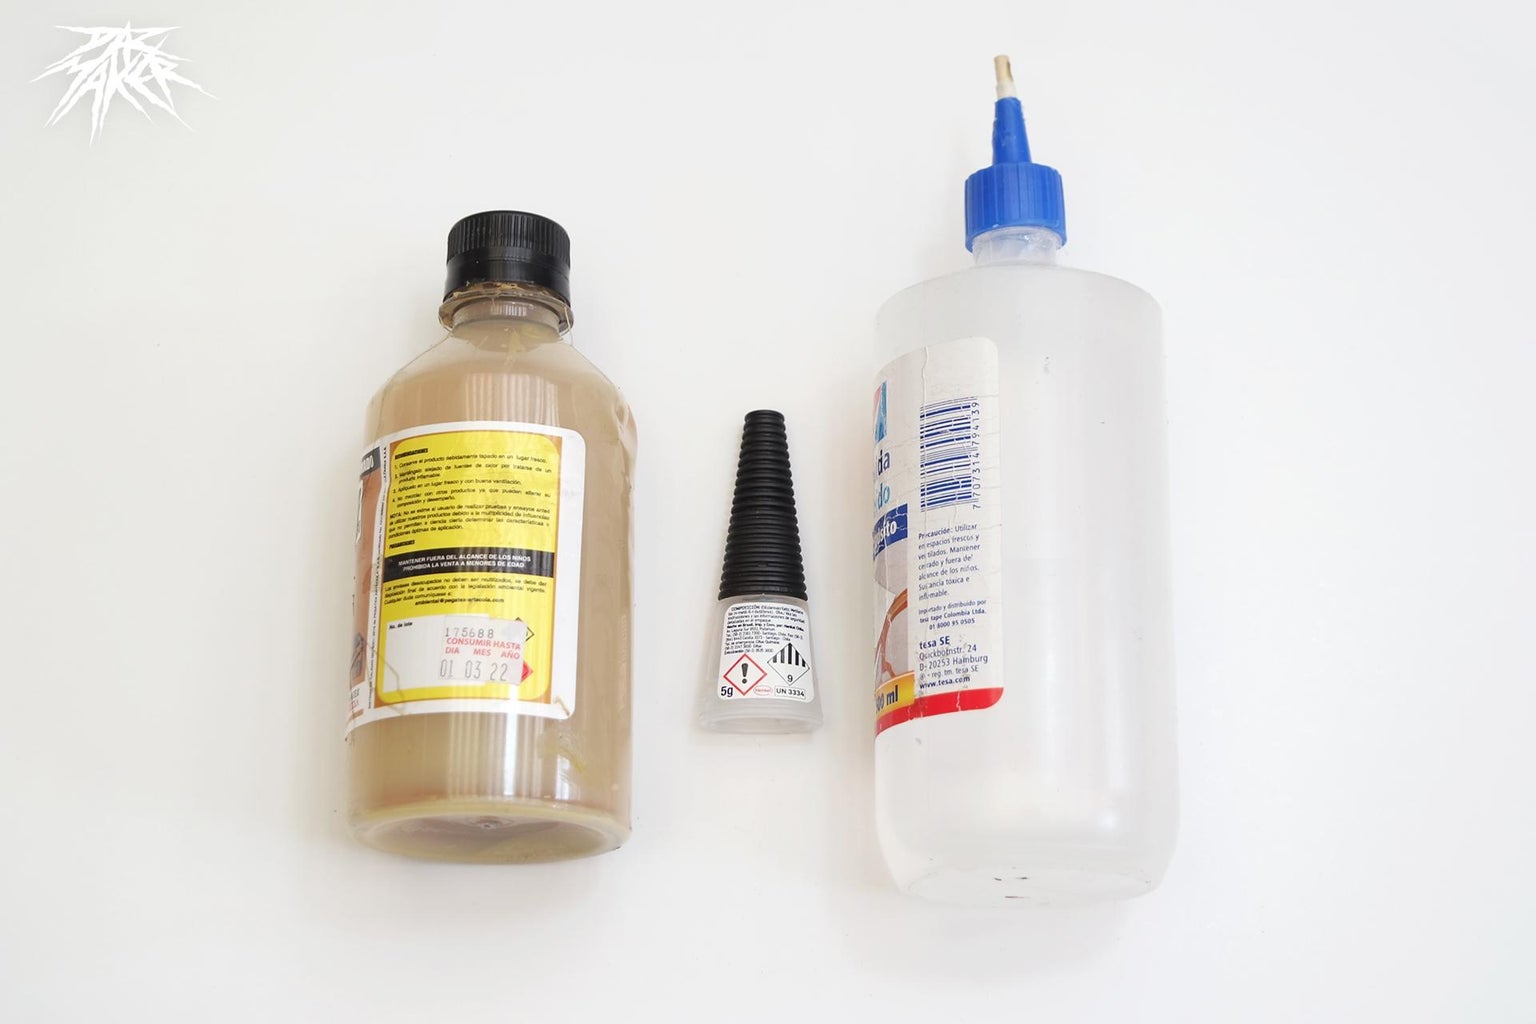
For the gluing process you can use any type of glue but I personally recommend contact cement, since it will give you working time and it will not dry cracked as in the case of super glue, liquid silicone can work but it will also leave quite a few lumps and its drying time is slower so it will not optimize the assembly process.
Step 11: The Eyes I
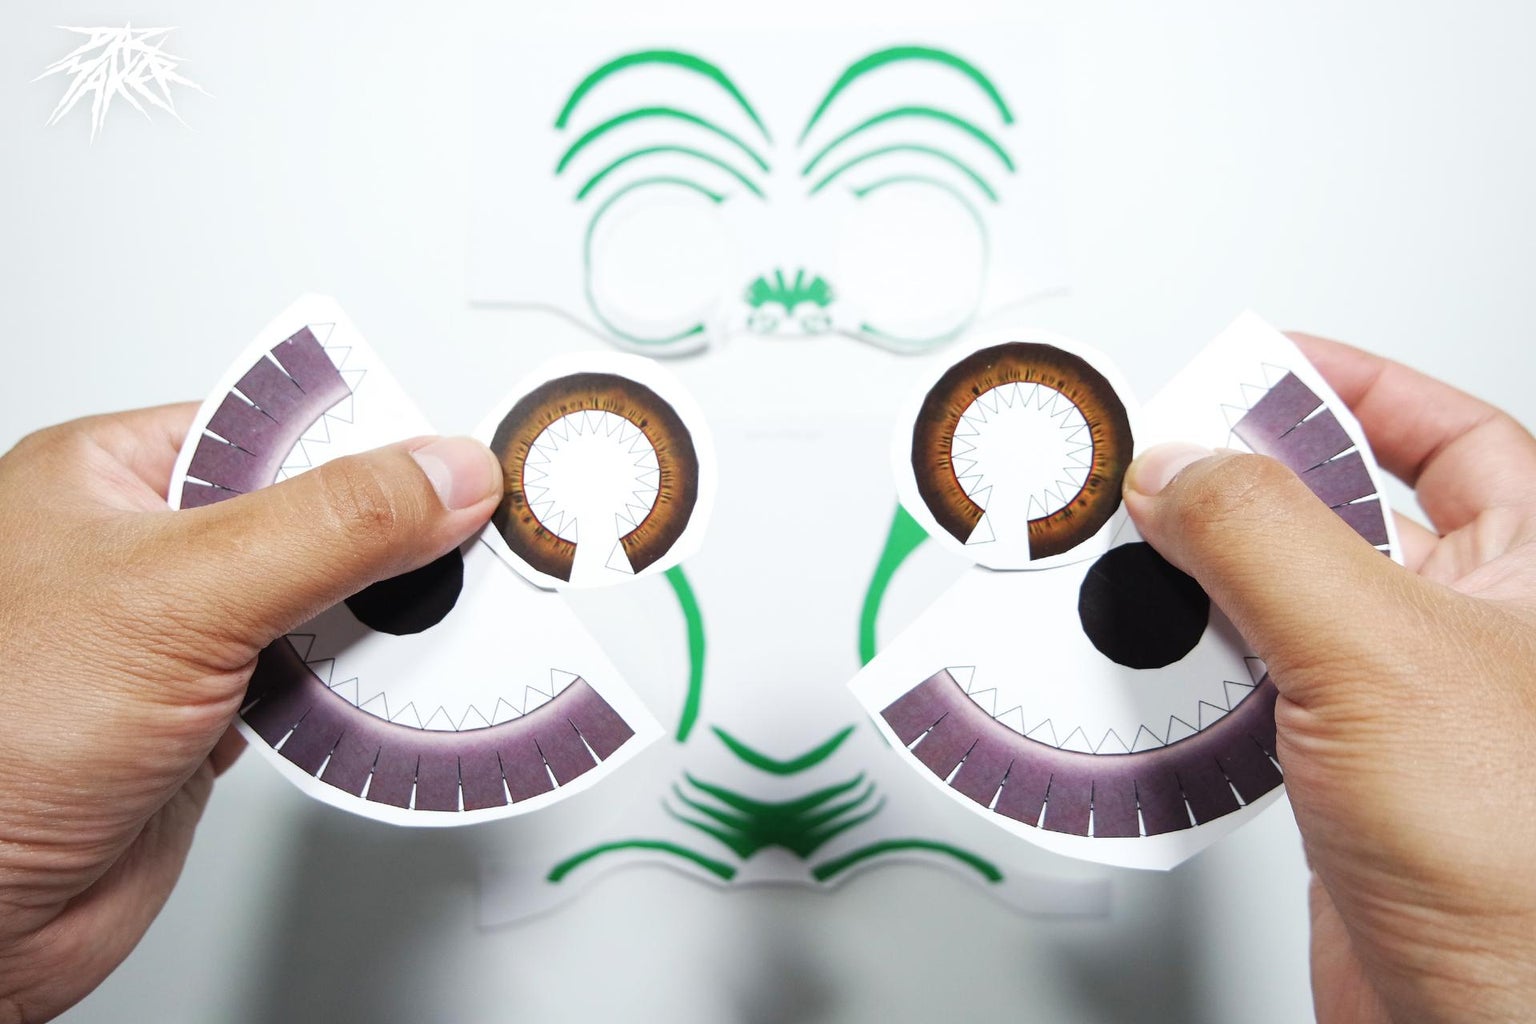
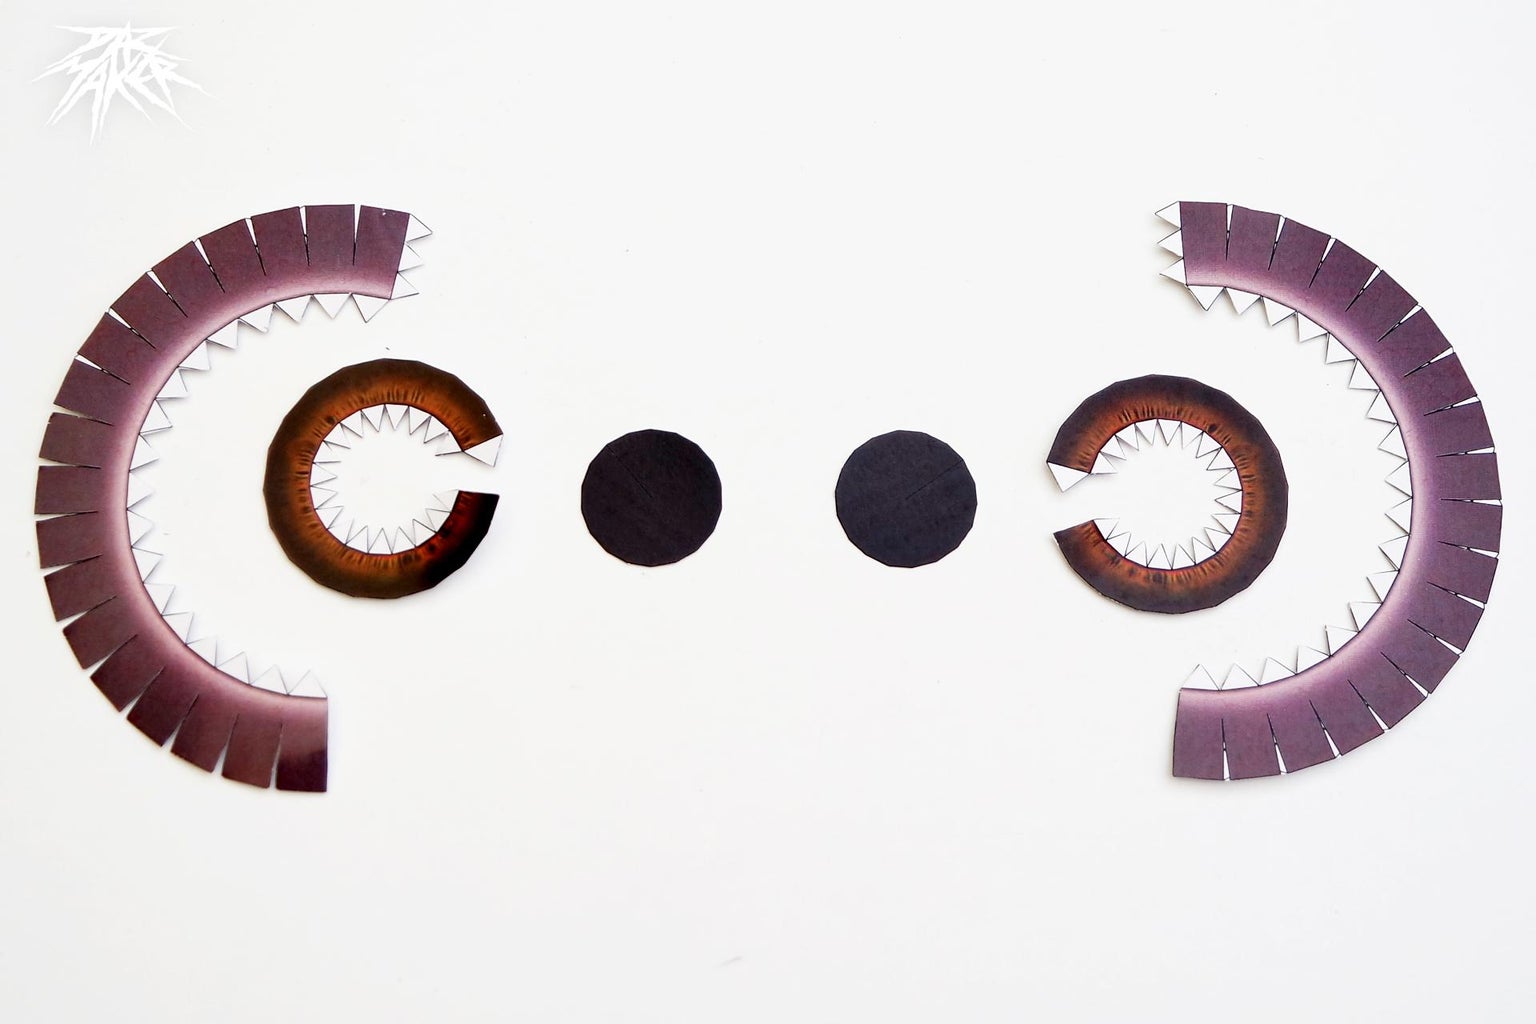

For the eyes, follow the classic papercraft process, cut out the pieces of the colored eyes that come in the templates and glue them one to the other through their respective eyelashes until they form the characteristic spherical shape of an eye with iris.
check the video to understand the process
Step 12: The Face Guide
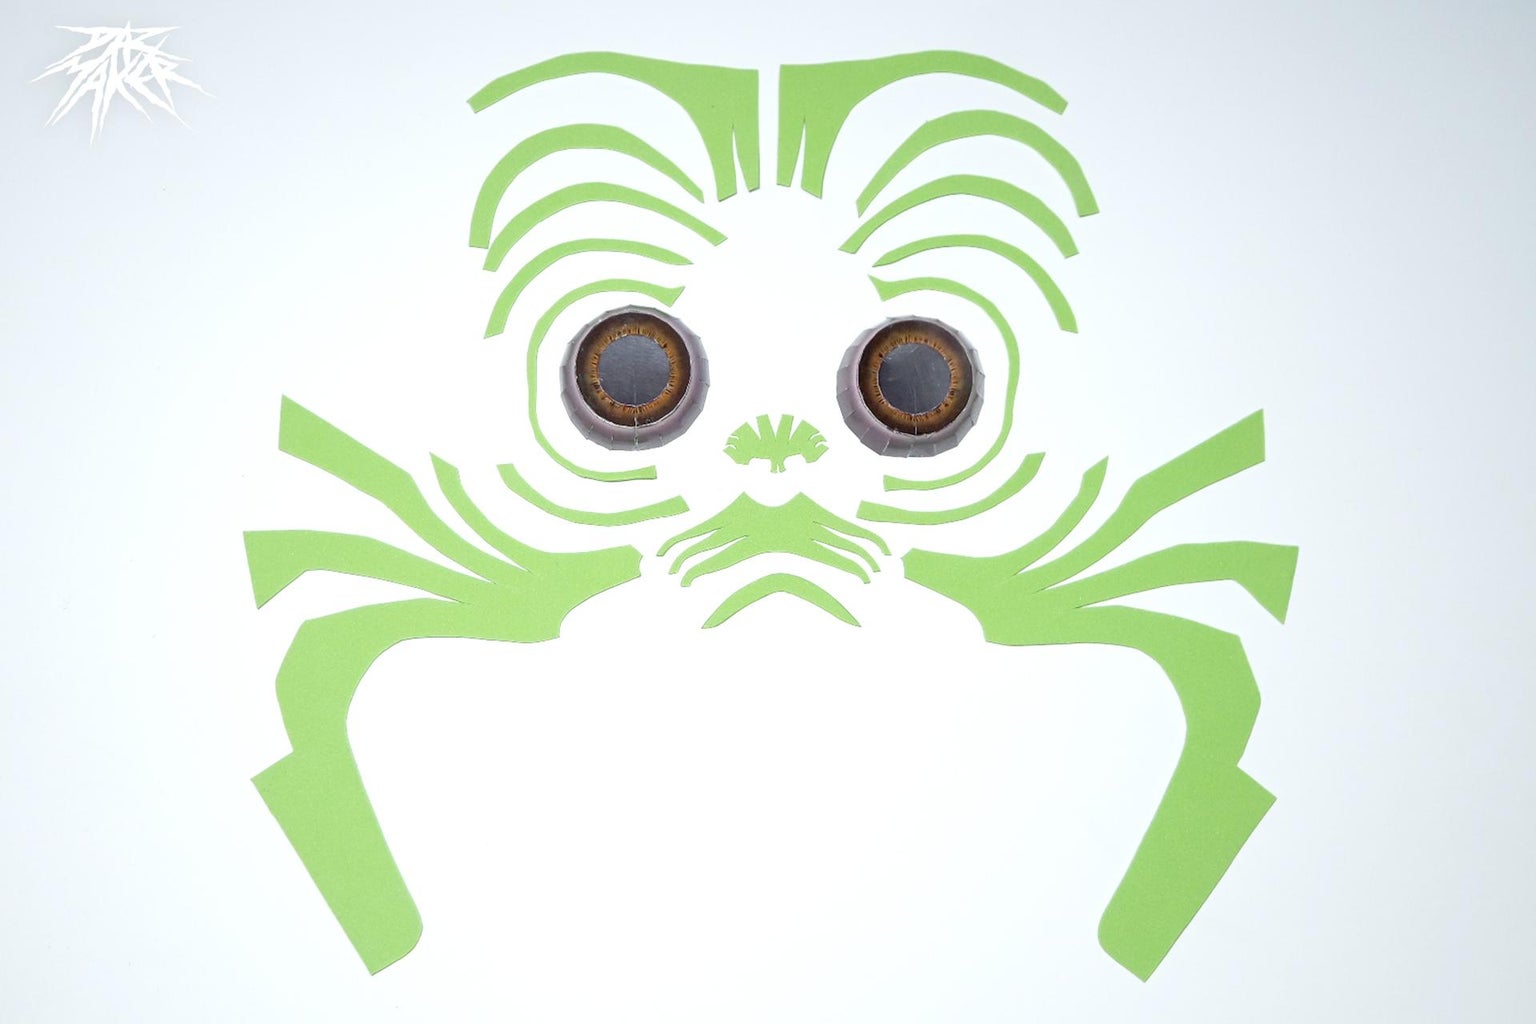
Here is the guide for the face pieces, glue it to the edges of its counterparts in the image of this step. You can follow the order of each piece.
remember to glue the respective joints of each piece, before gluing the set of pieces, you just have to join the cuts from its vertex to the edges with glue.
Btw looking closely at this image is pure nightmare fuel XD
Step 13: Nose Philtrum


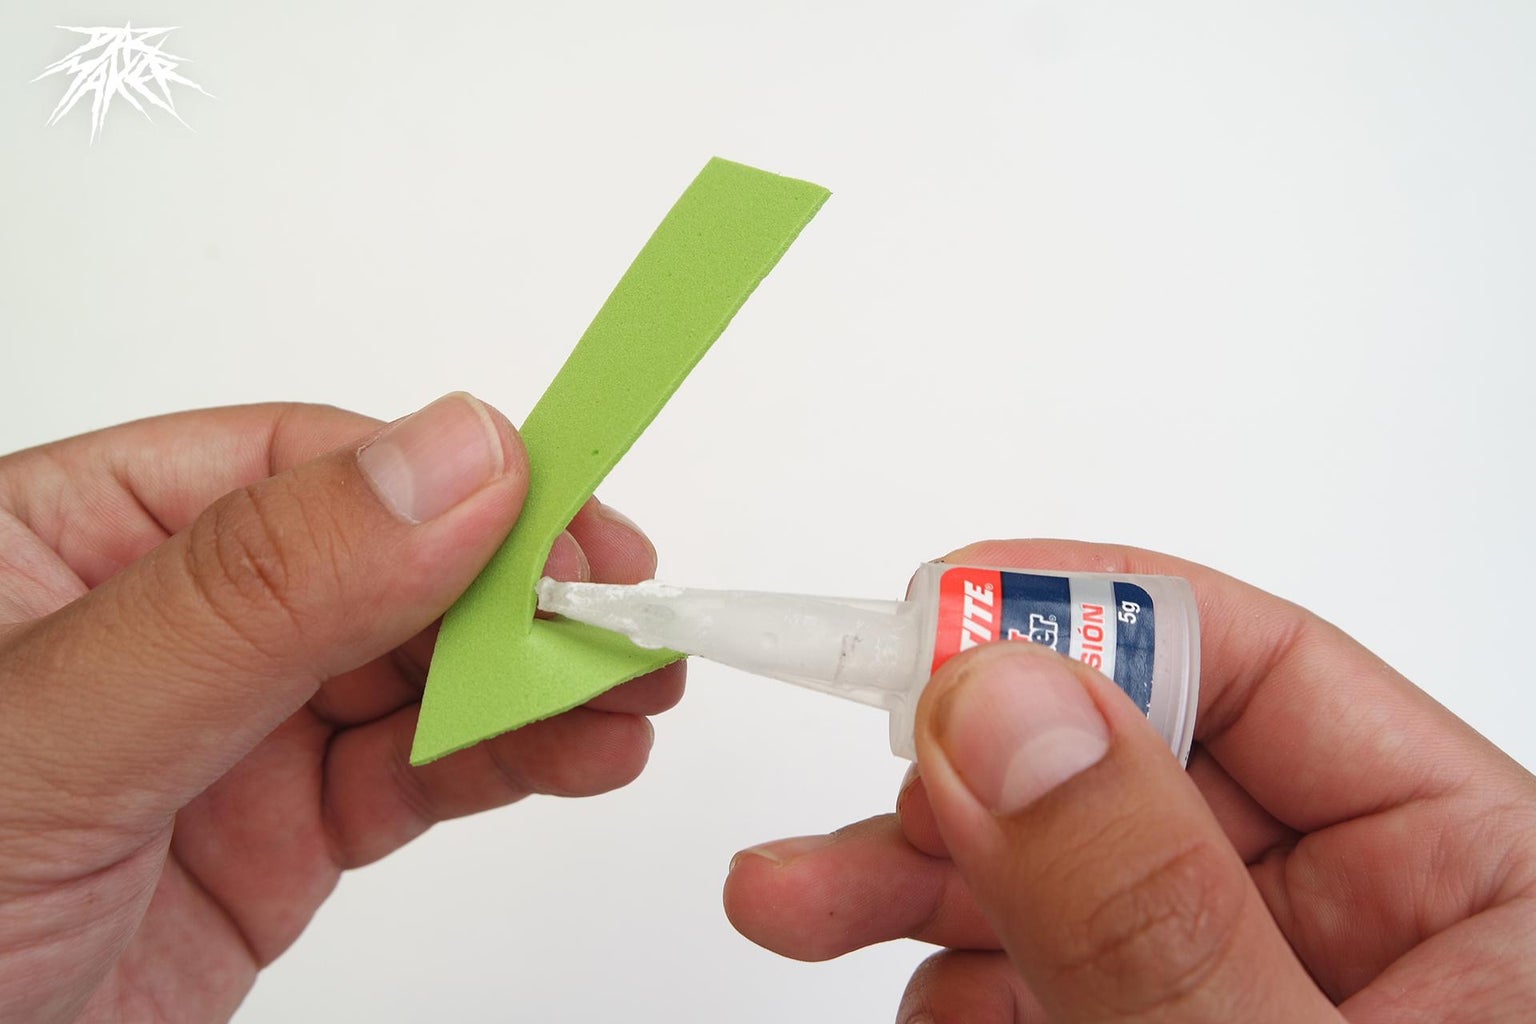
After cutting the three pieces of the nose, the philtrum and the lip (it does not appear in the image, check the next step) we will take our contact glue and apply it to the edges of the joints, let it dry for 5 or 8 minutes and join it face to face as depicted in the video.
Step 14: Nose Philtrum and Lips
After making the tiny grogu nose, we will assemble it to what is the part of the philtrum, it is quite simple, you just have to join the cuts from its vertex to the edges, and then join the piece of the lip that goes under the philtrum, like The animation shows it with the arrow, do the same with the nose but this time on the top of the philtrum.
I recommend gluing part by part and not applying glue to all the parts at the same time, it will take a while but the finish of the piece will be cleaner. otherwise you will have a mess of glue and you will smear all your fingers even damaging the piece.
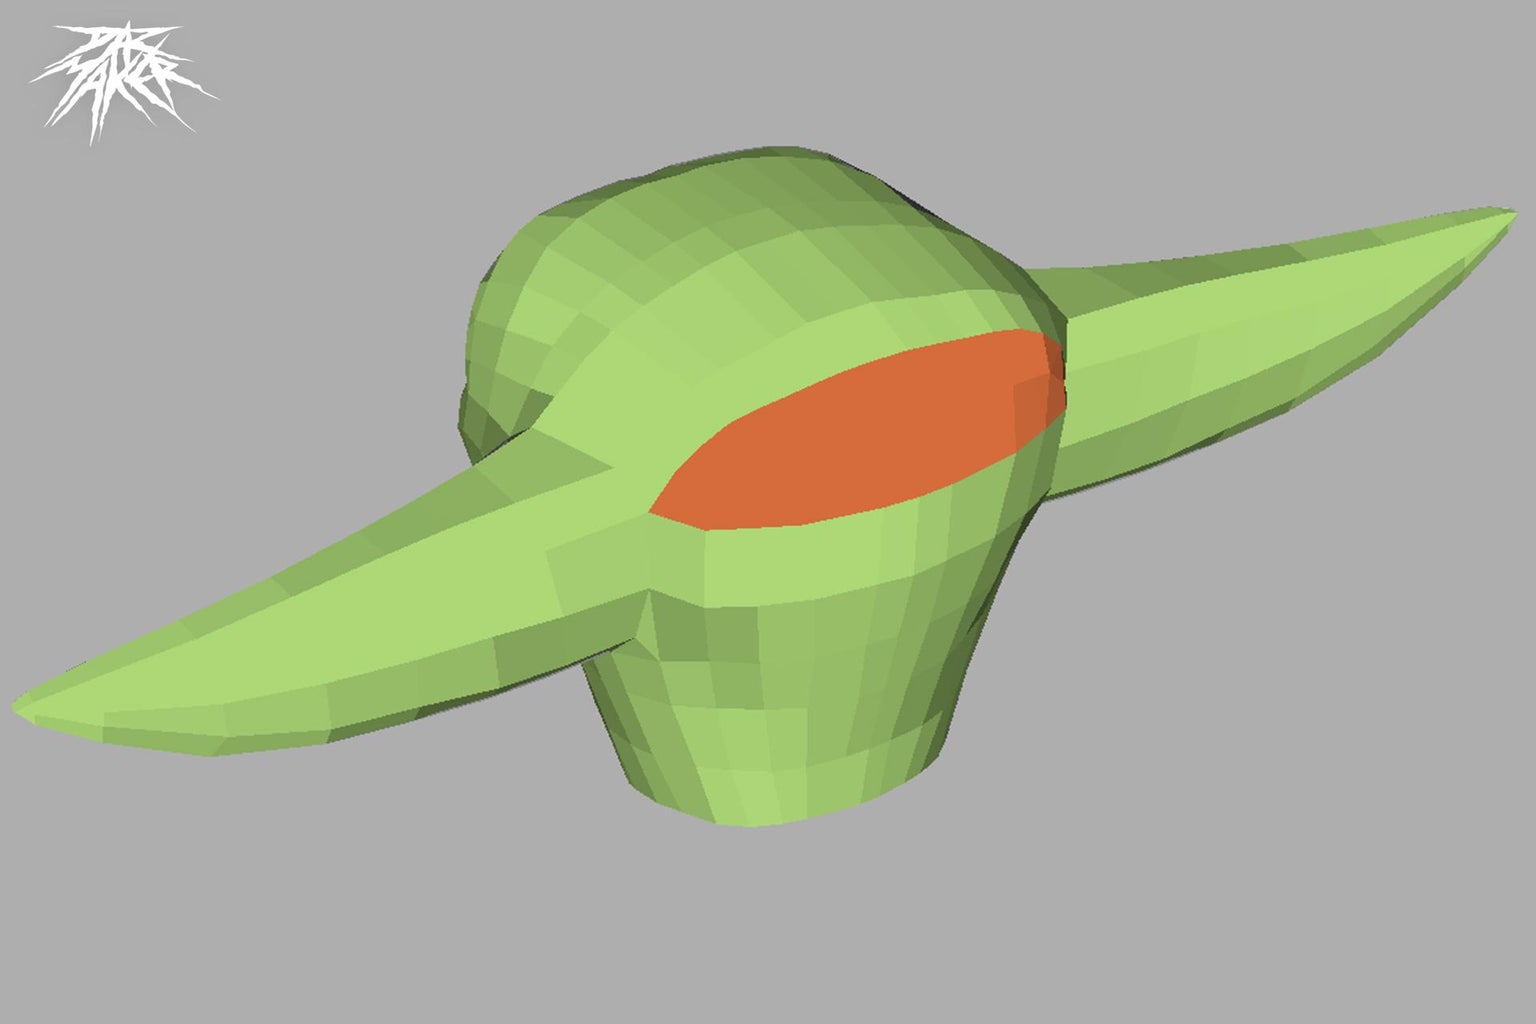
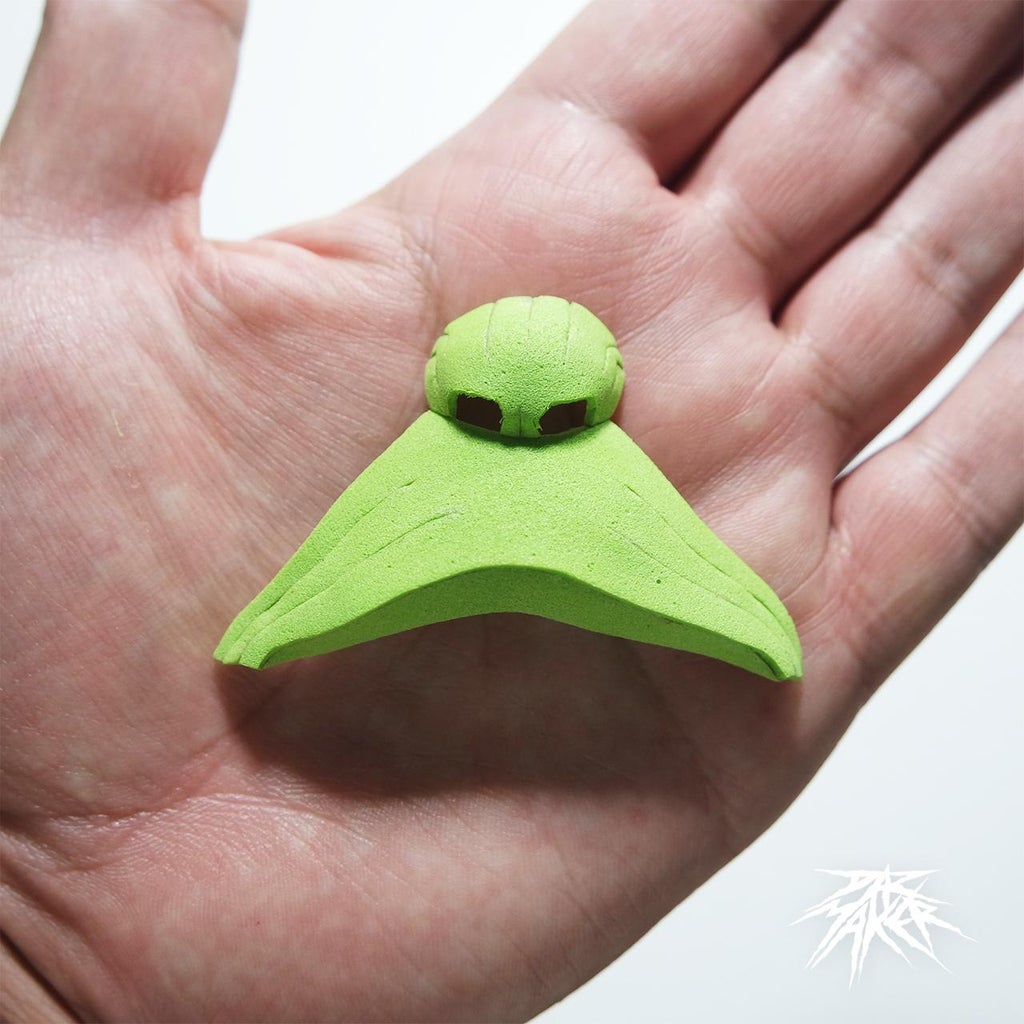
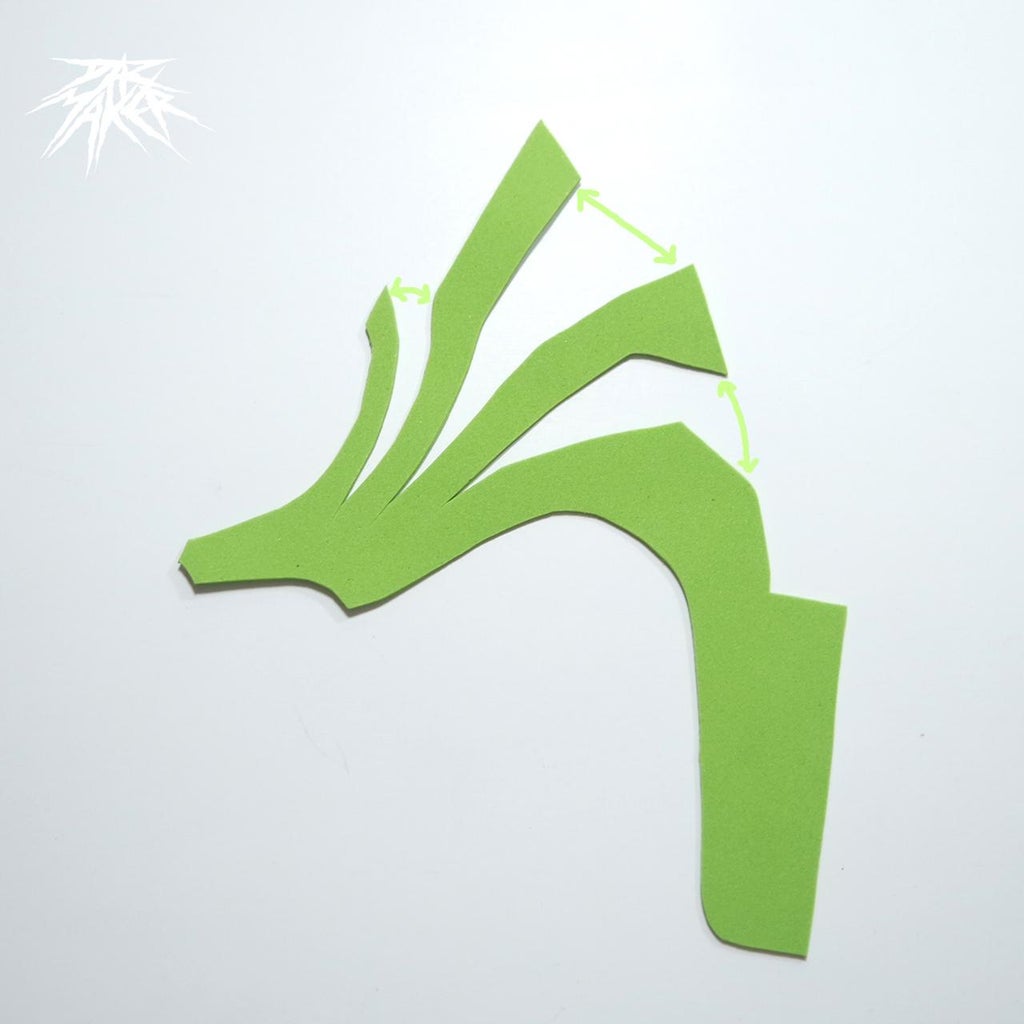
Step 15: Face Process
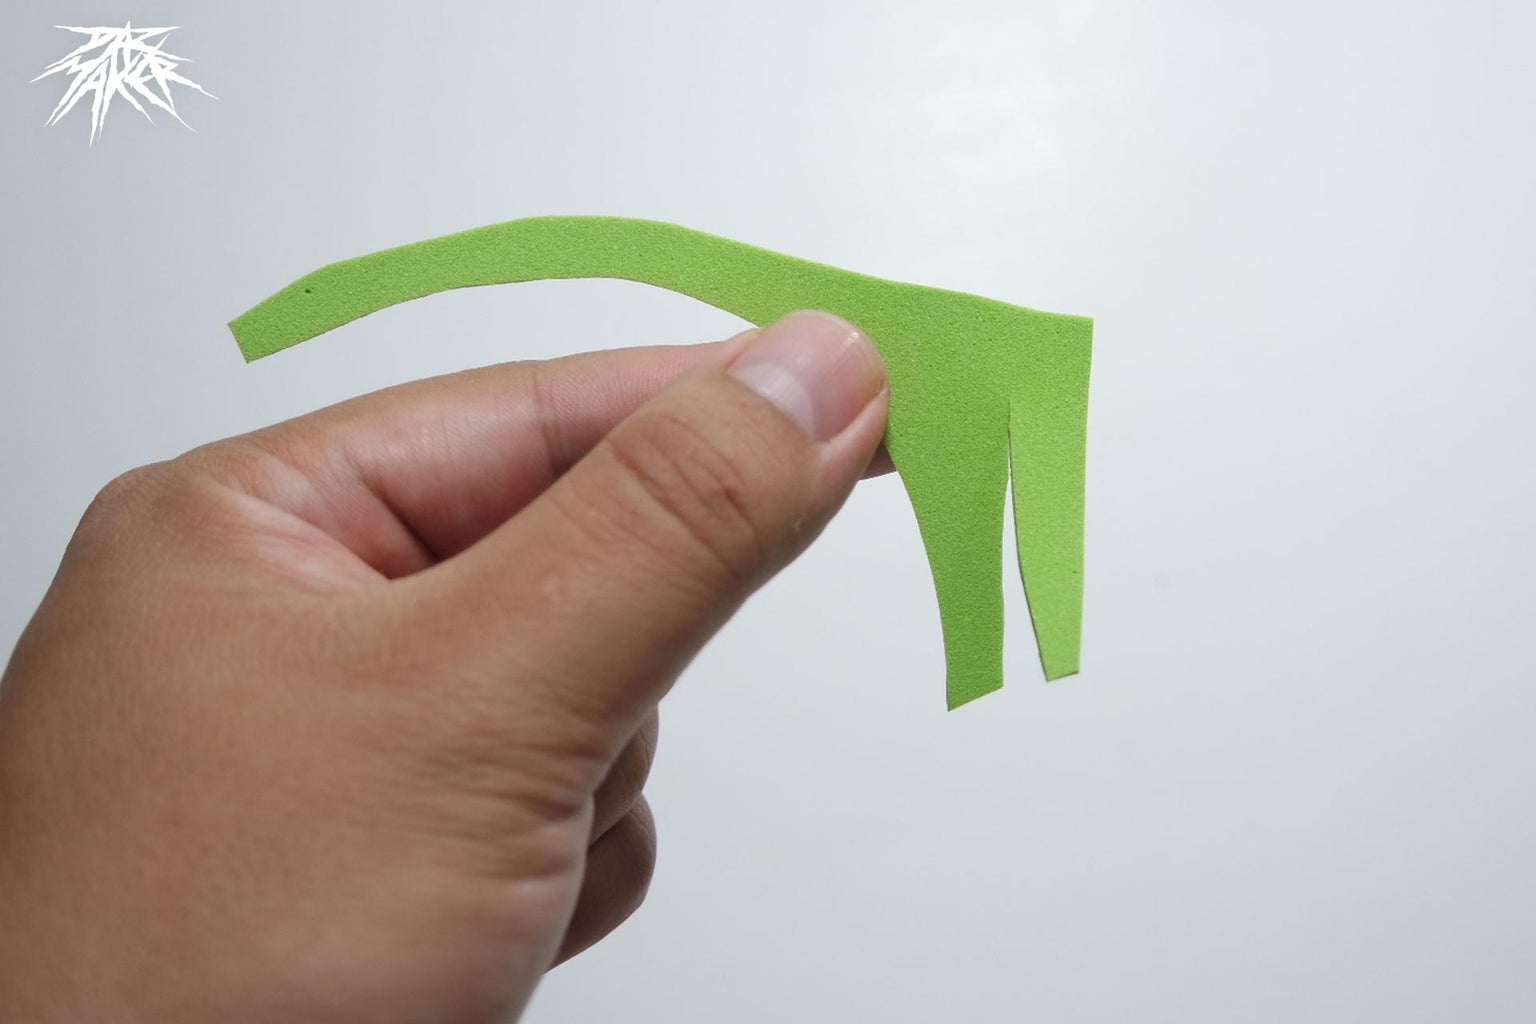
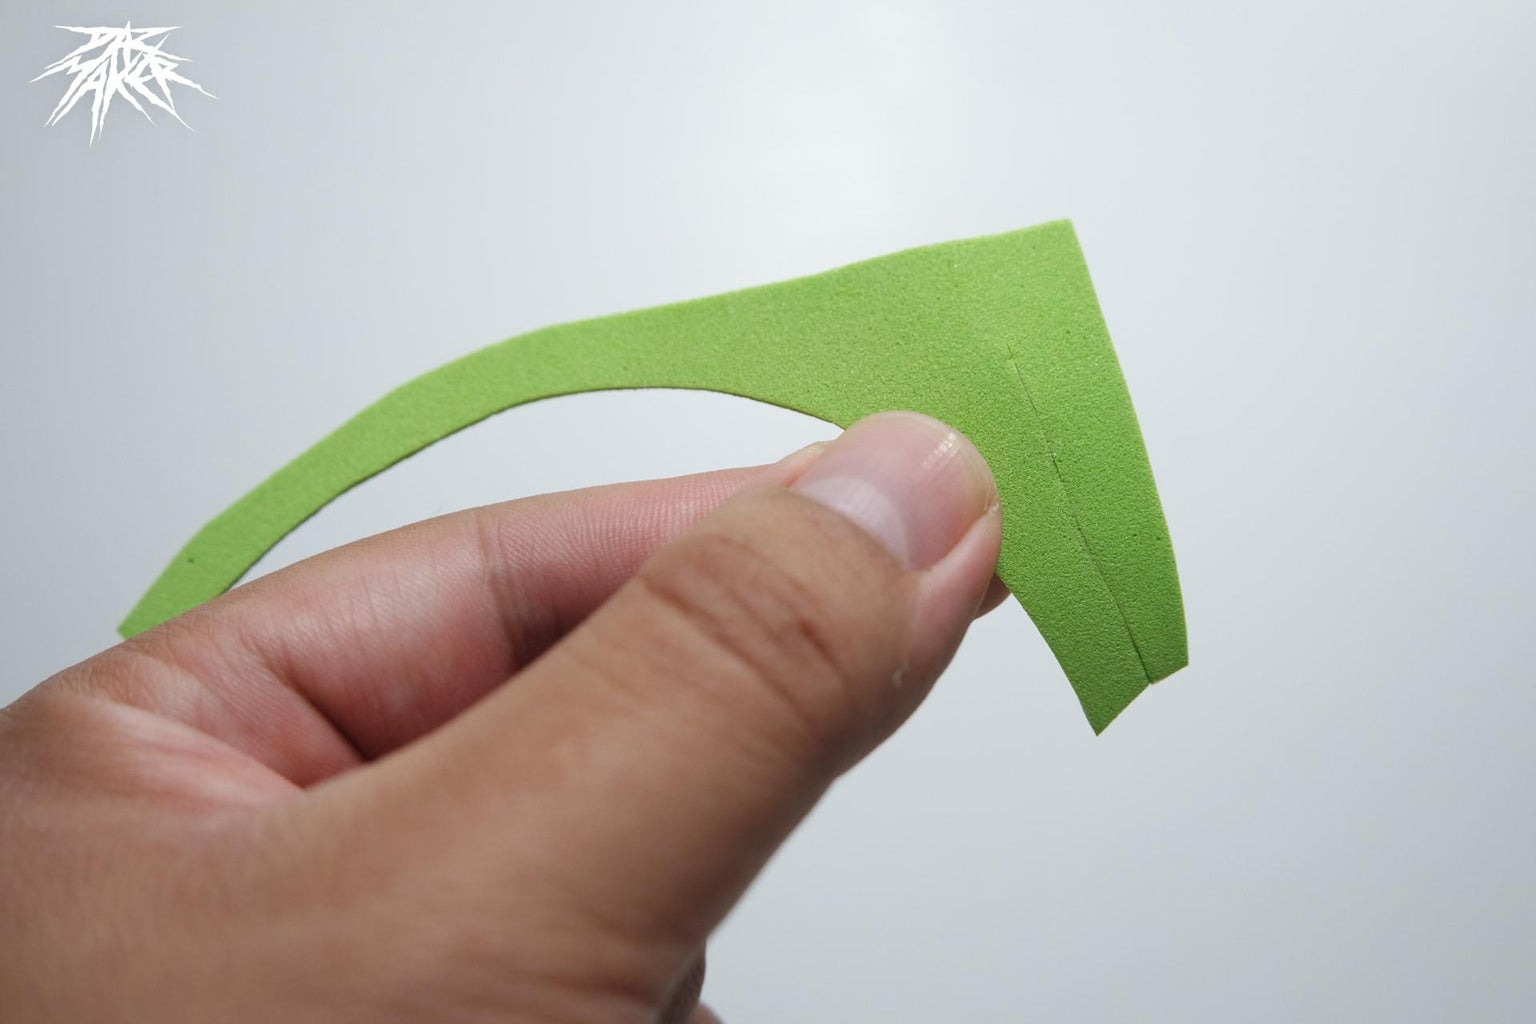
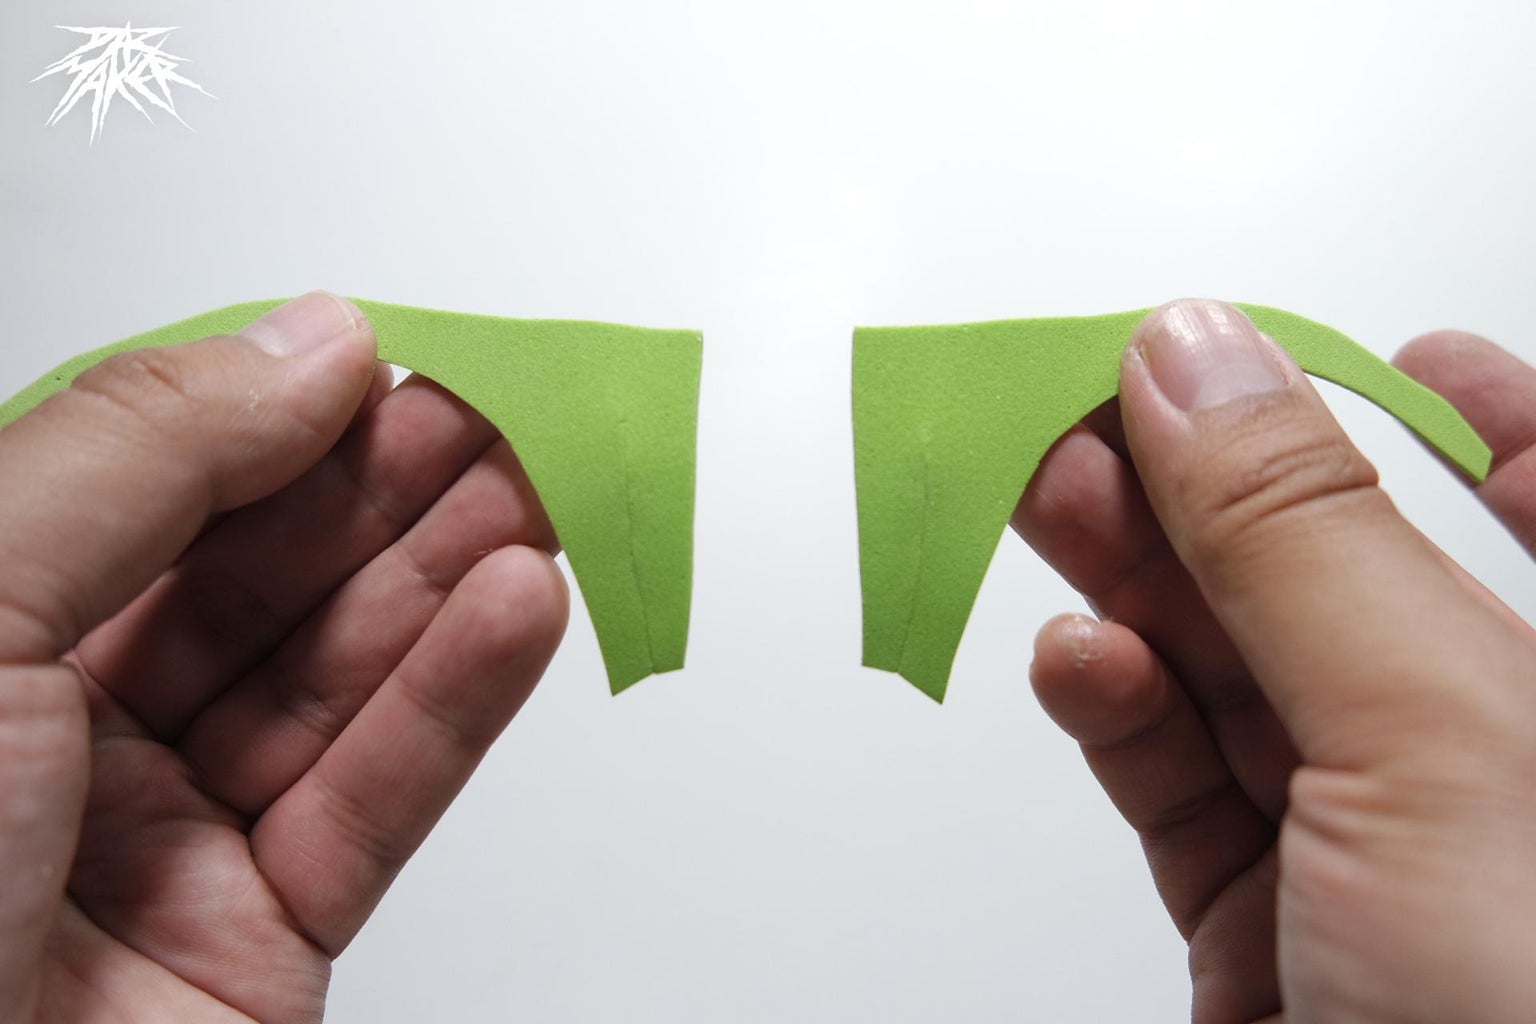

To form Grogu's forehead you must join the pieces shown in the images, according to the shape you can guide yourself, follow the unions shown, and when you form the part of the forehead you will have to join it to the upper part of the nose and philtrum group.
Step 16: Face Process II


here you can see the assembly scheme of the eyelid part to avoid mistakes, guide yourself by the tips of the figures
Step 17: Face Process III
In the first image we can see the order of the eyelids, which is perhaps the most difficult part to assemble but not impossible, for these cuts I recommend a well-sharpened cutter to give our pieces an impeccable finish, follow the pattern illustrated in the image and the result.
In the second image we see the cheeks, you just have to follow the instructions to paste. and compare with the third image for the correct way of assembly
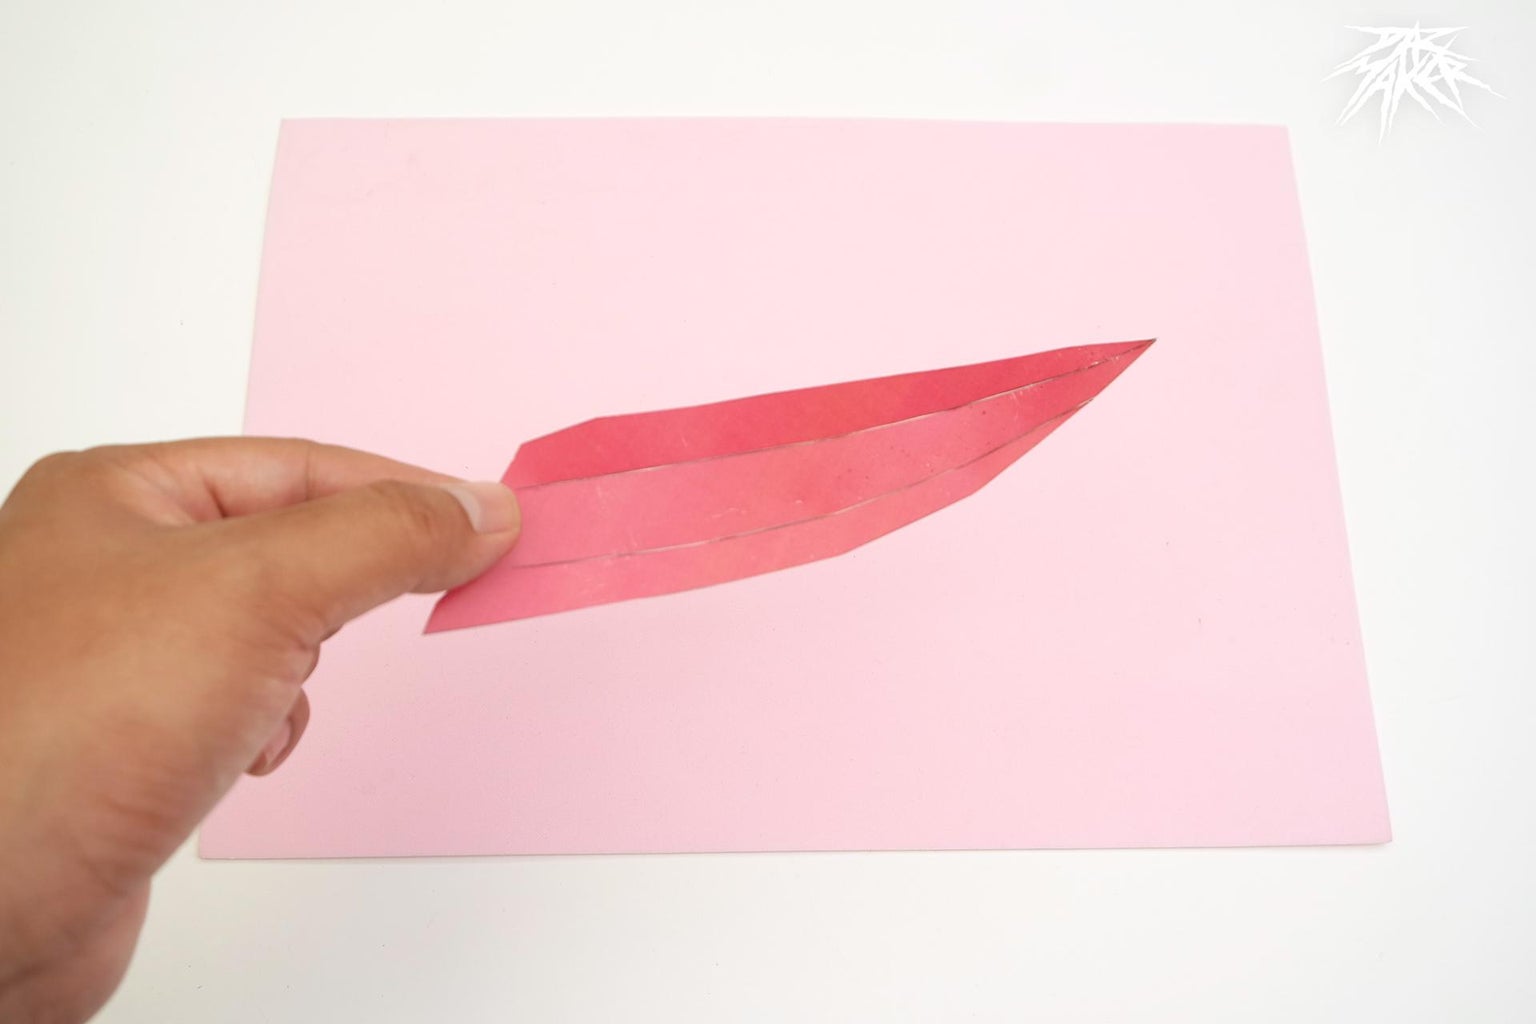
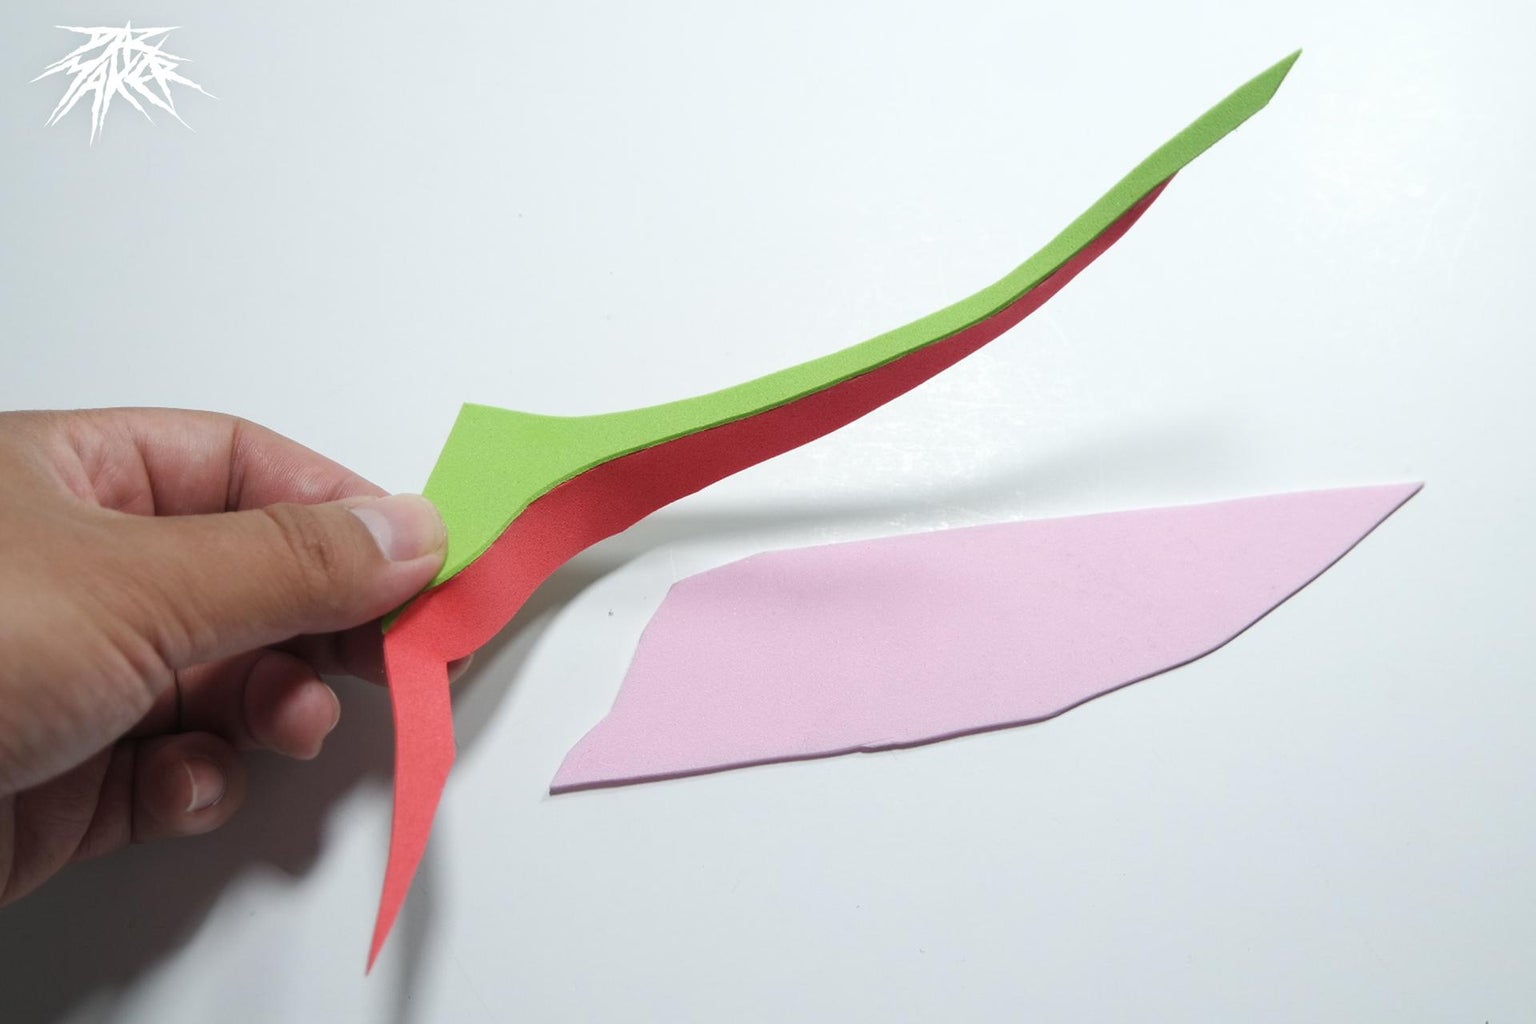
Step 18: The Inside of the Ears
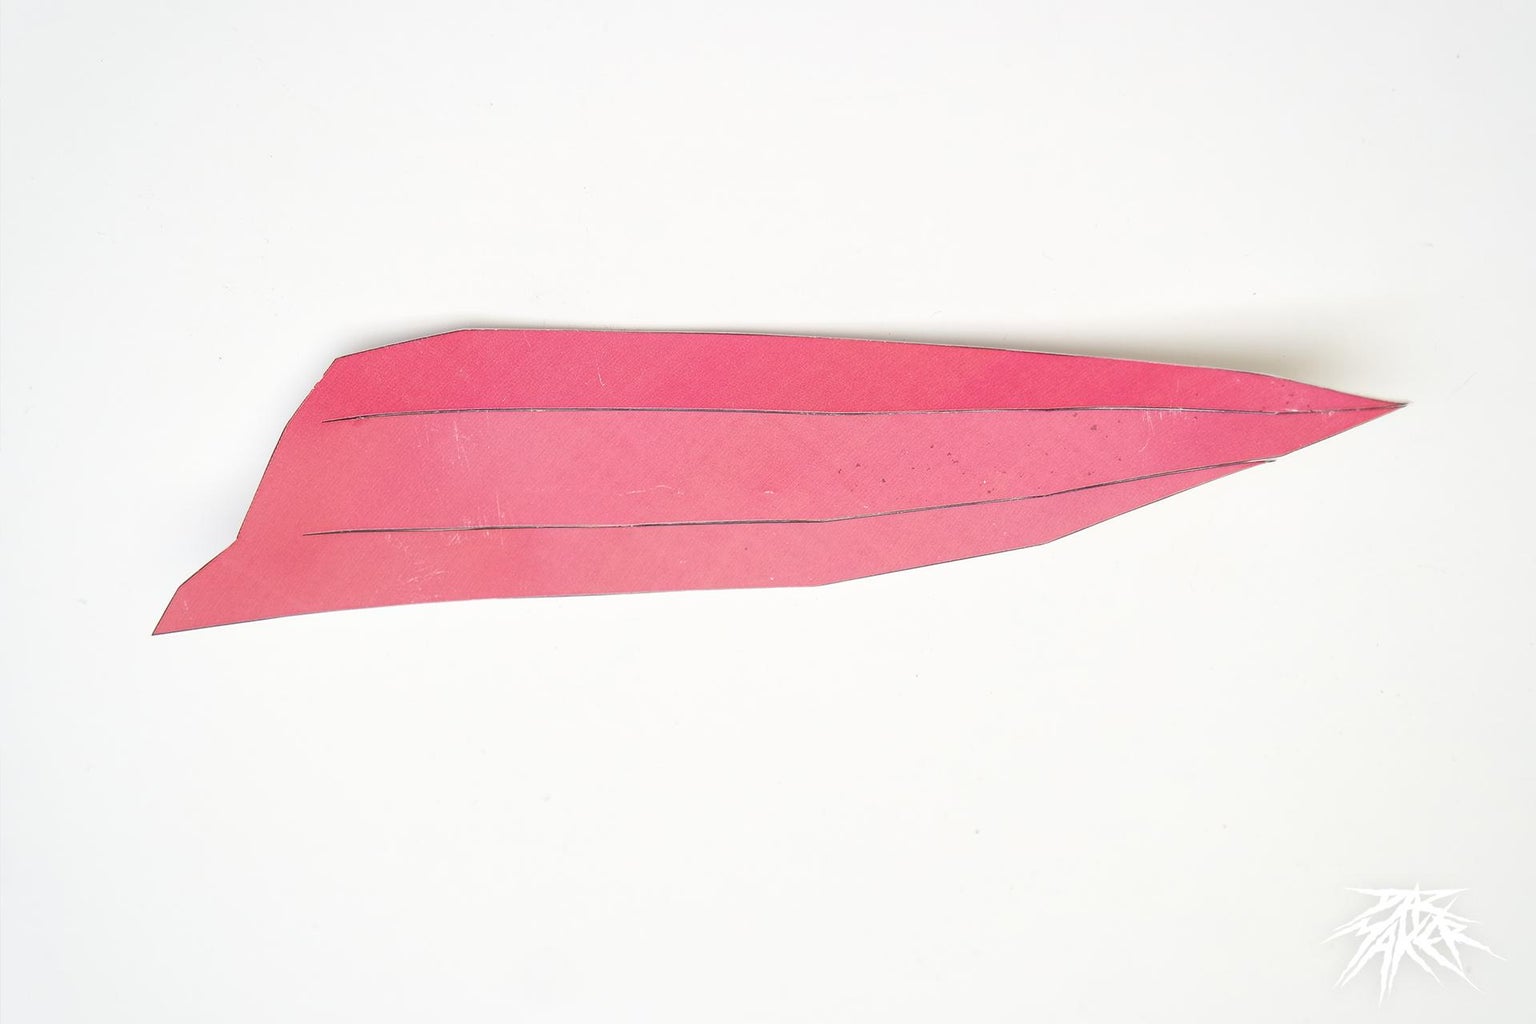
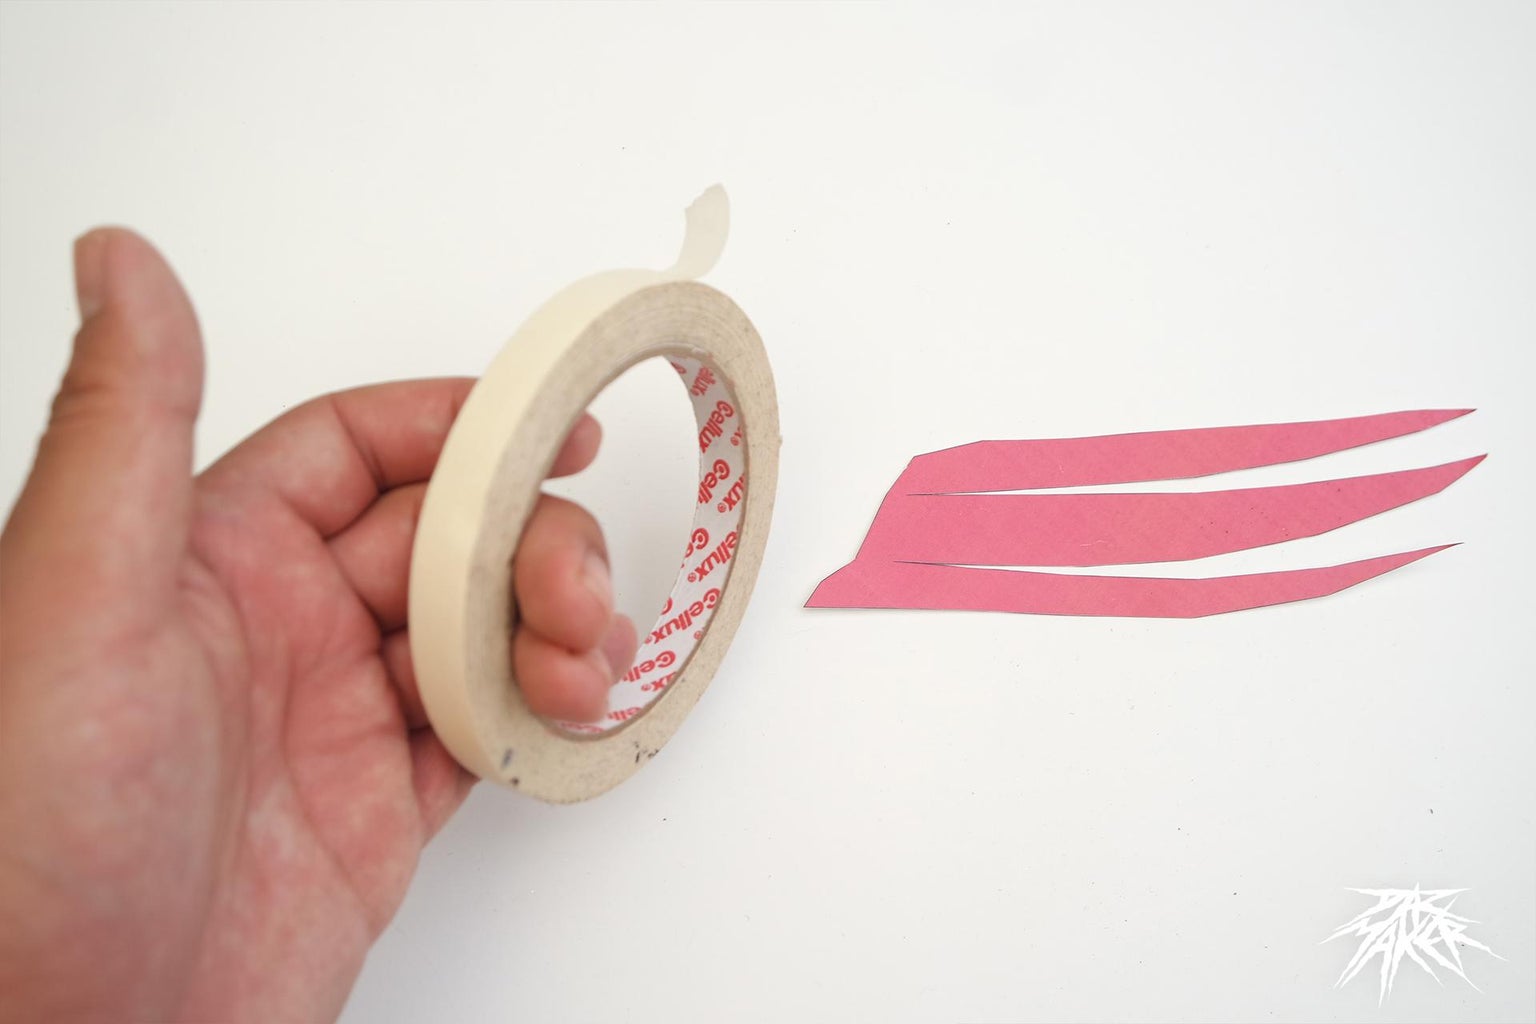
Apart from his little green skin, what most characterizes grogu are his giant ears that go from side to side, To make them, the first thing we will do is cut the pink part that comes in the templates, we will make the respective cuts, and to avoid generating unnecessary lines in the eva foam, we will glue the mold on the back with tape.
Step 19: The Inside of the Ears II


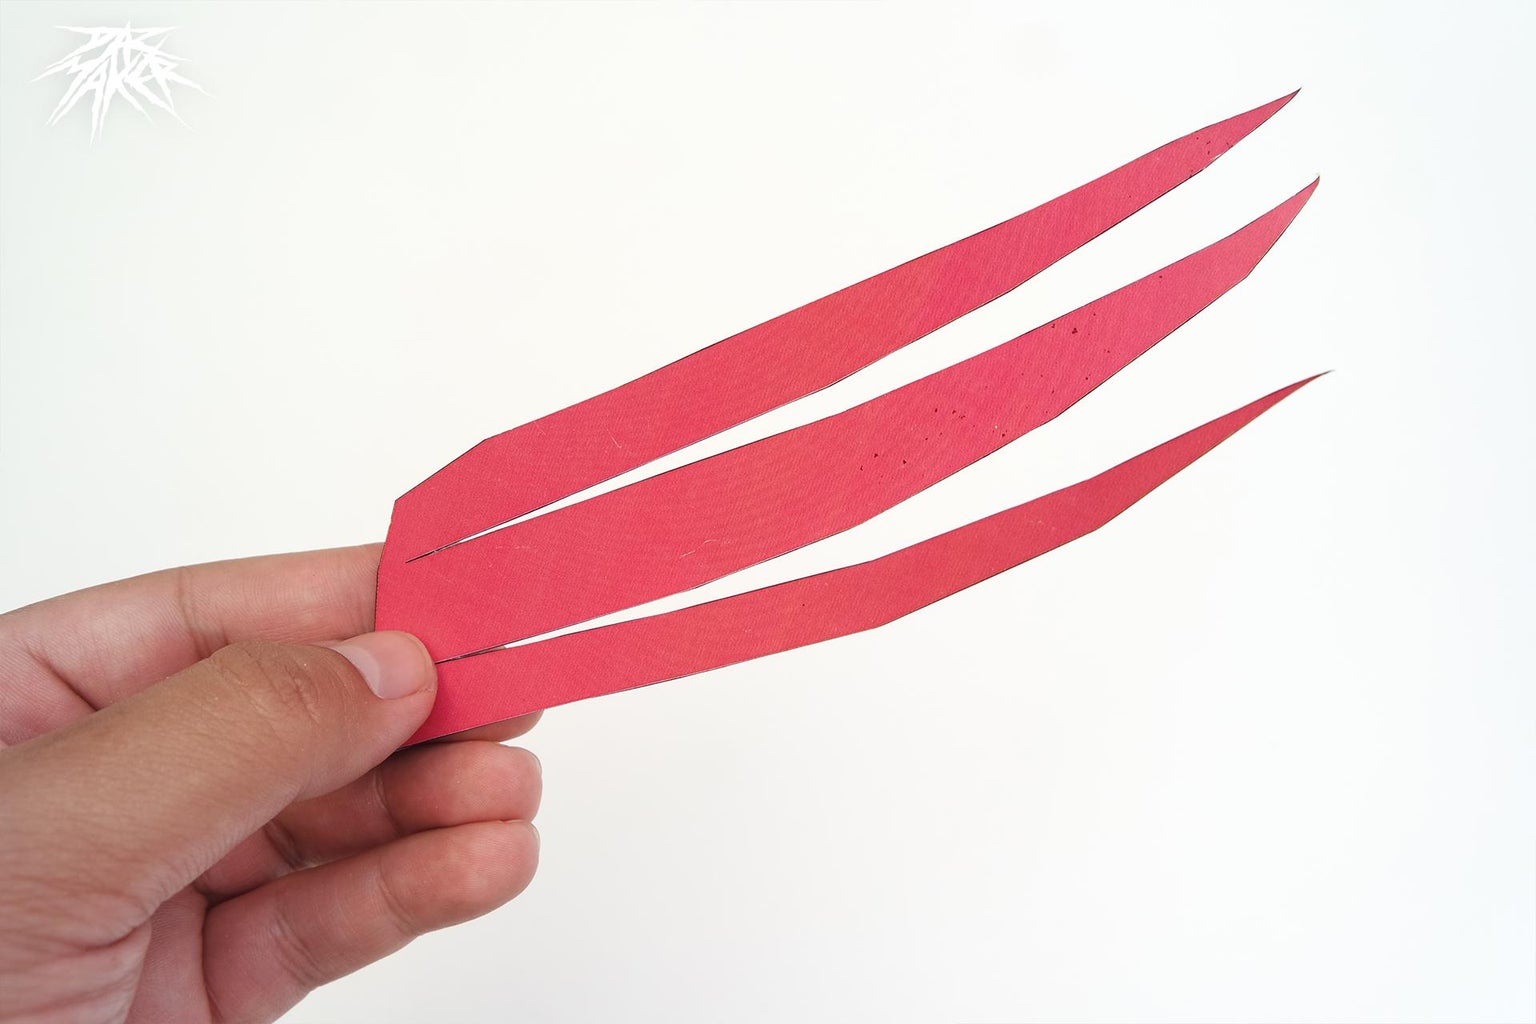
then we will take the mold and transfer it with a pencil to the eva foam, to later cut it with our exact, resulting in 2 equal pieces, from this moment we will make several pieces in the same way, in some cases 2, as the design is symmetrical
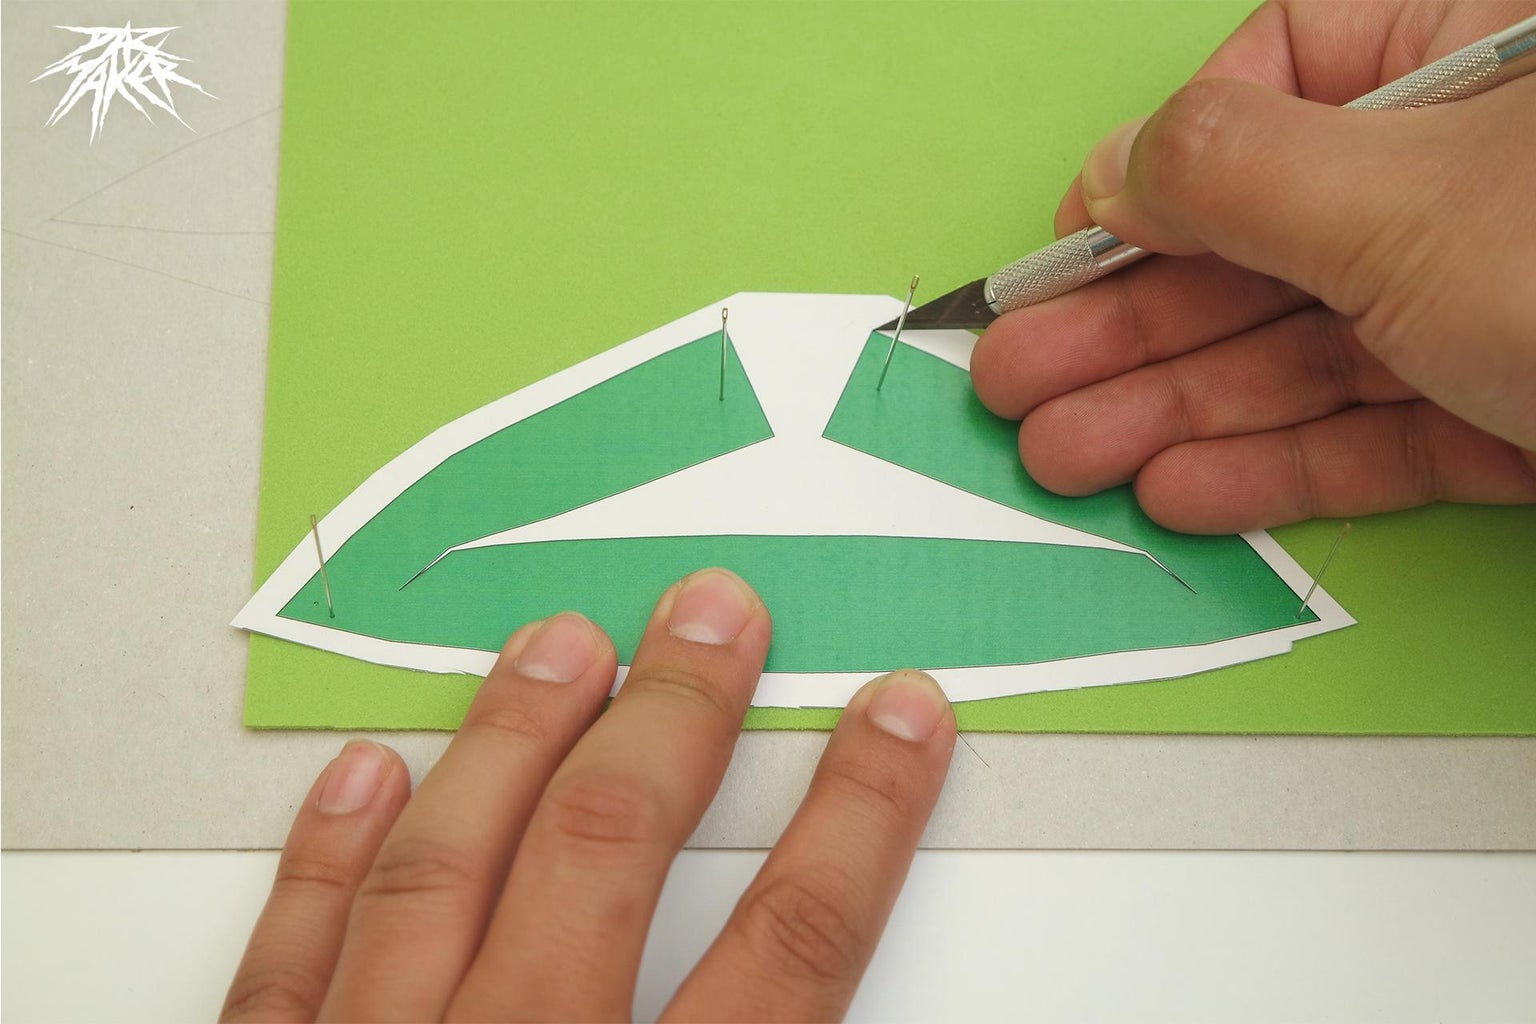
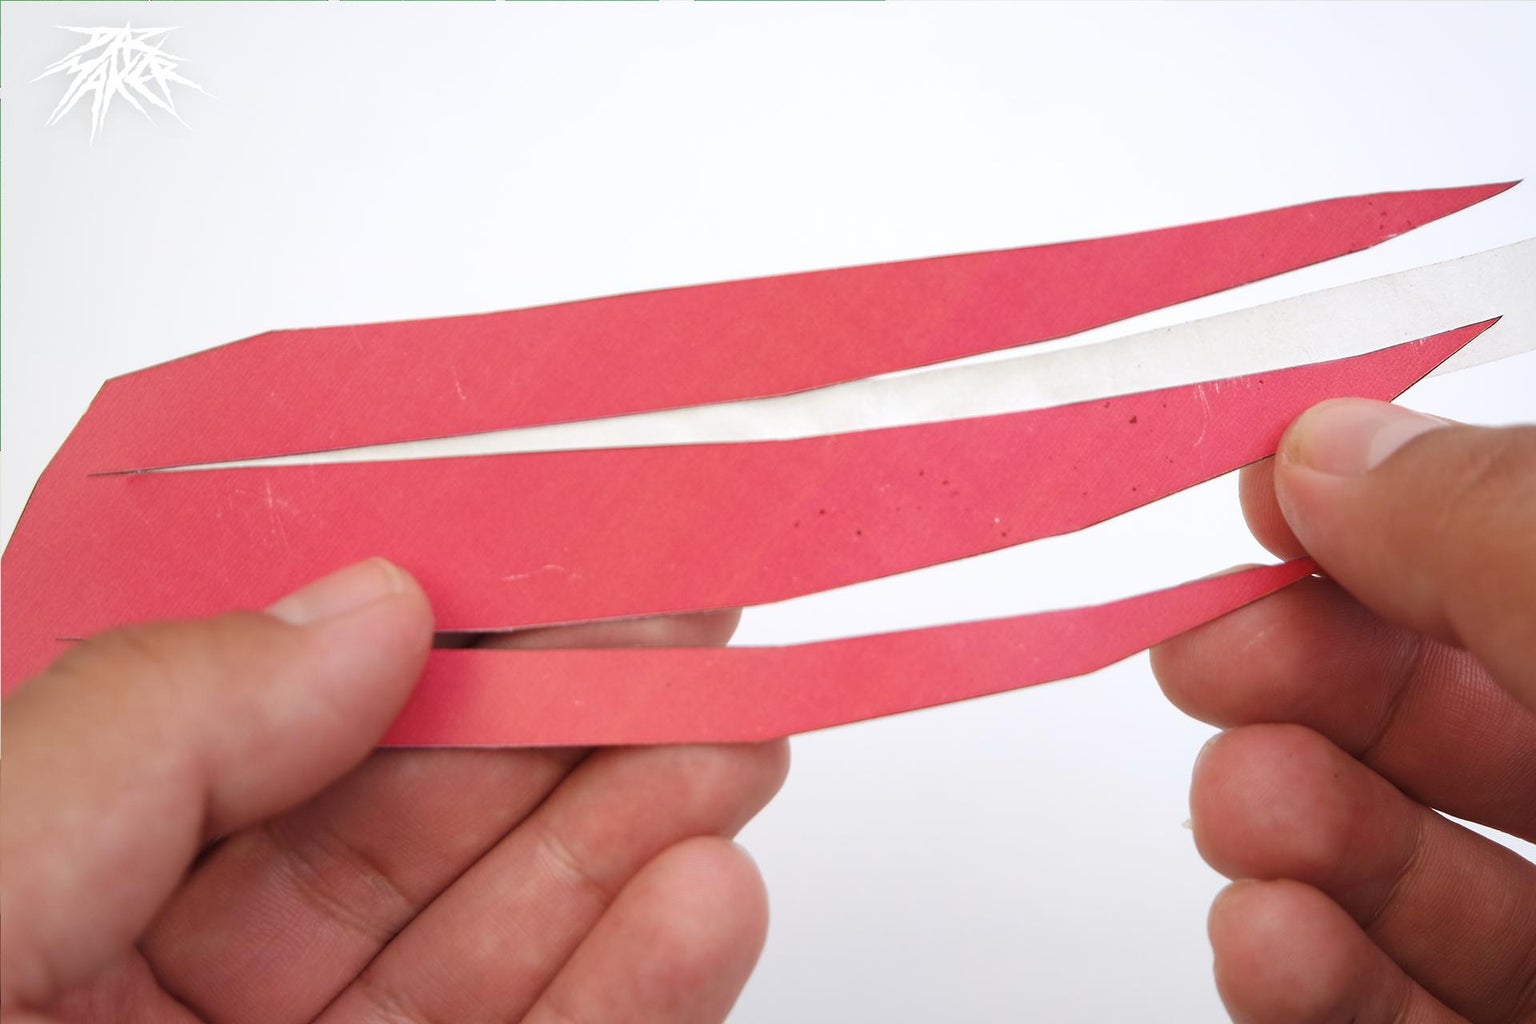
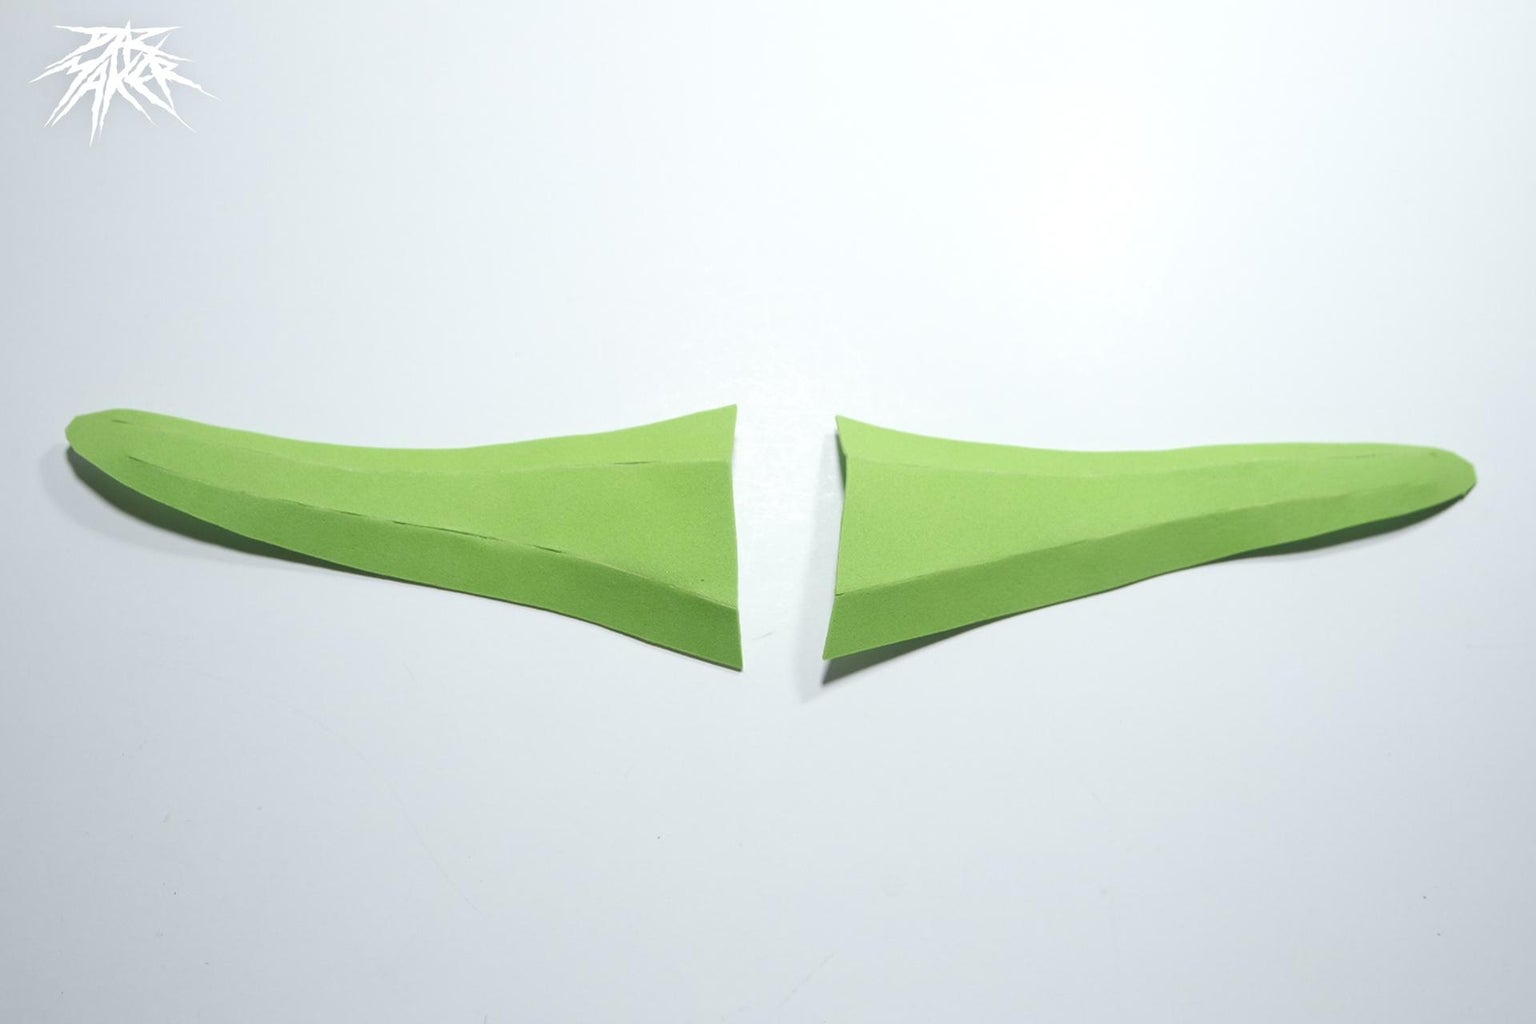
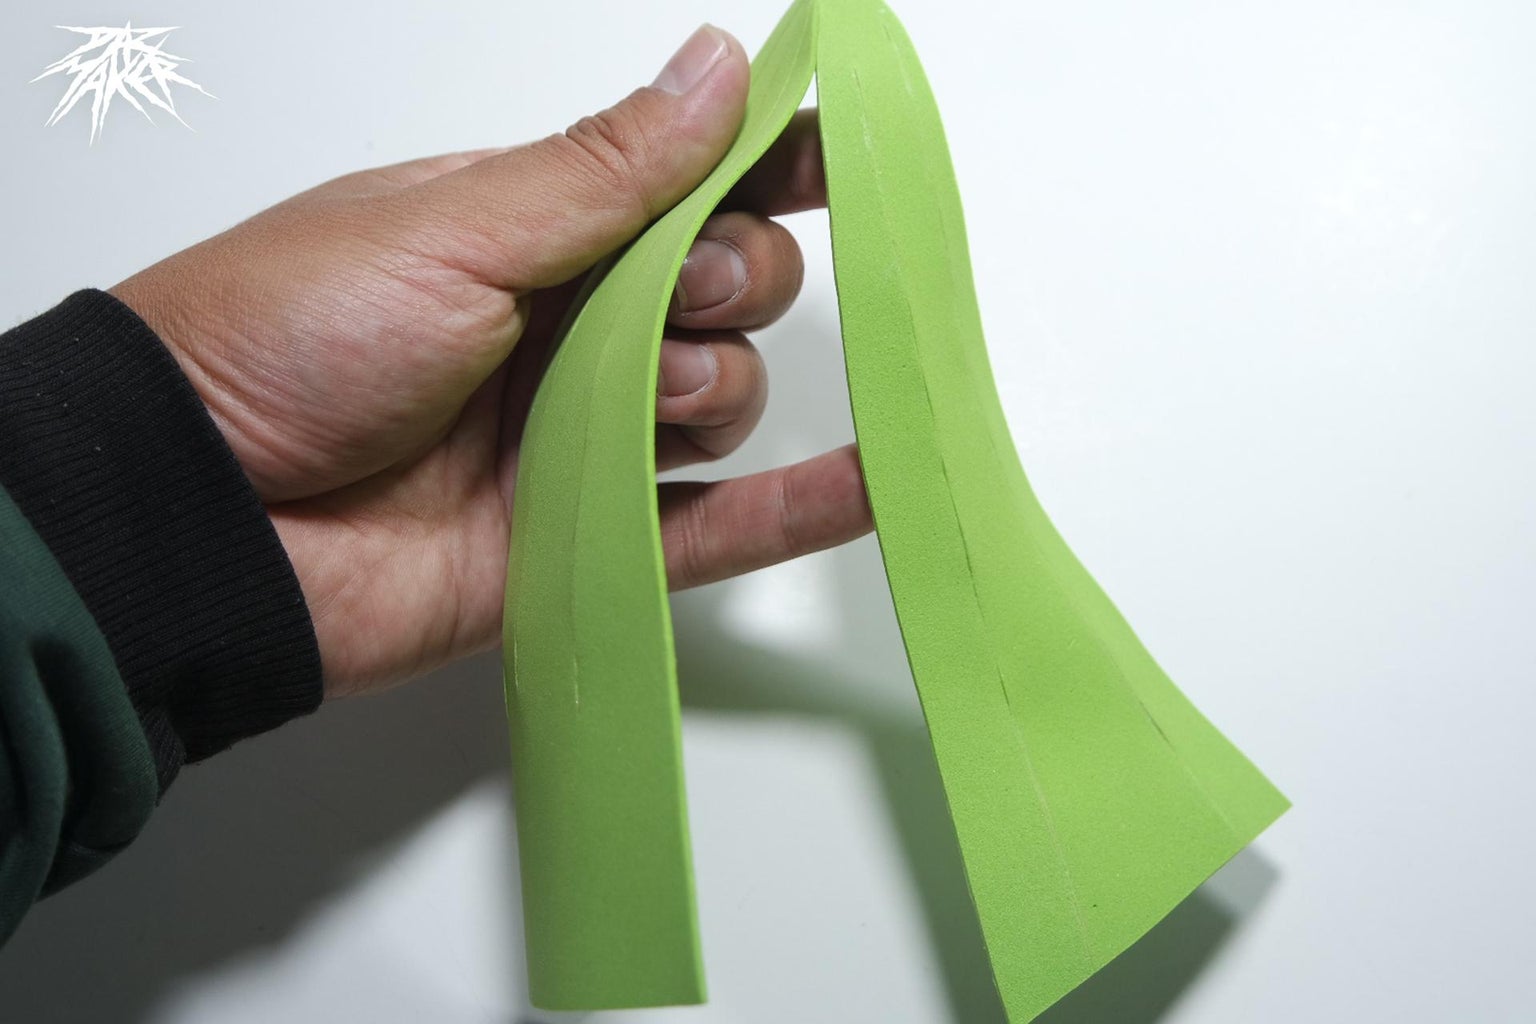
Step 20: Outer Part of the Ear
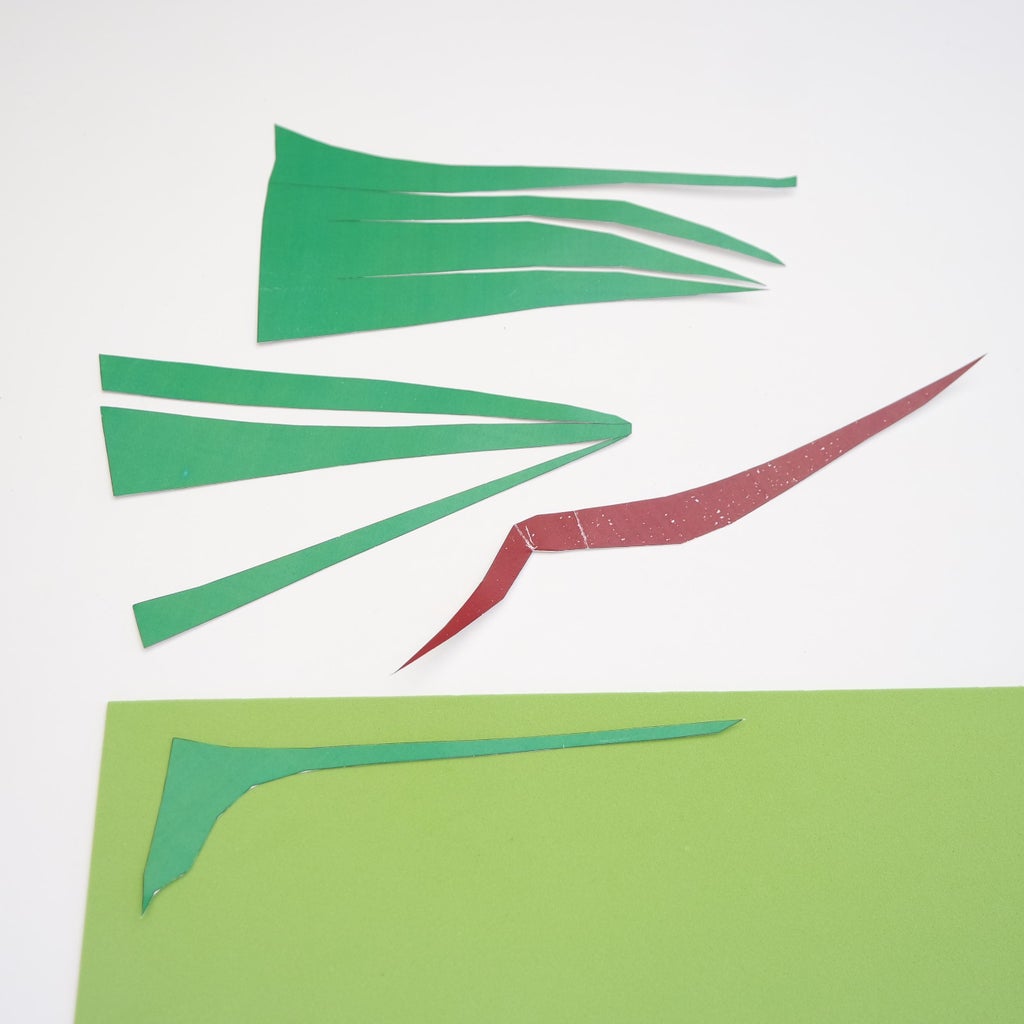
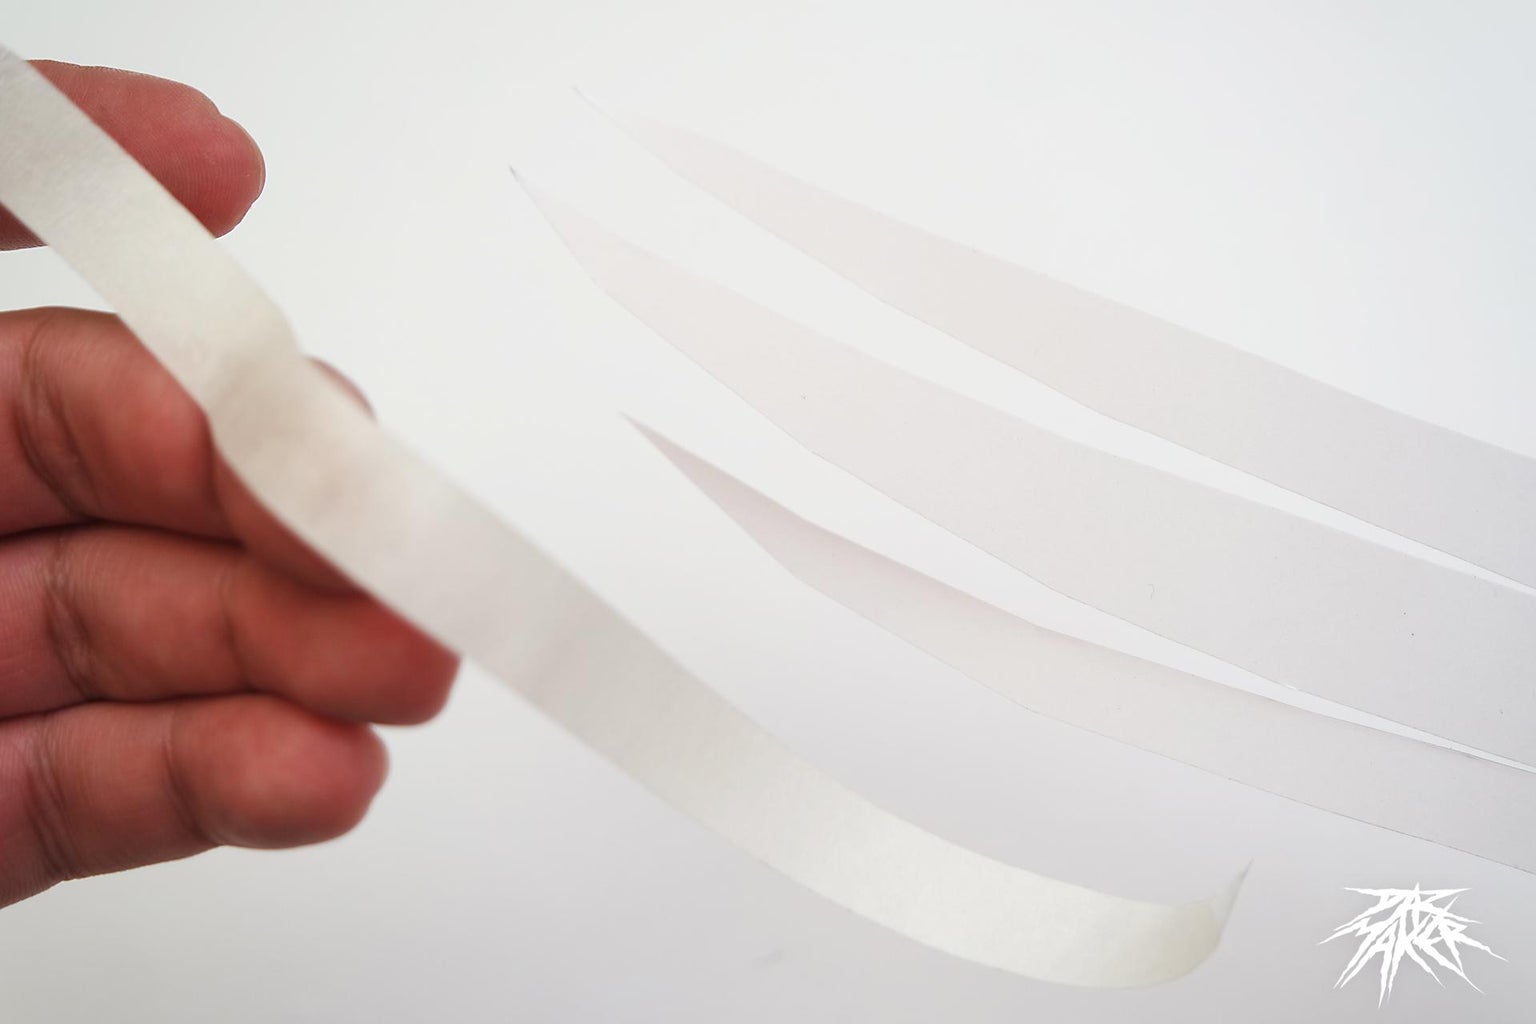
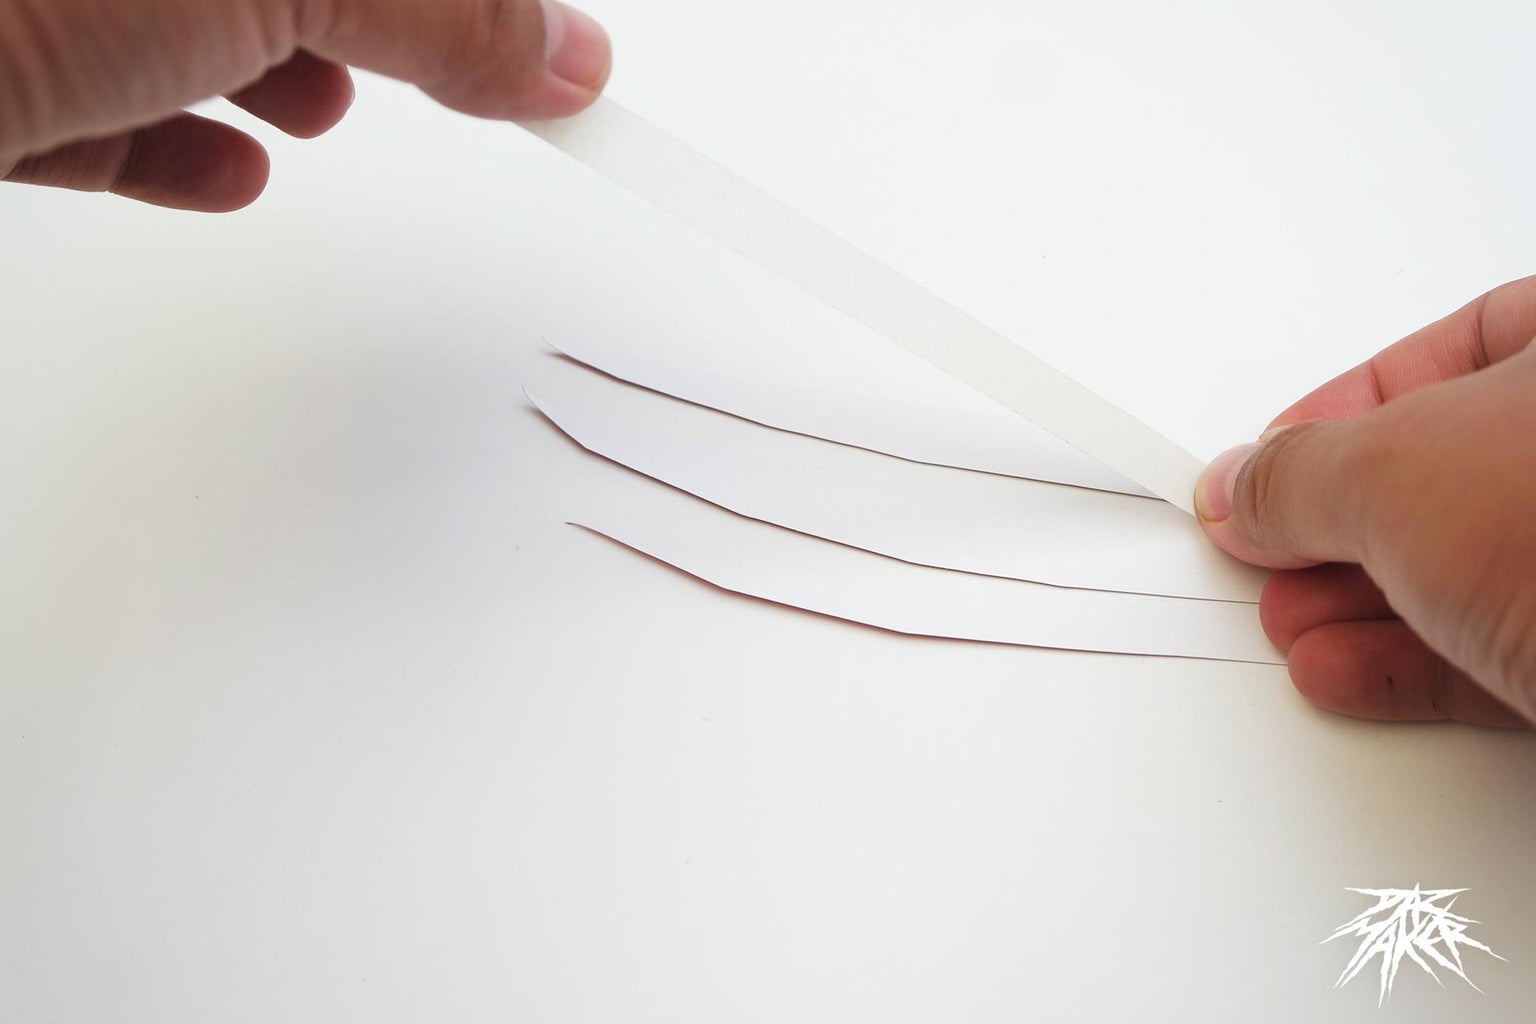
these are the pieces of the external part of the ear, but in this case we will not be able to minimize their cuts, so we will have to make the respective cuts, we must be very calm and careful when cutting these pieces since being so thin they can be break or the x-acto can make the cut crooked and this will affect the final assembly.
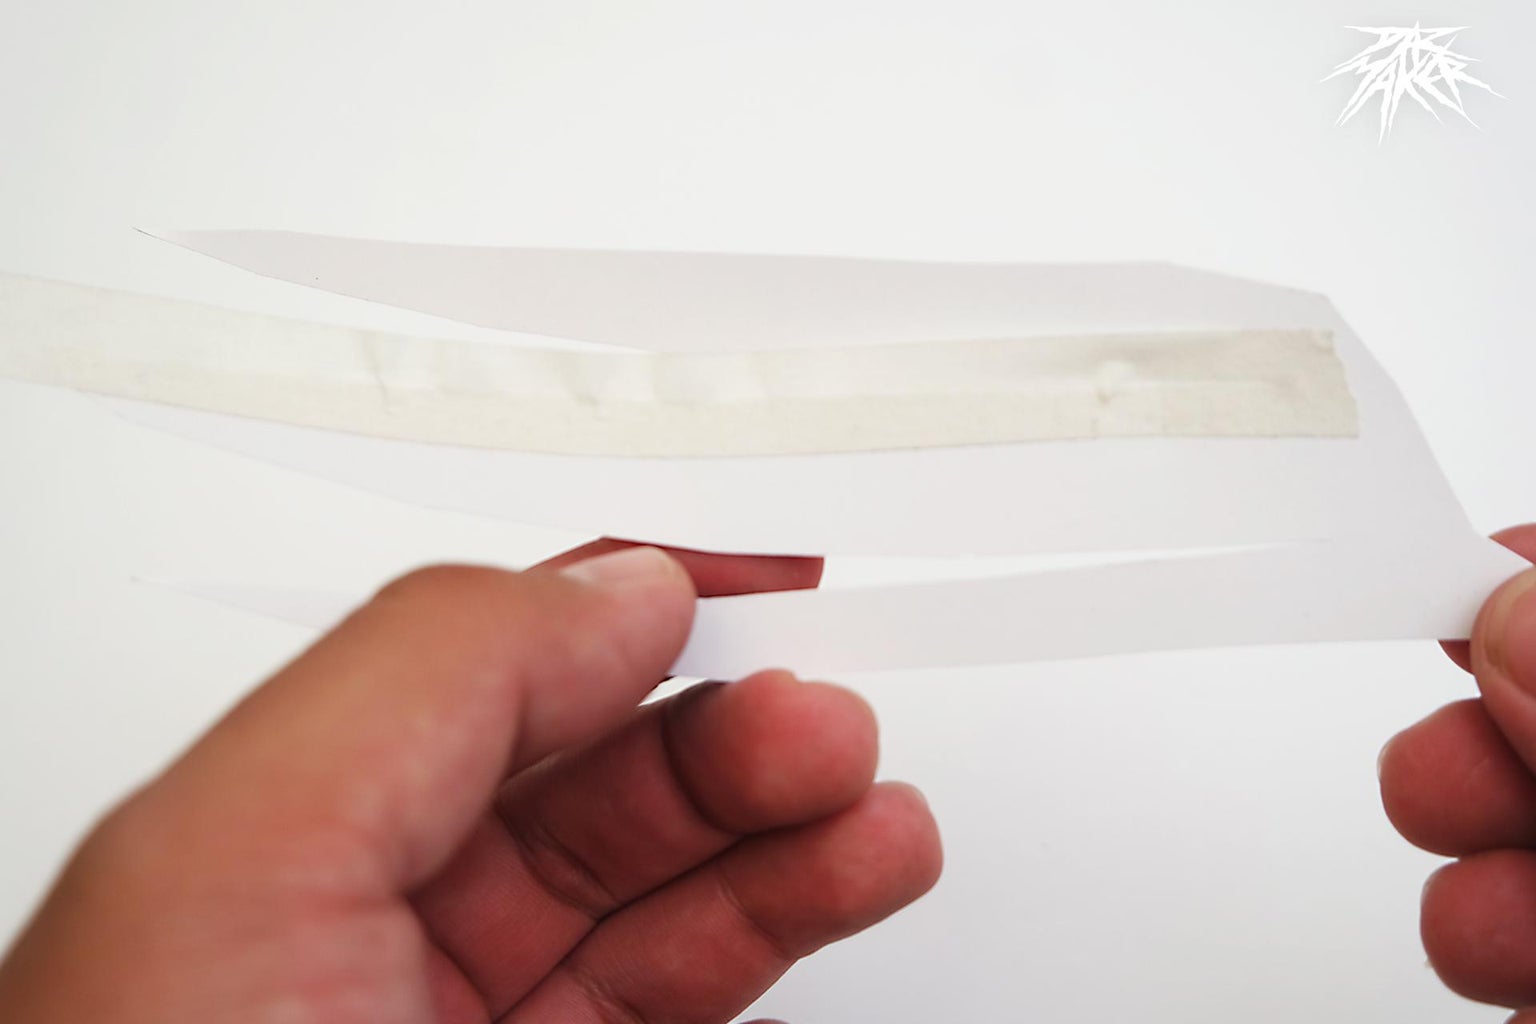
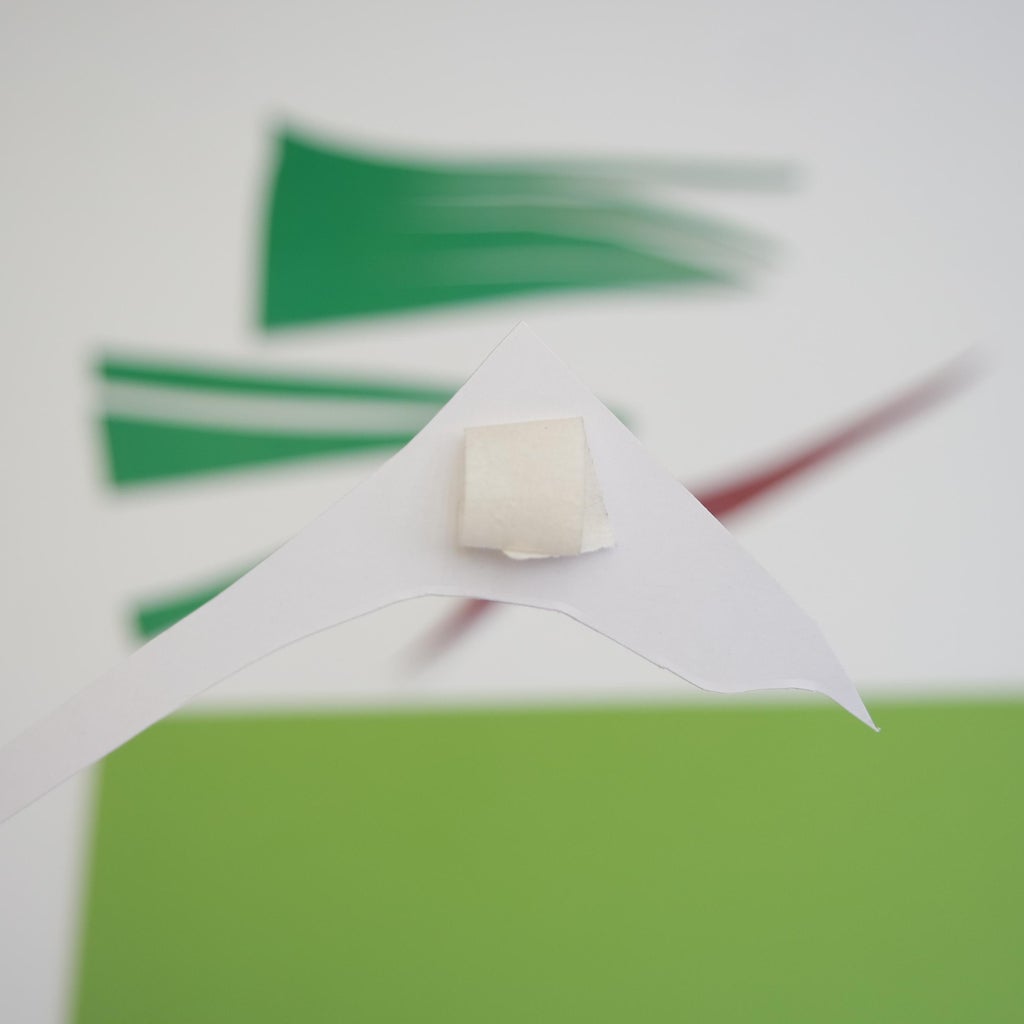
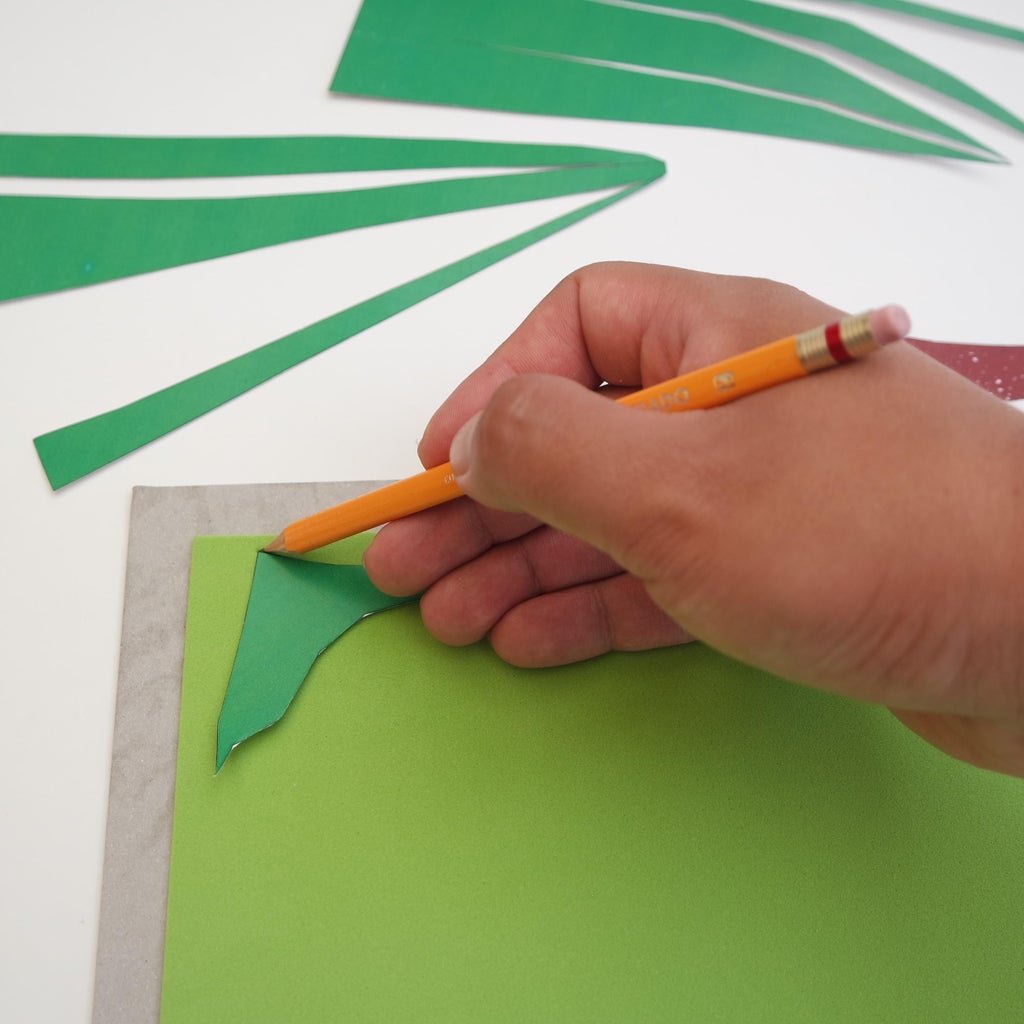
In this step I give you a small tip to transfer the molds, you can put some tape on the back of the mold and stick it directly to the green foamy, this will prevent it from moving from its place while you transfer it, although if you are a pro handling the exact You can make the cuts directly by applying slight pressure, and if you prefer to do it calmly, take a pencil and go around the edges of the mold until it is captured in the green foamy.
Step 21: Outer Part of the Ear II
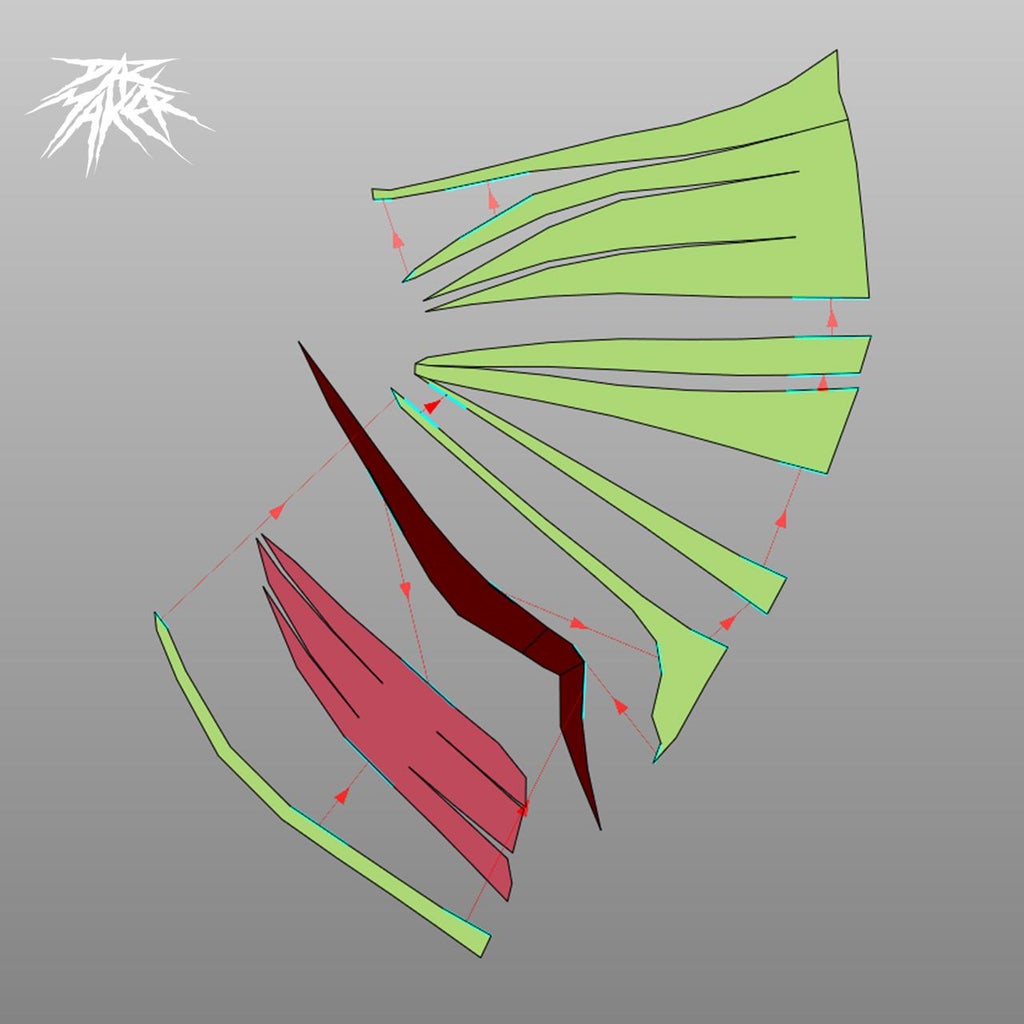
In this step you will understand the assembly of the ears, review the images in case you have any questions and follow the instructions in the guide, follow the arrows to understand the respective counterparts for a perfect union. as in the previous steps paste part by part to avoid a mess.
Step 22: Outer Part of the Ear III
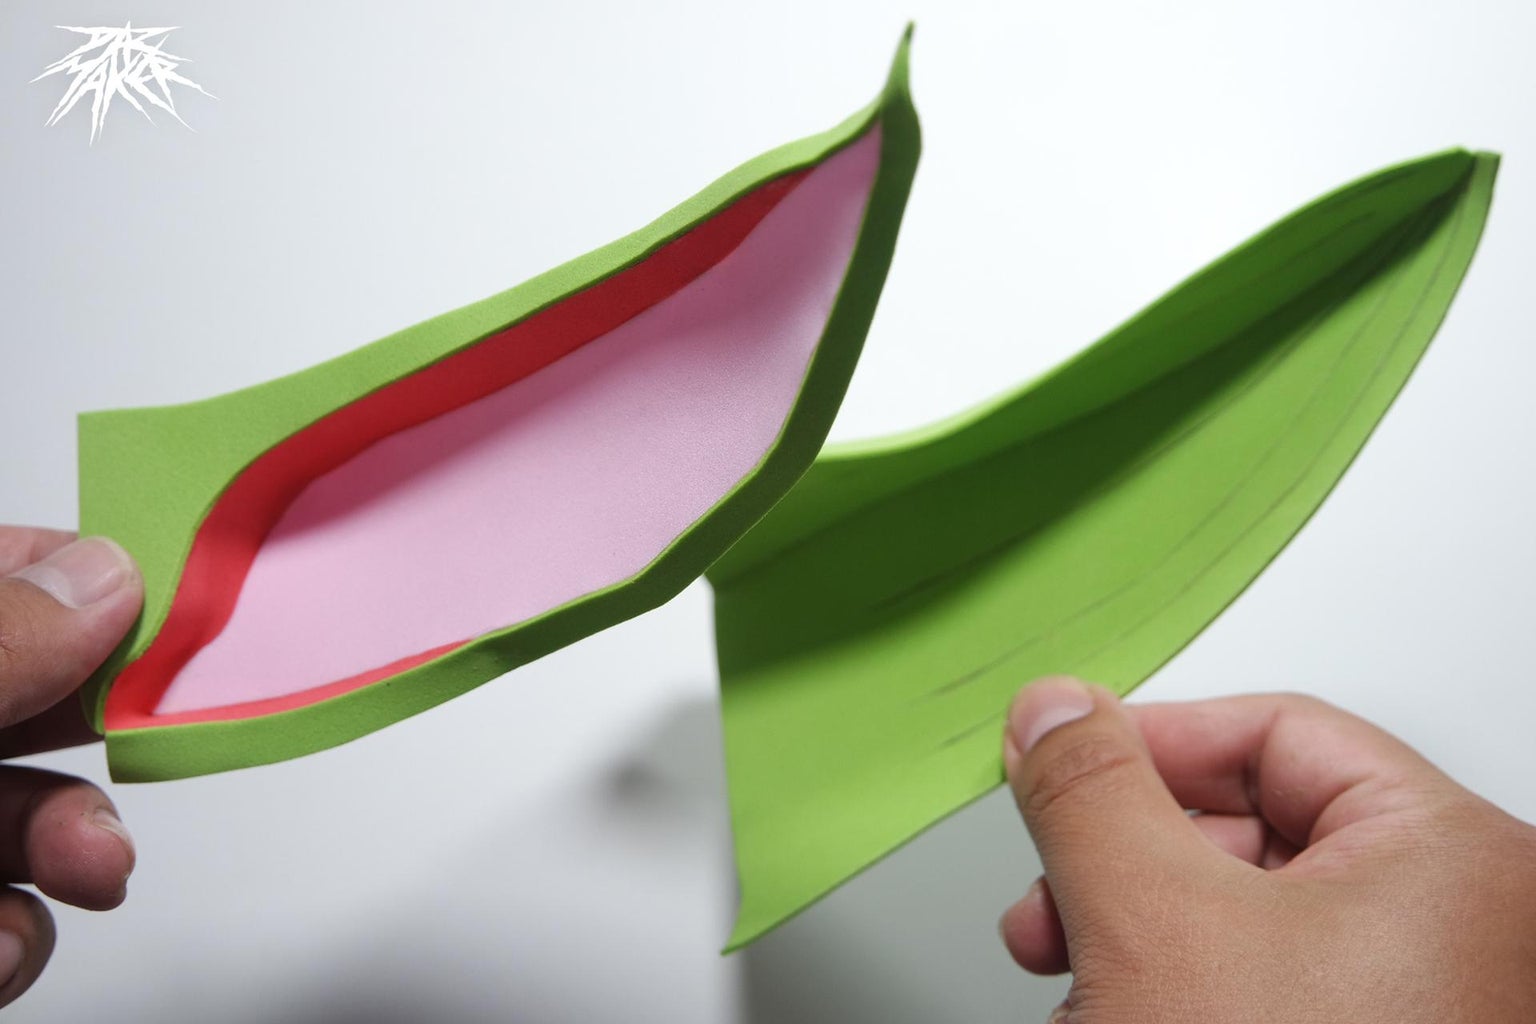
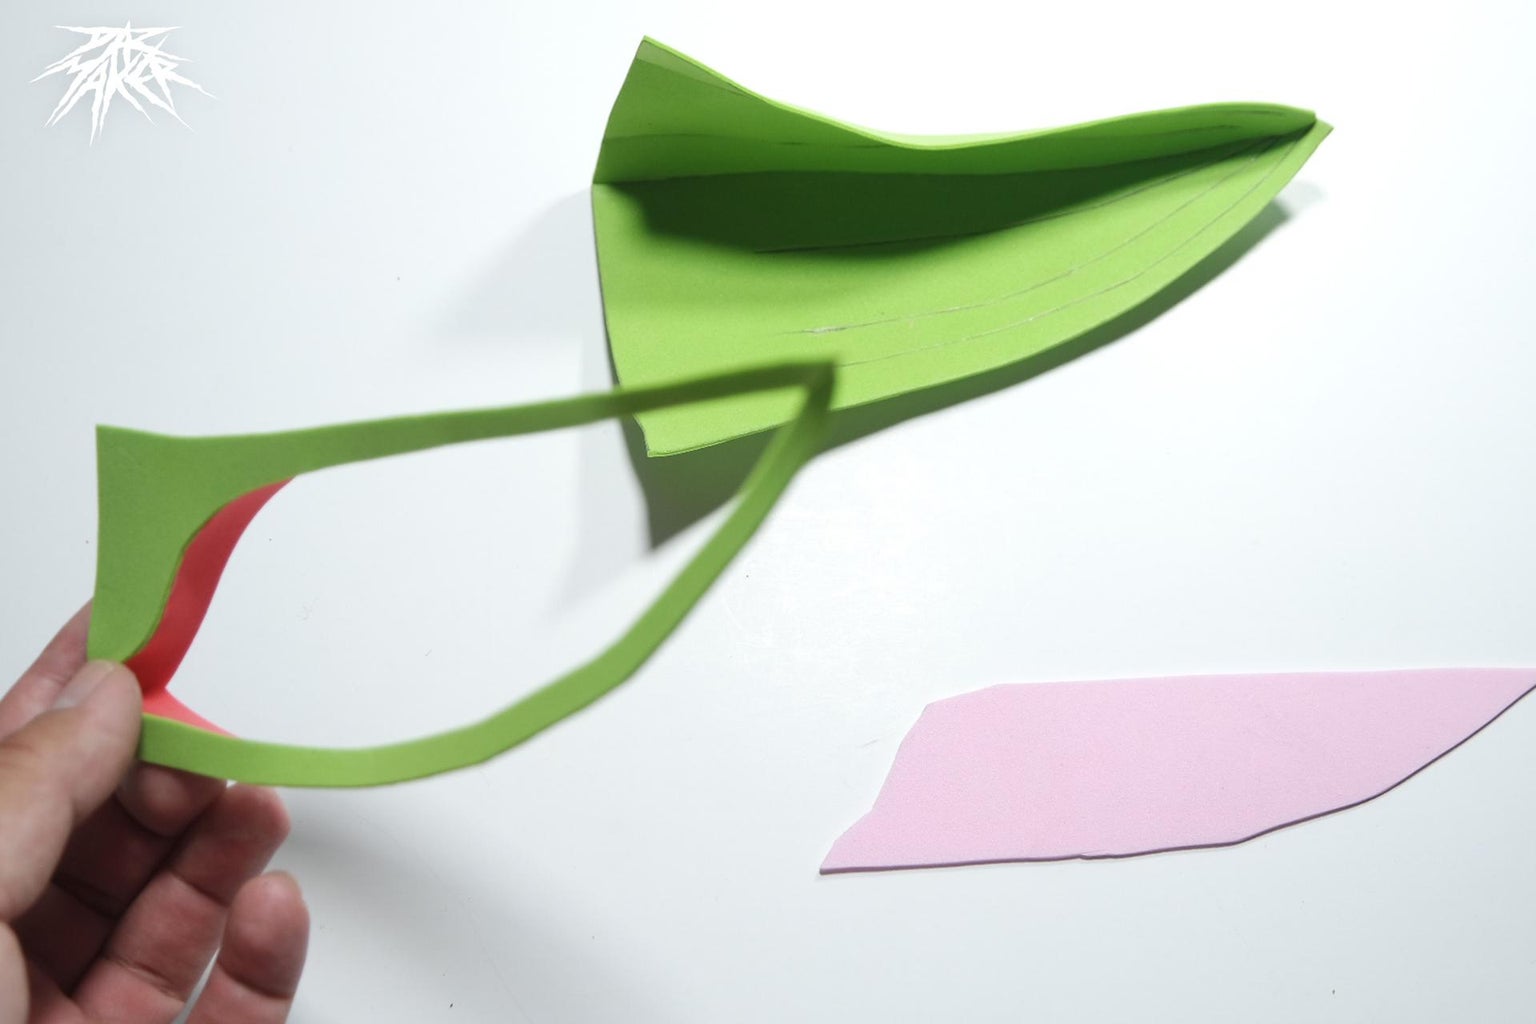
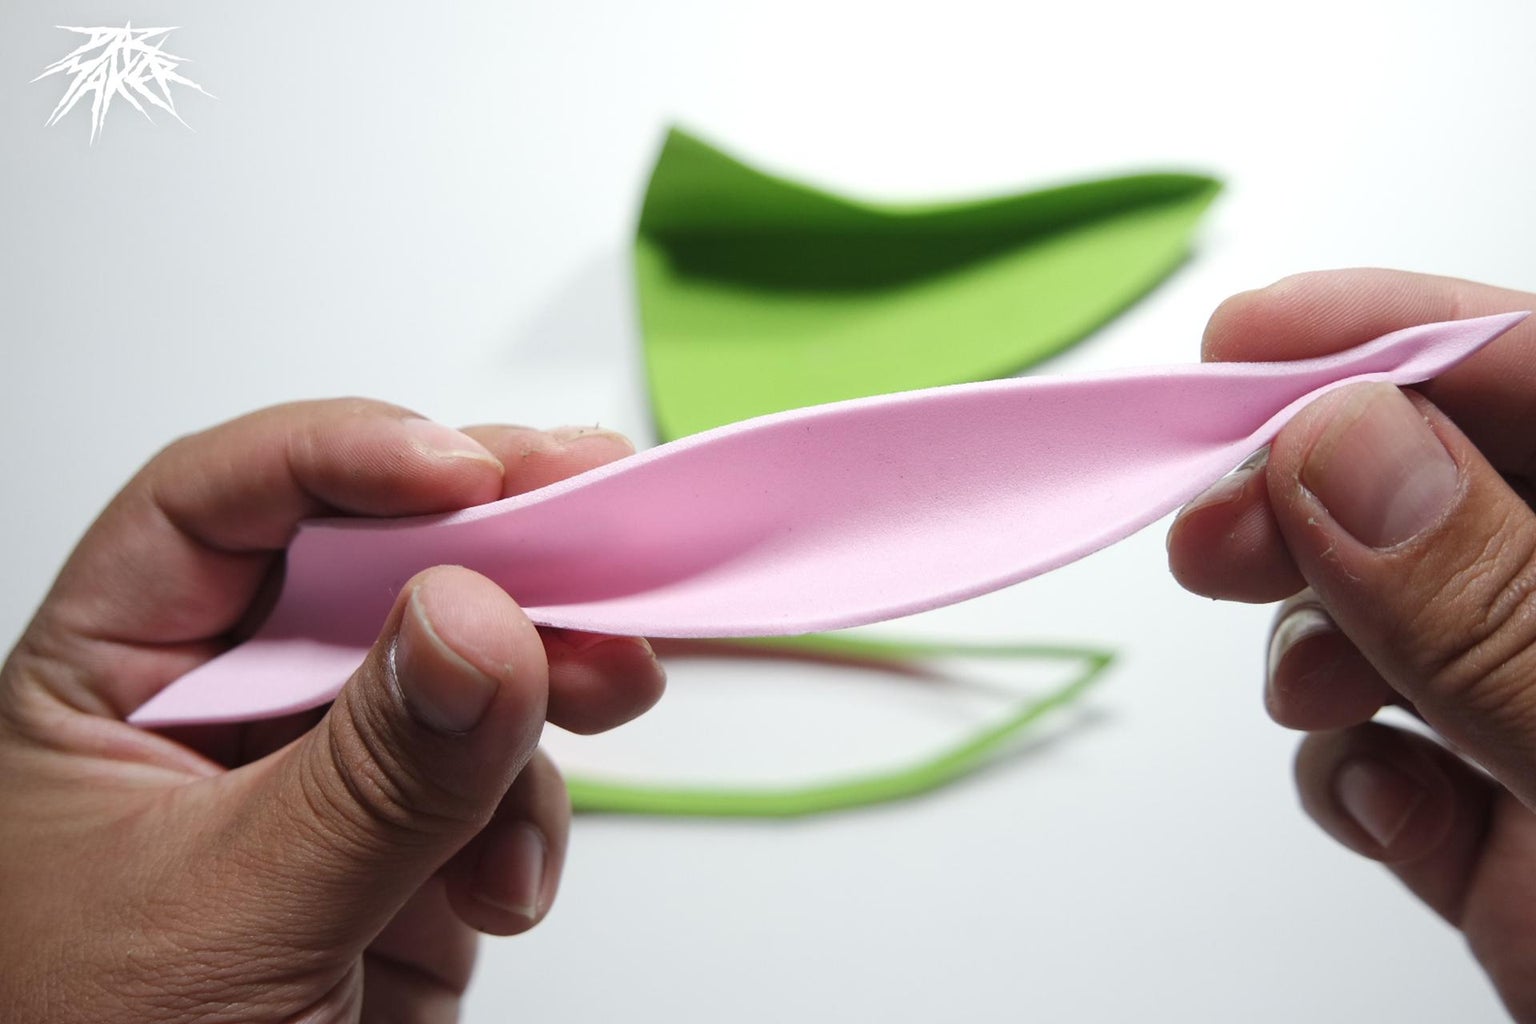
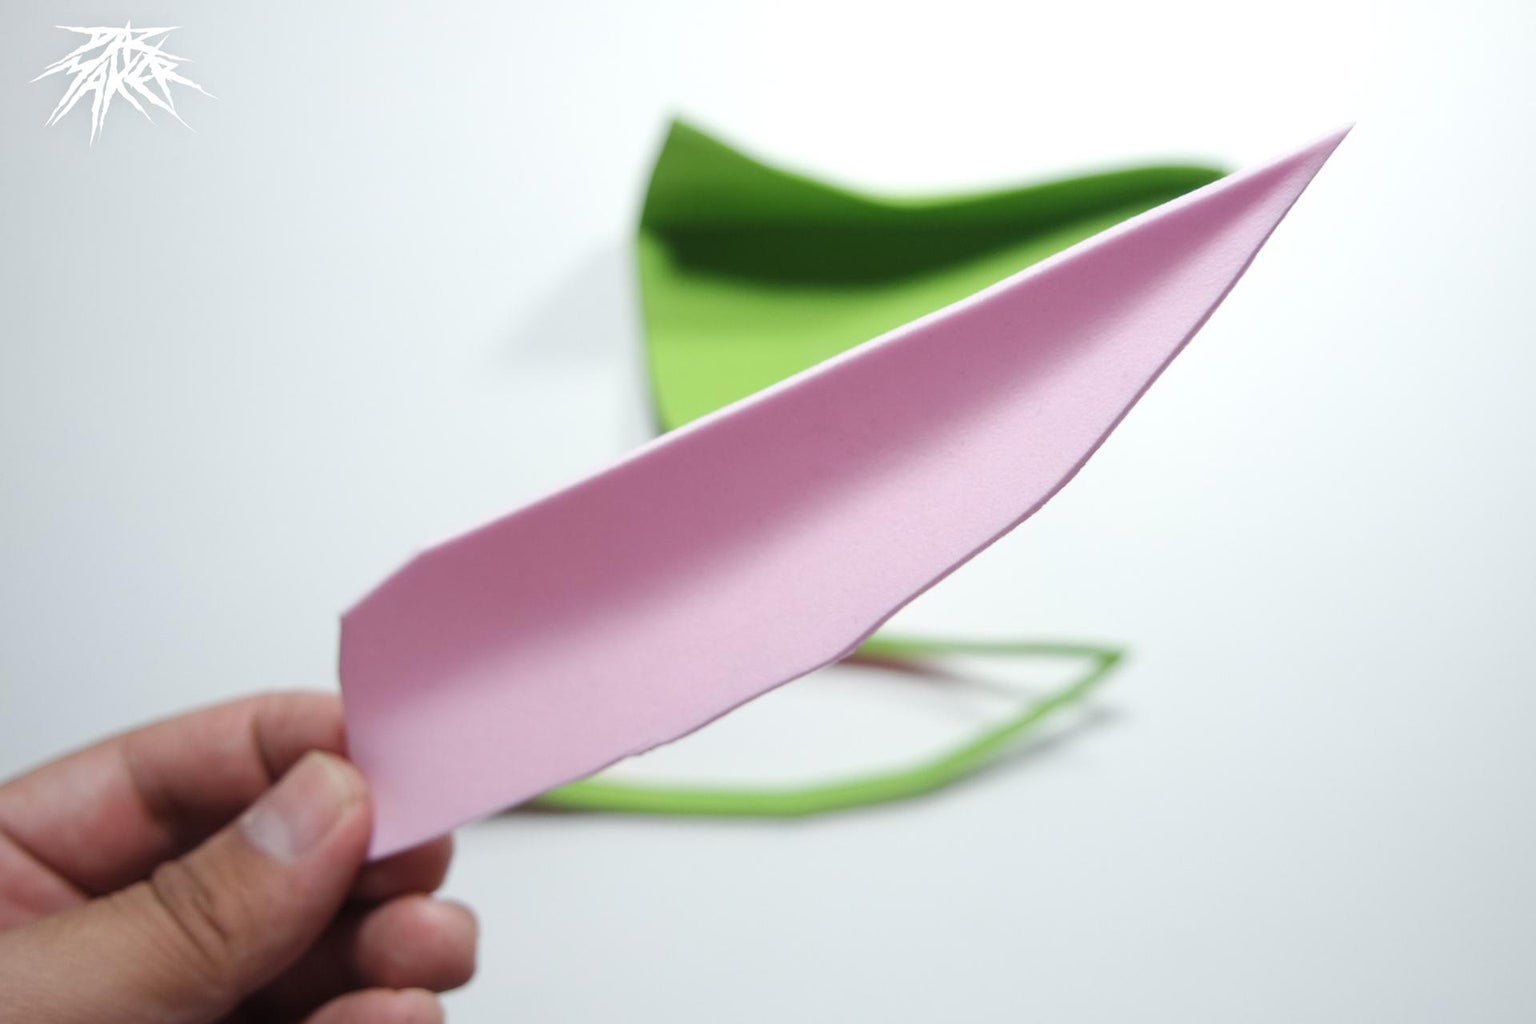
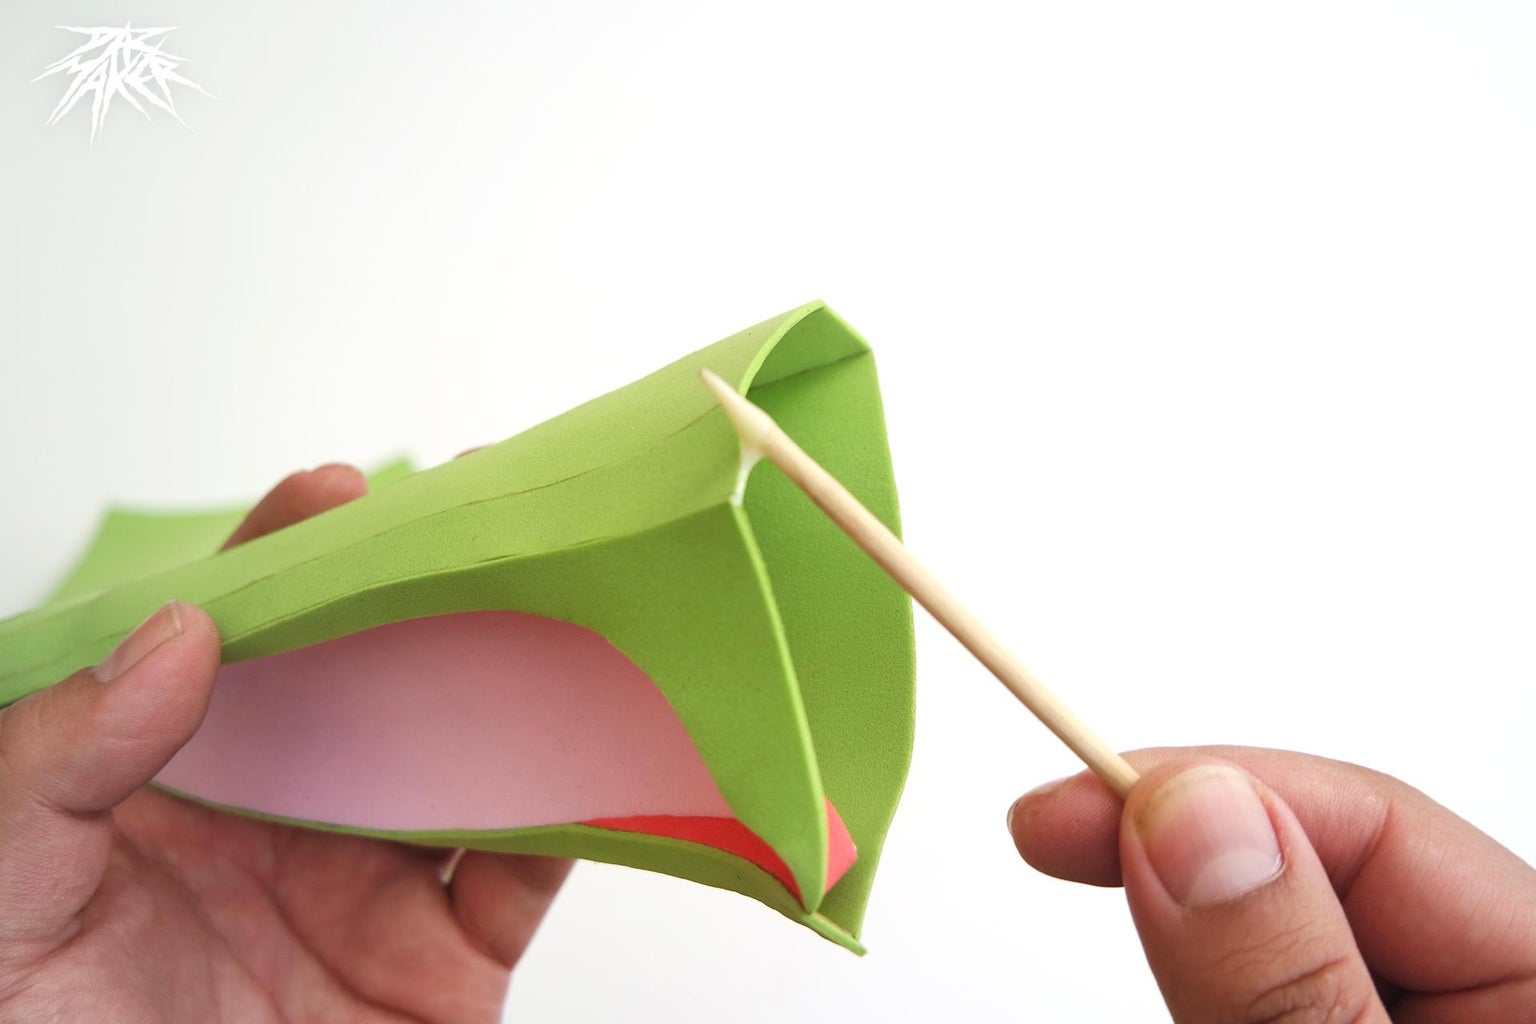
To finish the ears it is necessary to assemble the two pieces resulting from the previous steps, the inner and the outer. When you finally have them you will have to join them and there you will form the ear.
in the inner part of the ear, press like making a fold in the pink part to give it a little curvature (image 6)
consult the guide in the previous step if you have any questions.
Step 23: Mounting Ears
check this mini video of the assembly of the 2 pieces of the ears, the inner and the outer one.
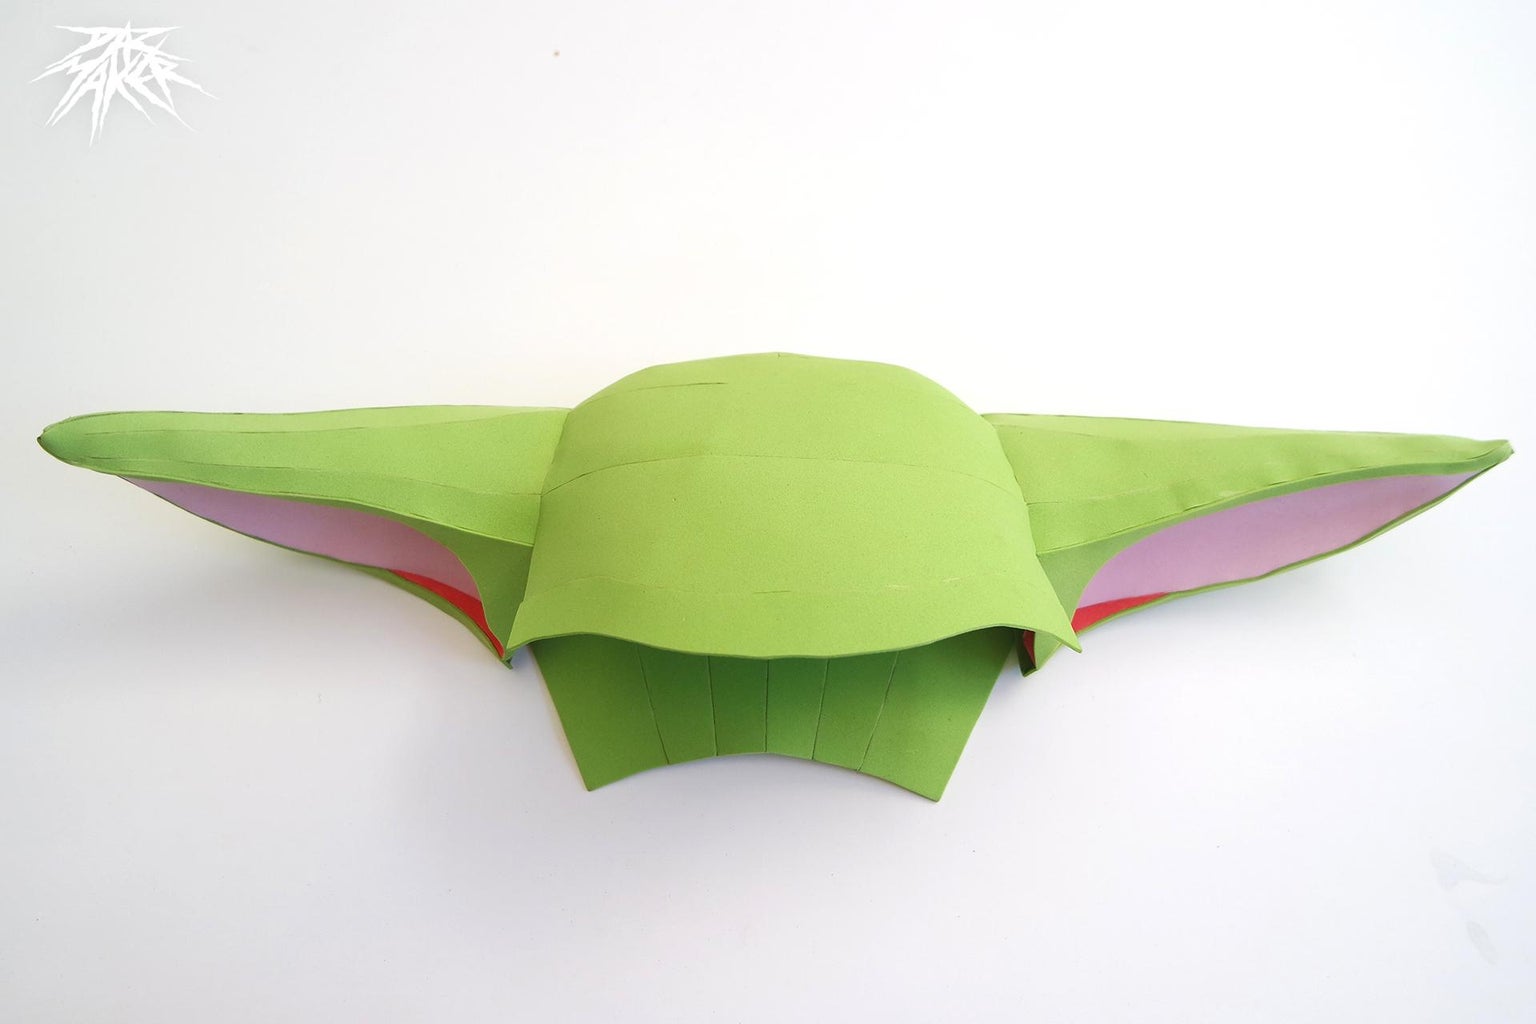
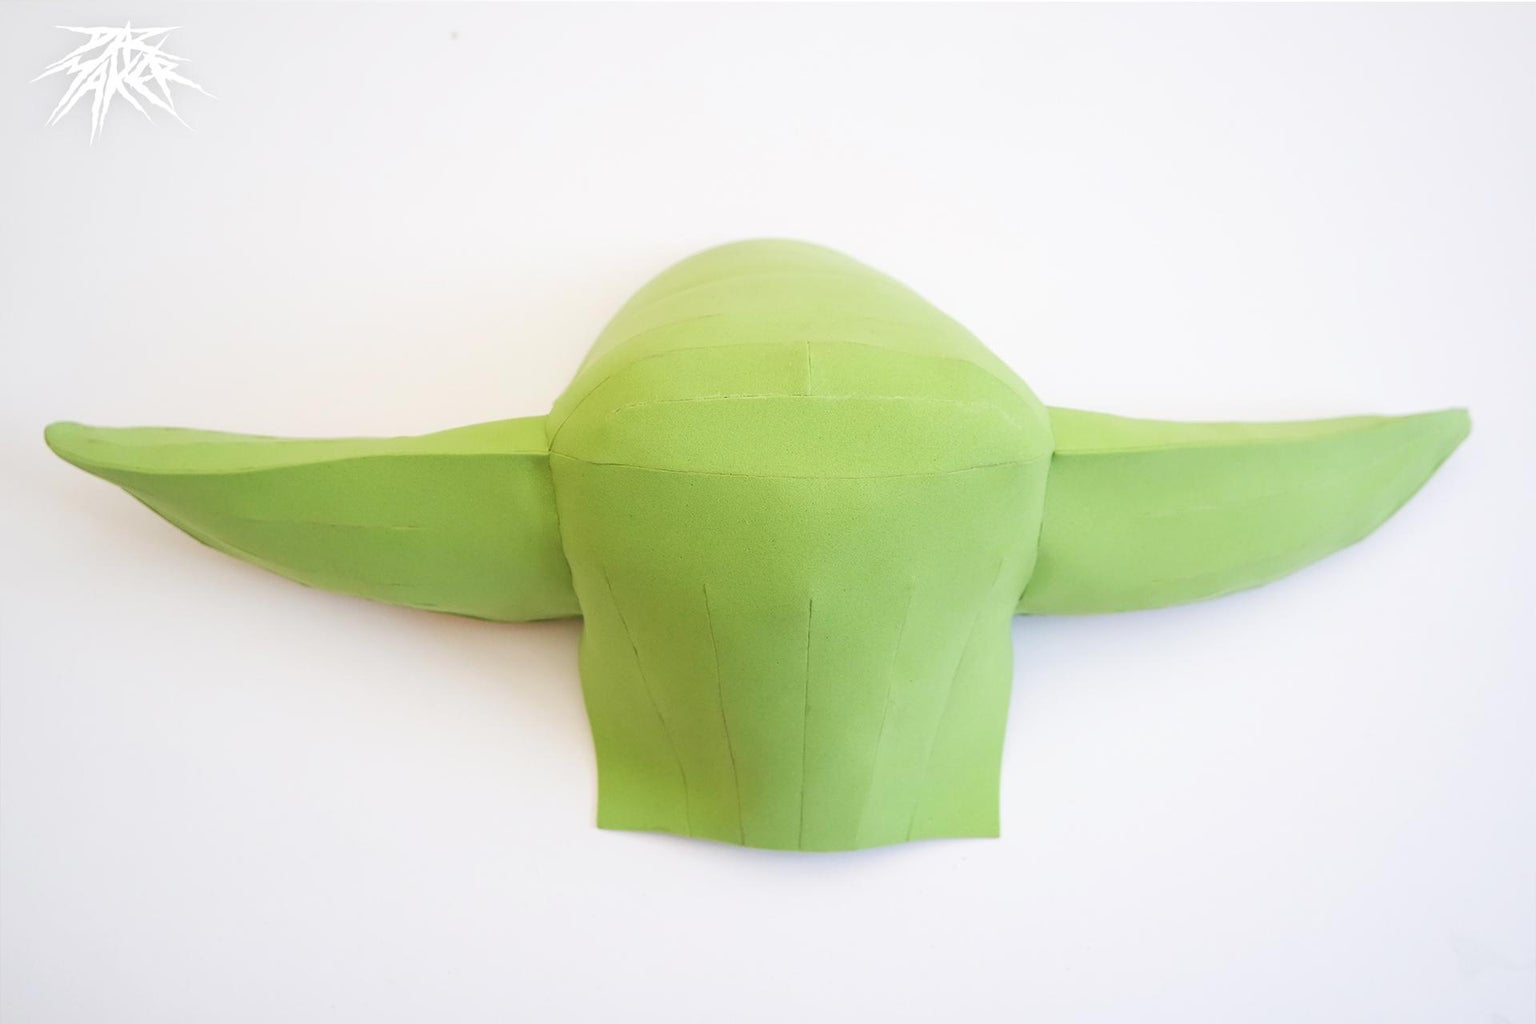
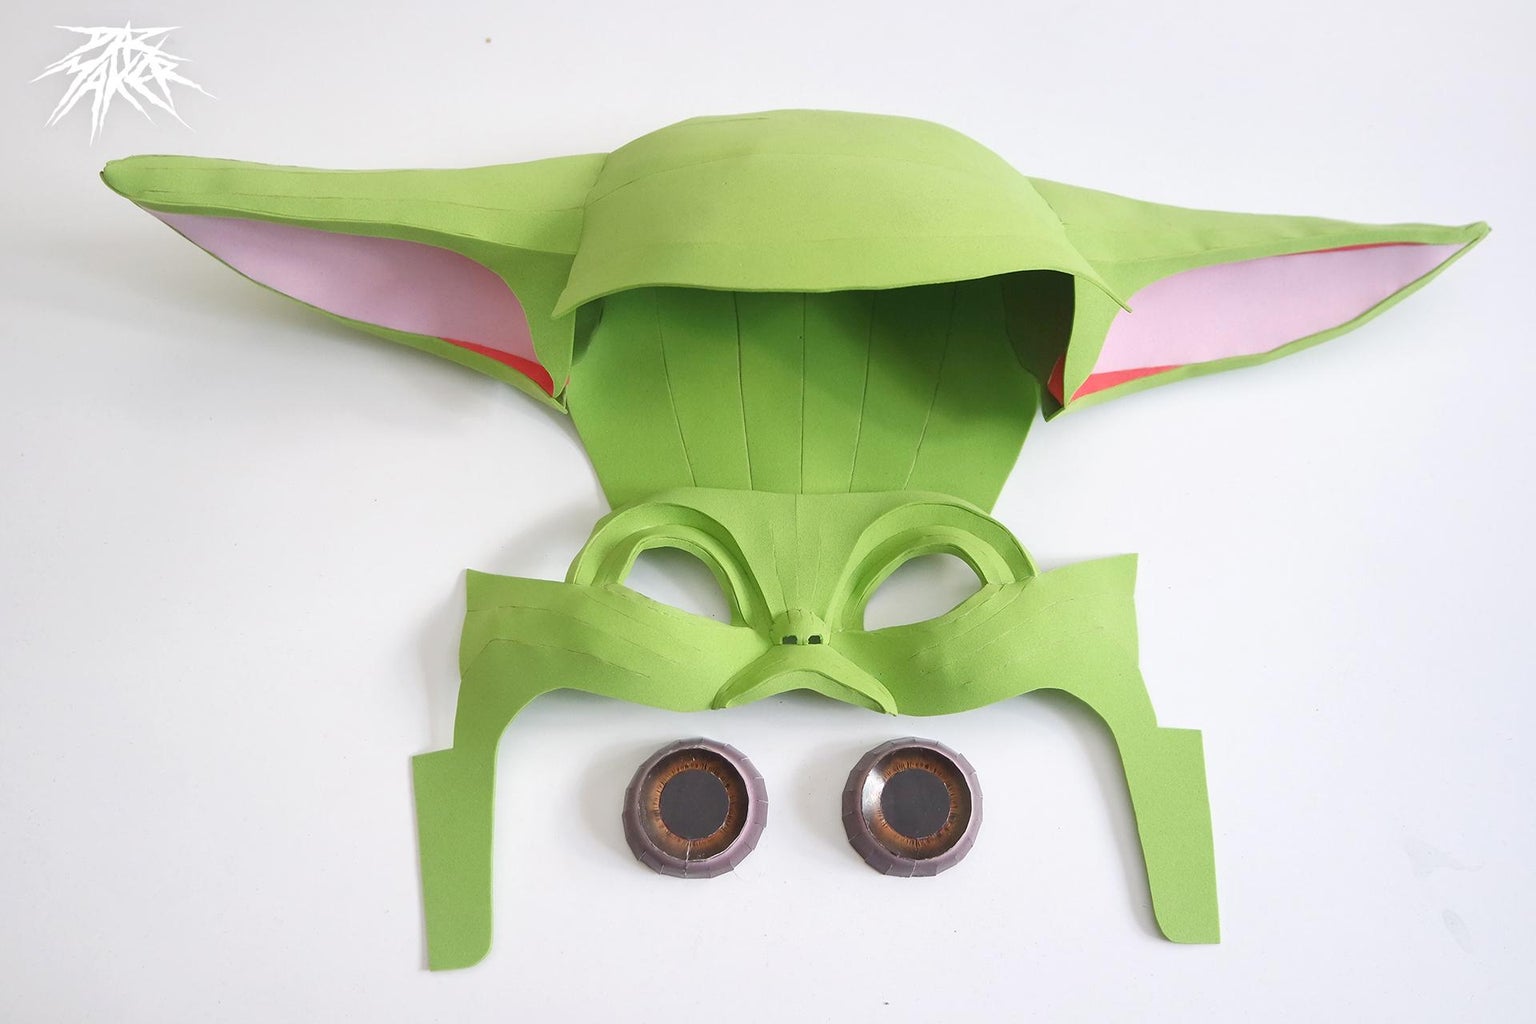
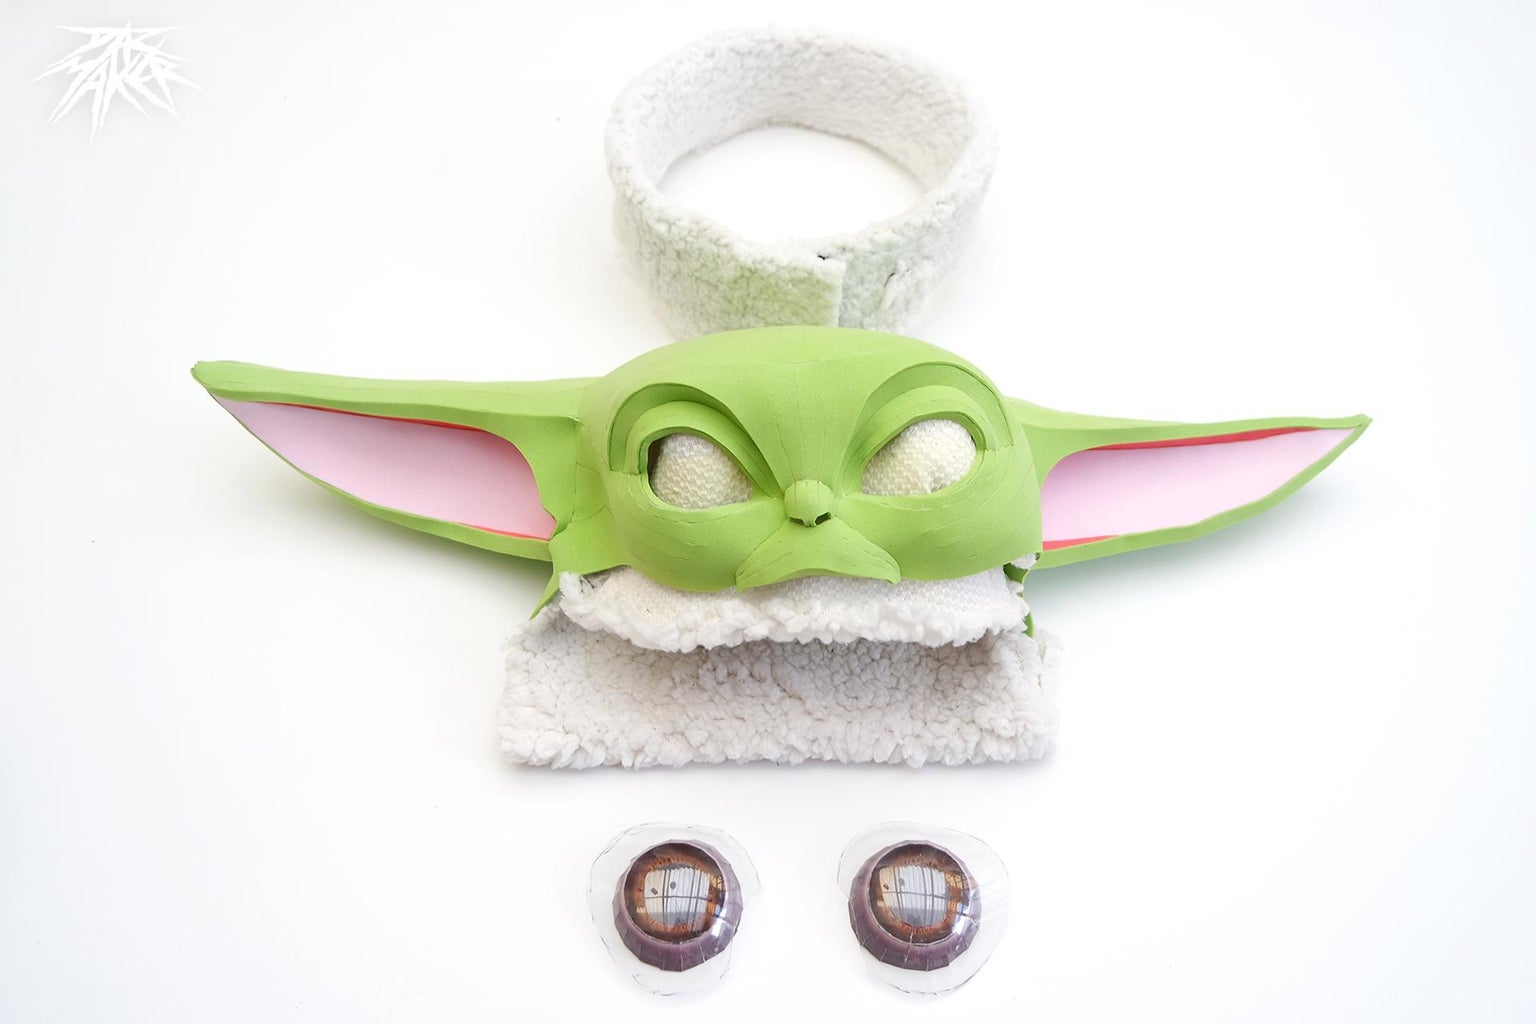
Step 24: All the Pieces Will Be Assembled.
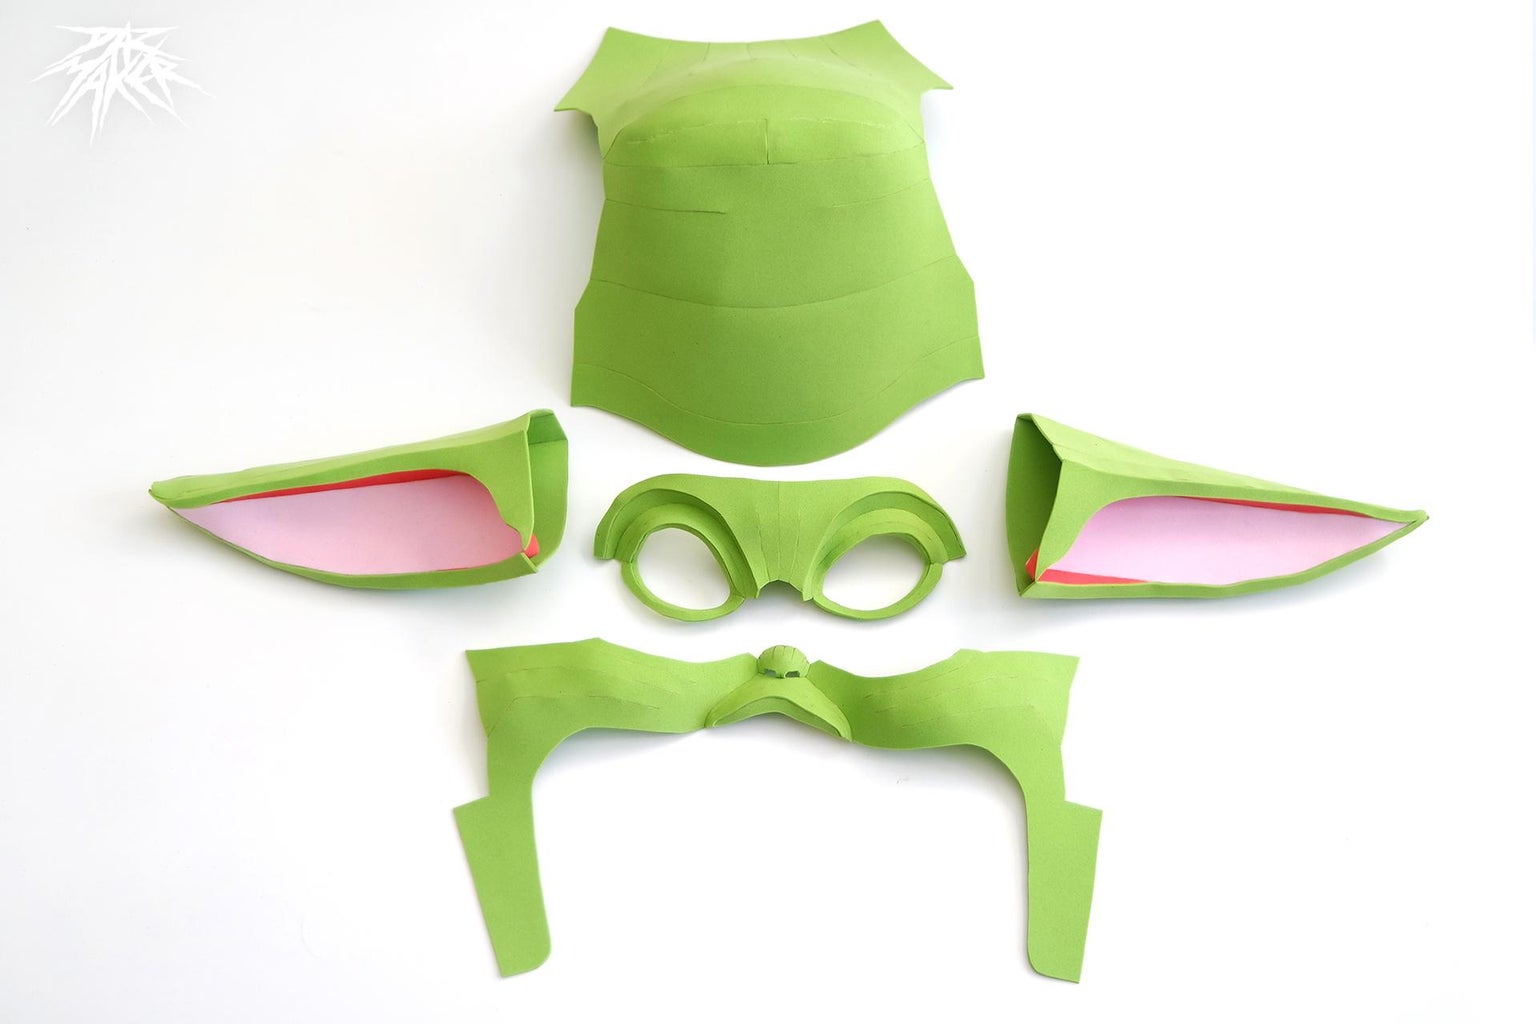
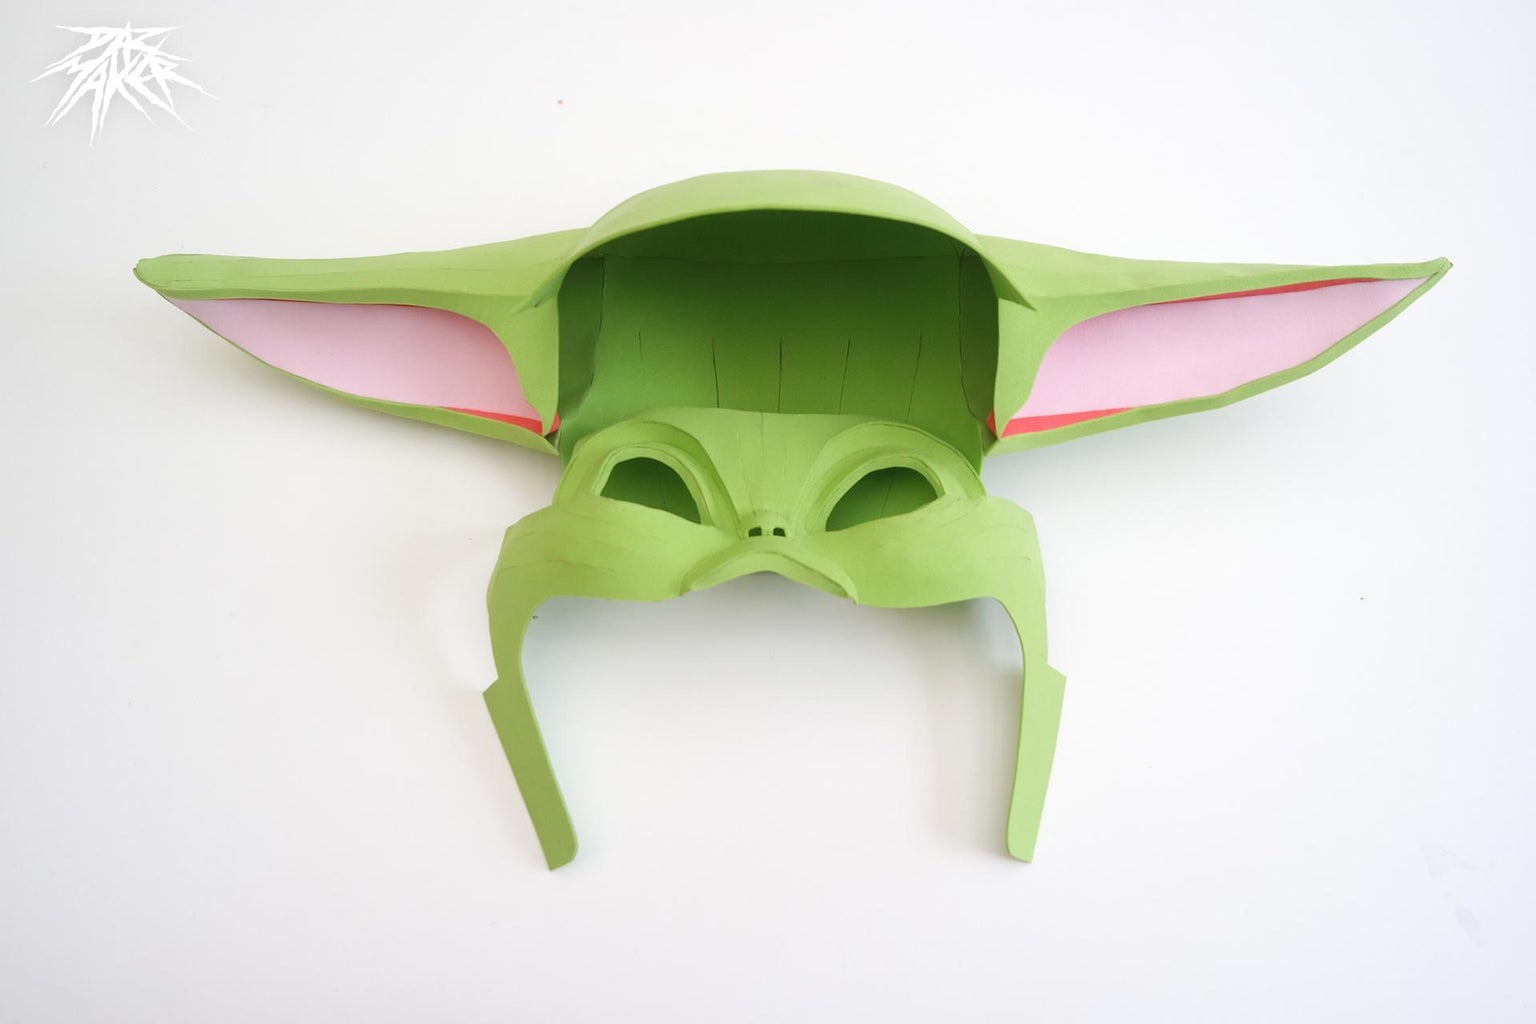
After the whole process and following the previous steps, you will have 5 pieces like the ones in the image, so it is time to assemble everything.
but stop there, first we must make the internal lining with the woolen fabric
Step 25: Assembling the Back
apply glue and attach the ears to the back piece of the hat, follow the guide on the back (second image) to make a perfect union.
Step 26: Assembling the Front

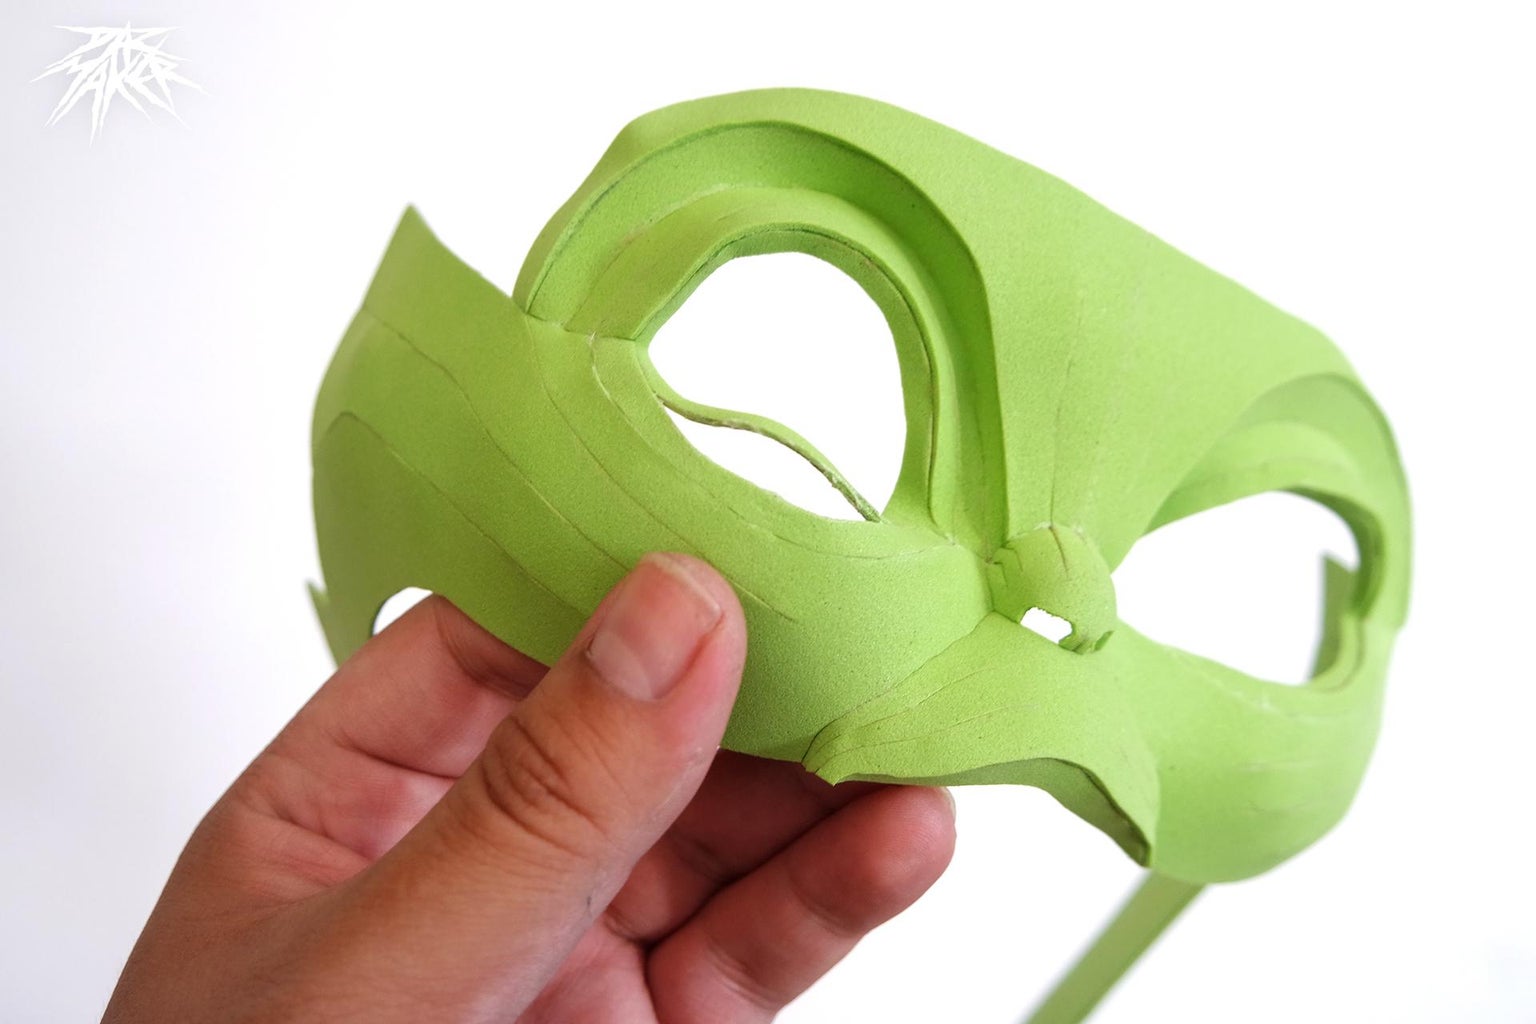
glue the pieces together: Lips-Nose-Cheeks with Eyes-Forehead.
If in any case a piece comes off, simply wipe off the excess glue and re-apply.
Step 27: One More Assembling
Now we have to join the last resulting parts, which are the eyes, the front and the back. but in the process we will proceed to the lining.
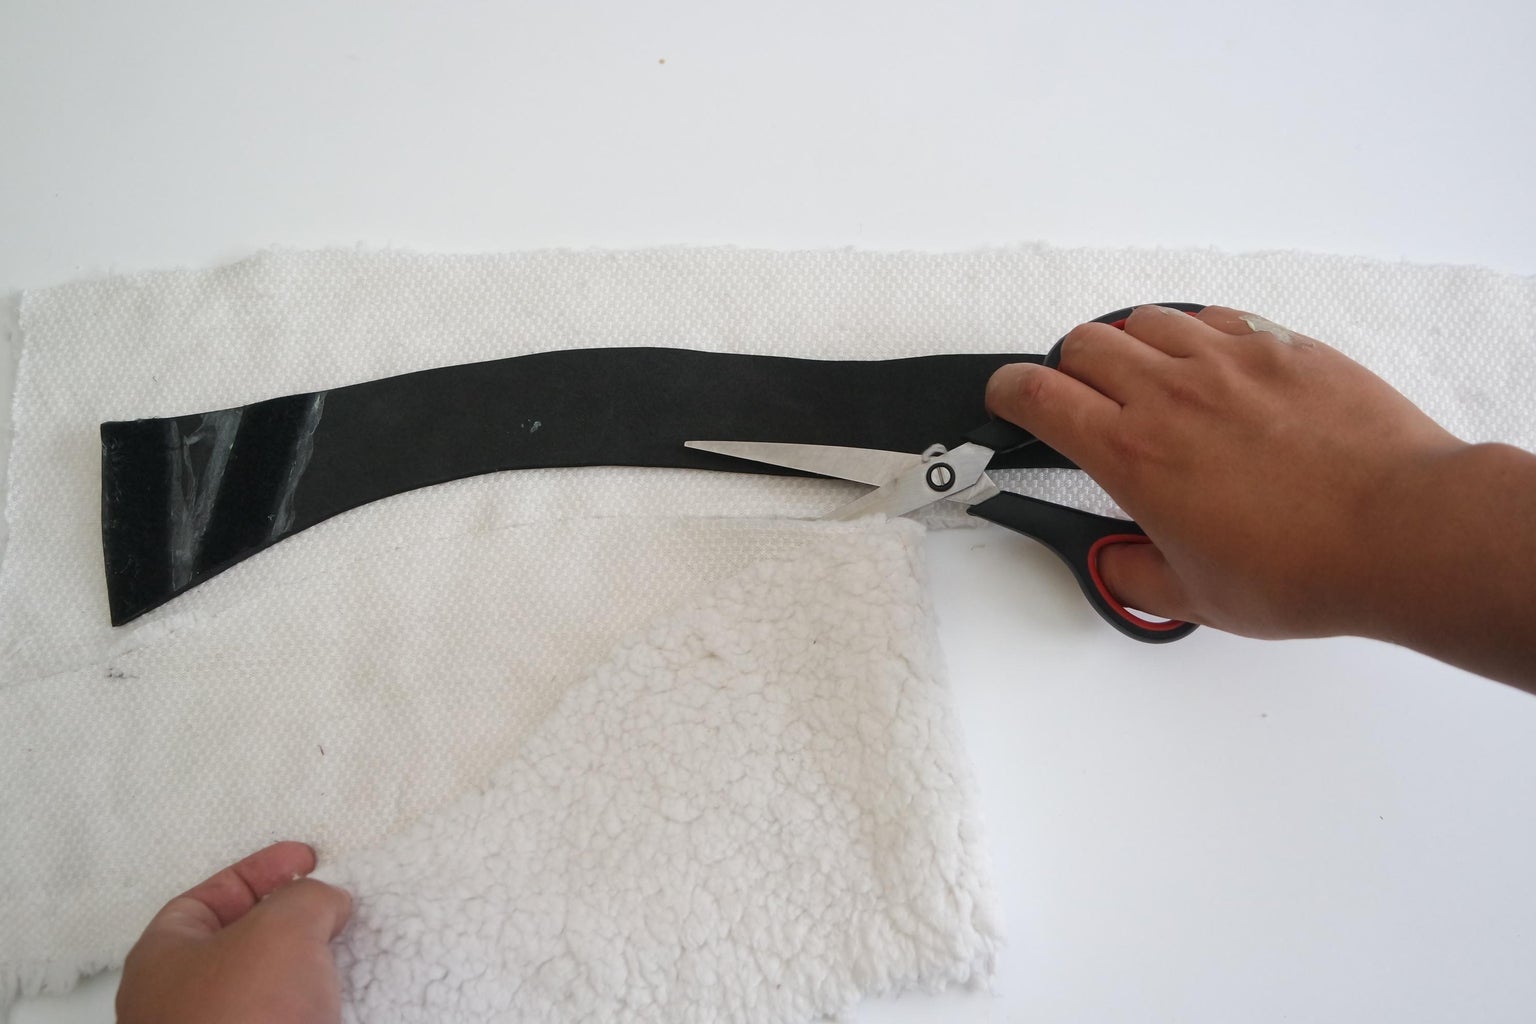
Step 28: Cover Inside With Wool
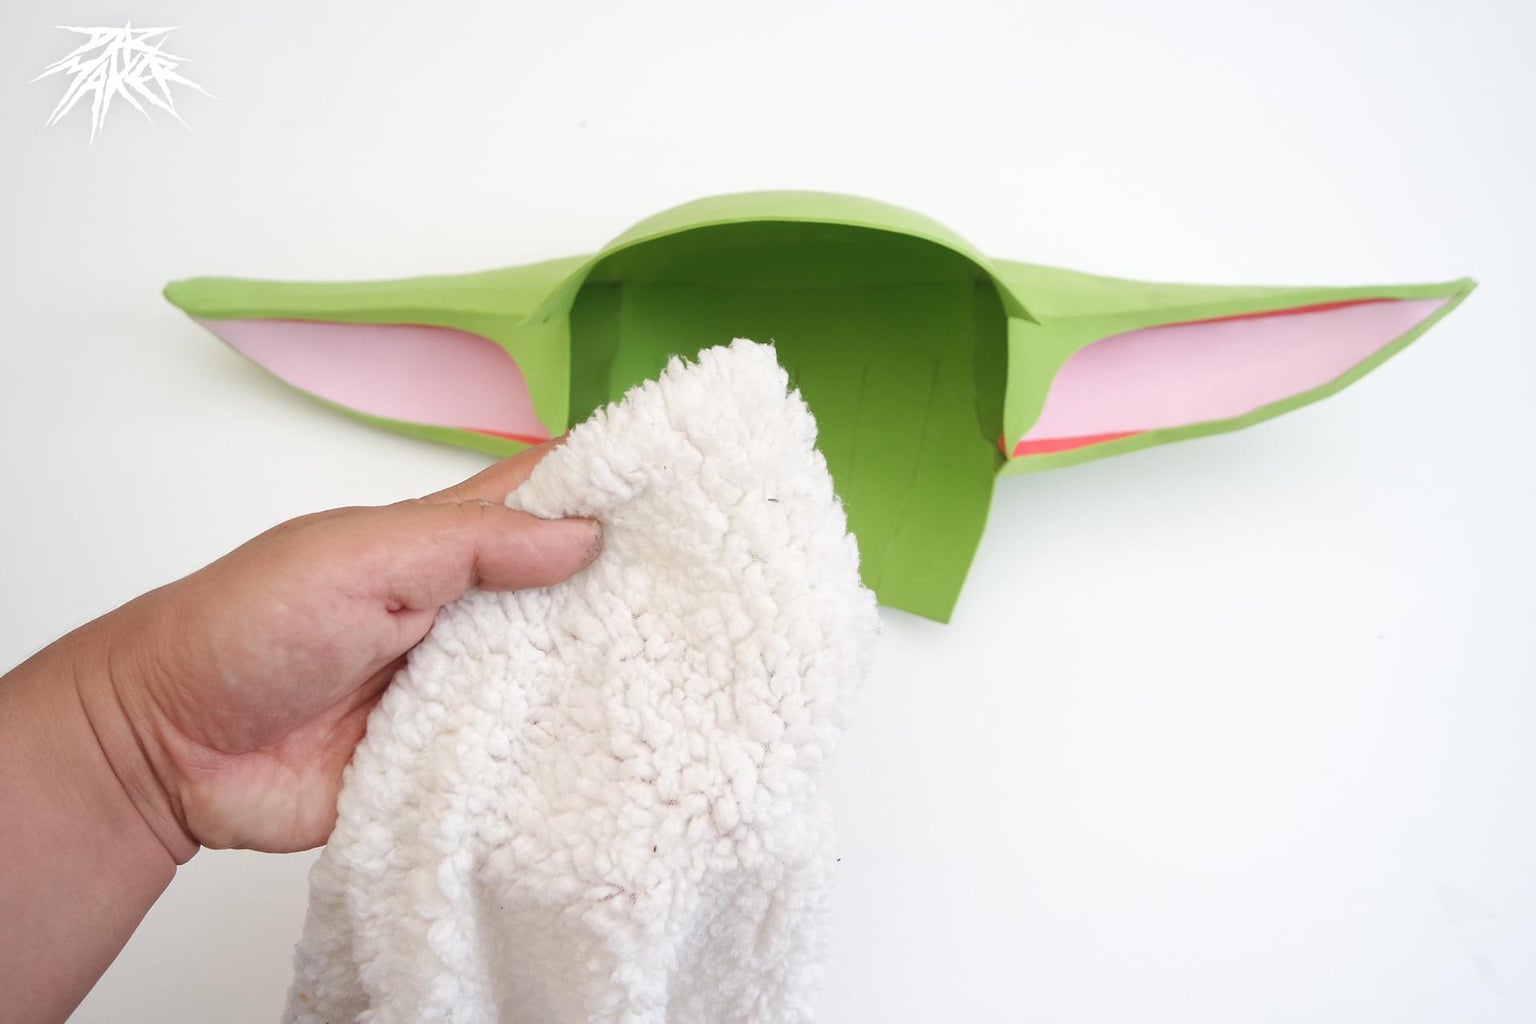
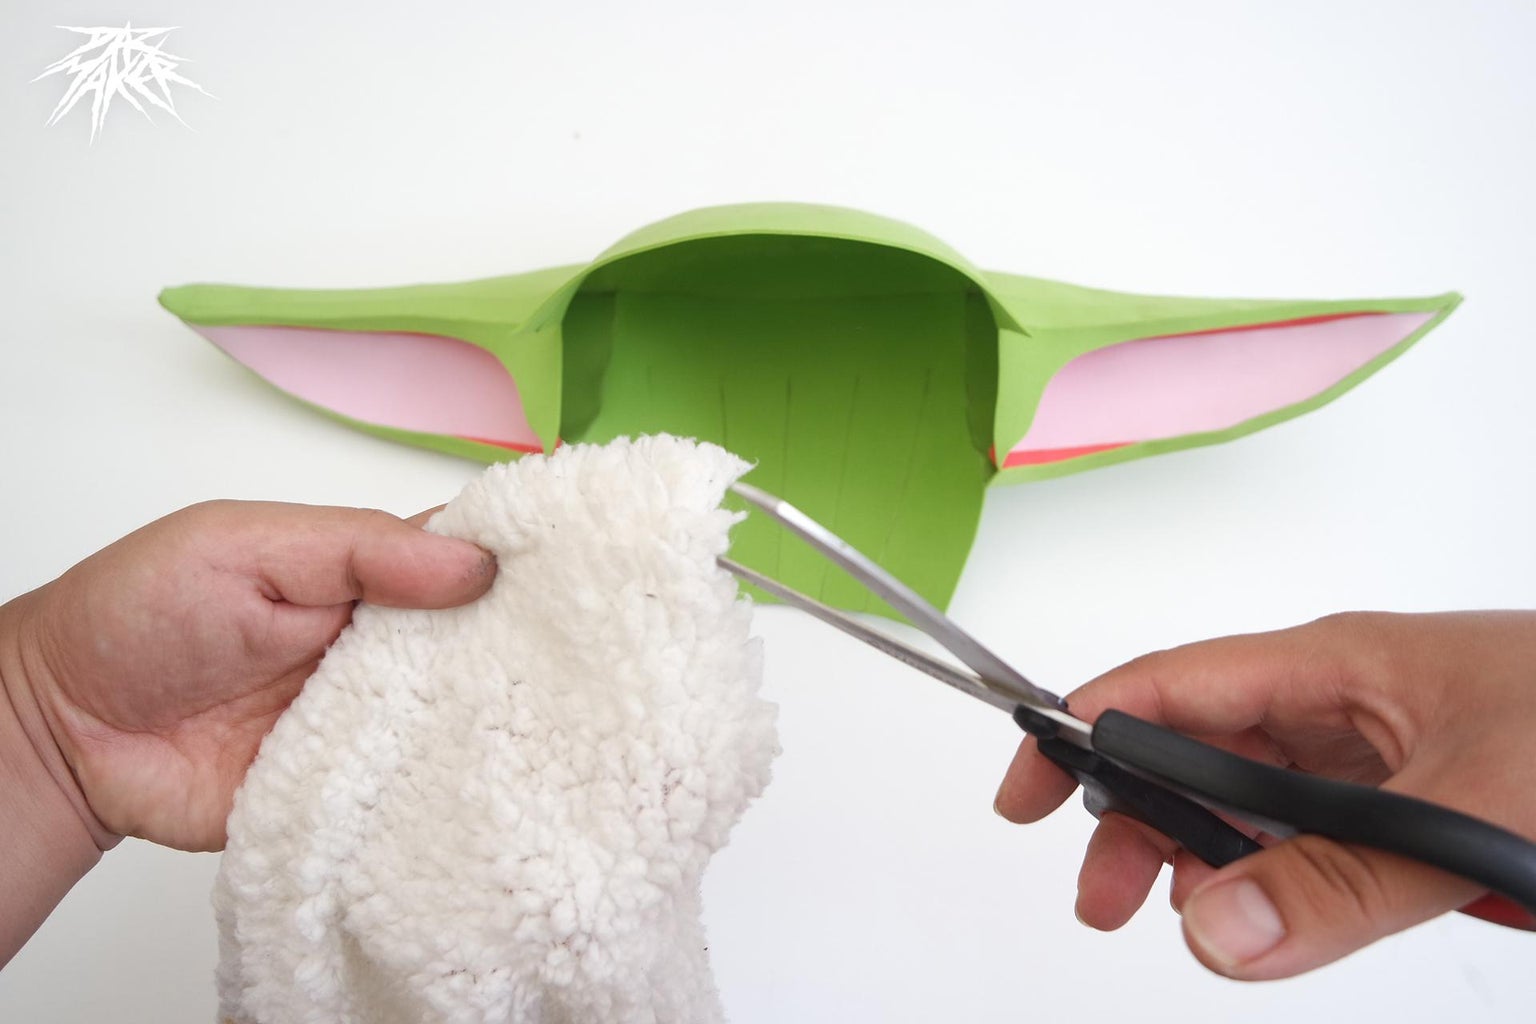
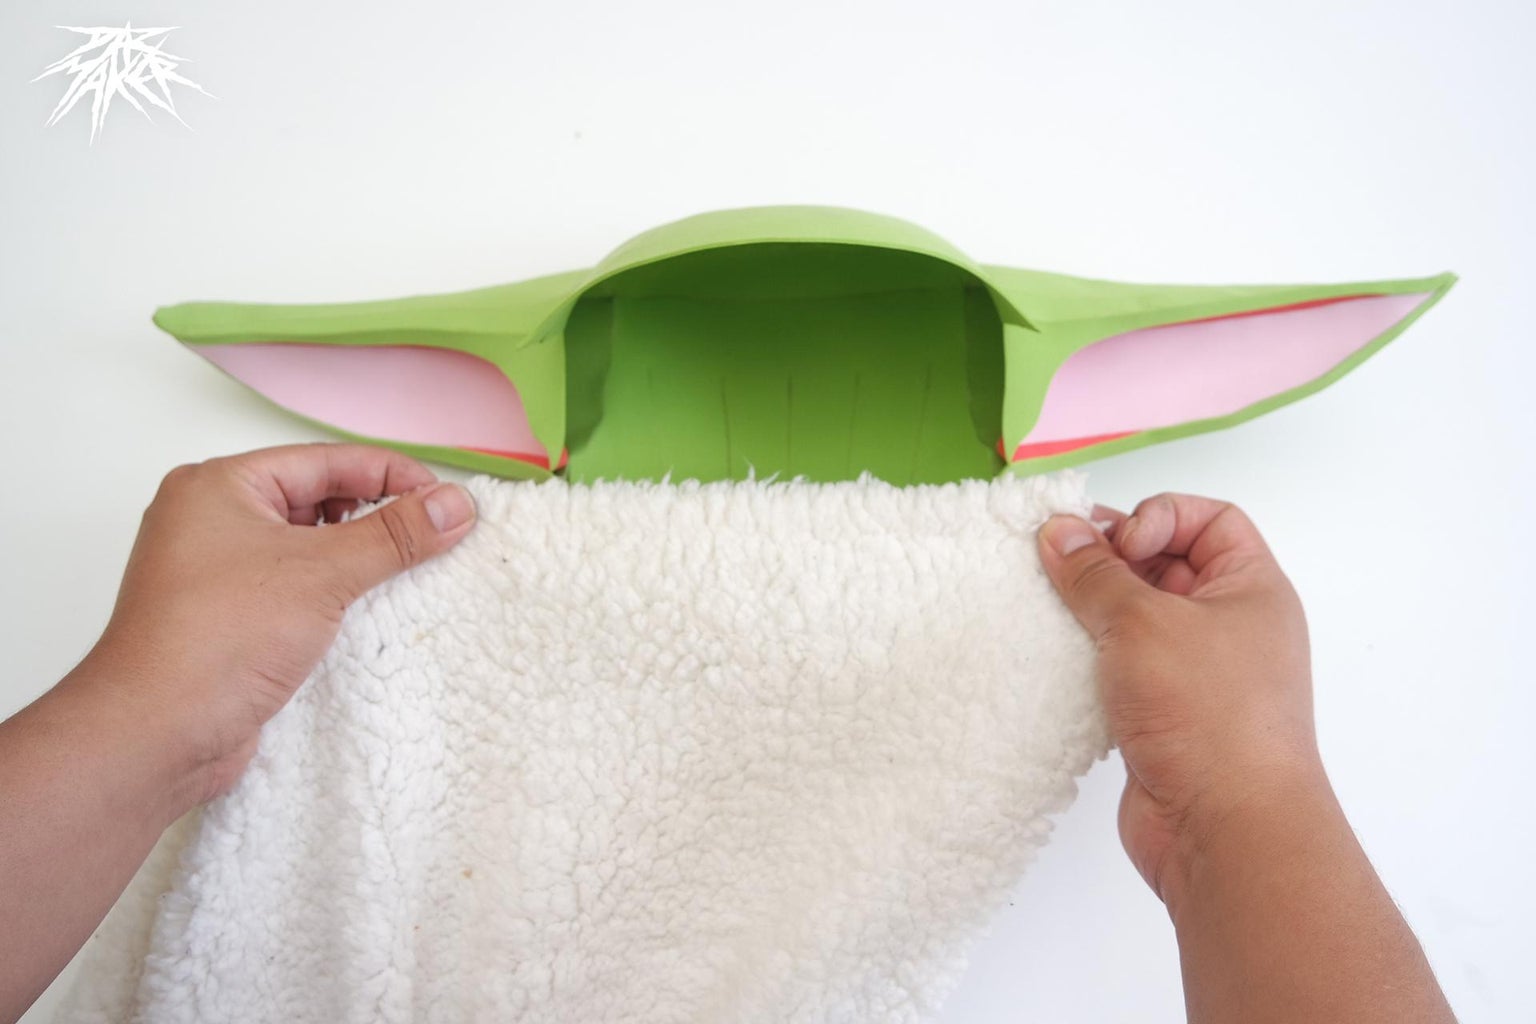
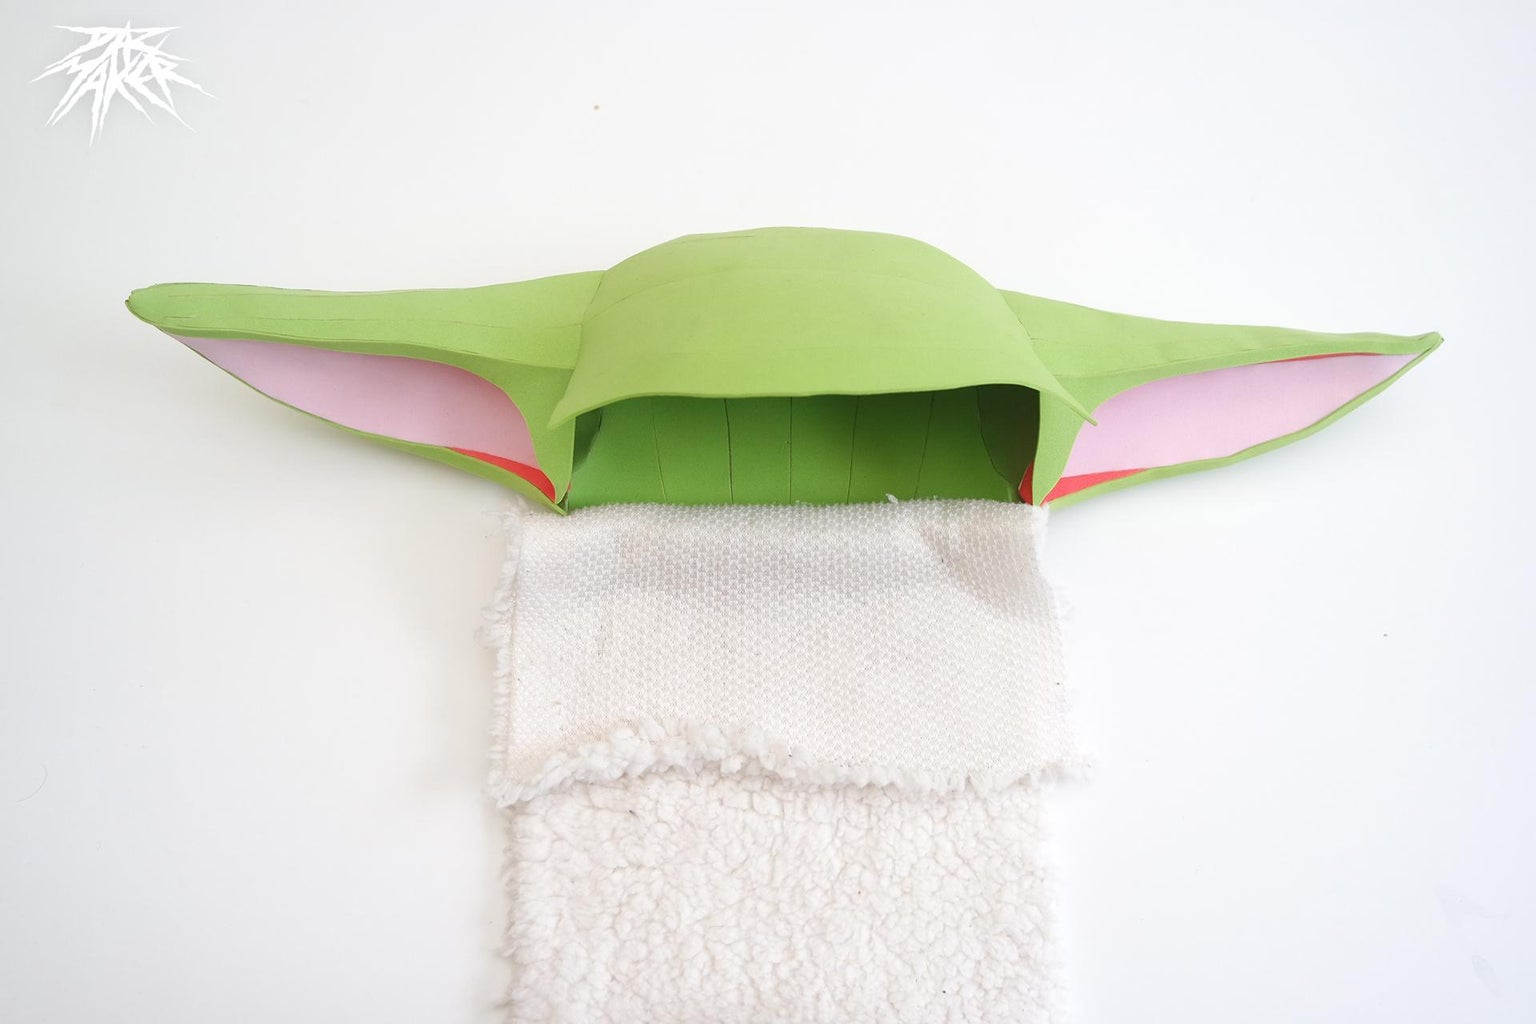
Cut a piece of fabric according to the final measurements of the back and make sure it covers the entire area plus some slack towards the front that can be cut in the future, apply glue and attach the fabric to the hat.
later join the front and the back parts.
Step 29: Join the Front and the Back Parts.
now apply glue on both parts and join them, take into account the location of the joints, so you will have assembled the Grogu hat
Step 30: The Eyes II
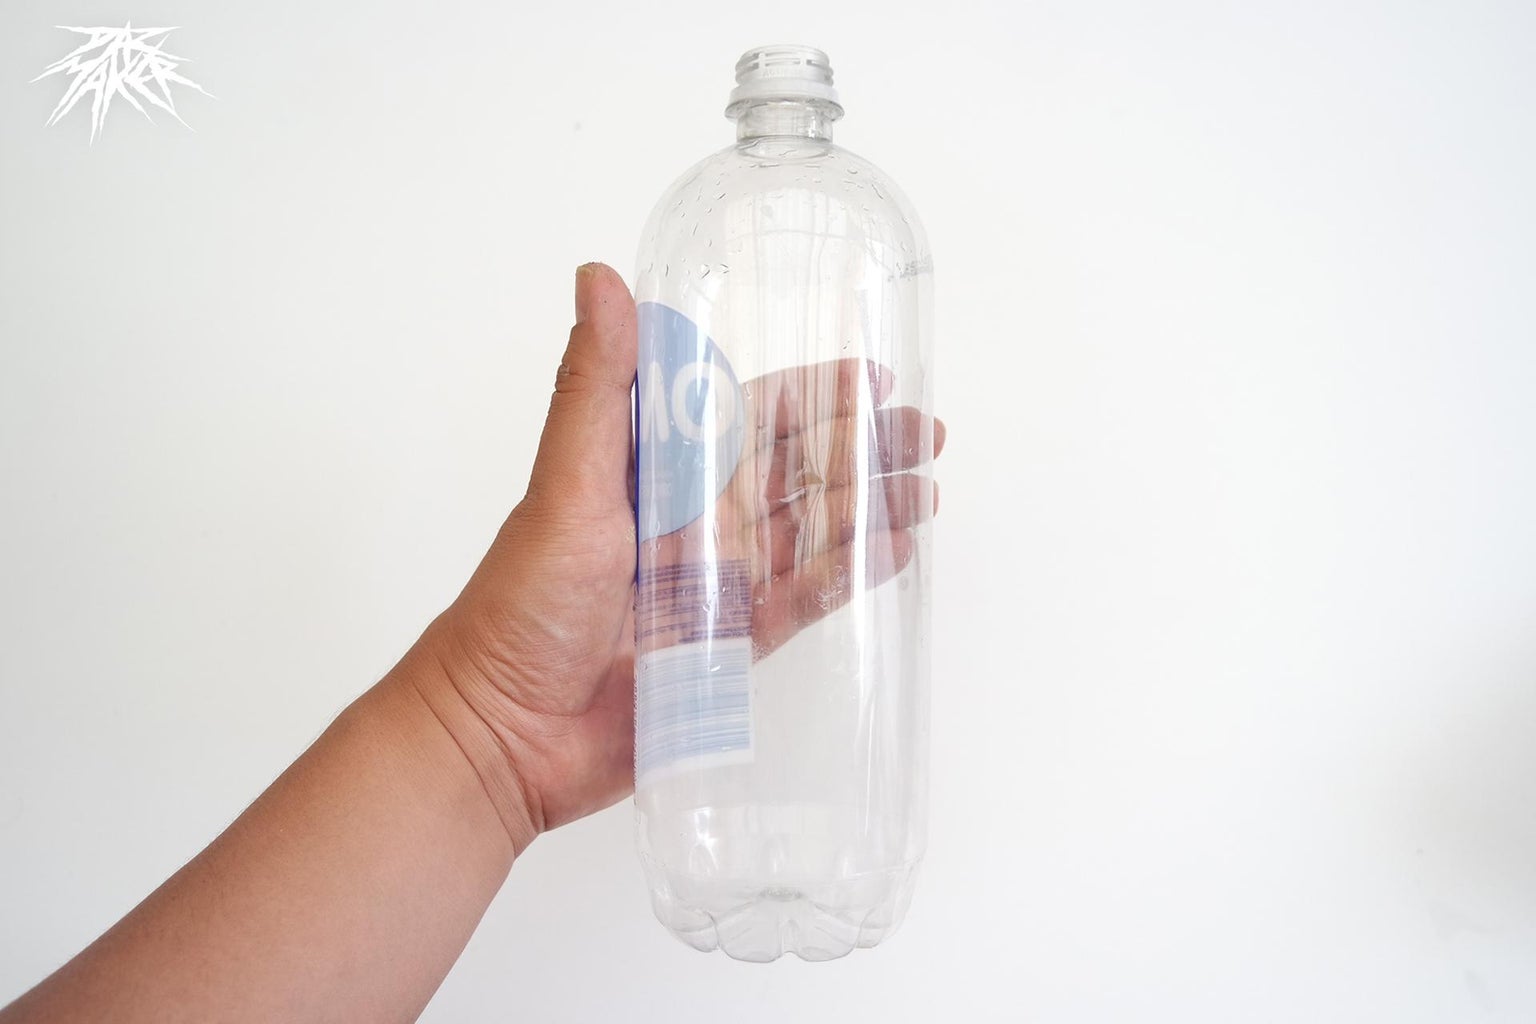
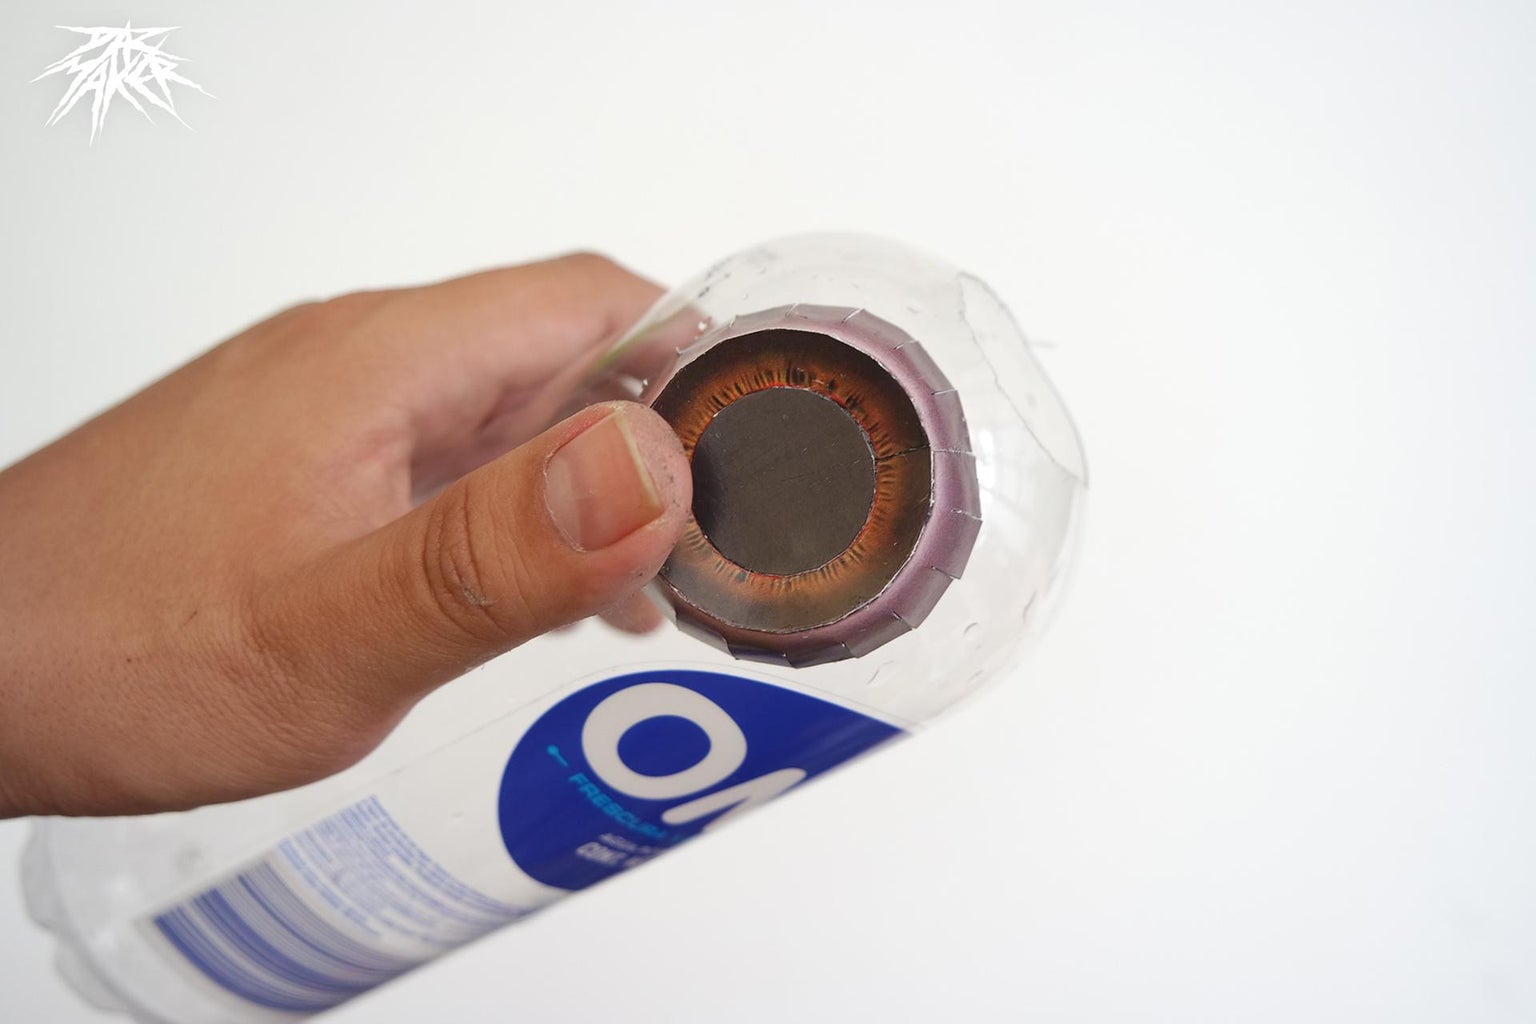

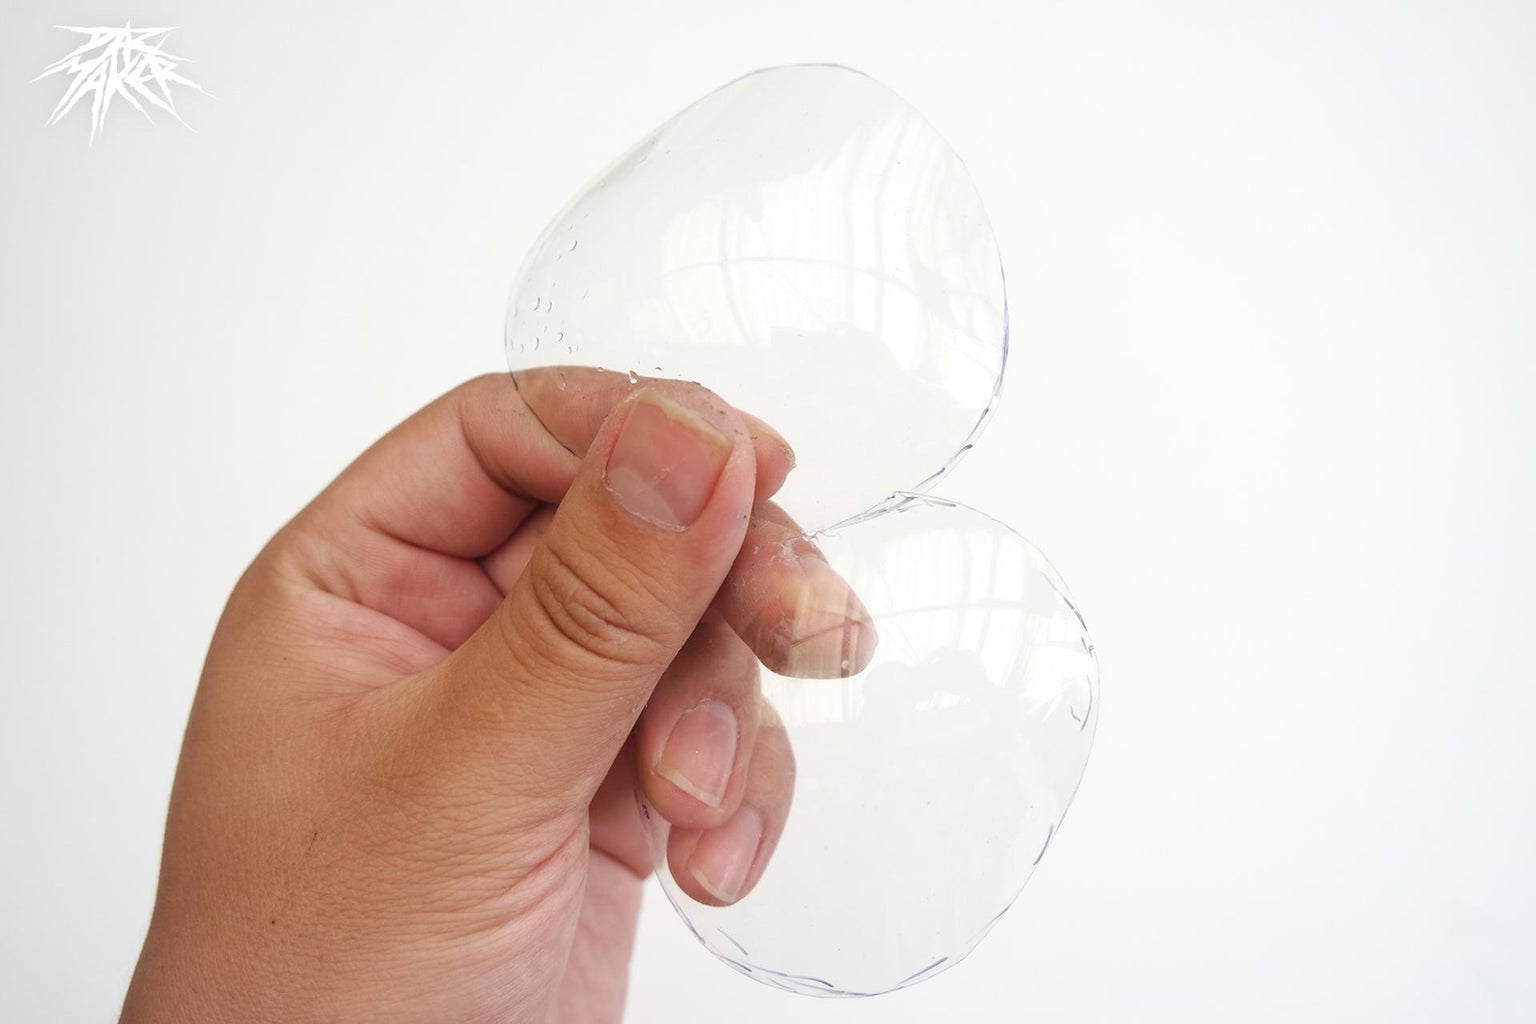
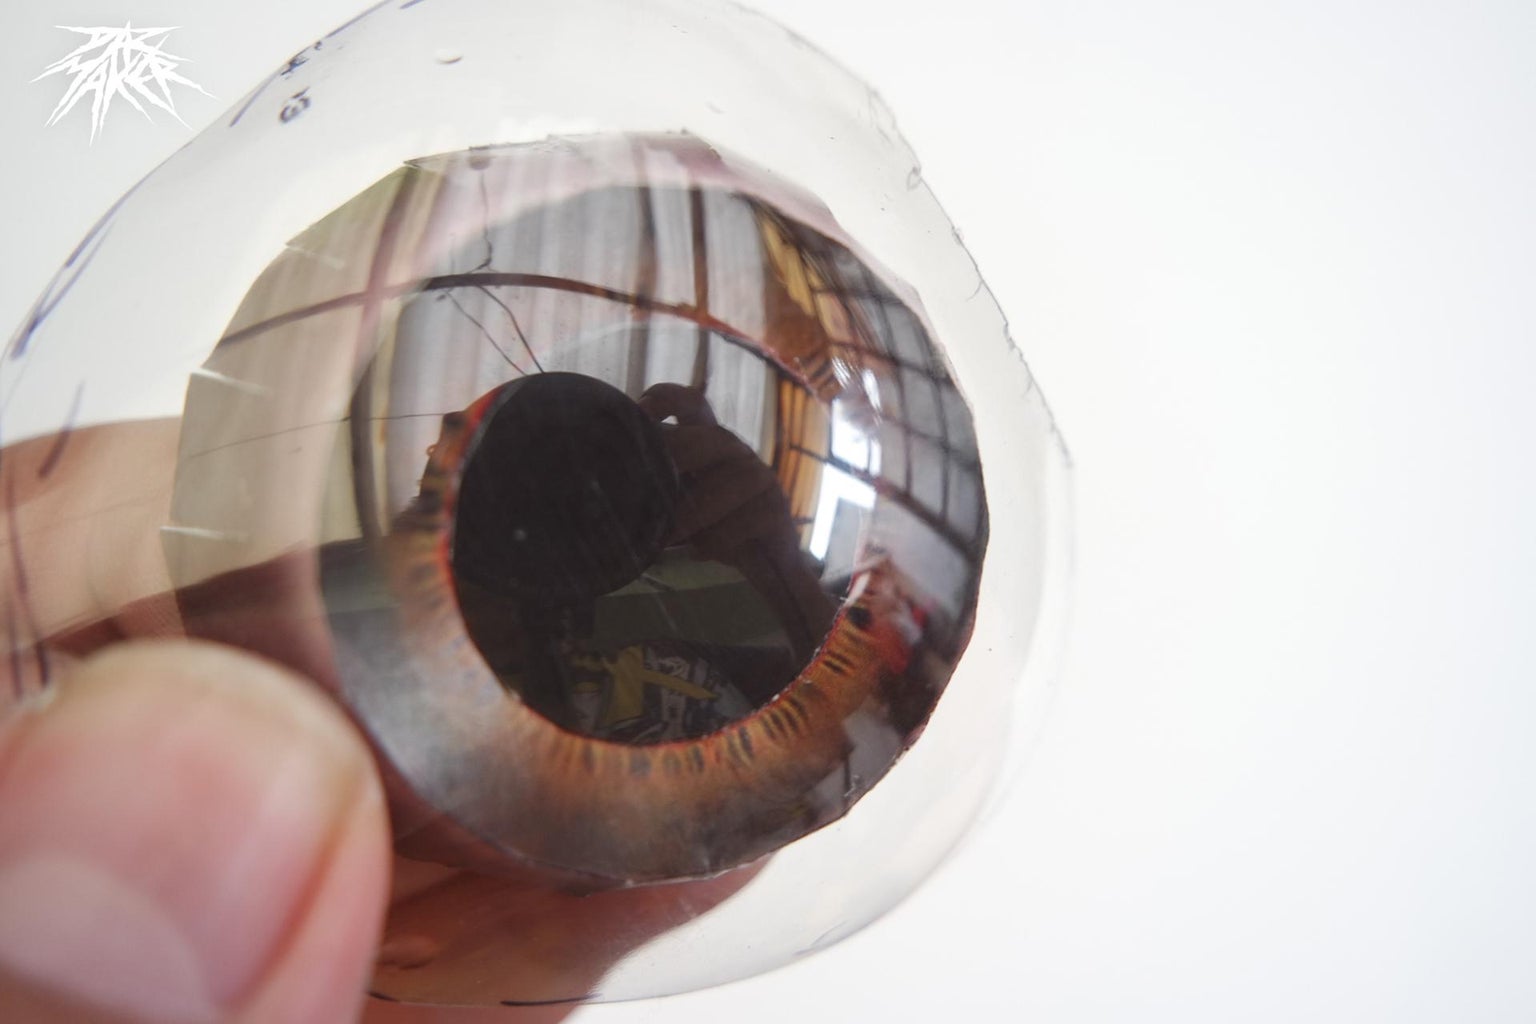

For the shine of the eyes we will use a transparent plastic bottle which we will cut to the size of the eyes previously made on paper, with a marker we will take the measurement and cut with scissors or a cutter, we will do it for each pupil.
Step 31: Placing the Eyes
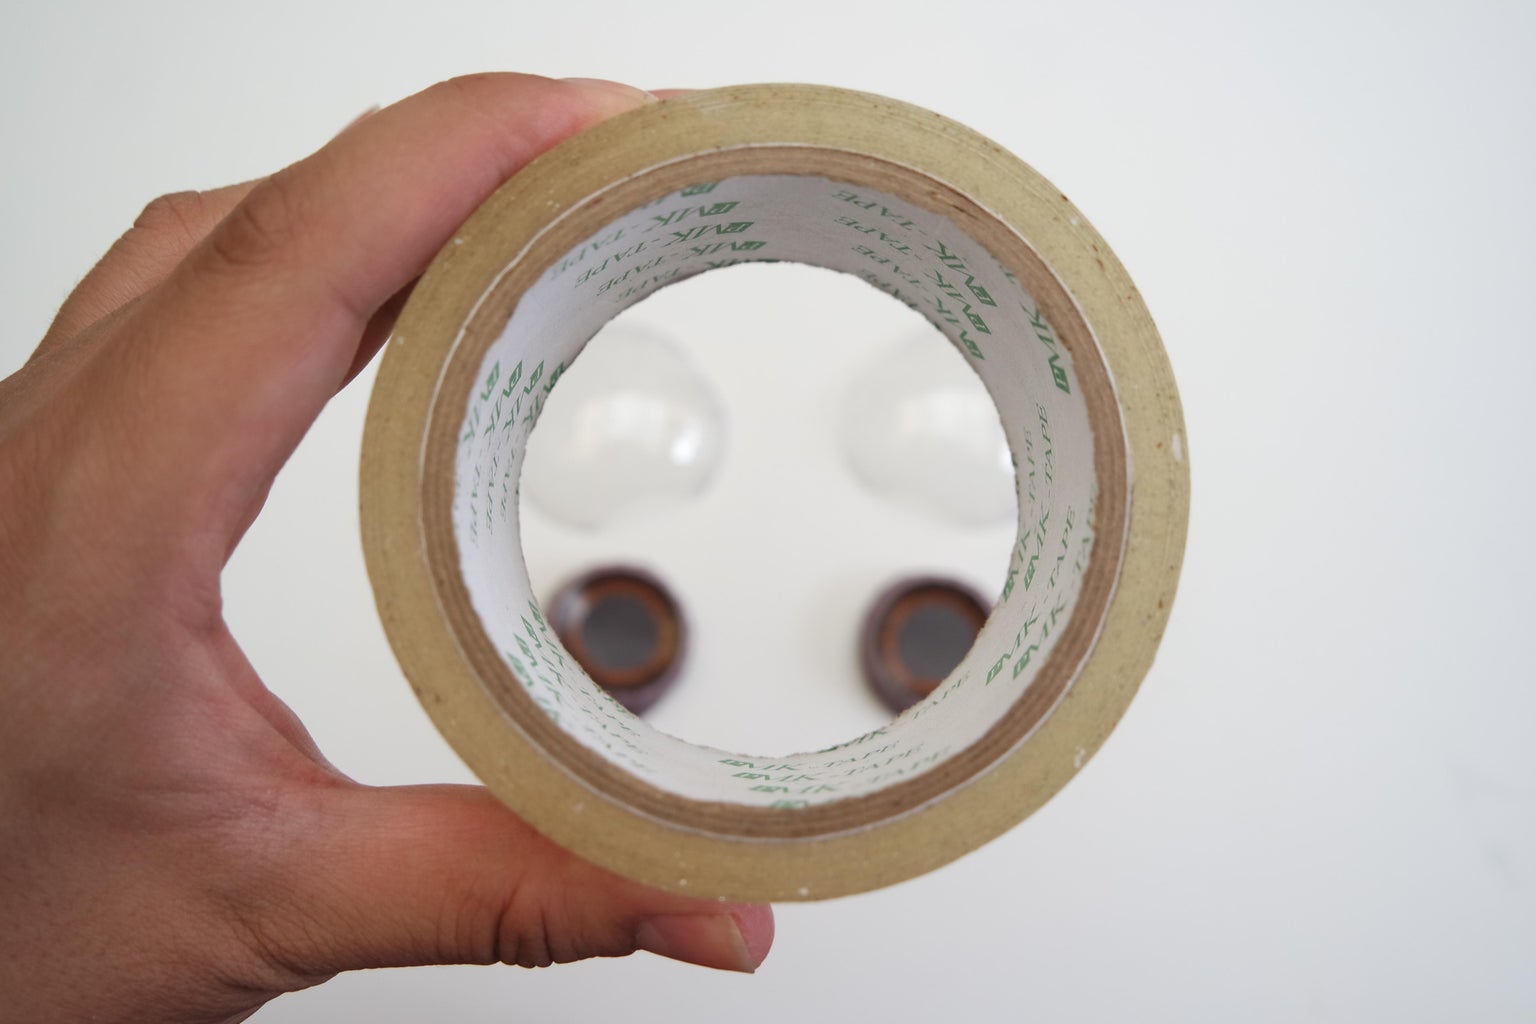
use tape or glue to put the eyes inside the shape of the hat, I used tape since when accommodating the eyes it gives me more movement options in the event that they are misplaced, I can also move them in any direction if that is the case.
Step 32: The Scarf
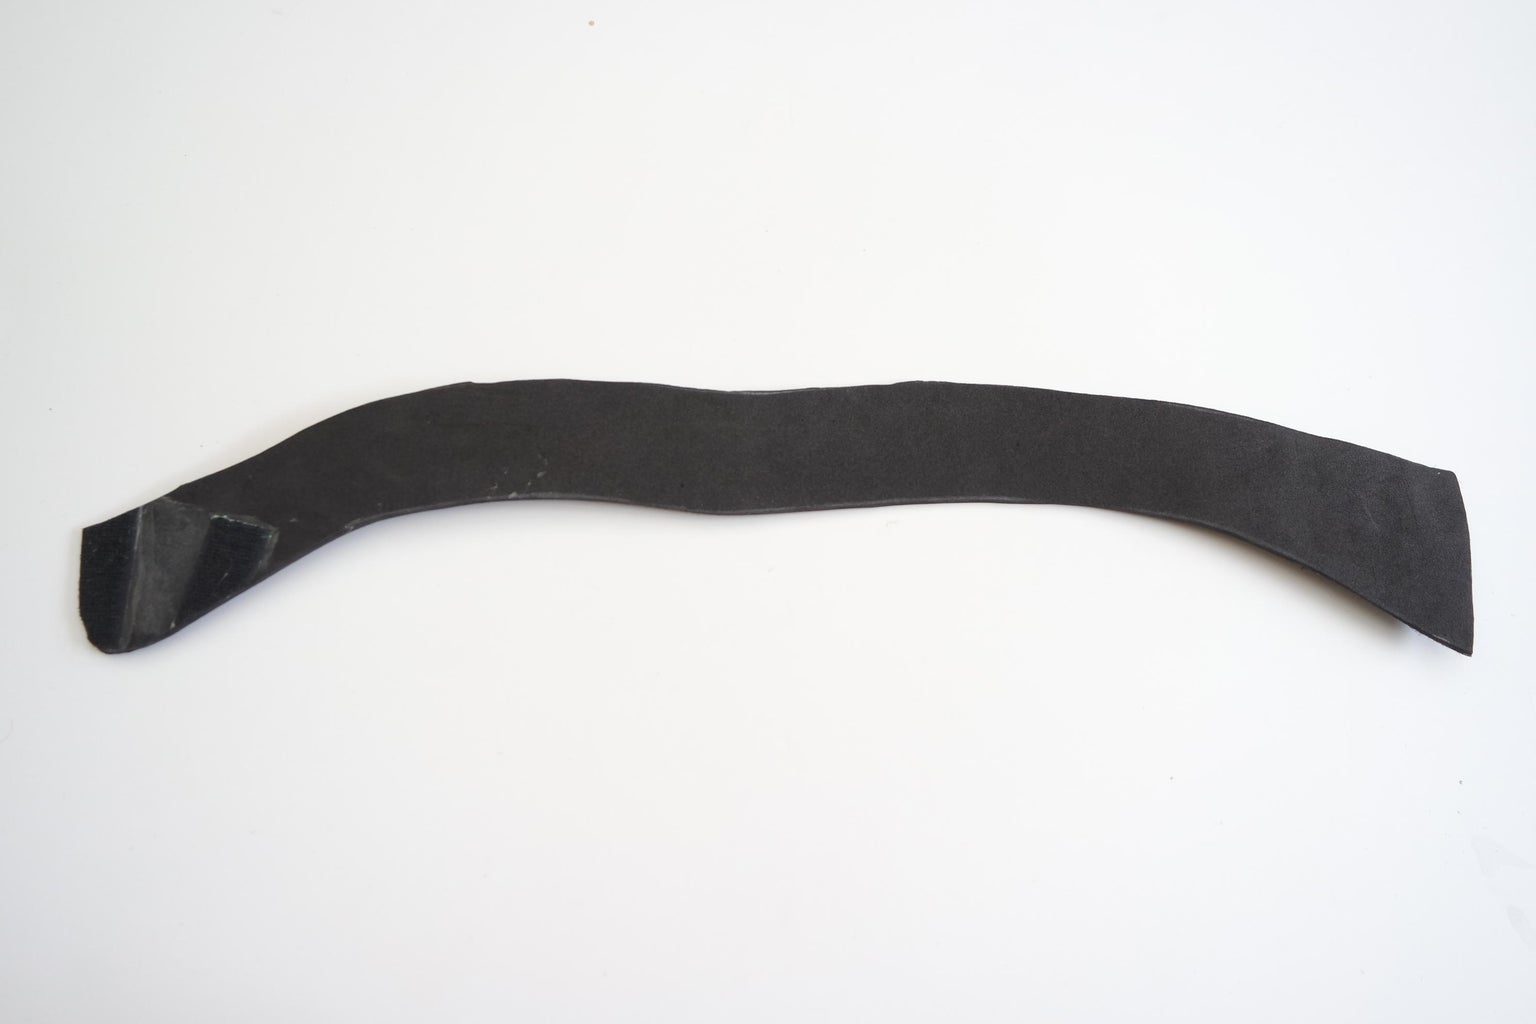
To simulate the neck of the Grogu trenchcoat, we will use a bit of eva foam as a base to give it hardness and we will cover it with the woolen fabric, applying glue for its respective union, this step is optional and the shape of the scarf is in the templates too.
Step 33: Scarf Mold - Optional


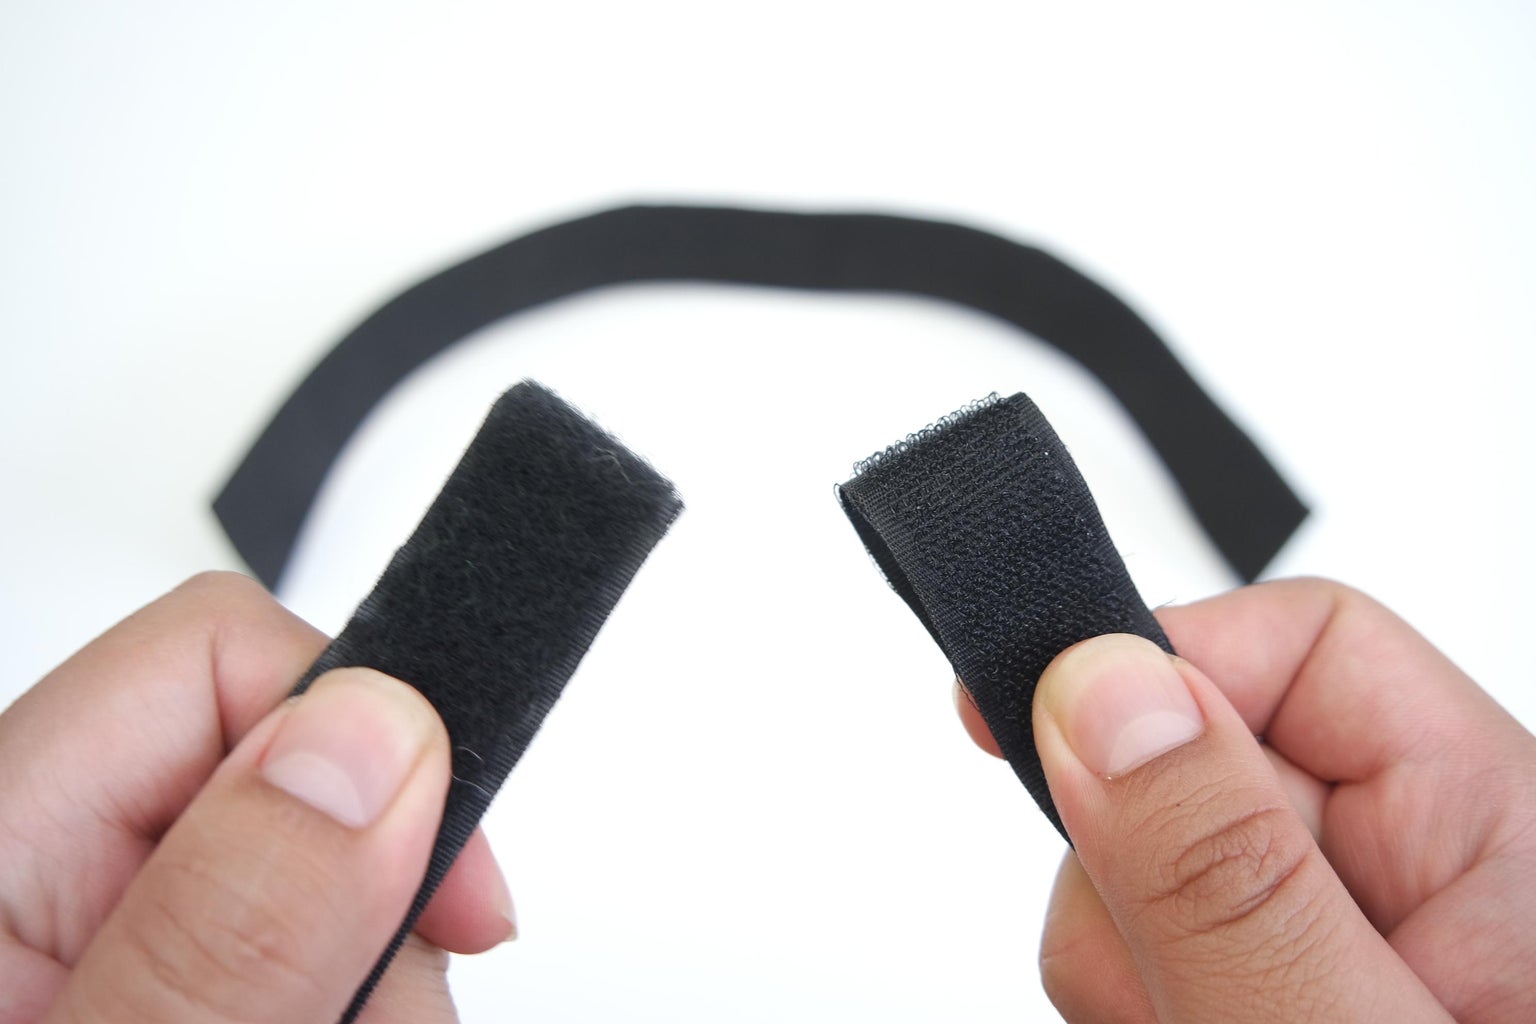
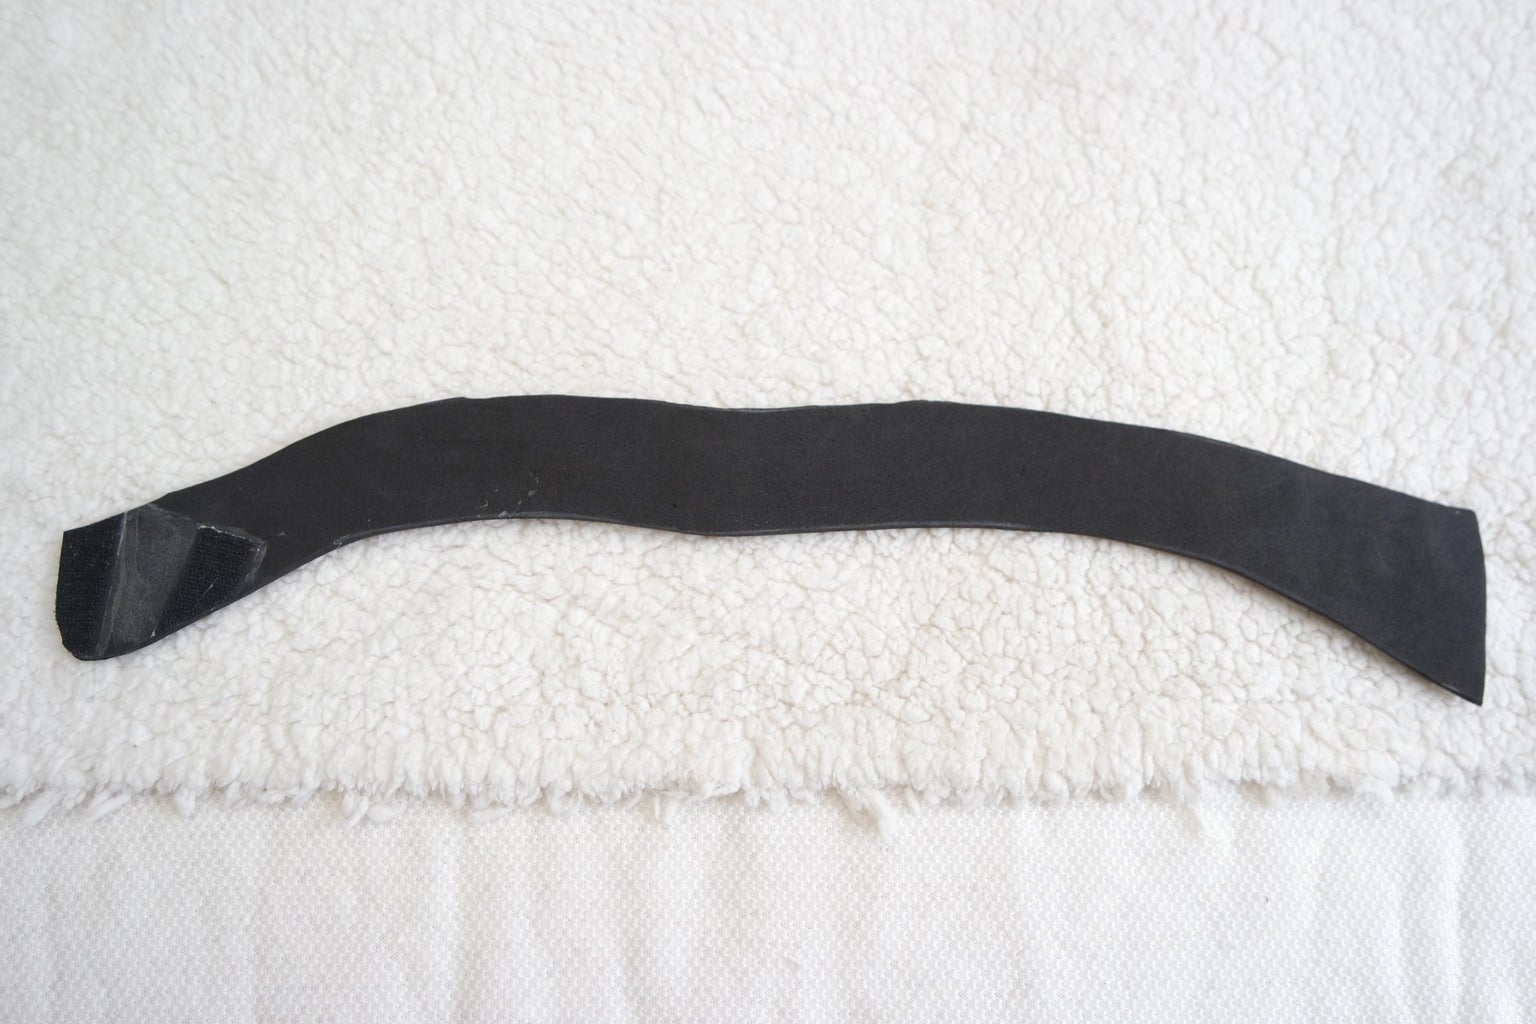
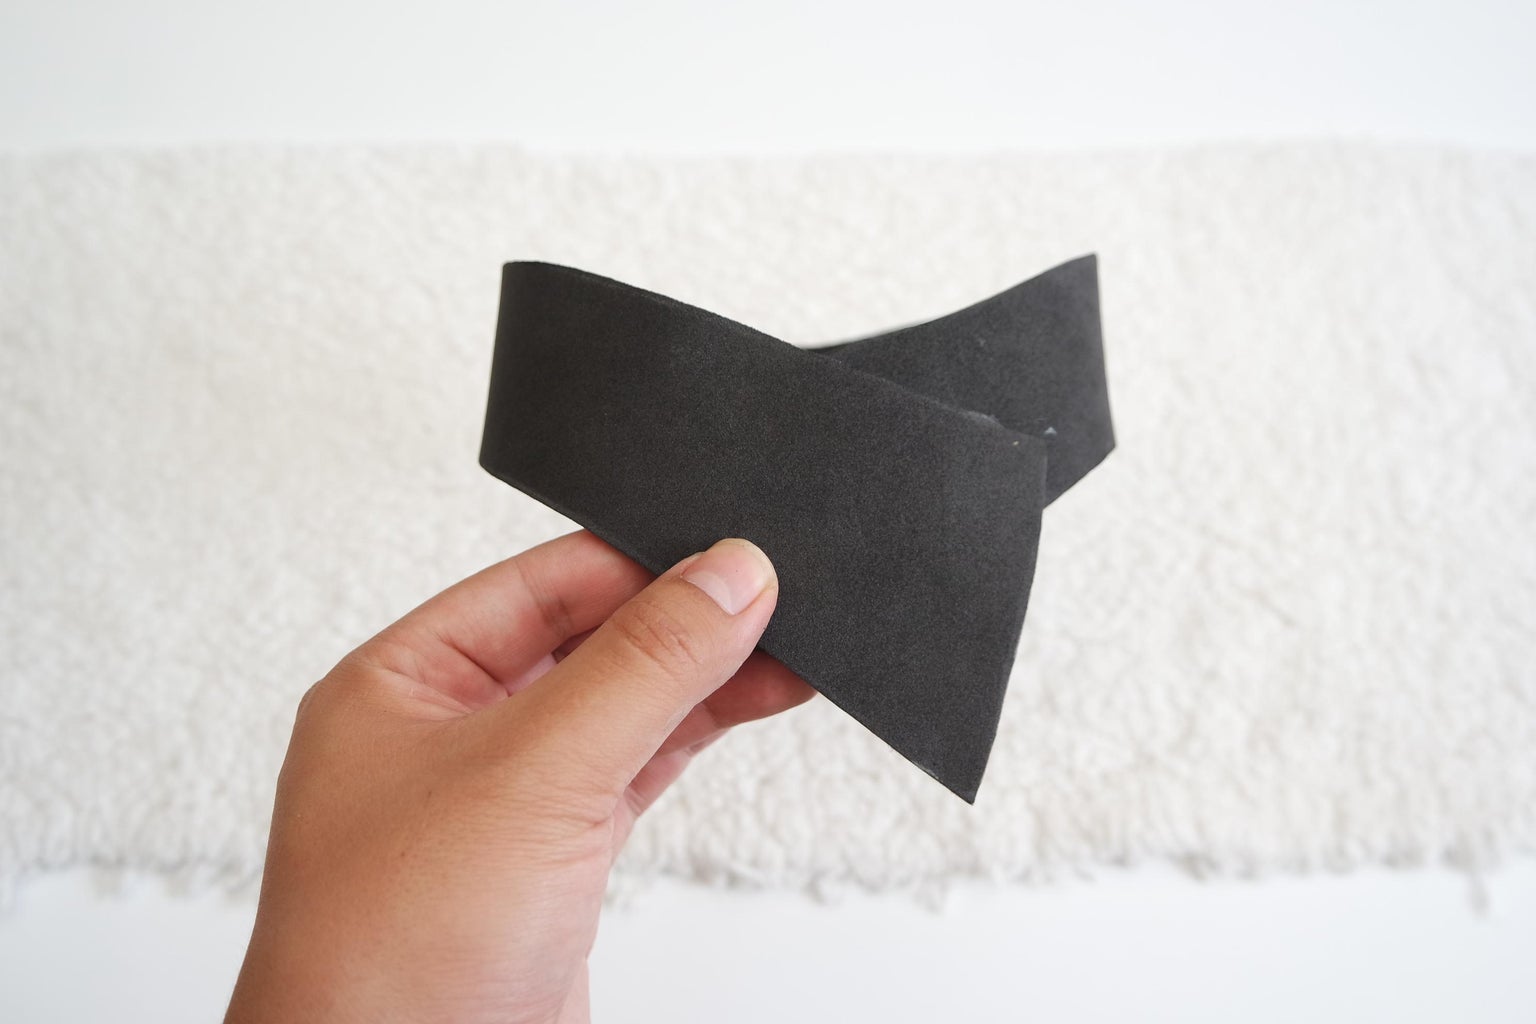
In the templates there is a file called scarf, print it if you like, then transfer it to eva foam of at least 4mm but no more than 6mm, cut it carefully with a cutter, calculate the union according to the age and measurements of your baby and stick some velcro which will keep it together.
Step 34: Molding the Scarf
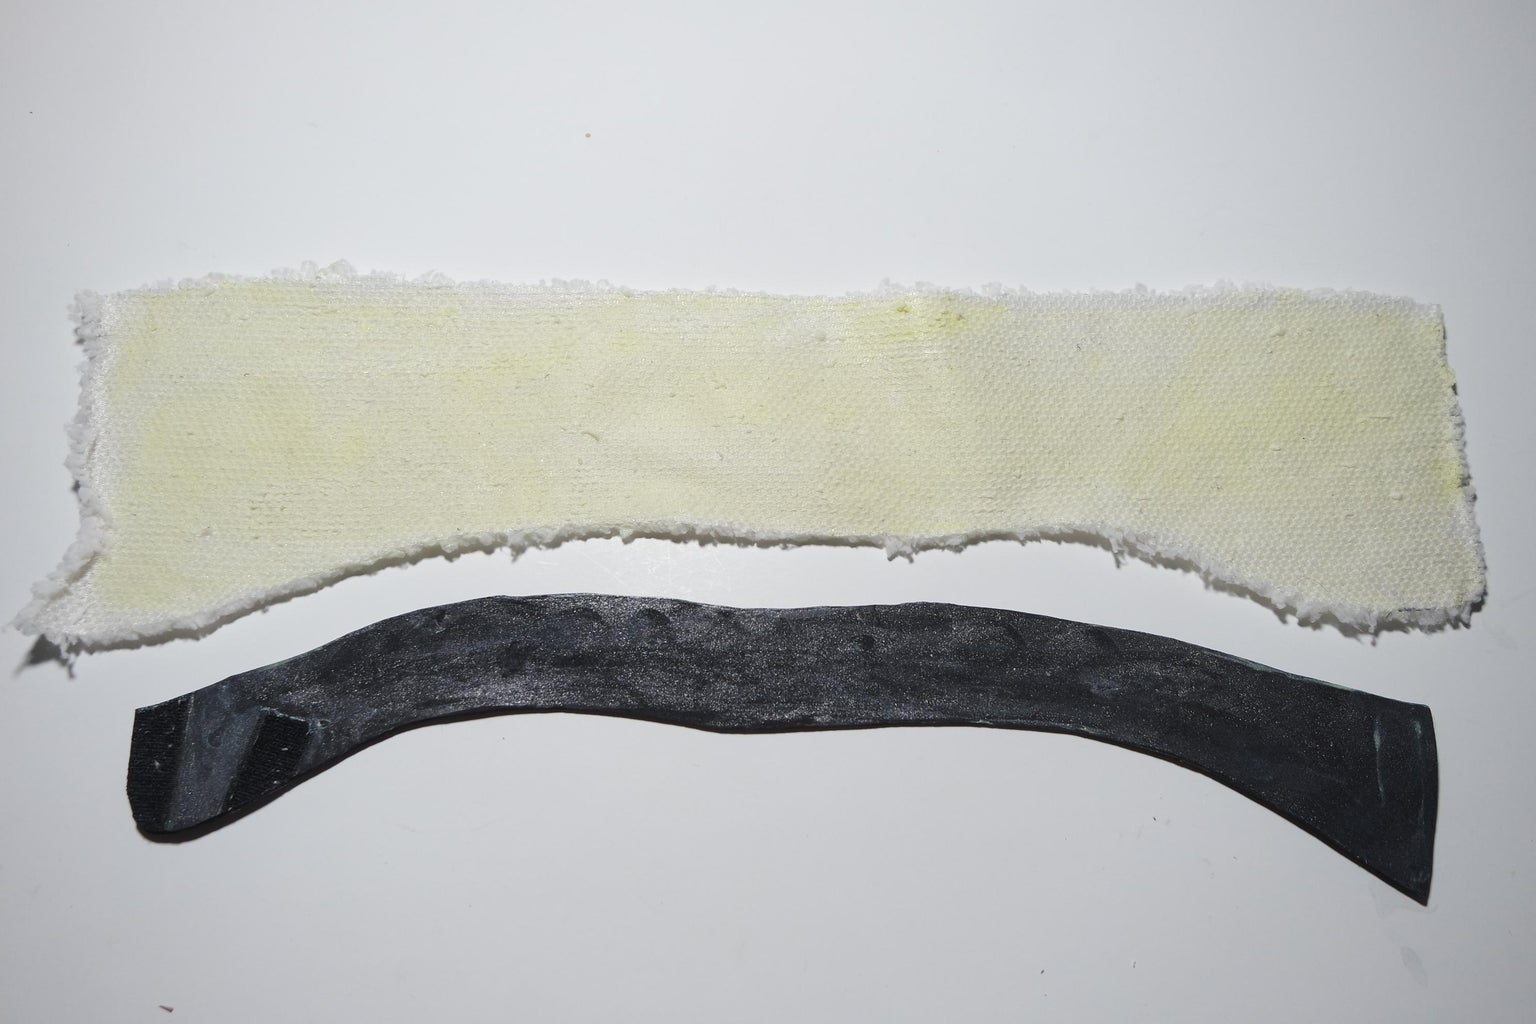
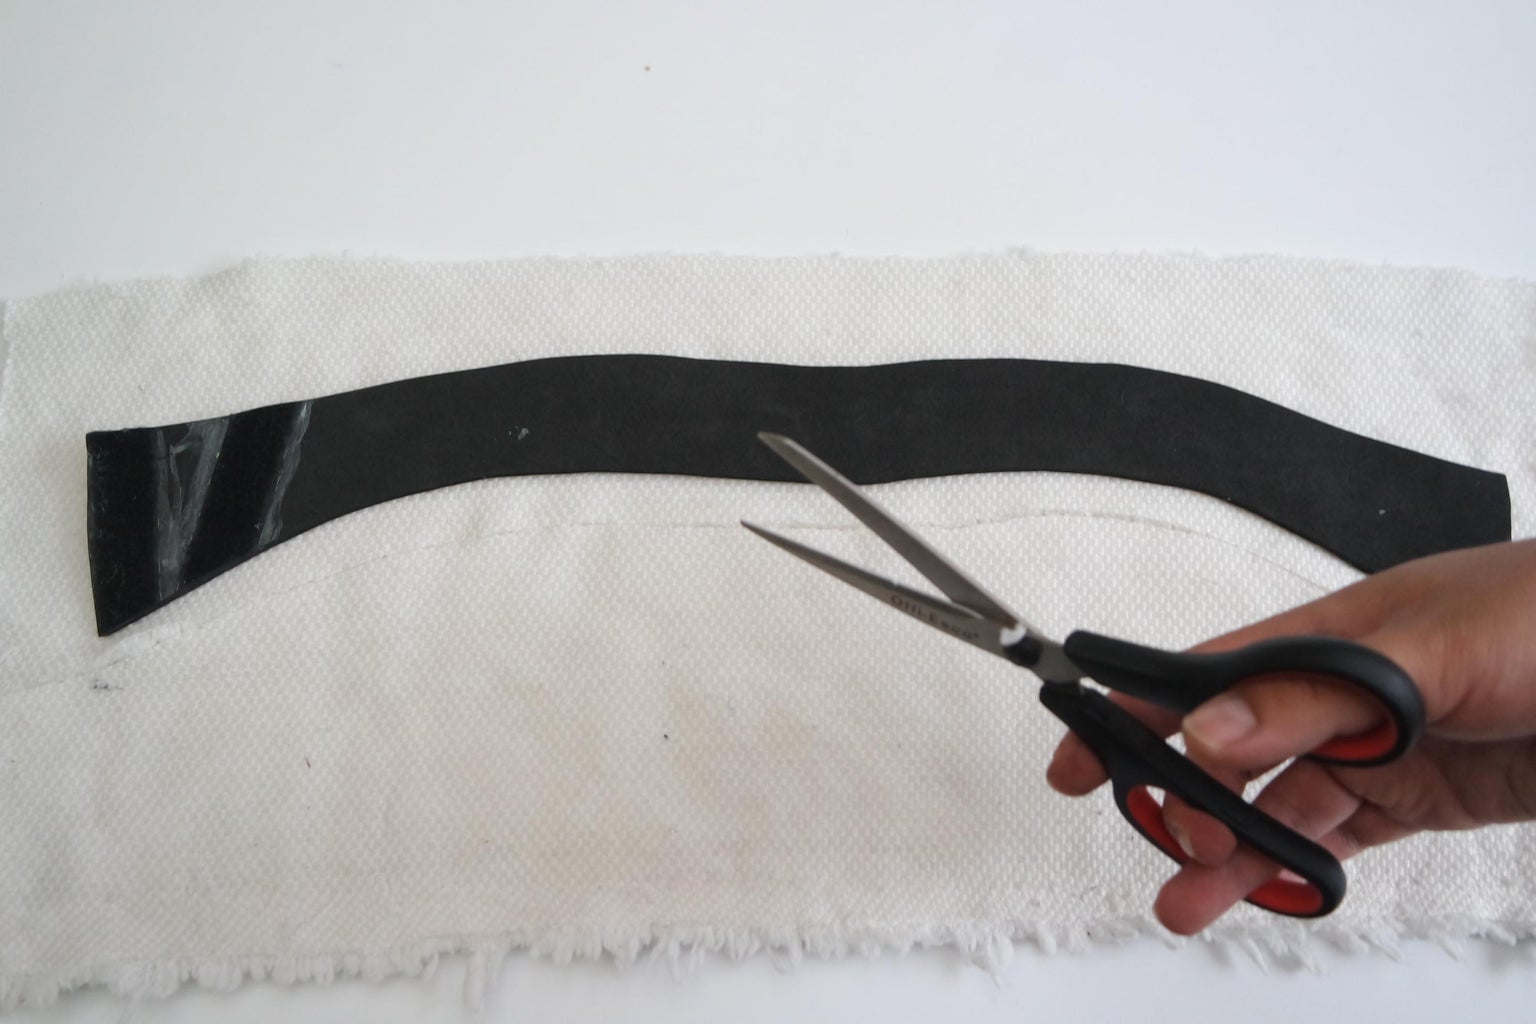
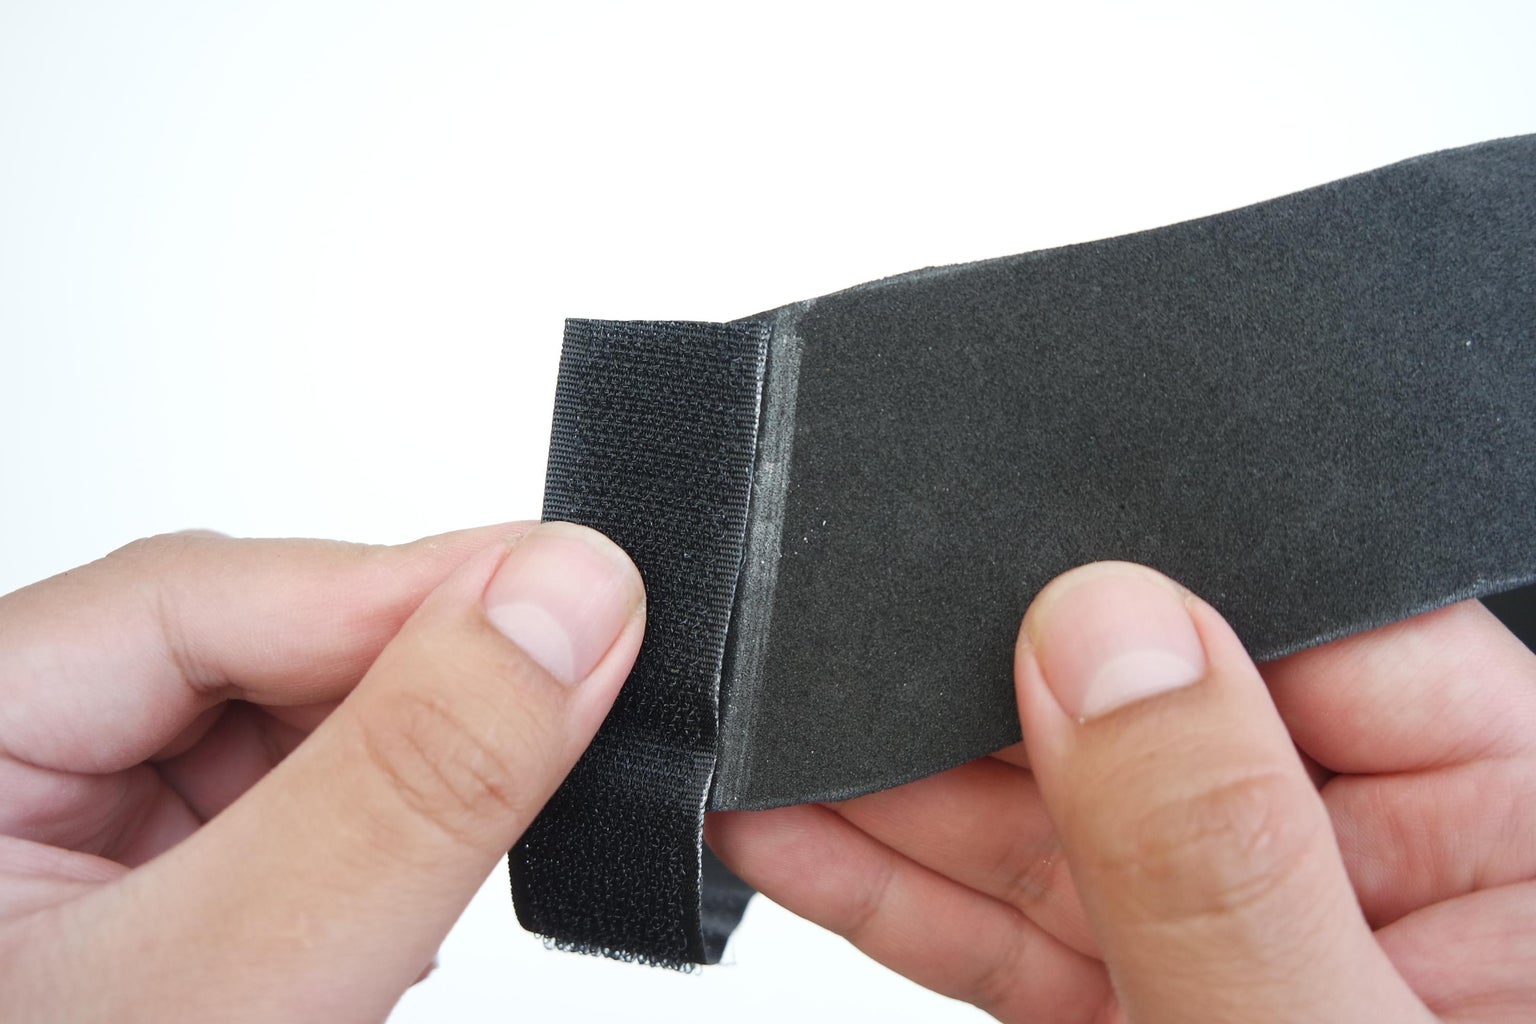
Place the eva foam piece of the cut scarf on the wool texture fabric, according to the measurements cut a mold to which apply glue so that they remain united.
Step 35: Covering the Scarf
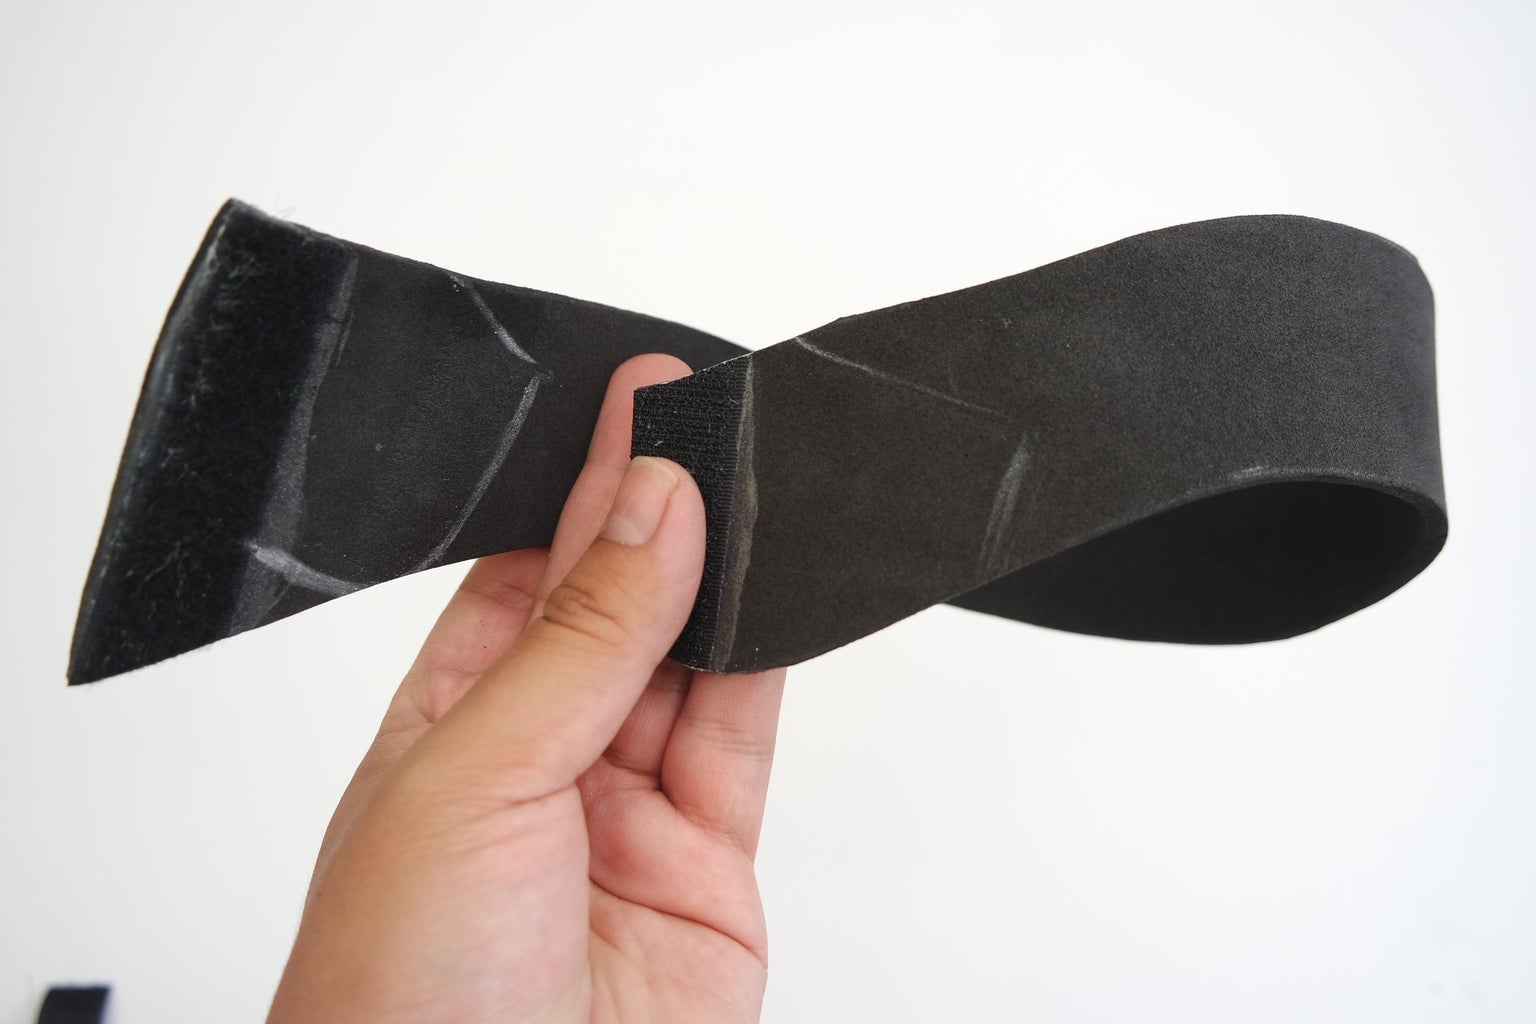
Apply the glue and let dry then join the foamy with the fabric very carefully, trim the excess fabric in the areas where it has the velcro.
Step 36: THE GROGU HAT
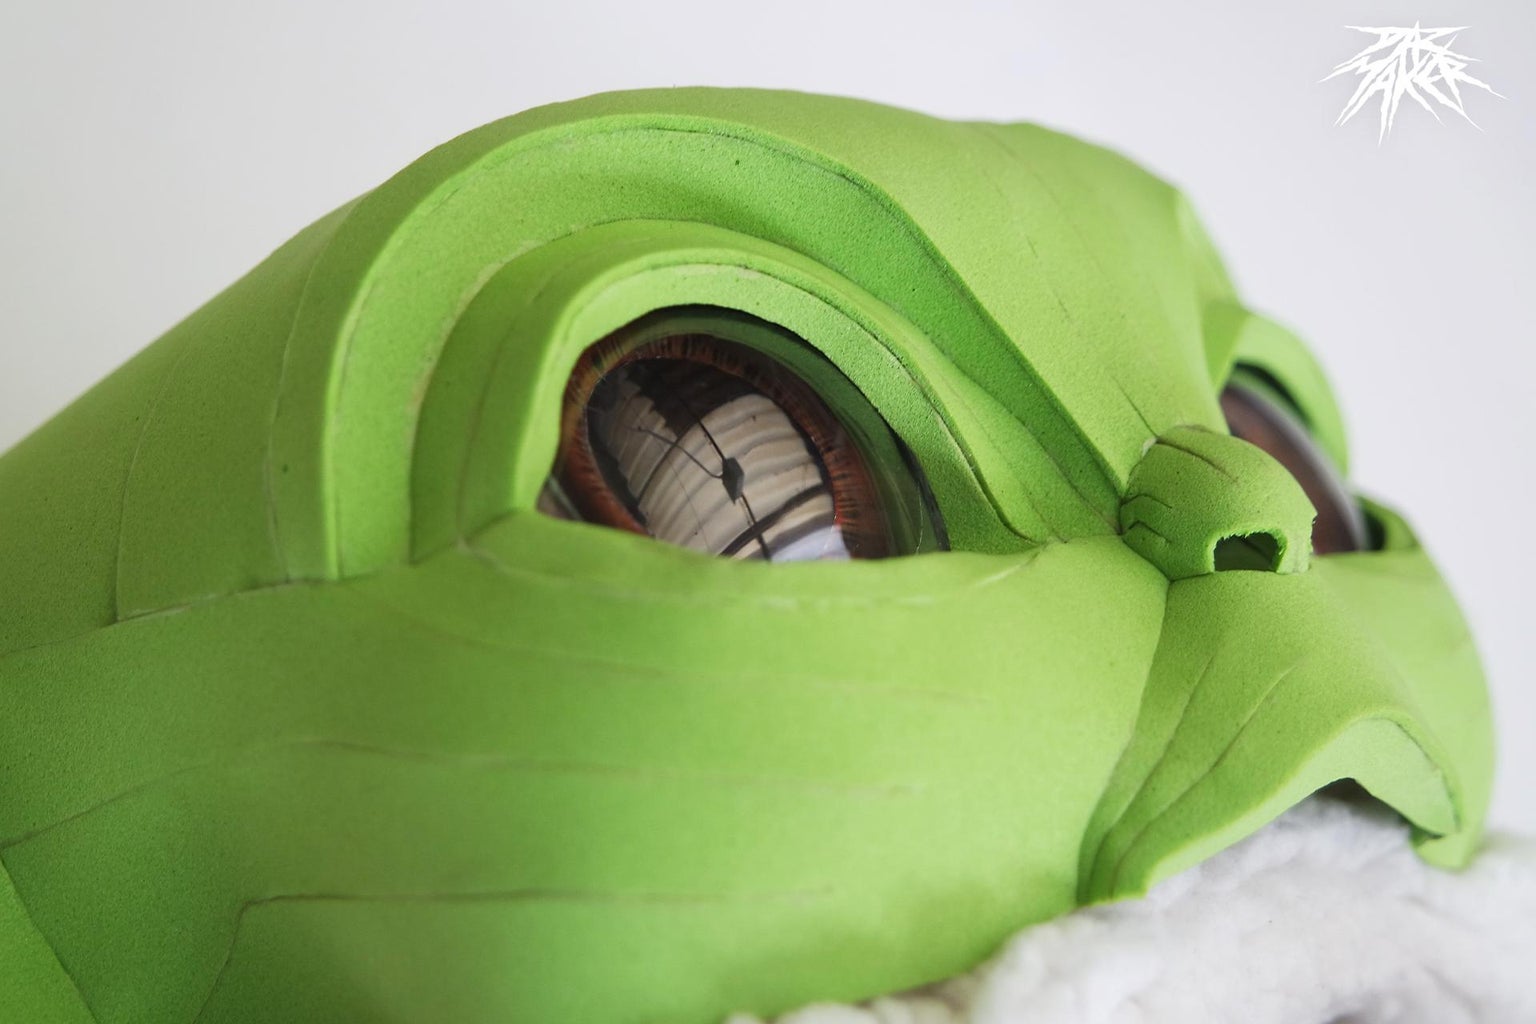
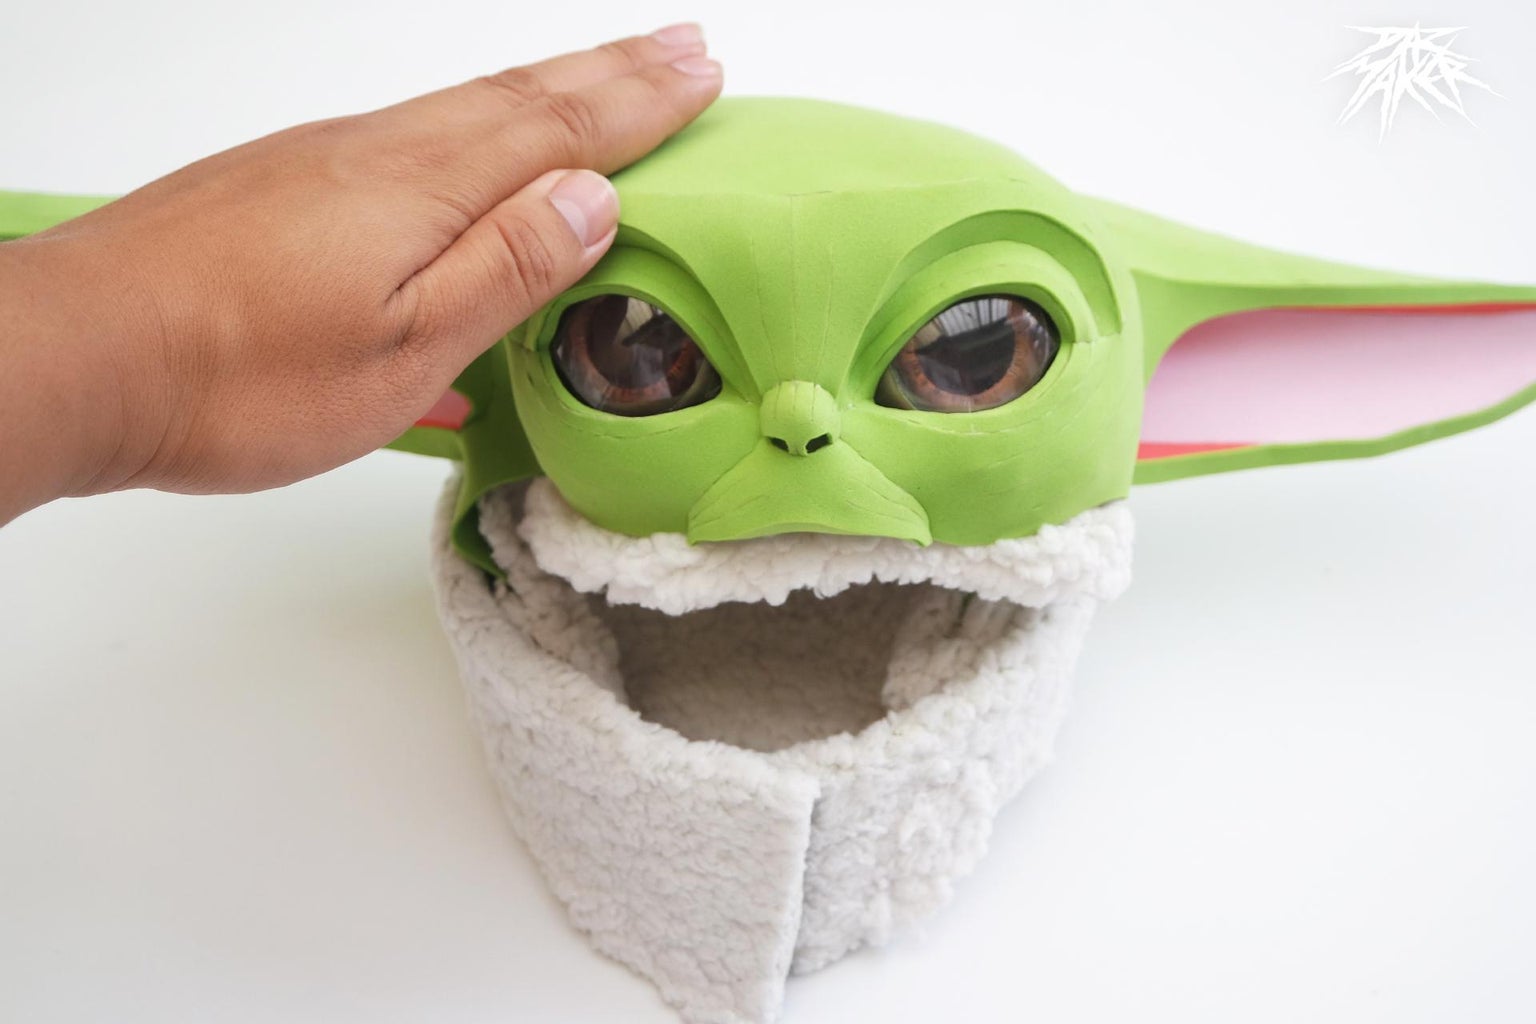
This hat is perfect for cold days or cosplay conventions, you can take your baby to comic-con without problems, since it is not a complete mask and does not cover the entire face, it will not suffocate or tire him.
It is also easy to put on and take off thanks to its soft coating and even without it, since the green eva foam is so soft, there will be no problems.
*I recommend the internal lining with fabric for children with skin irritation problems since perhaps direct friction with the eva foam can affect some kids. but this rarely happens.
Step 37: Bonus: Esposito
Recently at an entertainment convention that takes place in my city Bogota, we were lucky to interact with Giancarlo Esposito, actor who plays Moff Gideon in the mandalorian, he gave his approval to our little hat, so since it was a pretty cool moment, we want to share with you.
Step 38: THANKS FOR WATCH.
Have a wonderful day and lots of fun making it.
DAZMAKER.

This is an entry in the
Colors of the Rainbow Contest


4 Comments
2 days ago
Amazing results and an amazing instructable!
Thanks for sharing all your hard work!
Reply 1 day ago
Hi Wannabemadsci, Thank you for your words, they encourage me a lot to continue creating, your projects are incredible too. :)
3 days ago
Looks great! I don't see the template at the site you linked, though.
Reply 1 day ago
You can find them updated in the link of step number 3 Penolopy. :)