
Introduction: Backyard Zigzag Game
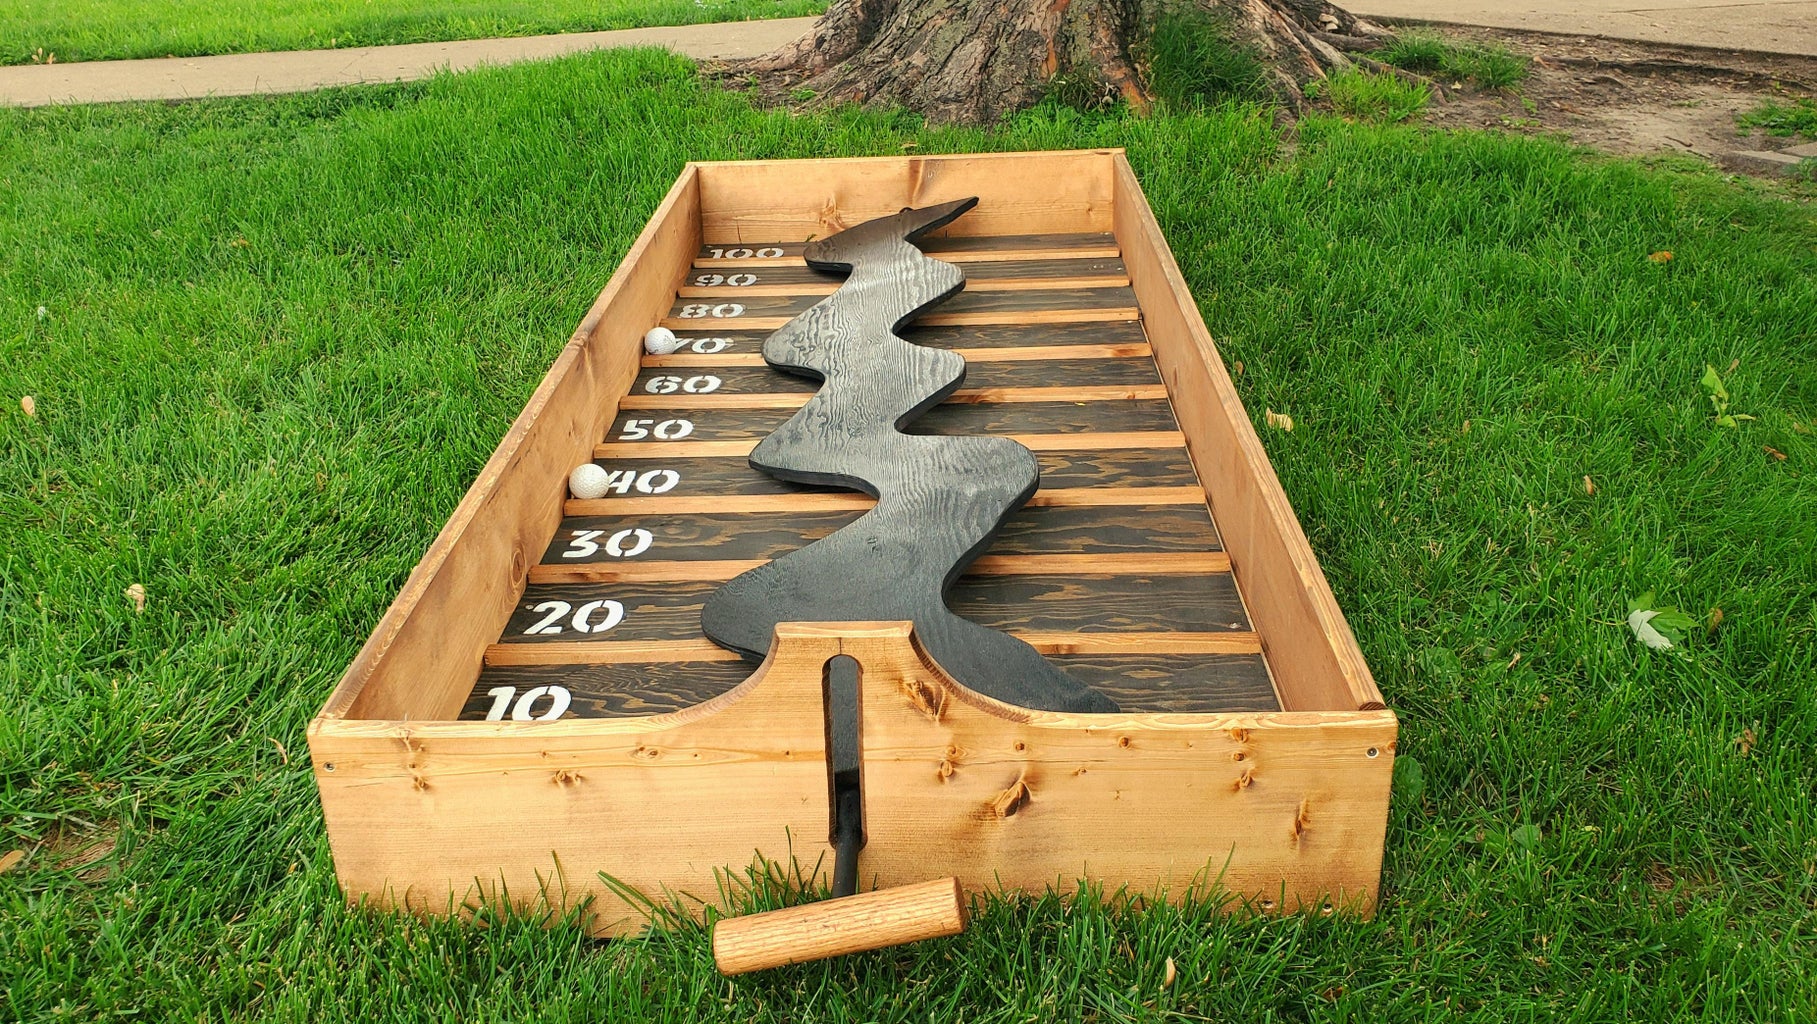


Here we have an entertaining backyard game that can be fun for both kids and adults. Its a simple game that doesn't need a lot of rules or learning, just place the ball on the top of the Zigzag, and use the handle to maneuver the ball along to the end.
The idea of the game is not my invention, but it is my own design and that is the best part of making things like this yourself, not only are they usually much stronger, but you will find this game is almost endlessly customizable, you can make it as hard or easy as you please.
Attachments

Supplies
Wooden Box
- 5 1/2ft 2x4 Boards (2)
- 5 1/2ft 1x8 Boards (2)
- 2 1/2ft 1x8 Board (1)
- 2 1/2ft 1x12 Board (1)
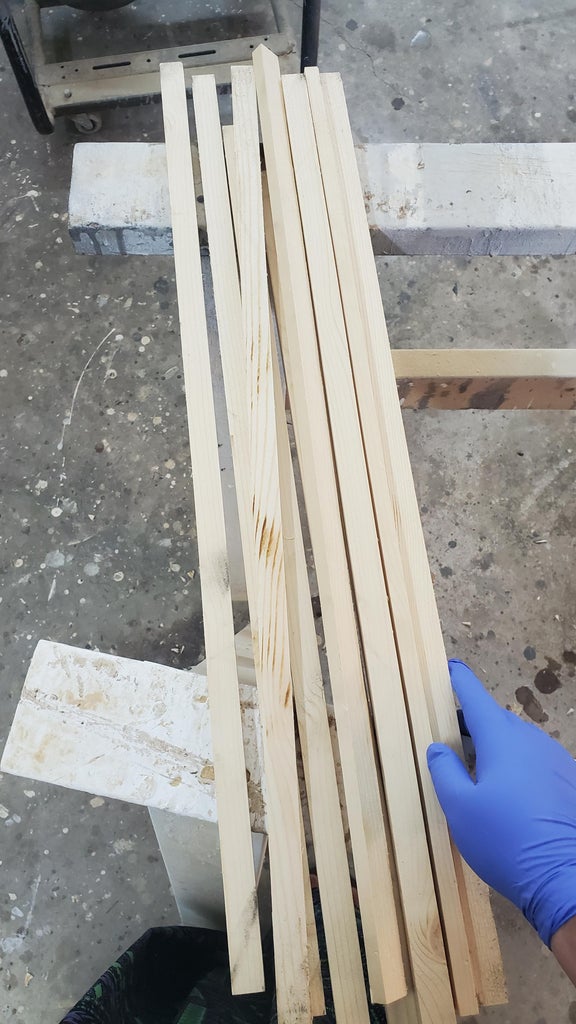
- 10 strips of wood about 1/2 inch wide, about 28 inches long
- Piece of plywood at little less then 5 1/2ft long, and 28 inches wide, (you can piece it together as well) my ply wood is 1/2 inch thick.
Zigzag Handle
- Piece of plywood at least 5 1/2ft long.
- 1/2" dowel
- 1" dowel (optional)
Tools
- PPE, Mainly eye protection, and dust mask
- Miter saw
- Jig saw
- Drill
- Clamps
- Sander or sandpaper
- 1/2" Forschner bit
- 1" Forschner bit
- Nail gun (optional)
- Router (optional)
- Craft knife/Box knife
- Screws
- Wood Glue
- Pencil
- Paper
Finishing
You can finish, paint, decorate however you want. This is just the colours i used.
- Early American Minwax Stain
- Ebony Minwax Stain
- Black Spray Paint
- Cream Acrylic Paint
- Rags
Step 1: Prep, and Prepare the Wood

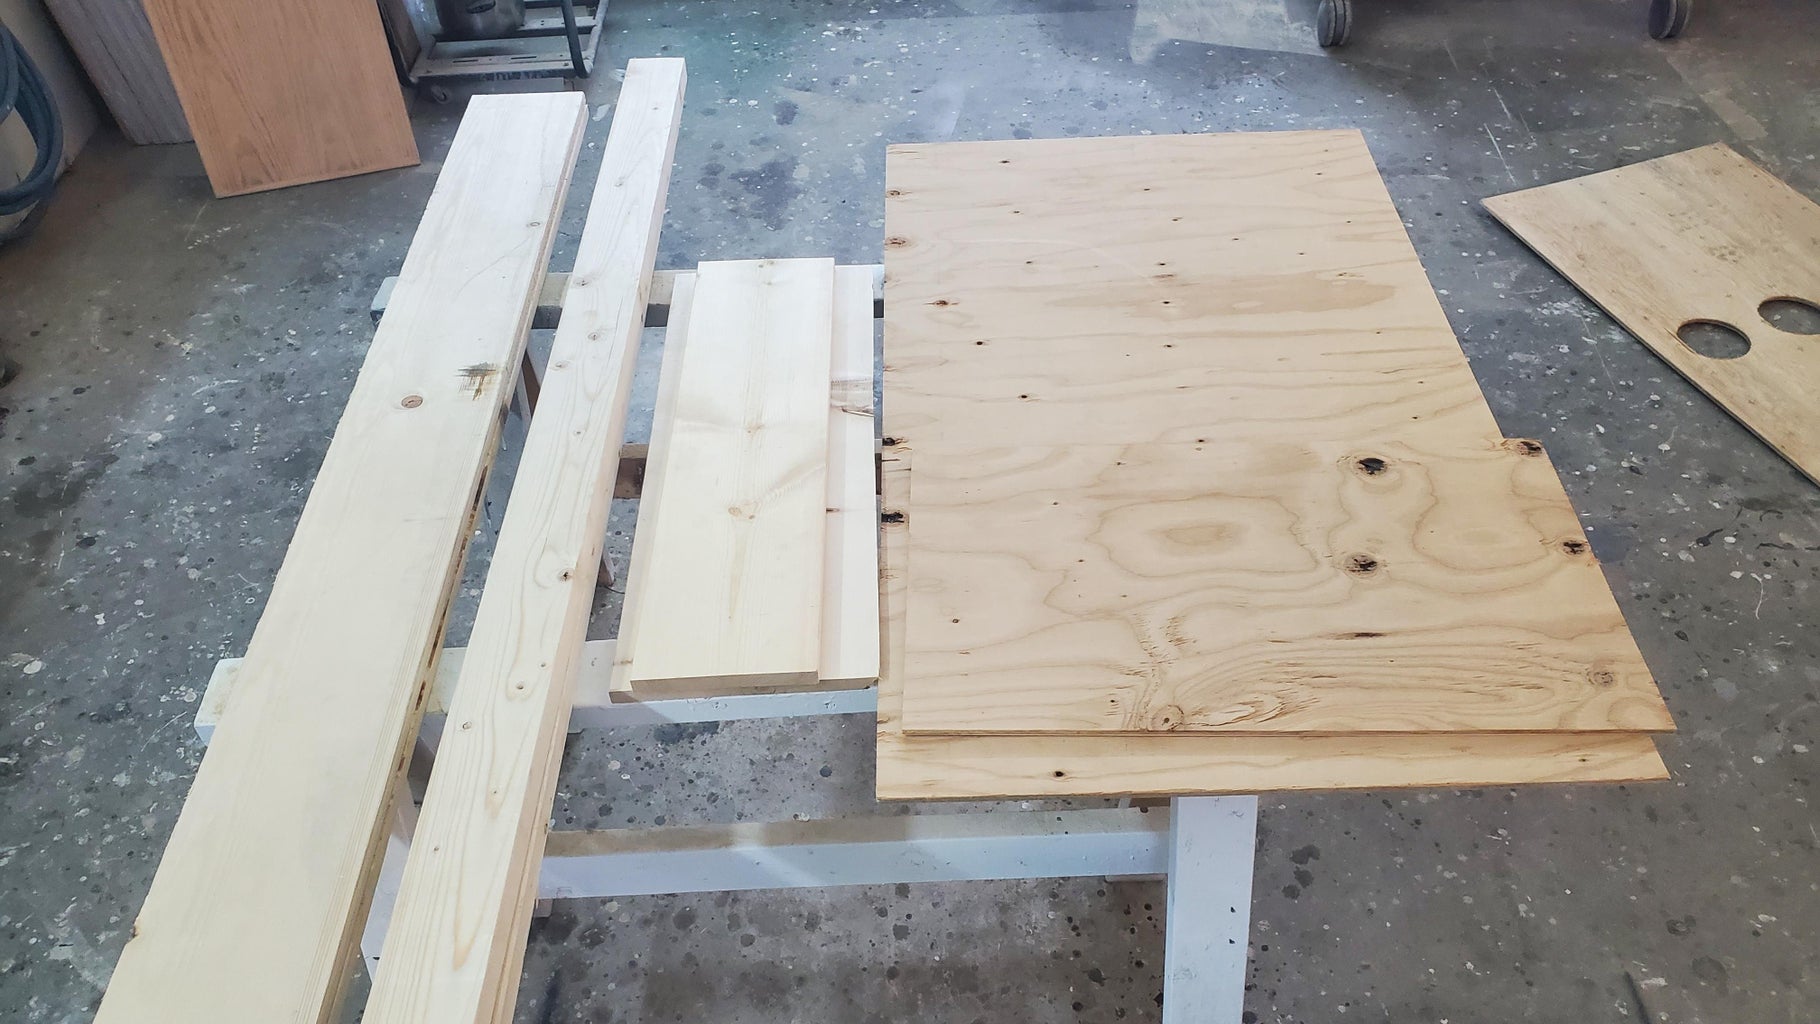
This is both the first, and hands down the most important Step when I start a wood working project.
Gather your boards, making sure that they are all the right size.
This is Absolutly optional but I used a router with a round bit to soften the top of the 1x8 boards, just do the top you can also just use a sander or sandpaper to take the edge off.
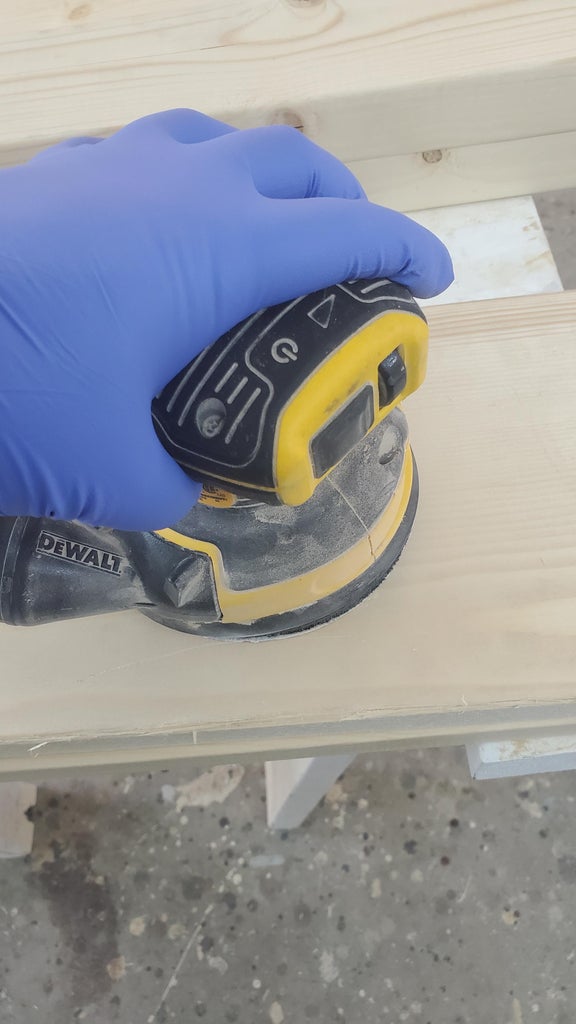
Now I like to give everything (you don't have to bother with the 2x4's you won't see them) a good sanding, especially the plywood. i just used 180g sandpaper you can use finer if you have it but I wouldn't go coarser, unless your wood is very rough and needs it then you'll need to work your way up. My wood was relatively smooth so it didn't need it
Leave the 1x12 for the next Step
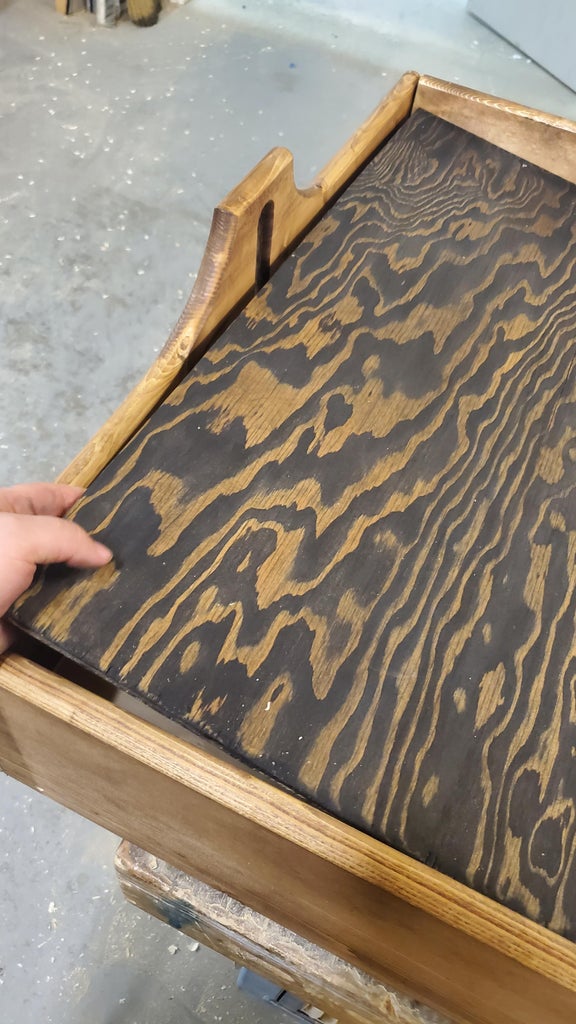
Step 2: Making the Top Holder
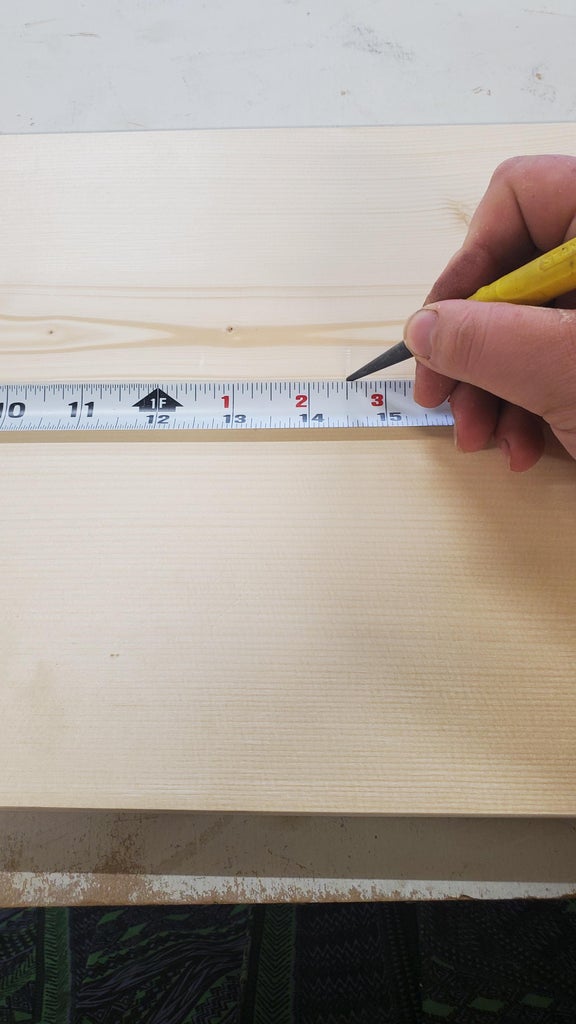
Now you need the 1x12 board, find the middle, mark it with a line across
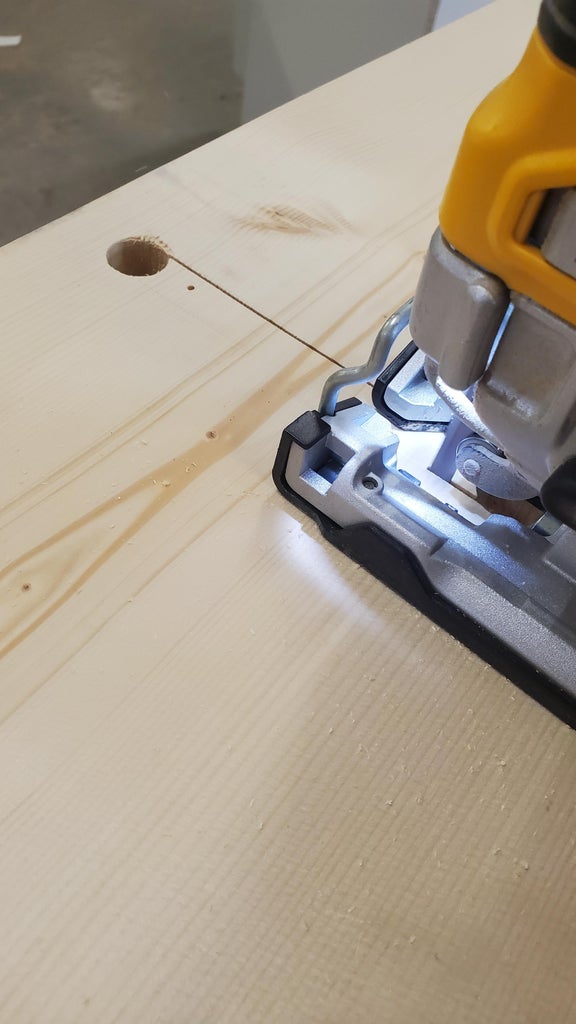
Now you want to take the 1/2" forschner bit and drill a hole 1 1/2" down from the top of the board, and another one 3" up from the bottom.
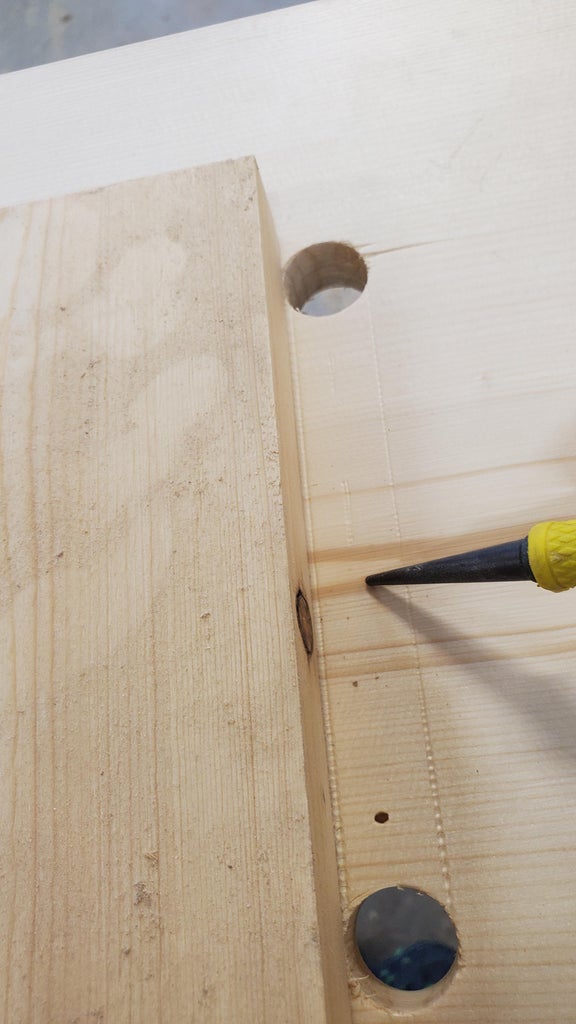
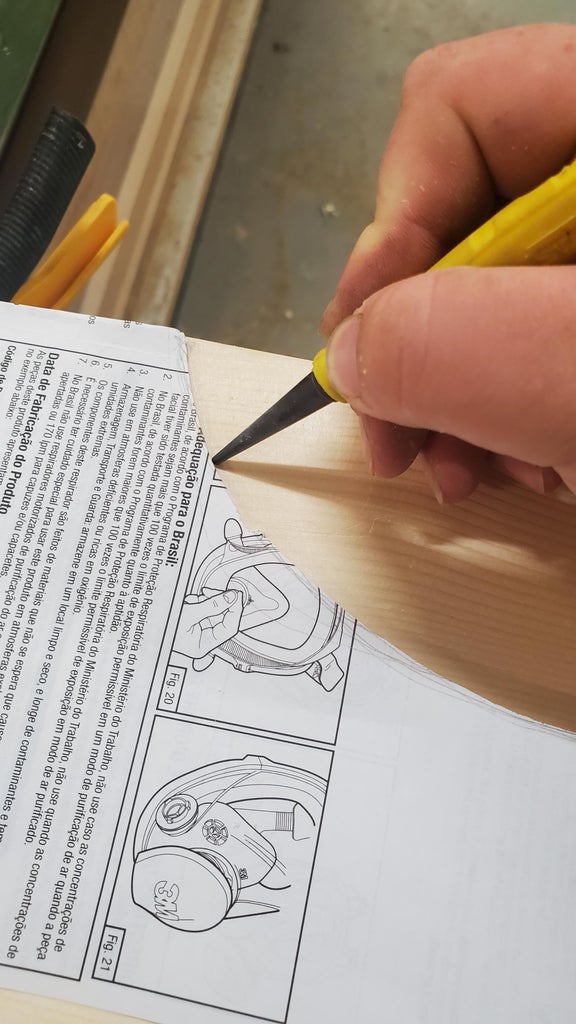
Use a straight edge to draw a line connecting the two outside edges of the holes
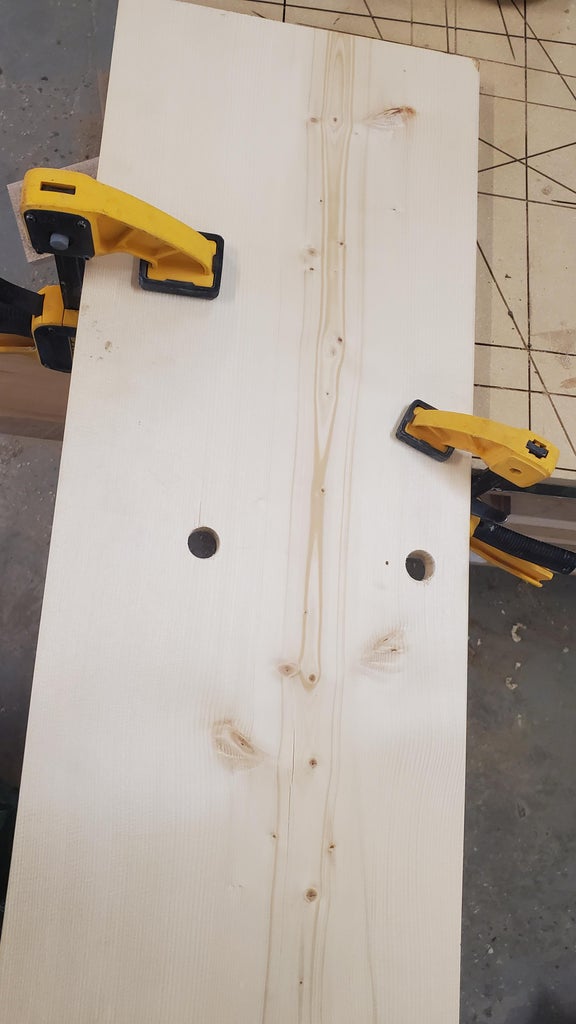
Once that's done, take your holy board clamp it down firmly, just be sure to leave the holes unobstructed.
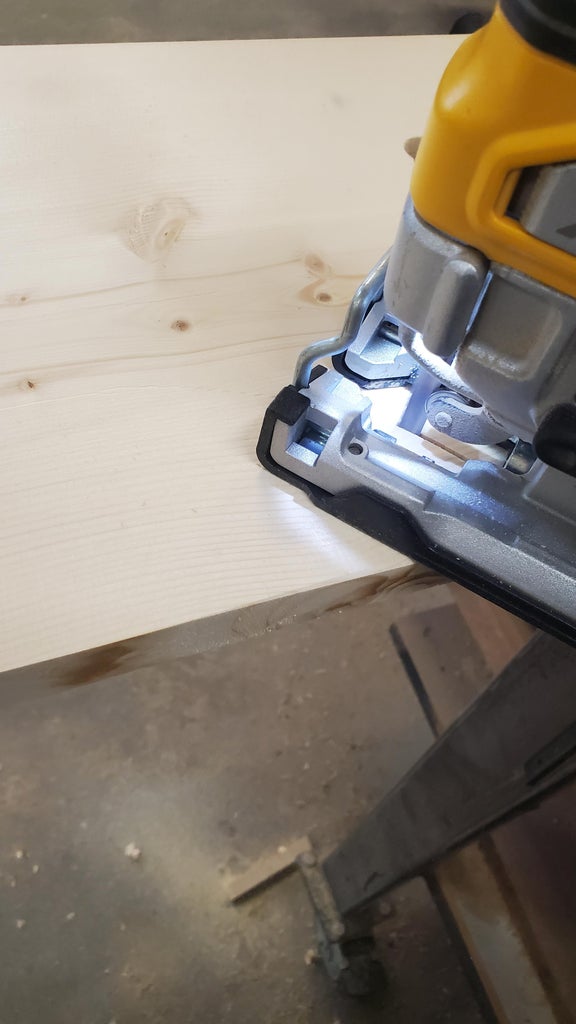
Here you use the jigsaw to carefully cut out the handle on both of the lines you just drew. A tip about jig sawing, don't try to force it forward just apply a slow even pressure and let it do the work for you.
You can use a coping saw for this as well, the same advise applies.
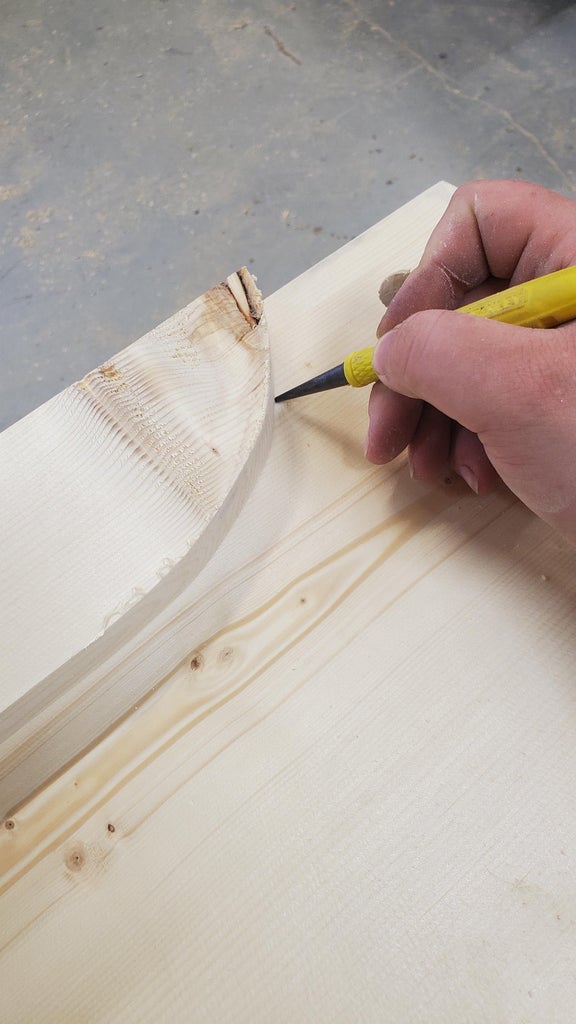
If you want you can cut of the extra wood to make it look nicer, to do this, I just traced a gentle curve onto one side (you can make a paper pattern first to see if you like) just make sure to give the holder an inch or two to keep it strong, and don't come down any lower then the height of your side boards.
I find it best to cut out one side then use the cutout to trace on the next side, this will help you stay symmetrical.
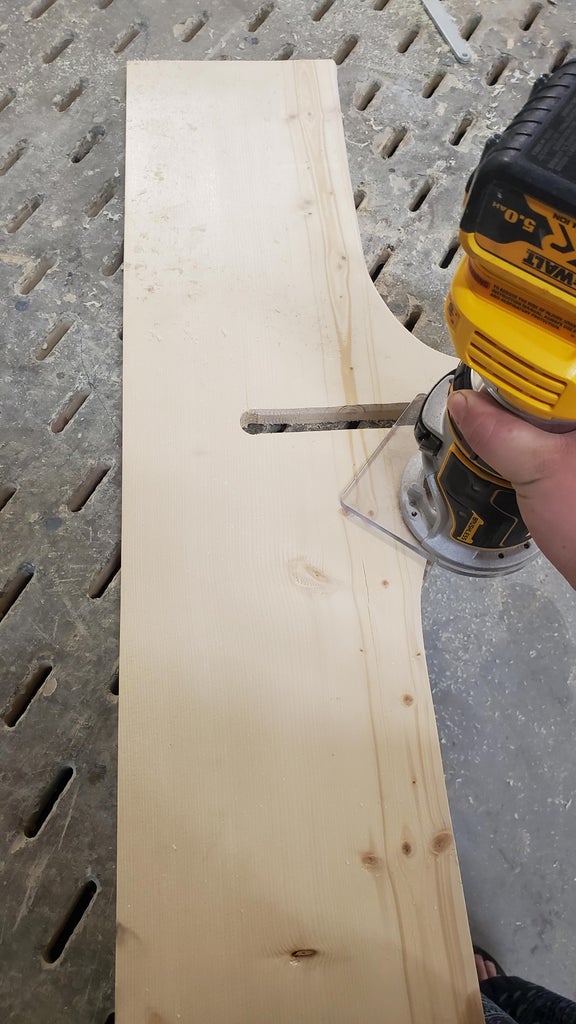
After that I used a router along the top of the board and on both sides of the hole, (You can just sand down the edges well if you don't want to bother with routing)
Step 3: Making the Bottom Holder
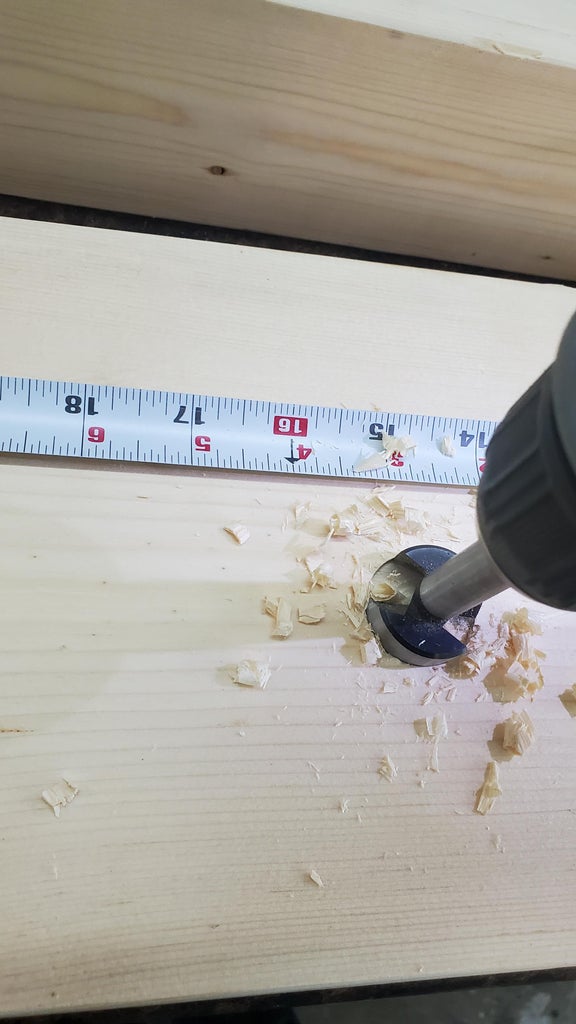
Pay Careful attention to me as this step is a bit complected
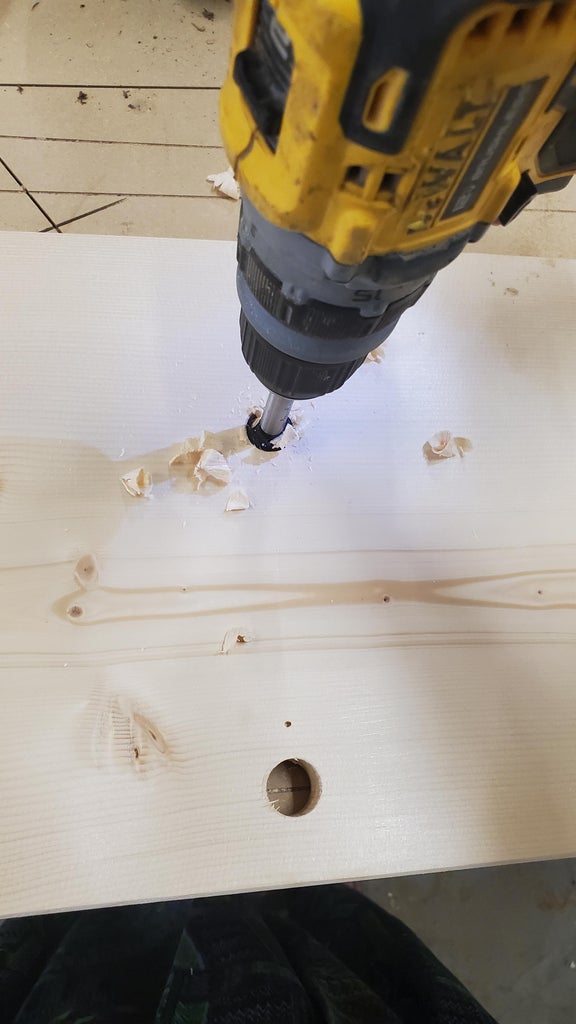
First take the 2 1/2 long 1x8 board, clamp it down, use the 1" Forschner bit to make a hole in the middle 3" from the middle.
done!
Step 4: Staining

Now is the point that I like to stain the boards, you can wait till its put together but i find it easier to do a good job when the pieces are still apart.
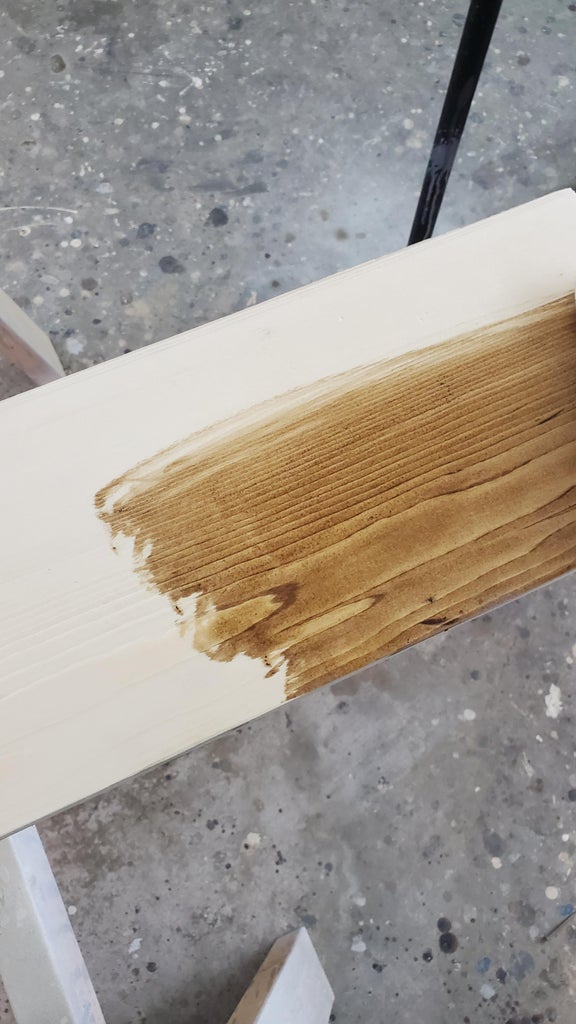
I used Minwax Early American stain on the sides, top and bottom boards, also the 1/2" slats
Then I used Minwax Ebony on the ply wood for the bottom, I didn't bother with the 2x4s but if you want some extra protection against the weather you can stain them as well.
I like to use a soft rag to apply the stain, when working with pine like I am, it's best to apply a heavy layer quickly, then use a second cloth to wipe of the extra, that way the coat of stain is even, without dark patches. If you have a few patches its still ok as it will even out more as its drying
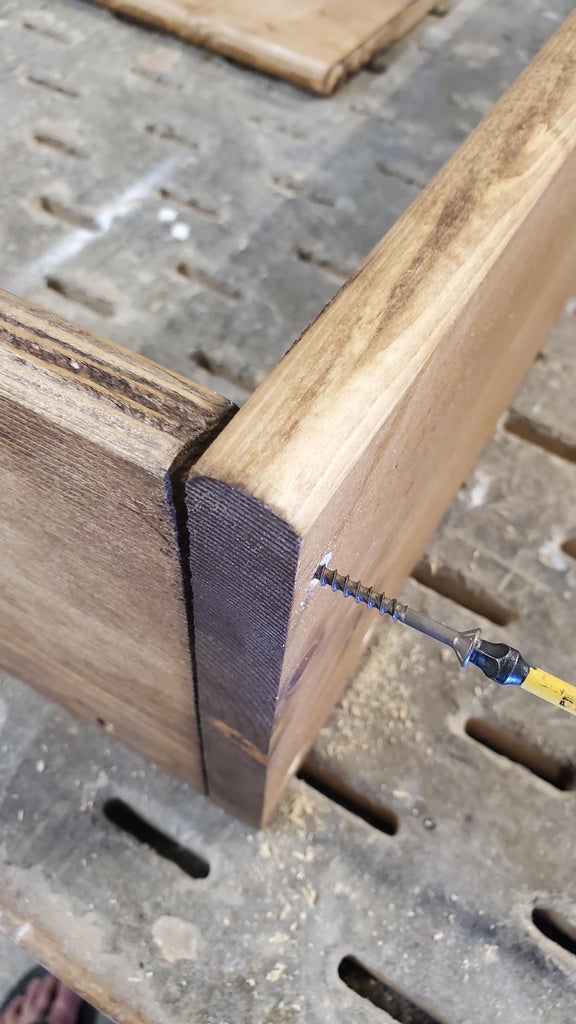
Step 5: Connecting the Sides
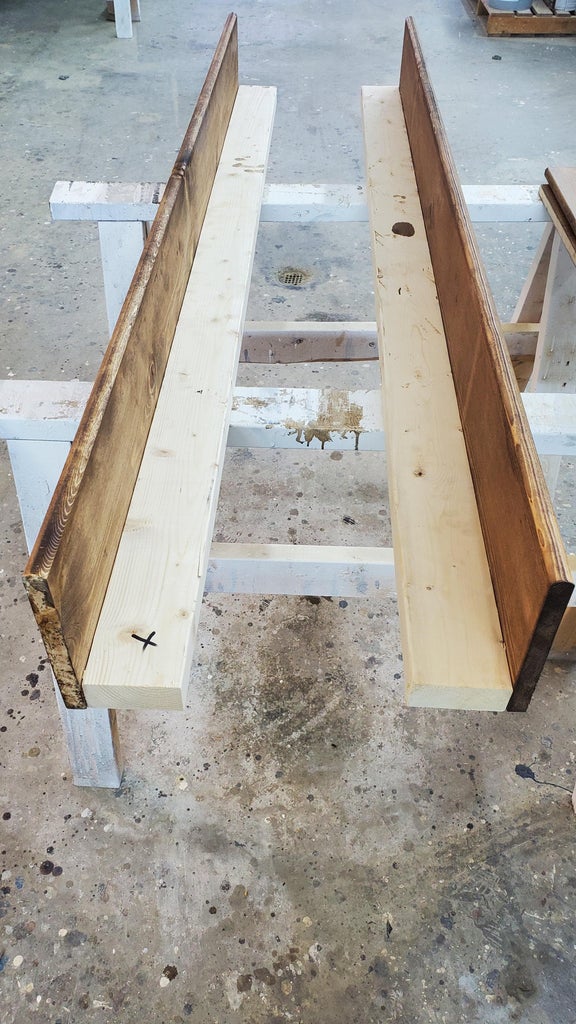
Once the Stain or paint has dried, take the 1x8 side boards and lay them out bottom edge together, now since i'm working with relatively thin wood its best practice to pre-drill all your holes. I made about 6 holes evenly spaced out along both boards (I just eyeballed it)
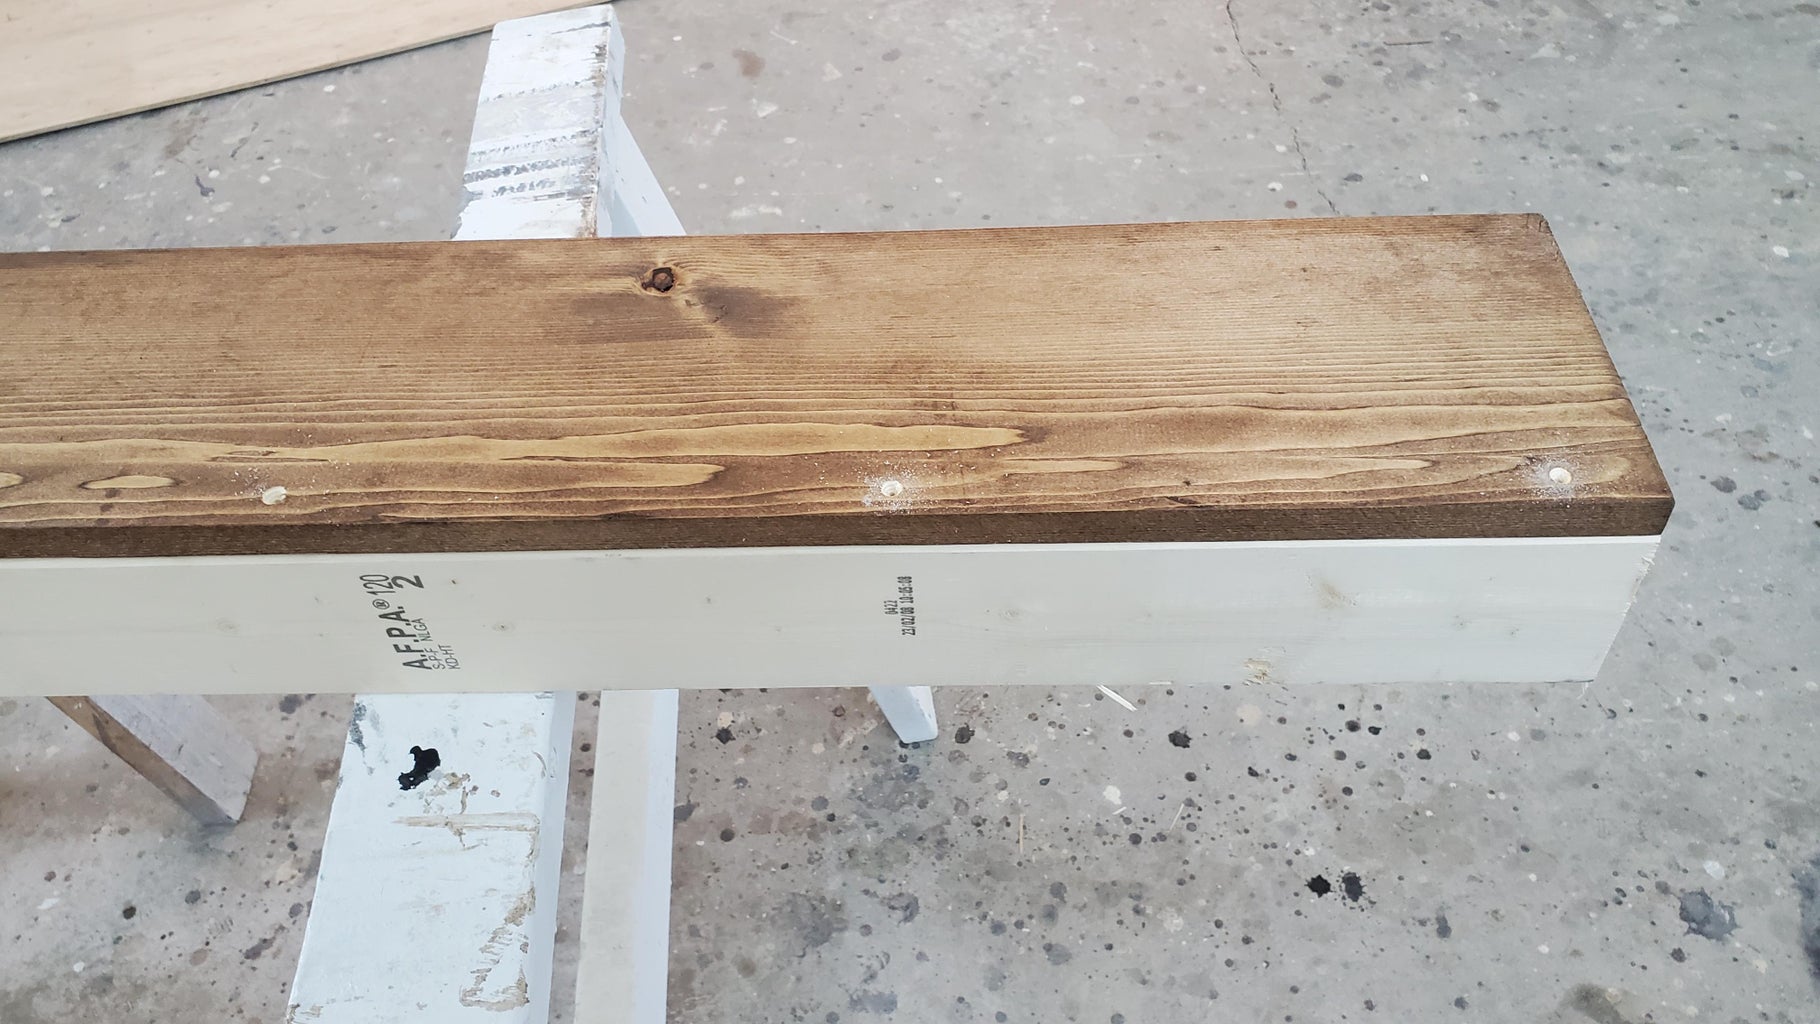
Now lay the 1x8 on top of the 2x4 and screw them together, keeping the edges nice and straight. You want to end up with two L shaped brackets.
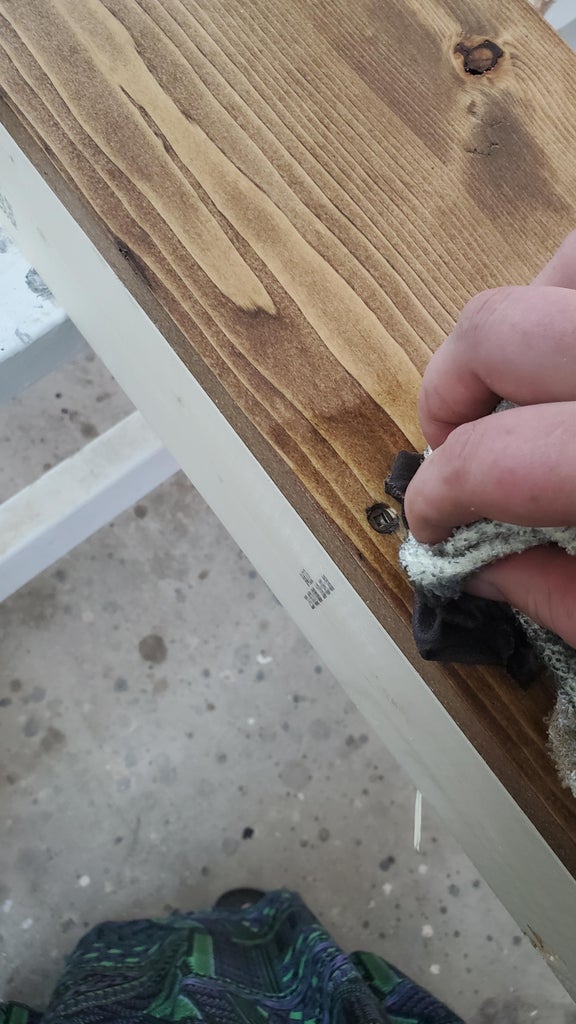
The screws I used were brown, but if you don't have brown ones and the silver bothers you you can paint the top of them in the colour of your sides, as it is i still used a rag with a bit of stain on it to touch up any raw wood i could see,
Step 6: Making the Box
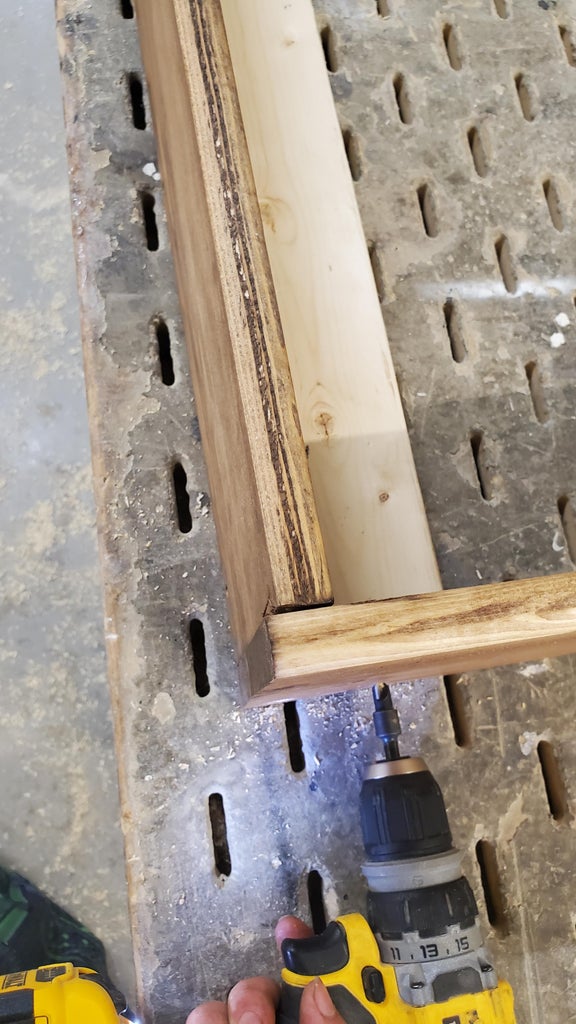


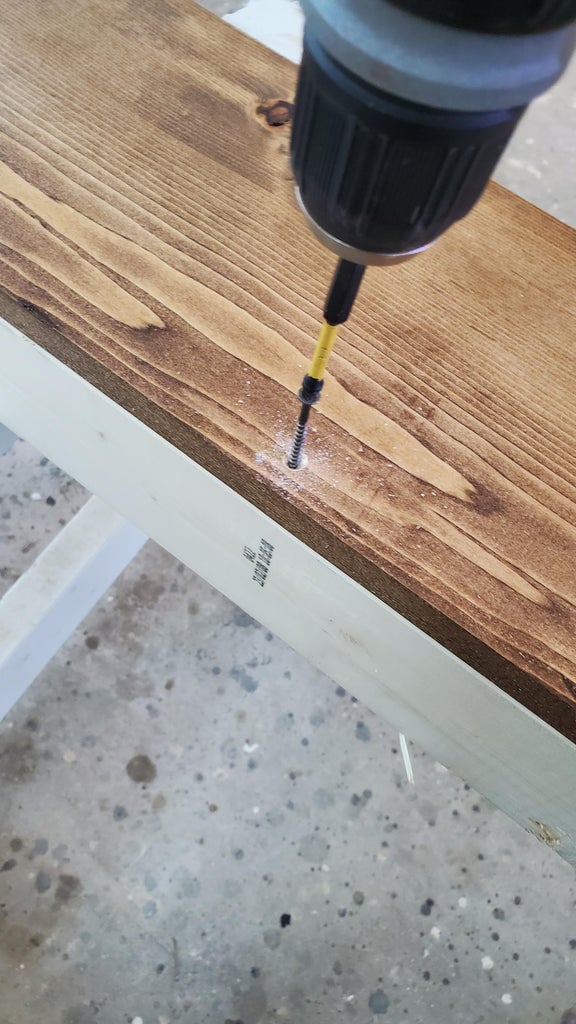
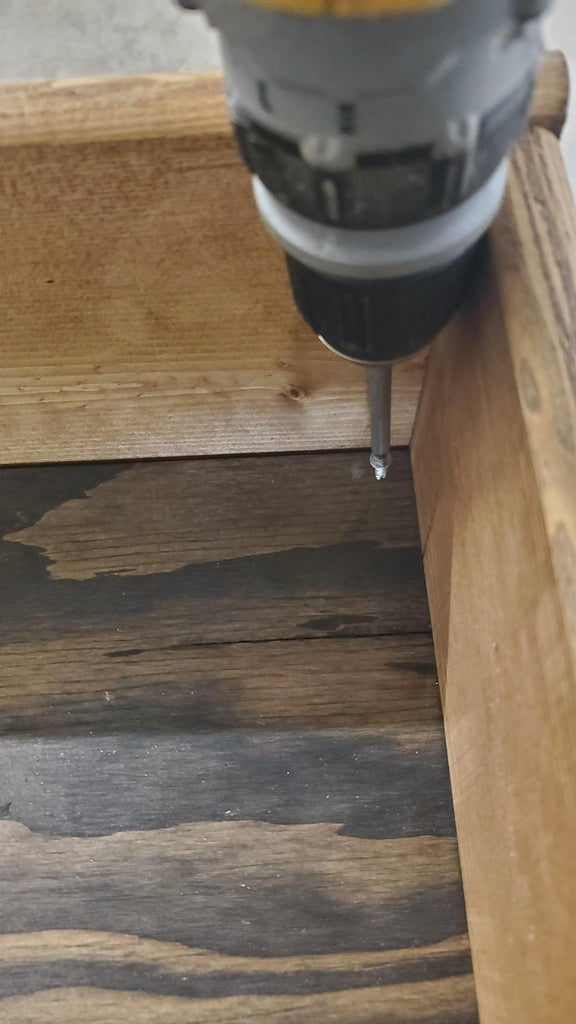
Place the L shaped sides on a flat even surface, now take the bottom board and line up the outside edge with the side piece, and screw it in place, being sure to pre-drill the holes, especially the top one as your wood can easily split, this will undoubtably make you sad.
Once you have one side attached, connect the second the same way.
Connecting the top is exactly the same as the bottom, just keep in mind that you will need to remove the top to add in the Zigzag, so don't use glue.
Step 7: Adding in the Bottom
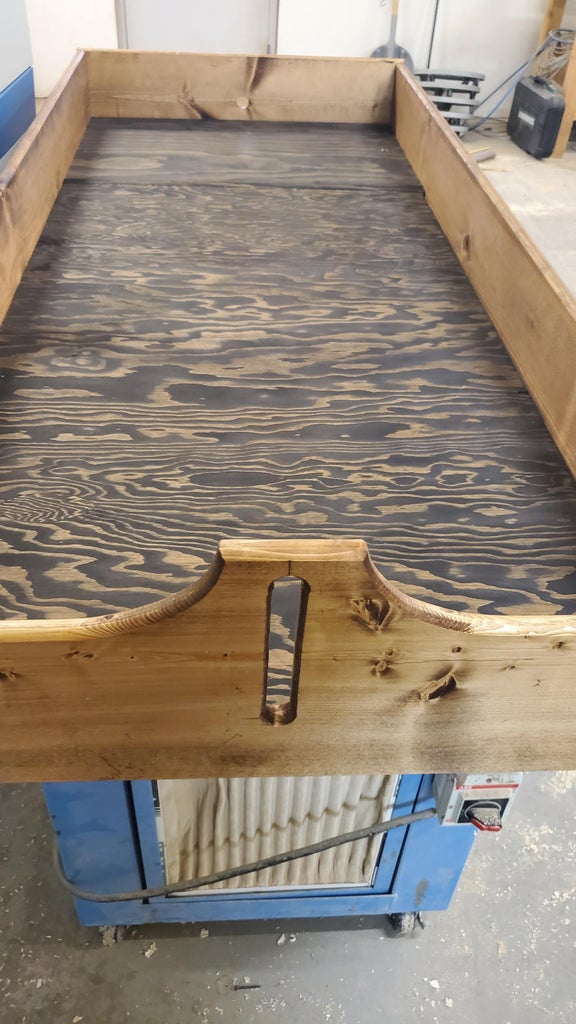
Adding the bottom can be tricky, as it depends on how well you measured the sides, honestly I find it best to start with a piece that is a bit big, then slowly shave it down into a snug fit, as you can see I didn't use one long sheet instead I used this opportunity to use up some scrap I had lying around.
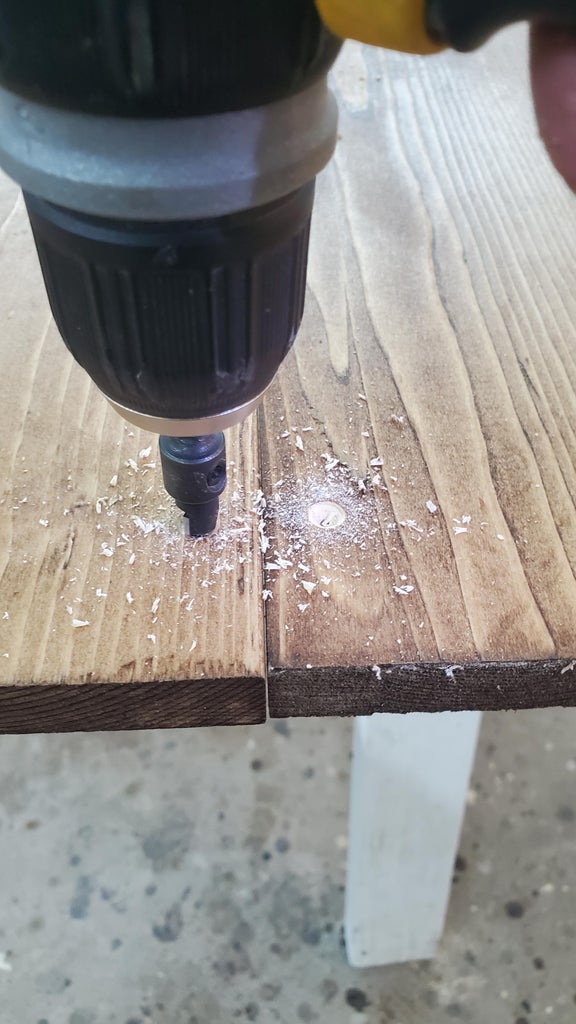
Once your happy with the fit of the bottom, screw it down, Here you definitely want to predril, l I find that plywood splits very easily
Step 8: Adding the Dividers
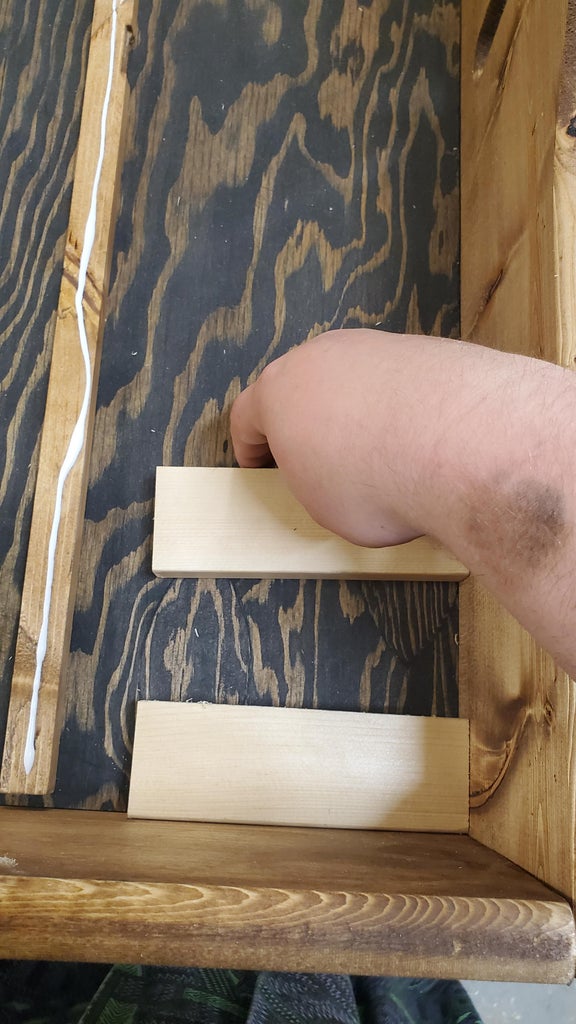
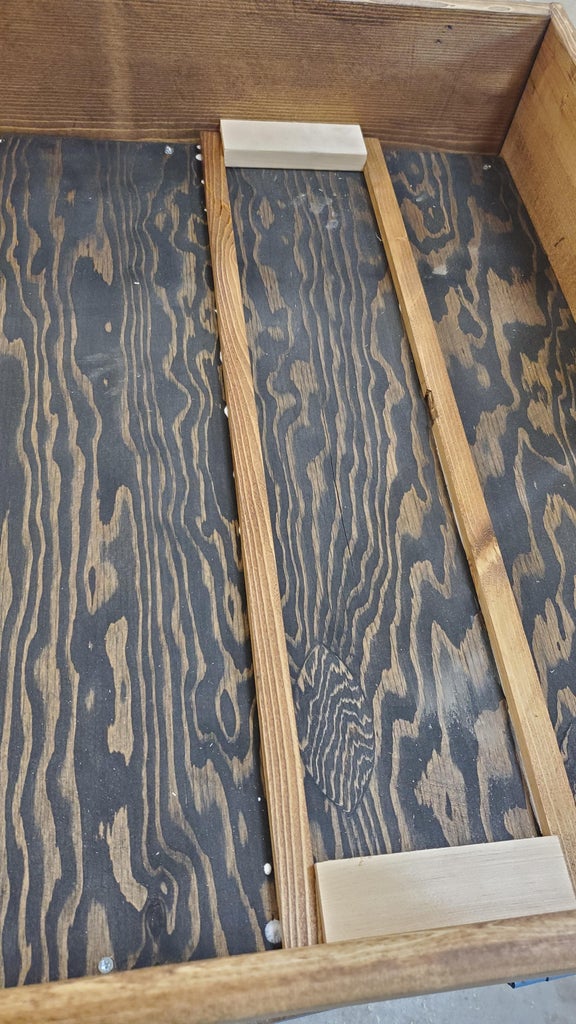
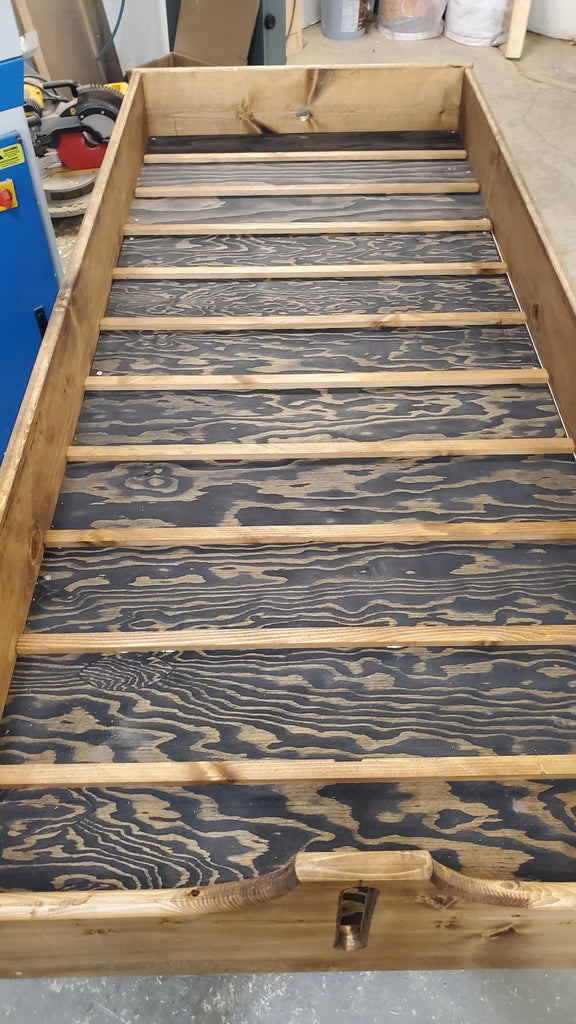
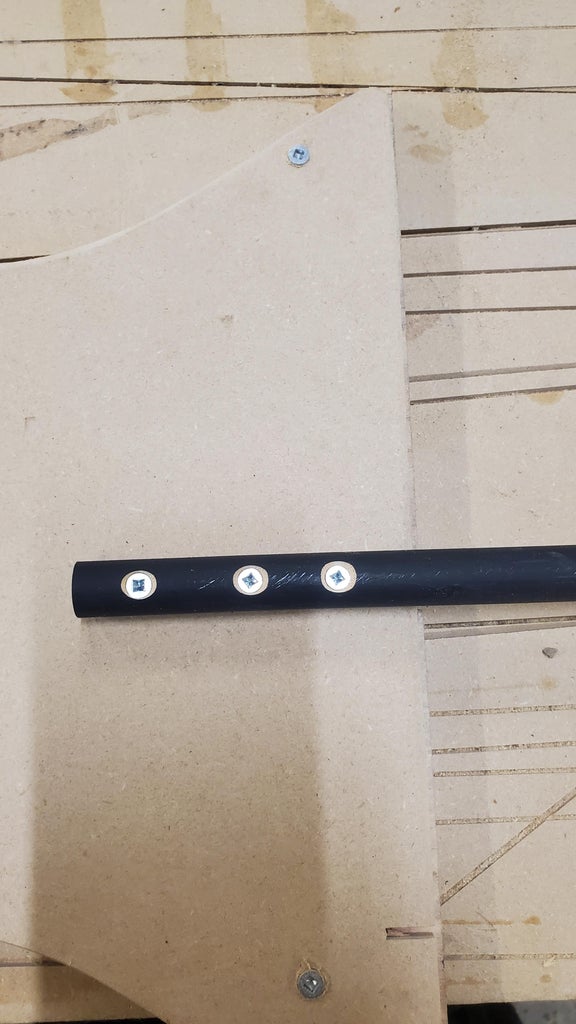
Now you can take the 1/2" slats, and glue them onto the plywood bottom, to help with this I cut two scrap bits of wood 5 1/4" long and used them to keep the slats even,
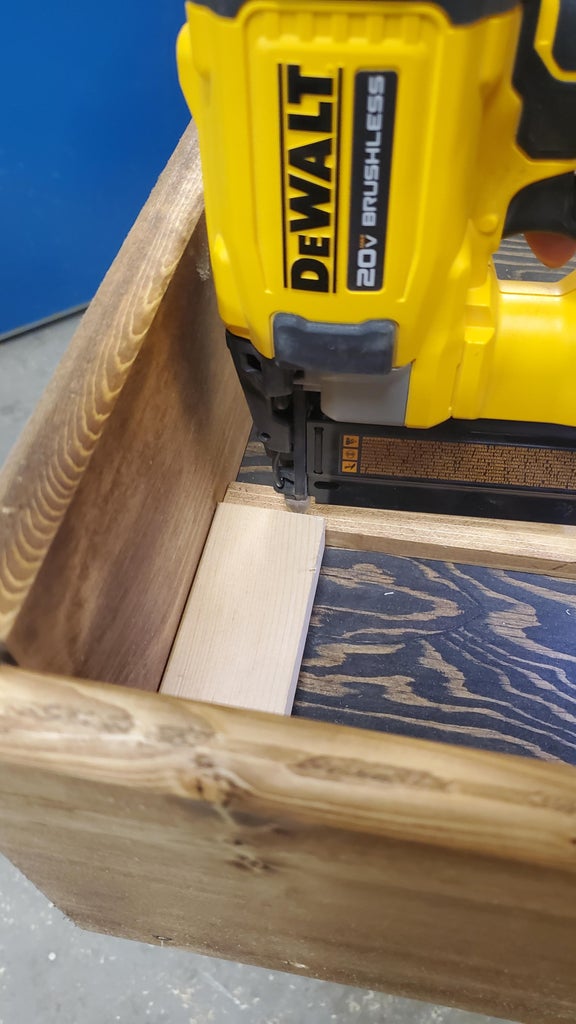
First i positioned the scrap wood rulers securely against the top wall then I applied a bit of wood glue to the slat, after positioning it so it fit snugly against the rulers i used a small nail gun to help keep it in place, if you don't want to use a nail gun, you can add a screw or two, just be sure to pre-drill.
Repeat for all 10 slats
Step 9: Adding the Numbers
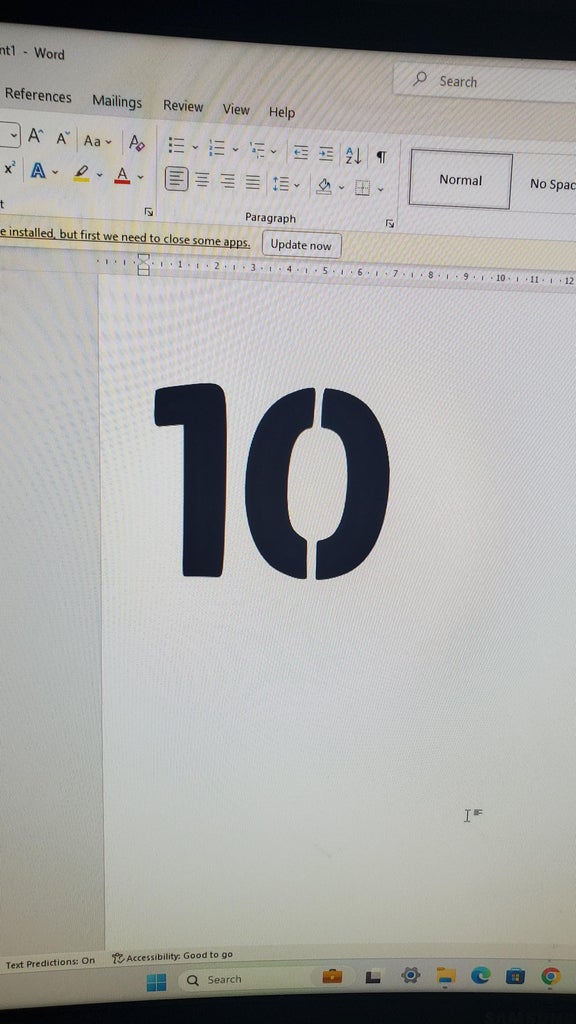
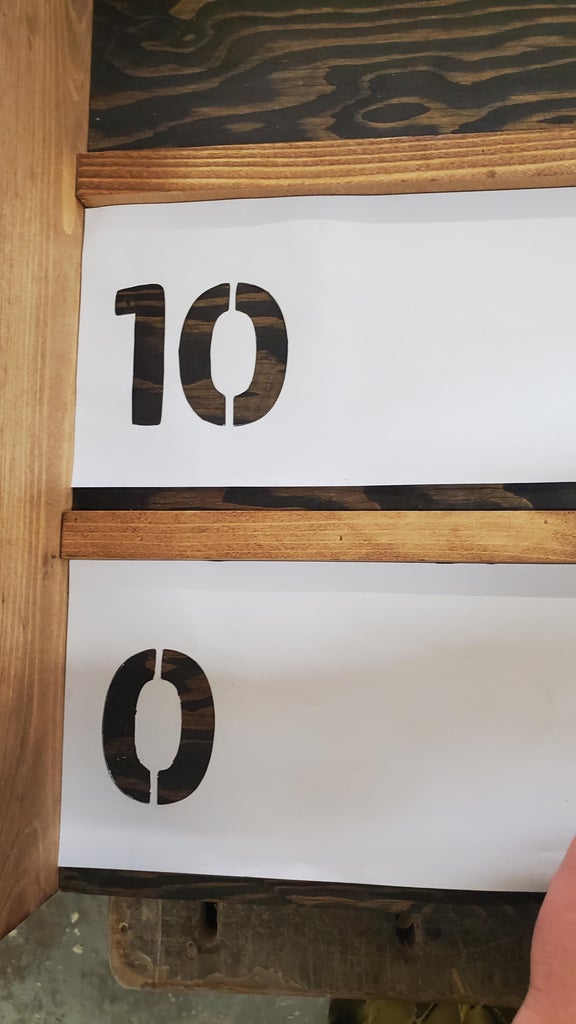

This is optional, Also if you are confident painting feel free to hand paint the numbers, I decided to go for the classical stencil look, and since I don't really have anything better I just printed out the numbers (0 to 100 in intervals of 10) in a large font one on a page to keep the spacing consistent.
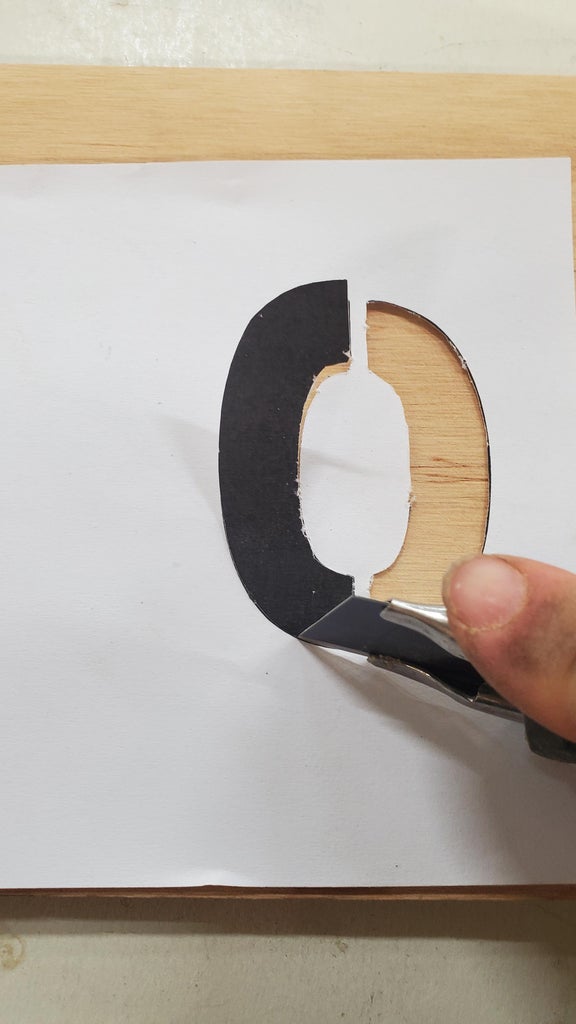
Since all I had was thin paper, i added a layer of tape to the back of the numbers before i cut them out using an exact-o Knife
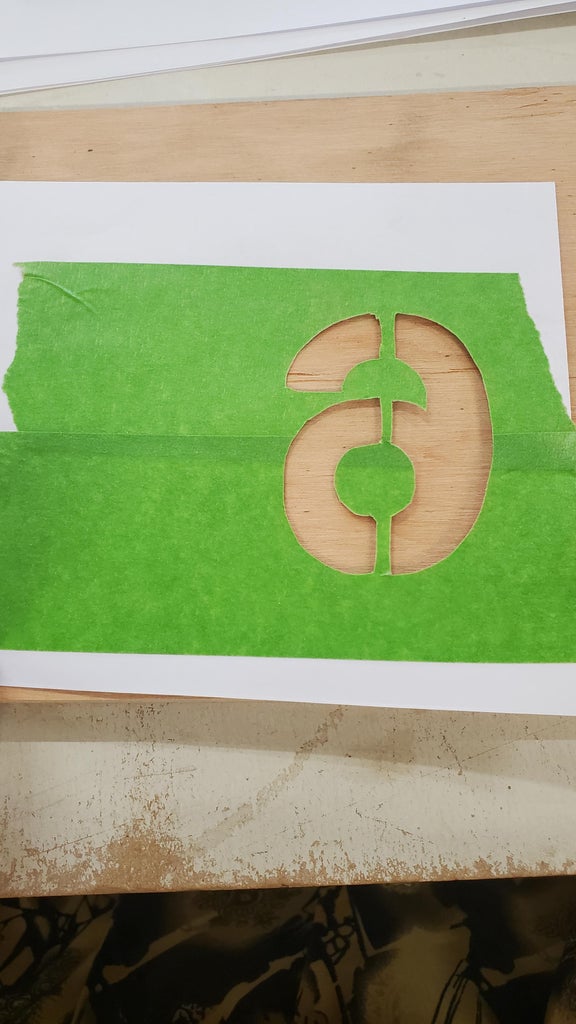
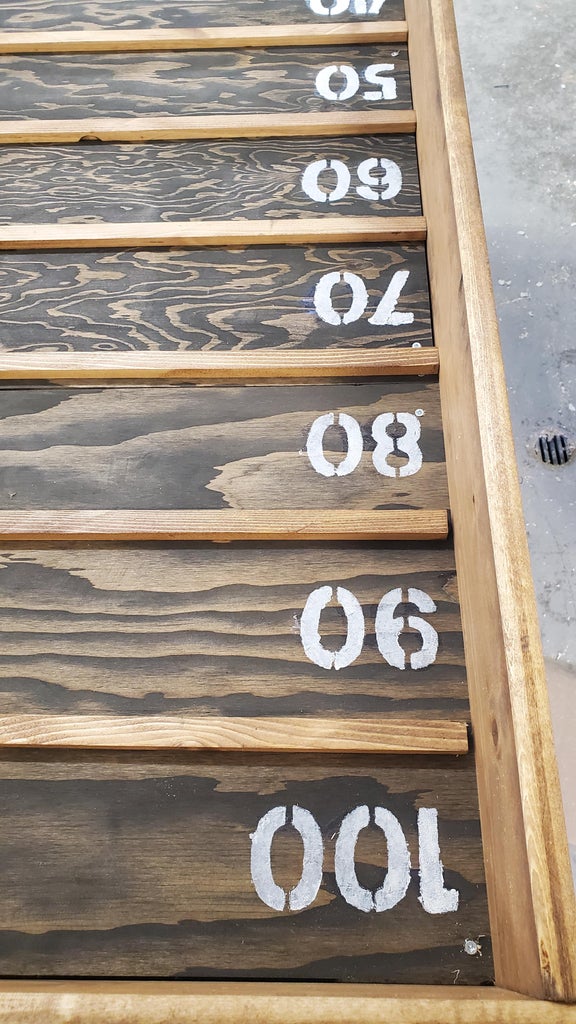
Once I had all the number stencils made, I placed them along the spaces along the board i kept the top corner the same so all of them would be evenly placed.
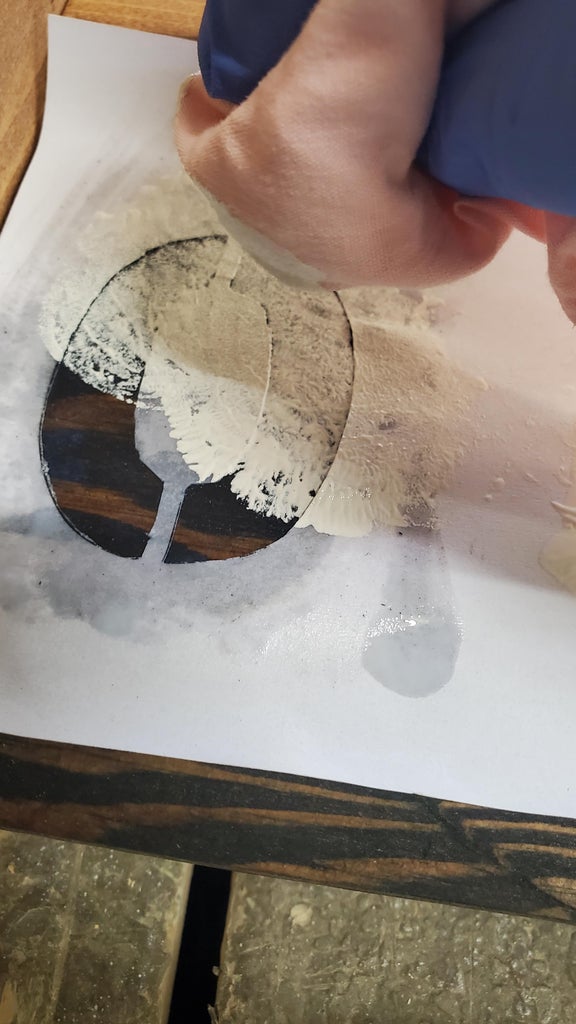
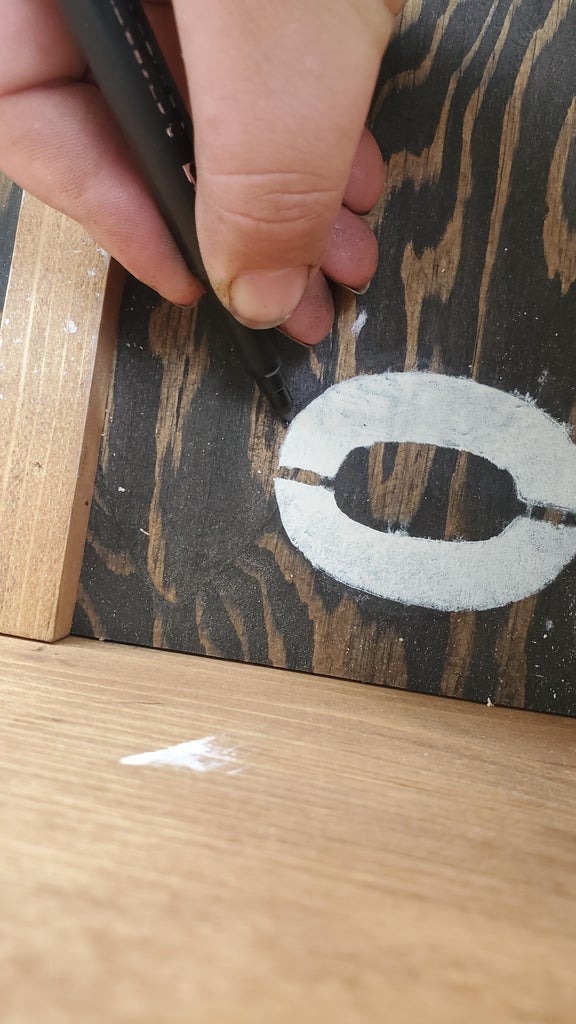
For the next part i used a bit of rag to carefully dab on some of the white paint, if you do this be sure not to use a lot of paint as it will bleed very easily.
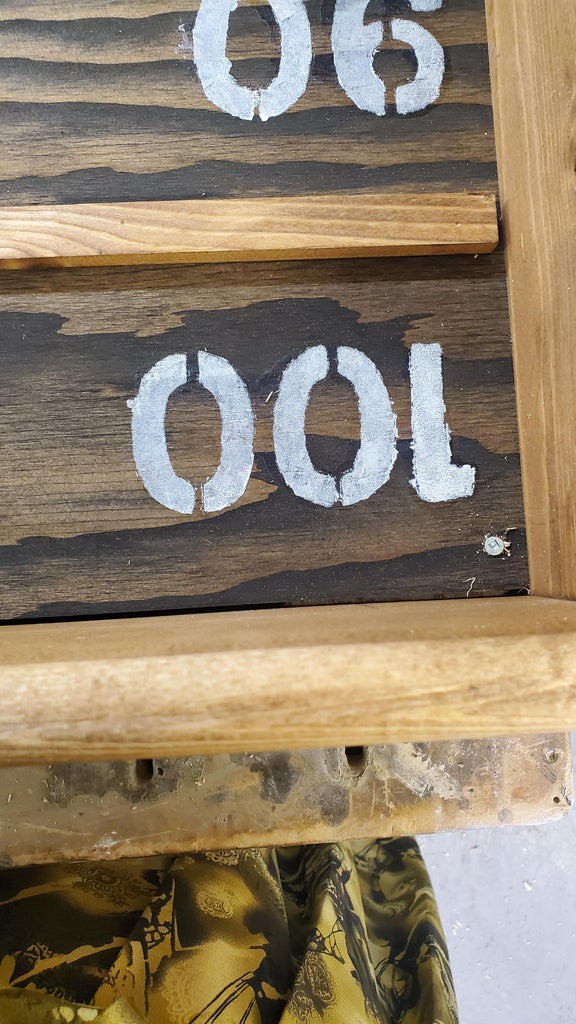
Remove stencils when paint is still wet. Since my background is black i just used a black marker to fix the places where the pain blead a bit two much.
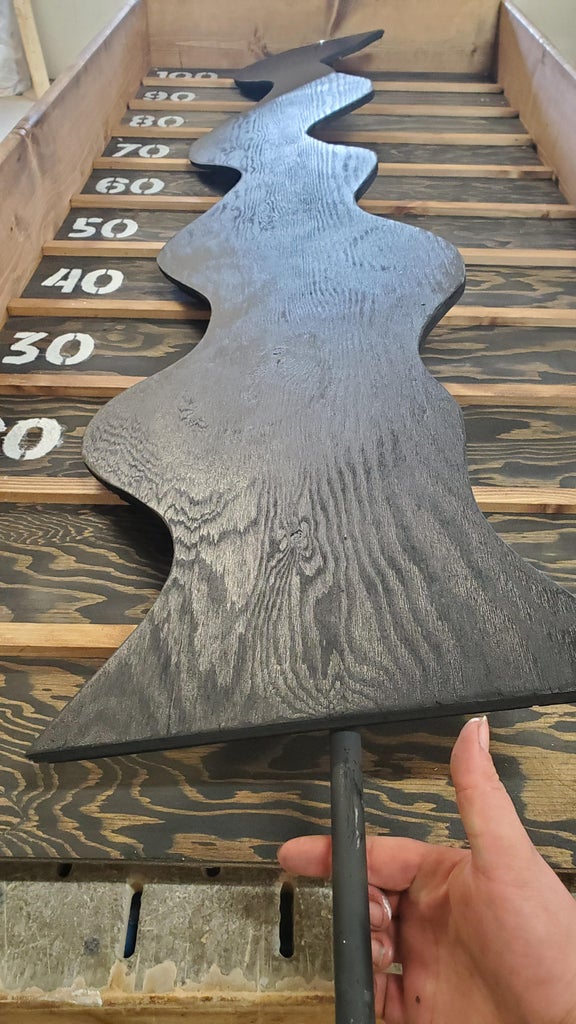
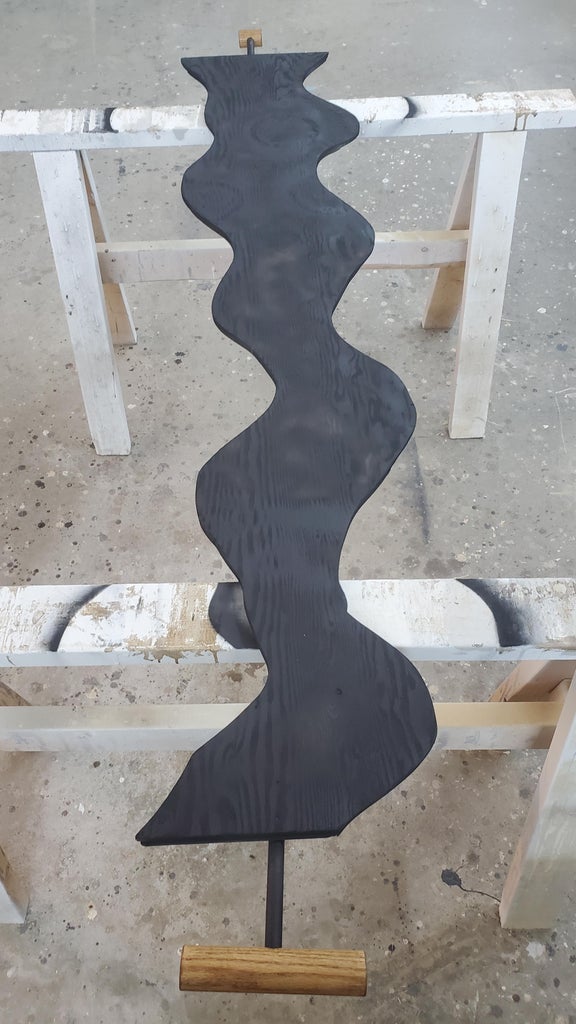
Step 10: Making the Zigzag
This it the best part of making this project, you can make the zigzag as hard or easy as you want, as complacates or as simple.
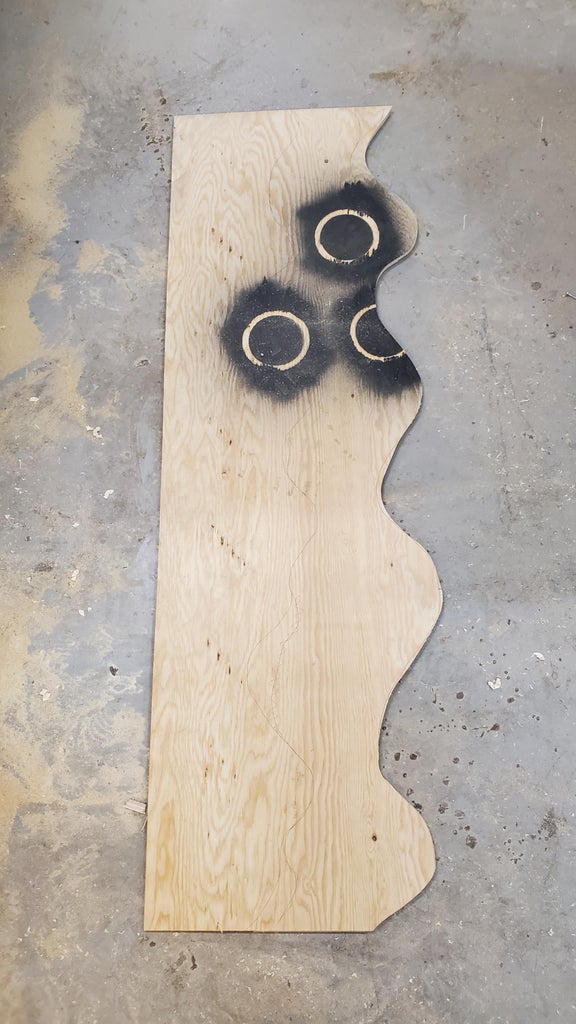
First cut down the the ply-wood till its about 3 inches shorter then the inside or the box. (ignore the holes and paint on my piece, I honestly don't know why they're there)
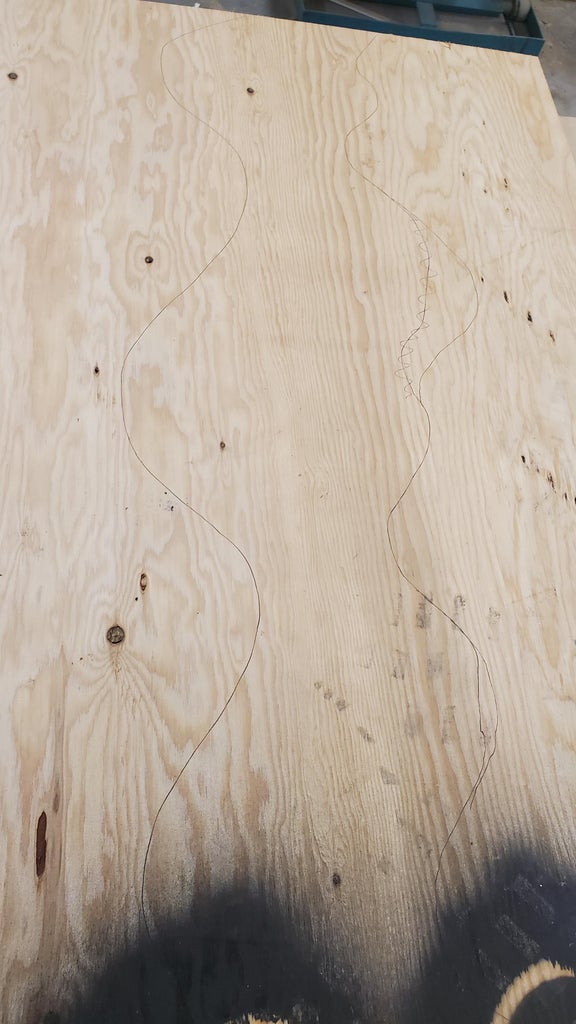
Now i just drew on two curved lines, I tried going from thicker to a bit thinner, Just follow your heart, but something to keep in mind just be sure the line curves enough that you cant just roll a ball down the middle. You also want to end up in line to where you started from so it isn't to lopsided.
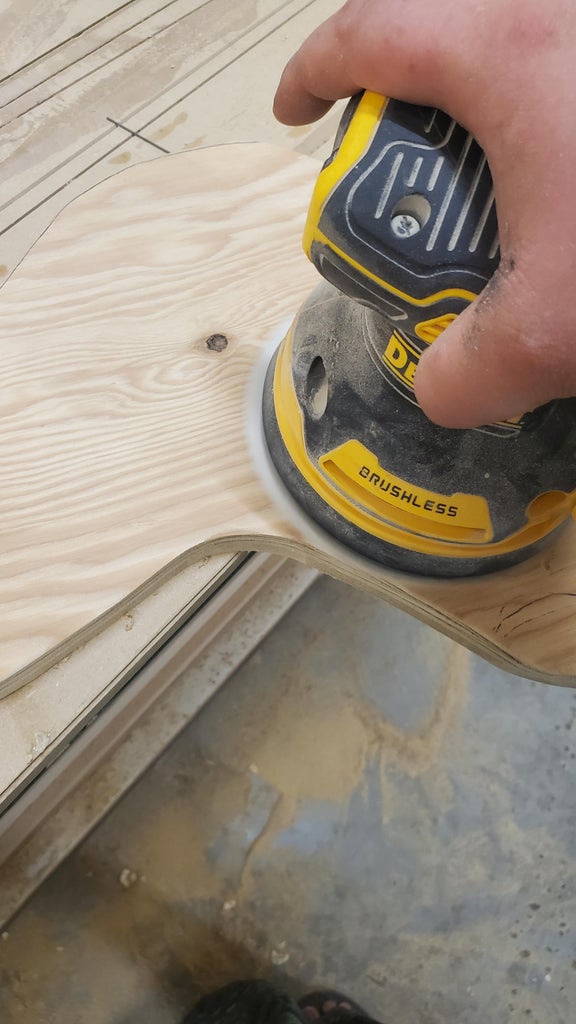
Step 11: Cutting Out the Zigzag
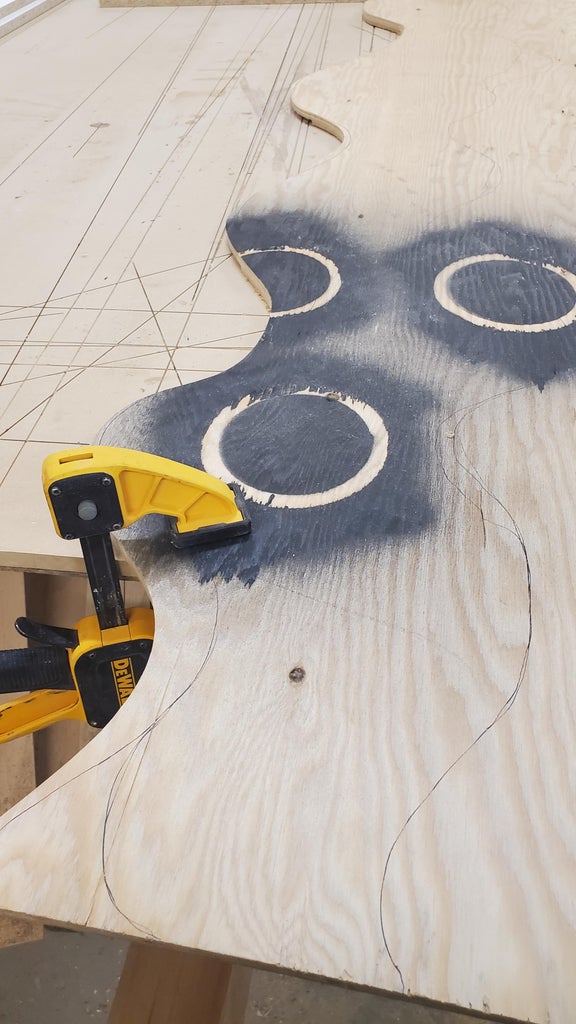
Firmly Clamp down the plywood, (be sure the line you made is unobstructed)
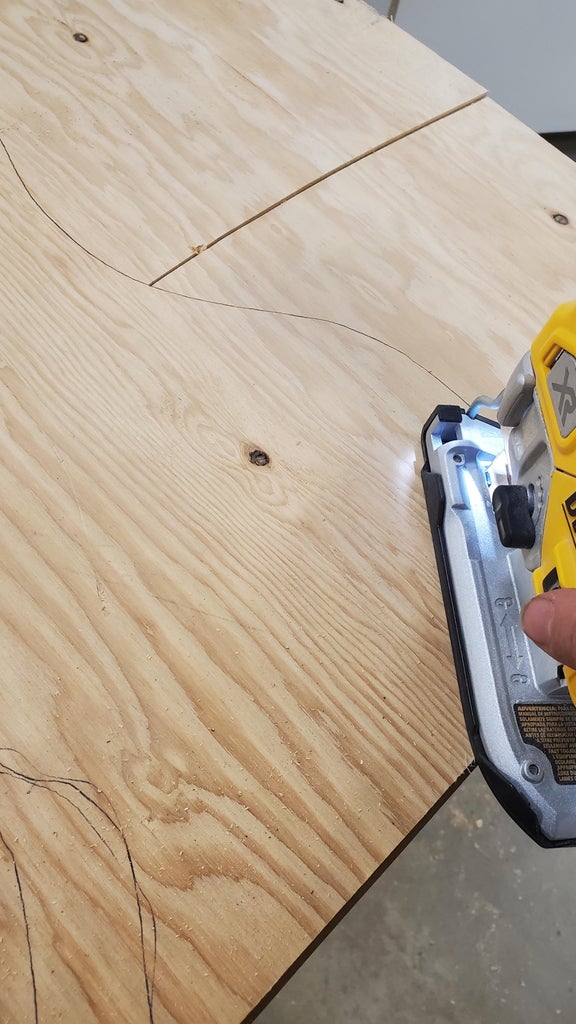
This is a bit of a large thing to cut out with a jigsaw so to make it more doable it helps to cut straight lines in from the outside edge to the line you made, I did it a foot at a time.
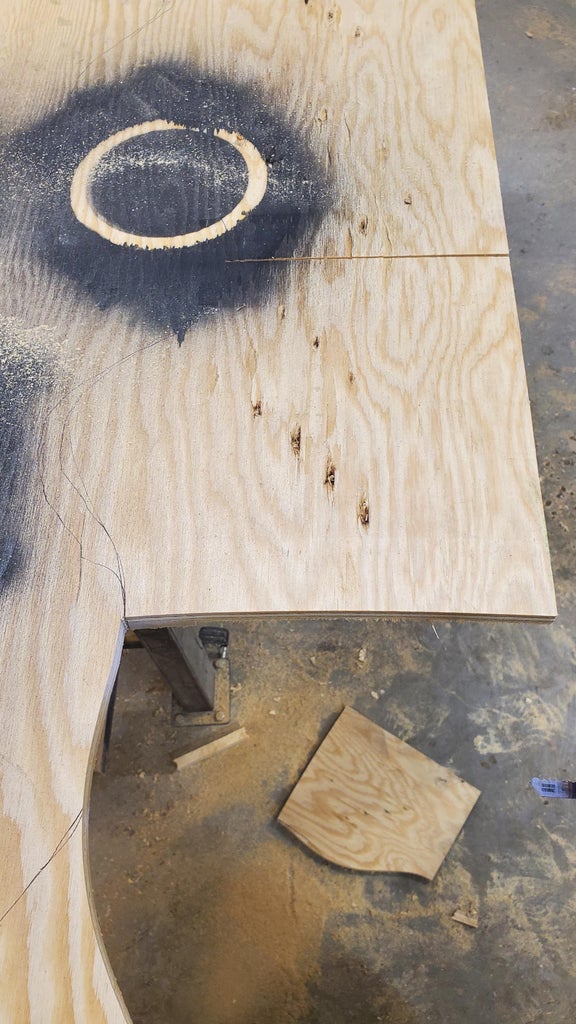
Then start at one end and work your way along the line you drew, go slowly let the saw work for you, you may find that some of the curves don't end up exactly the way you drew them, That's ok, don't try to force the saw to turn.
Once you have one side cut out flip it over and do the same for the other, it may a be a bit harder to clamp down, so be sure its secure before starting.
Remember to go in sections instead of one big chunk.
Step 12: Adding Dowels
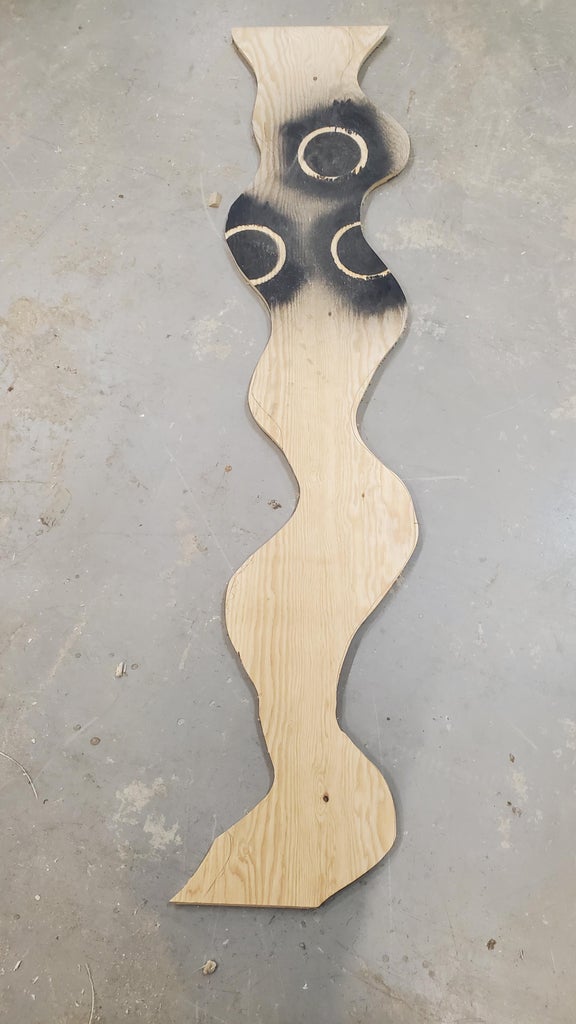
Once you have your Zigzag (I've never written this word so often in my life) cut out, Take your 1/2 inch dowel and cut of a 8" piece for the bottom and a 10" piece for the top.
Carefully screw the bottom dowel on the middle of the bottom of the Zigzag. Here you definitely need to predrill yout holes, as even with that extra help the dowel might crack.
Now add the top dowel so it looks in line with the bottom one,
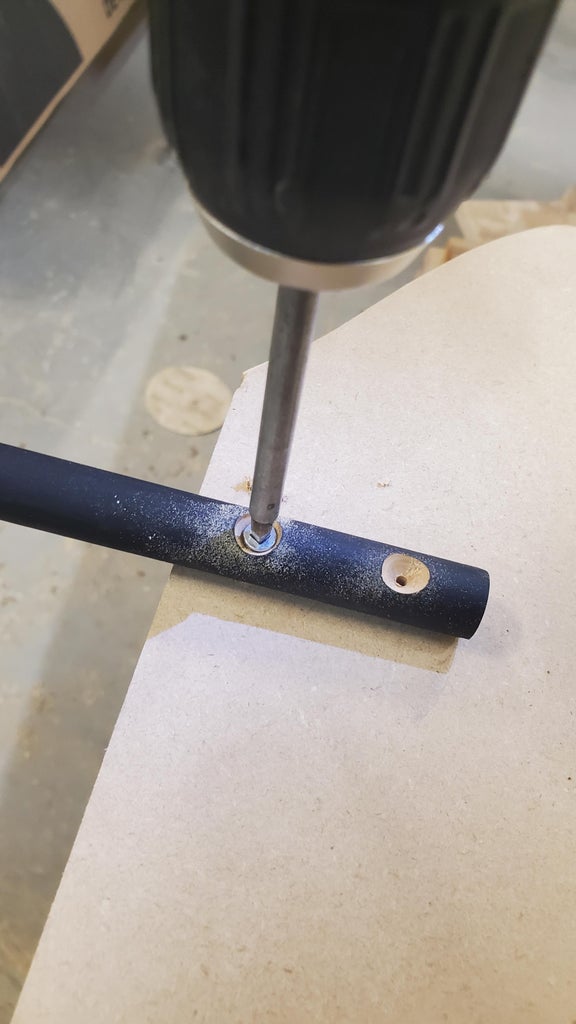
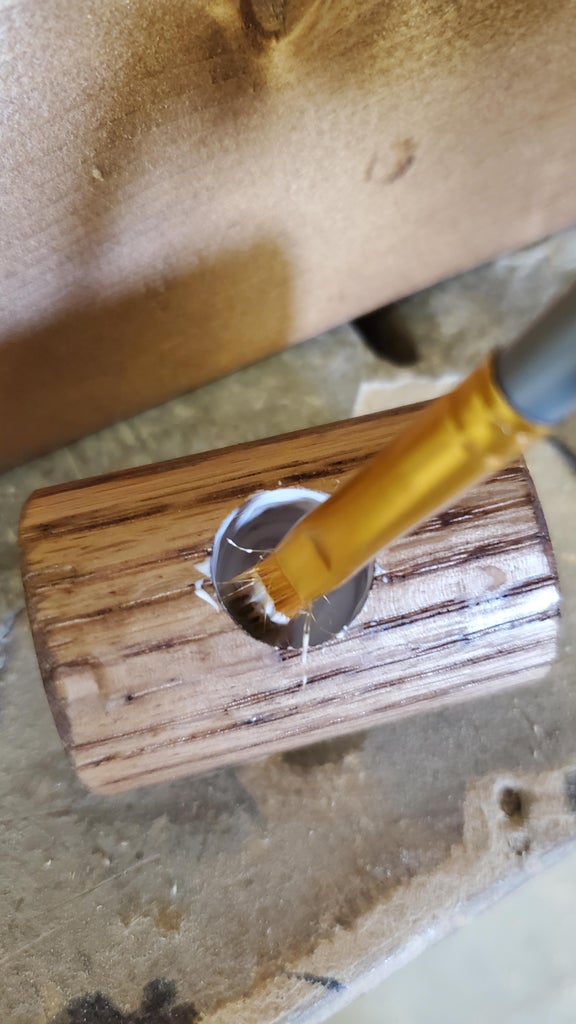
Step 13: Making the Handles
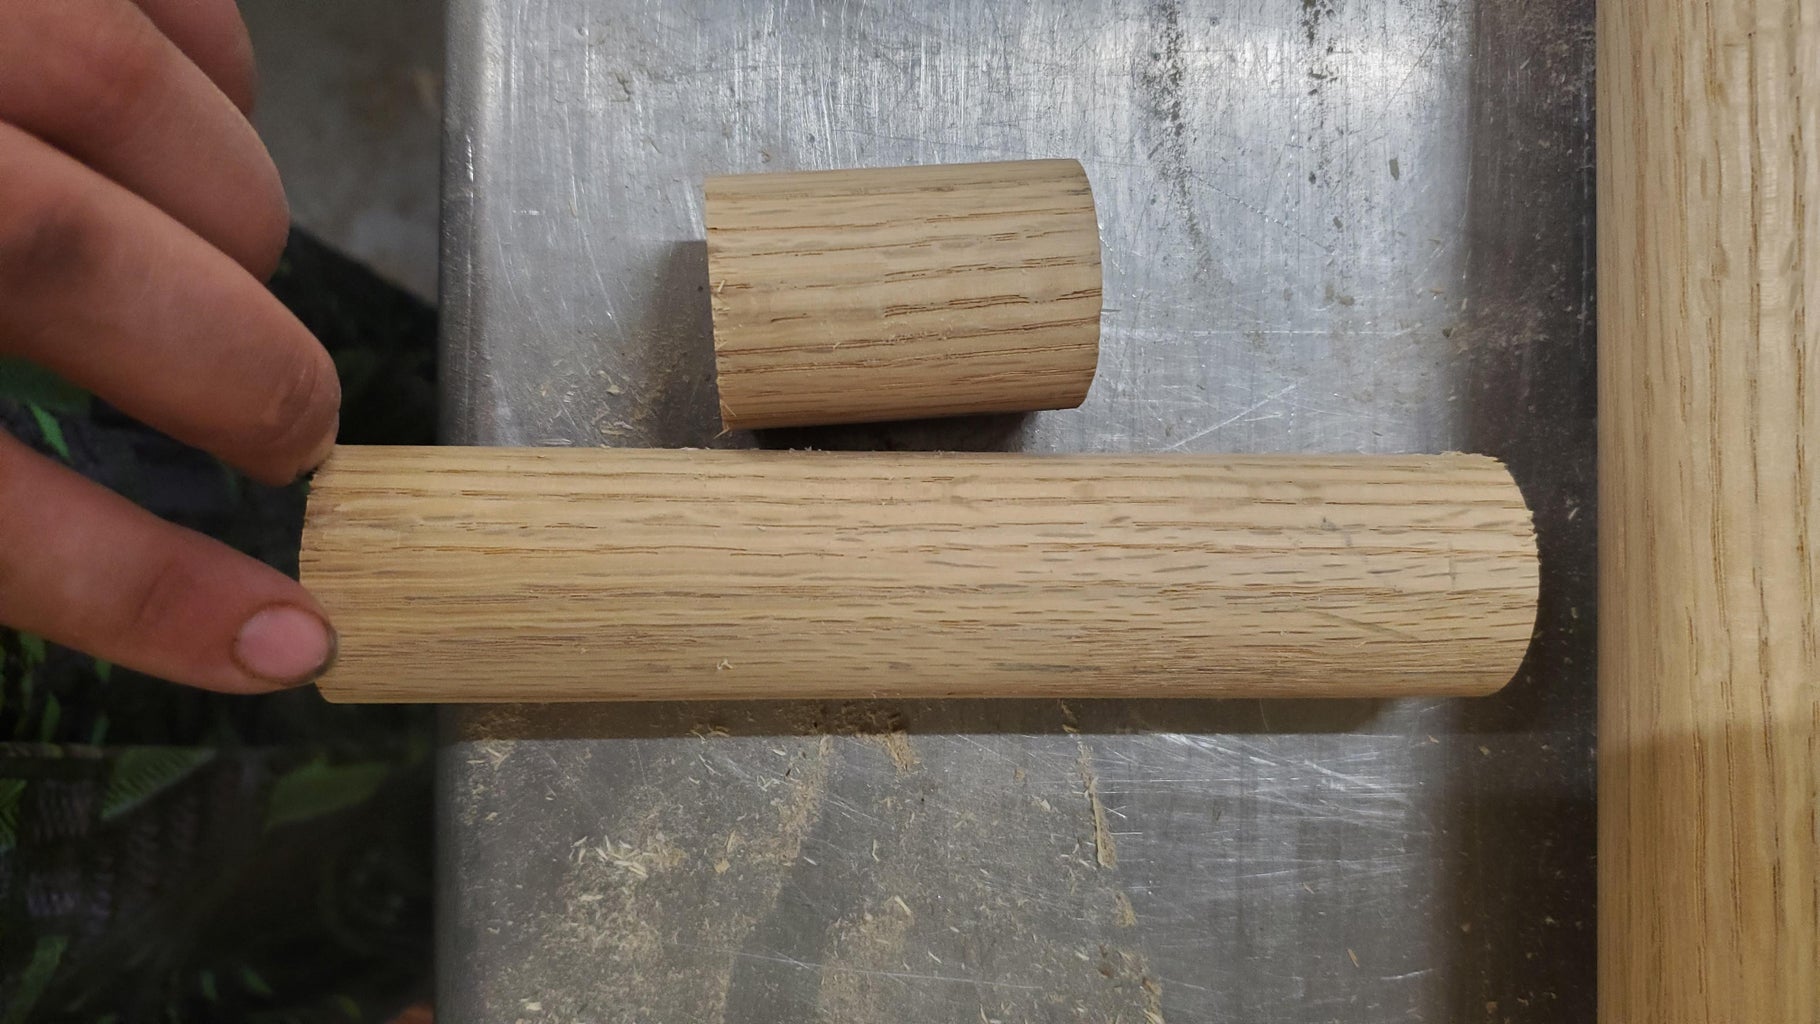
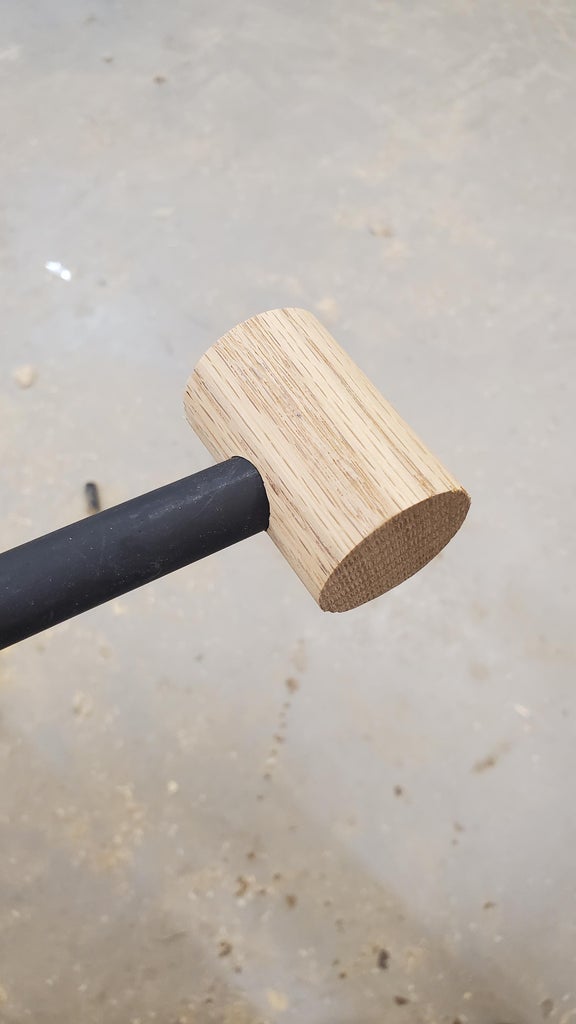
Take the 1'' dowel, (you can also just use a flat piece of wood it doesn't have to be round, just be sure to sand the edges well)
cut a 2" piece, and a 6" one
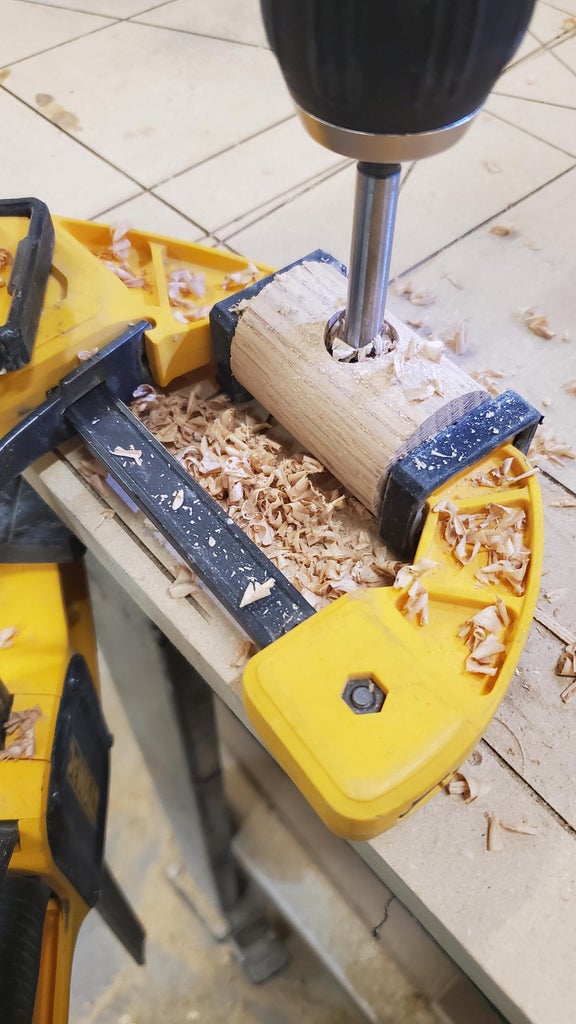
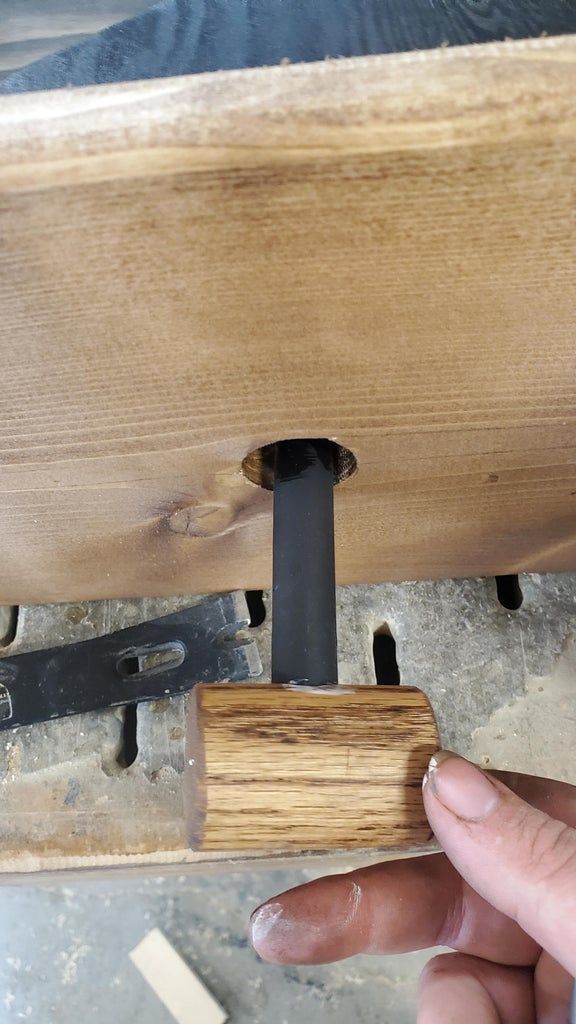
Clamp them down firmly, i find the bet way to clamp round objects down is by putting the object firmly in one clamp them clamp that clamp down onto the table (see picture)
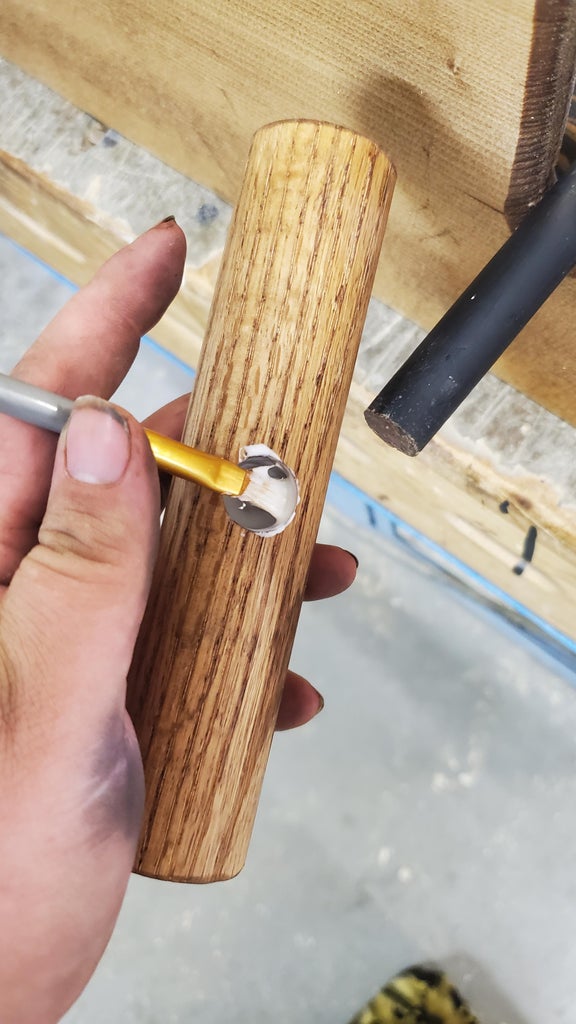
Use the 1/2 forschner bit to drill a hole halfway through to middle or each dowel.
Step 14: Testing
Take of the top section of the box, and slip the bottom dowel into the hole, hold the top end, it should be easy to turn,
If you find its leaning to much to one side move the top dowel over a bit. you should be able to turn it comfortably in ether direction.
Once you have that figured out, grab a golf ball or any small ball, and try it out.
If you fid it to easy, use the jig saw to deepen a curve or two. once your happy with the difficulty, and movability we can move on.
Step 15: Finishing Zigzag
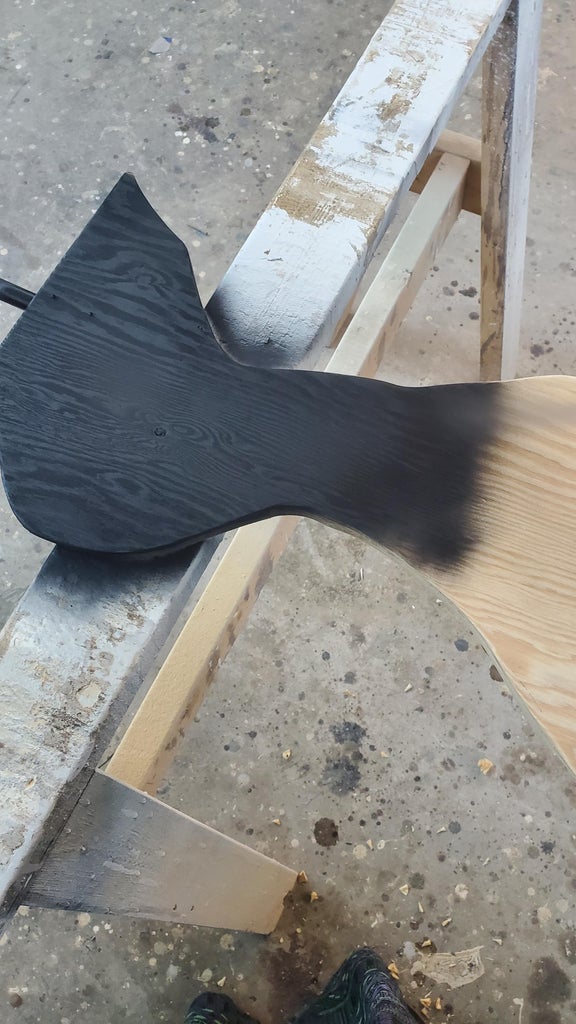
Give the Zigzag a good sanding, being sure to get all of the edges. i also sanded the edges of the 1"dowel.
As for the finish I just used a black spray paint to cover the Zigzag and the small dowels i needed about three coats till it looked good, i lightly sanded it with 320g sandpaper in-between coats.
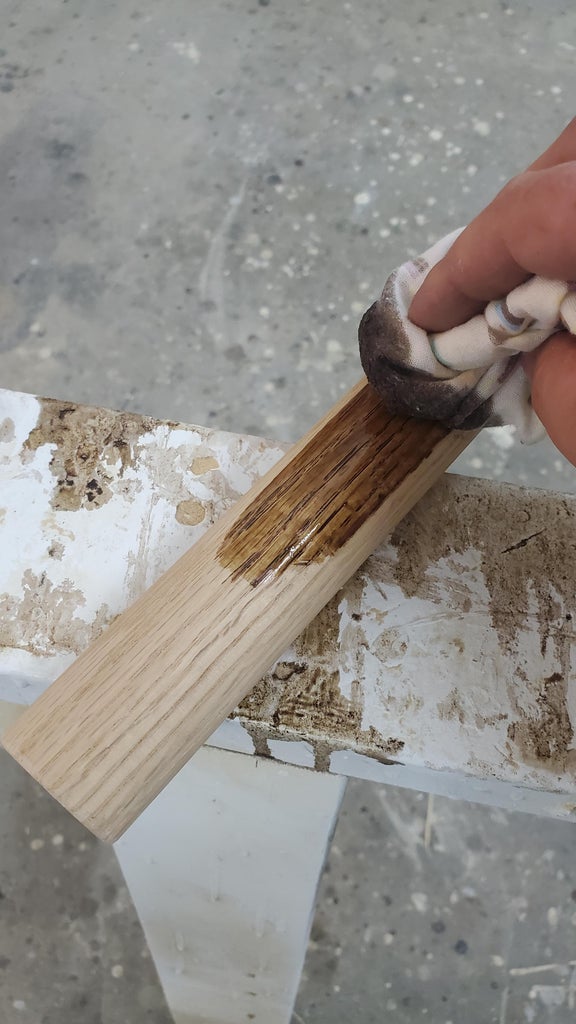
The large dowels I stained Early American.
Step 16: Assembling the Game
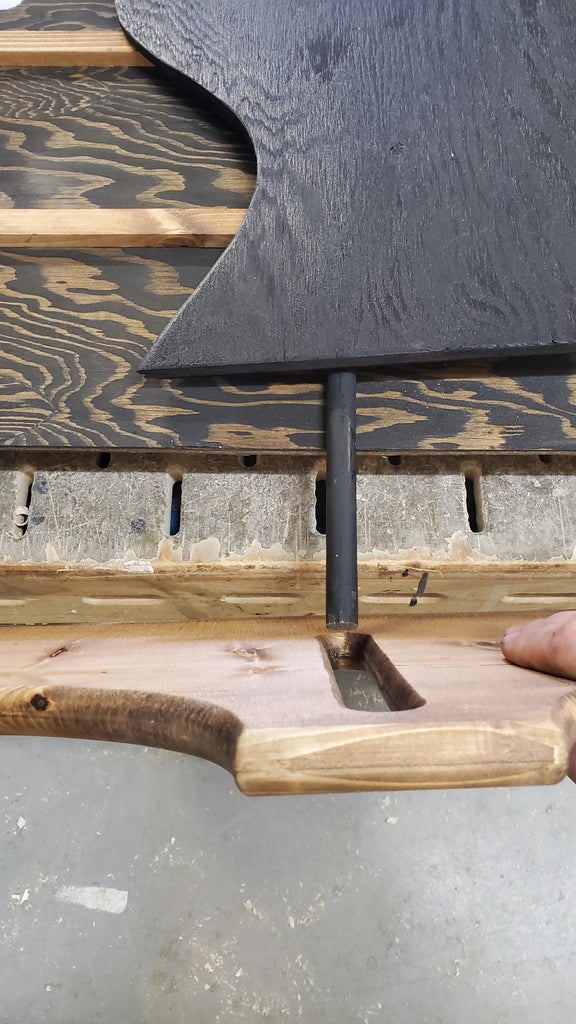
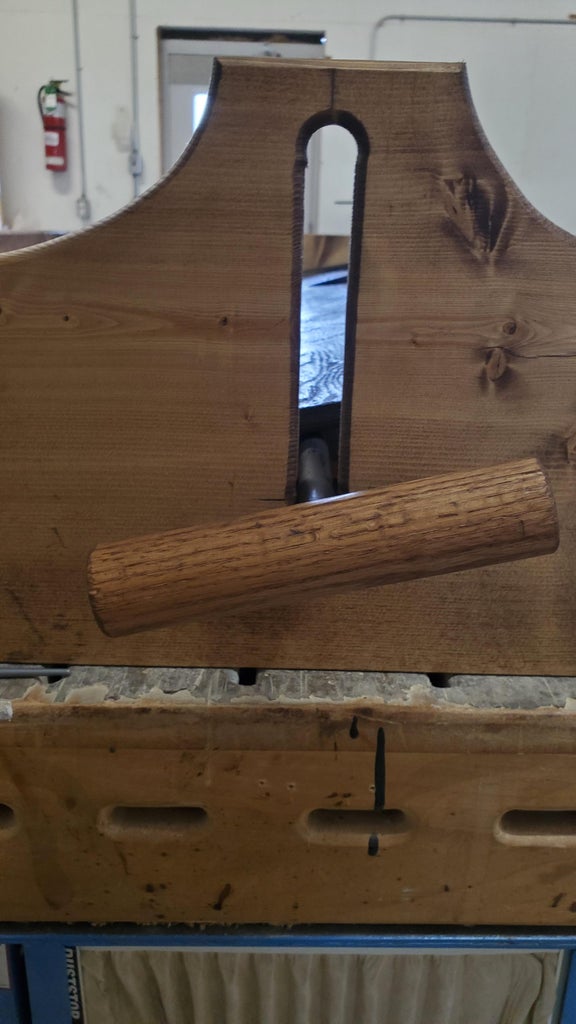
Now place the finished Zigzag back into the bottom hole, now add the top back on, making sure to top dowel goes into the slot.
Before you glue on the handles be sure to dry fit them
Now add a bit of glue into the 2" long dowel and push it firmly onto the bottom dowel, do the same to the top but try to keep the top one parallel to the Zigzag, if you hold it straight you want the zigzag to be straight as well.
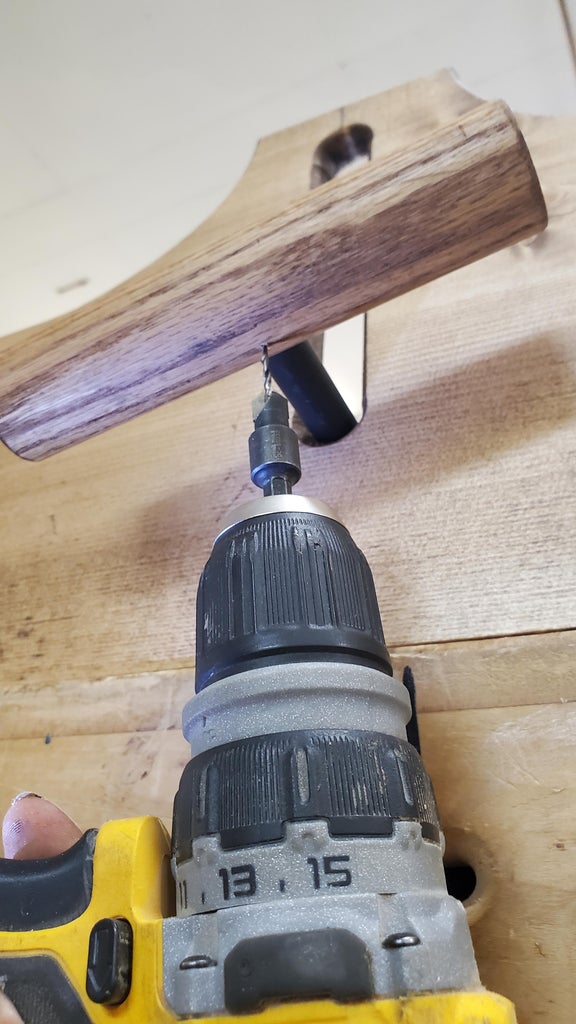
To add a bit more security I added a small screw to the bottom of the to handle as well.
Let it dry
Step 17: How to Play
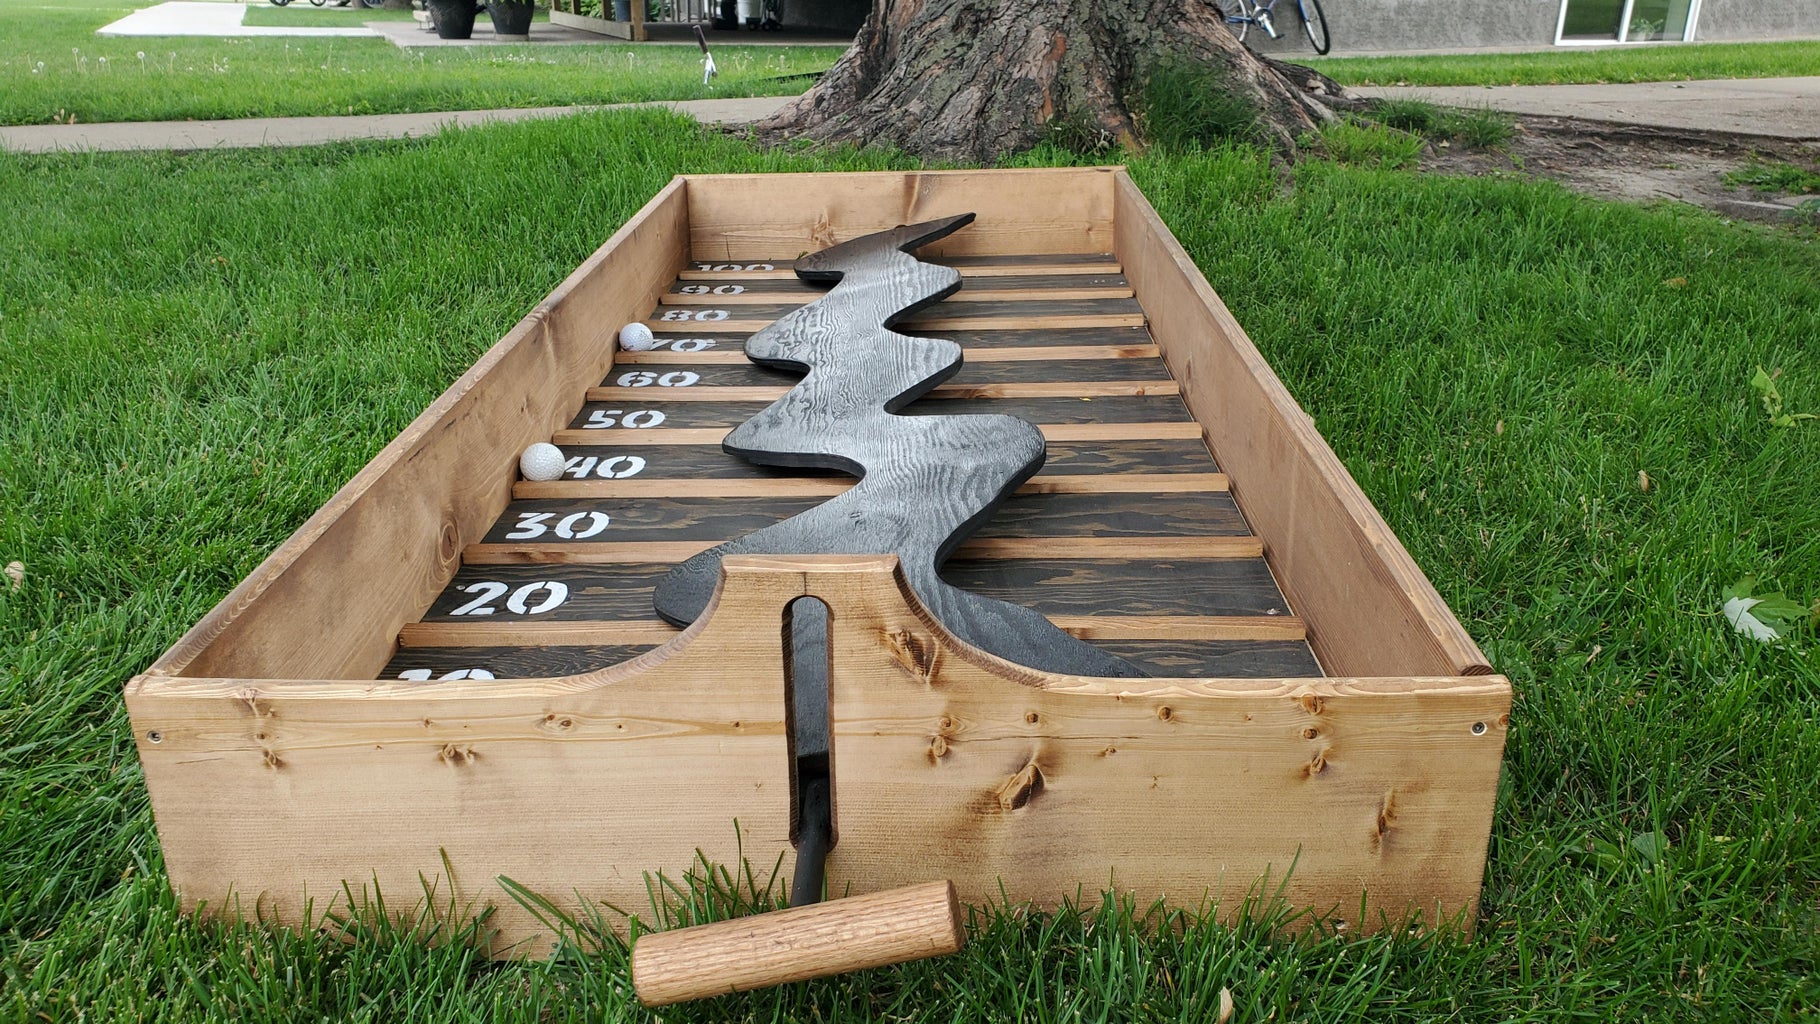
How to play is pretty easy to figure out, first place the box on the ground or a table if you want, then place a golf ball onto the start, turn the handle to try and get the ball to roll all the way down to the 100.
I have attached a .mp4 of a short demo.
I like using a golf ball as it doesn't blow away as easily outside as a ping pong ball.
Enjoy!
Attachments

Second Prize in the
For the Yard


4 Comments
10 days ago
Wow, what a build! Congrats on 2nd prize!
4 weeks ago
I love this.. I have not seen this game before, but it reminds me of a game I had as a kid where you had to move a steel ball balanced on two metal rods up to the highest planet. It was table top and we played it all the time.
I love this because it is a great gift for my nephews (1 gift to cover 3 boys!, cuz I'm cheap like that.) Also, you coult build with fence picket on all or most of the parts because you might save $1.50.
5 weeks ago
Very well done instructable.
I really like the game concept; it's like a mix between the marble maze game and gravitation game!
Thanks for sharing your hard work!
Reply 5 weeks ago
Thank you! I've actually never seen those games, they definitely look like something I need to check out.