
Introduction: Optimus Prime Cardboard Costume.


Hello, today we are going to make an Optimus Primecostume in its robot form, for which we will use cardboard and other materials.
Step 1: Materials

- Paper Replika Files
- Printed Material. (Optimus Helmet Templates)
- Cardboard
- Scissors/Knife
- Hot glue Gun
- Plaster.
- Wooden Sheets
- Silver Paint, Red metallic paint and Blue metallic paint
- Aluminium Sheets (Optional)
- Polymer Clay/Modeling clay for baking.
- Leds and battery holders
- Velcro
- Contact Cement
- Cutting Mat
- Brushes
- Carving tools
last but not least, Patience.
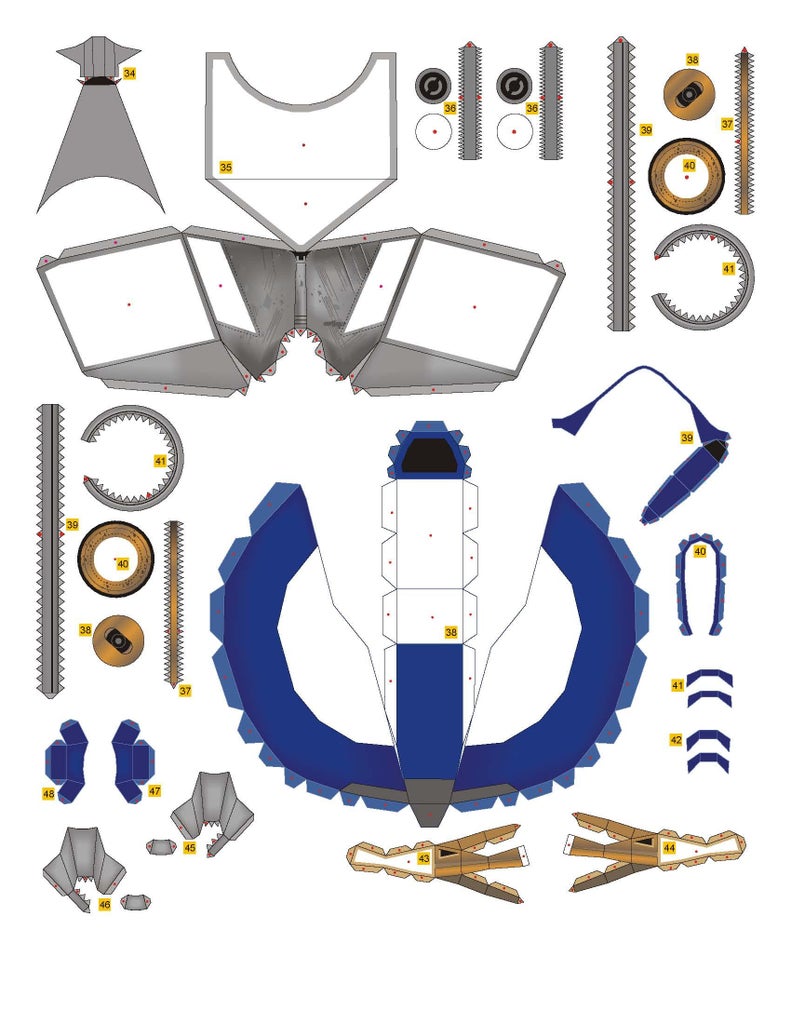
Step 2: Optimus Templates.


HEREyou can find the links to the Paper-Replika files that I used for the helmet
since the files are for a small version, I recommend scaling them to fit your head.
I made my version a little bigger than normal.
Step 3: Check the Paper Templates


Step 4: About Optimus.


Optimus Prime is the inspiring leader of the Autobot forces. Selfless and endlessly courageous, he is the main protagonist of the Transformers film and cartoon series, the last Prime, he is the complete opposite of his mortal enemy Megatron.
for this costume the version that we will make will be of the Optimus design in the first Michael Bay movies.
here I leave you some references in case you do not know the Optimus Prime character although I doubt it.
in case you need more views you can support yourself on the web.
Step 5: The Helmet


First we will manufacture the helmet we will cut our templates downloaded from paper-replika, in my case to save ink I edited them so that they did not consume many resources, a tip is to edit everything in photoshop and desaturate the colors until achieving a soft but recognizable color in the printing.
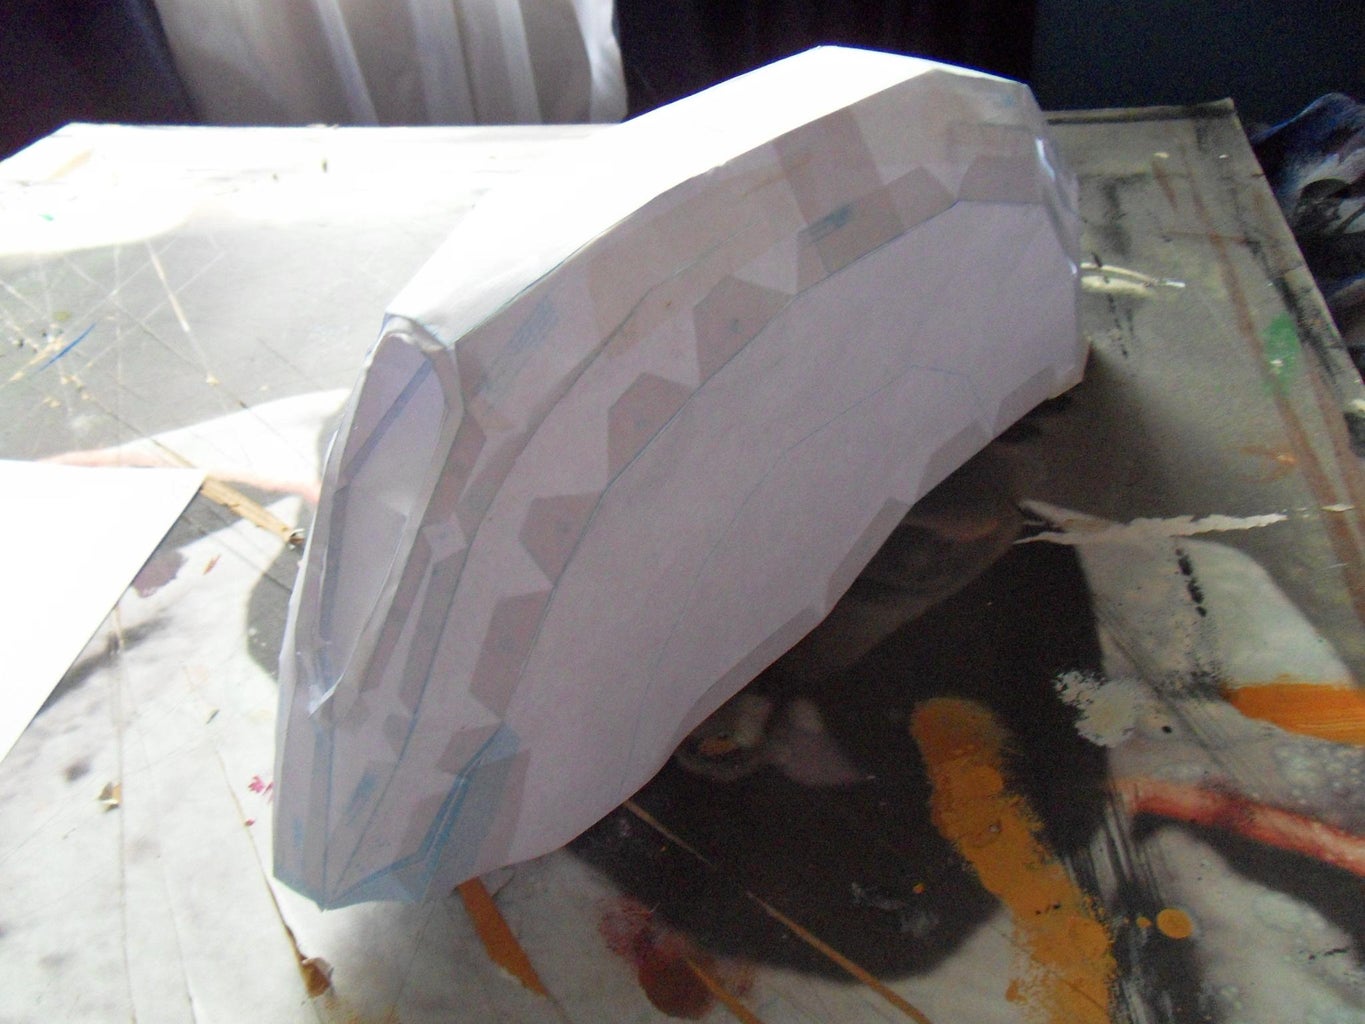
Step 6: Hardening the Helmet


To give the helmet more rigidity we will use extra layers of newspaper applying it with white glue in the paper mache technique, although here I personally recommend starting the process on rigid cardboard to save time and material
Step 7:


After completely covering the helmet with several layers, we will let it dry properly to apply the plaster that will be with which we will give the final details.
We will also trim the internal parts that are excesses so that we can put the head in without obstructions
Step 8: Plastering the Helmet


Now we will begin to apply the plaster on each piece, the finish does not matter since later we will begin to sand until we achieve a smooth and perfect finish
Step 9:


After smoothing we have the pieces ready, the next step is to join all the robot head pieces and start painting according to the references.
Step 10:


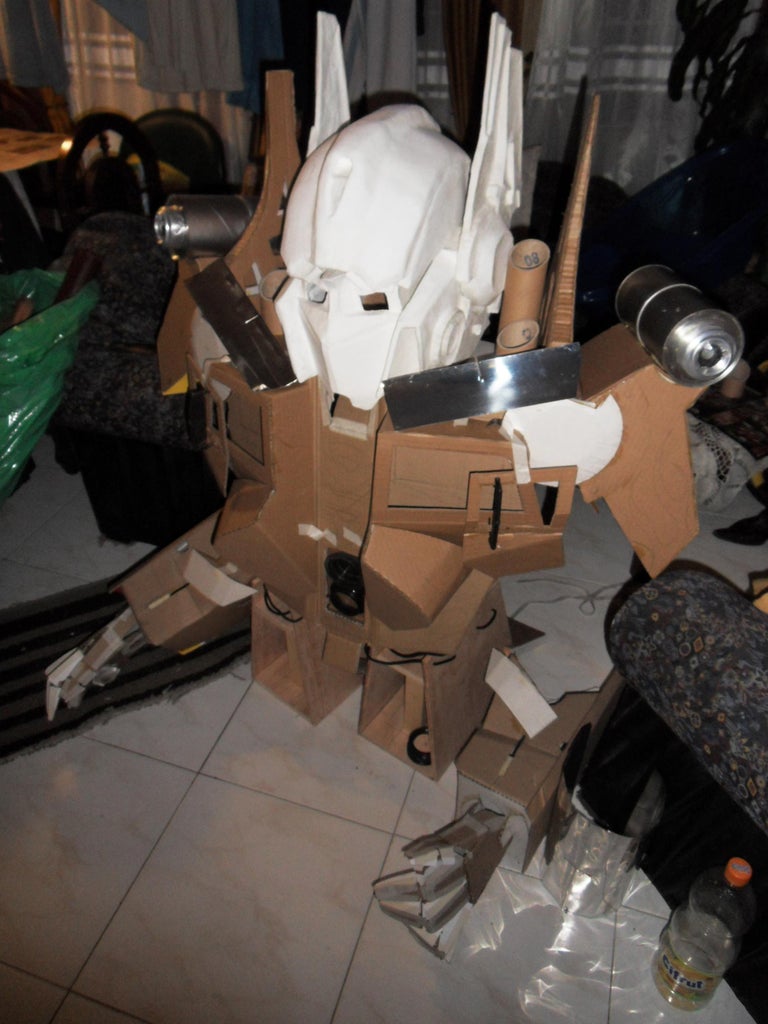
Now we start with the parts of the body, for that I made some sketches to guide me through the process.
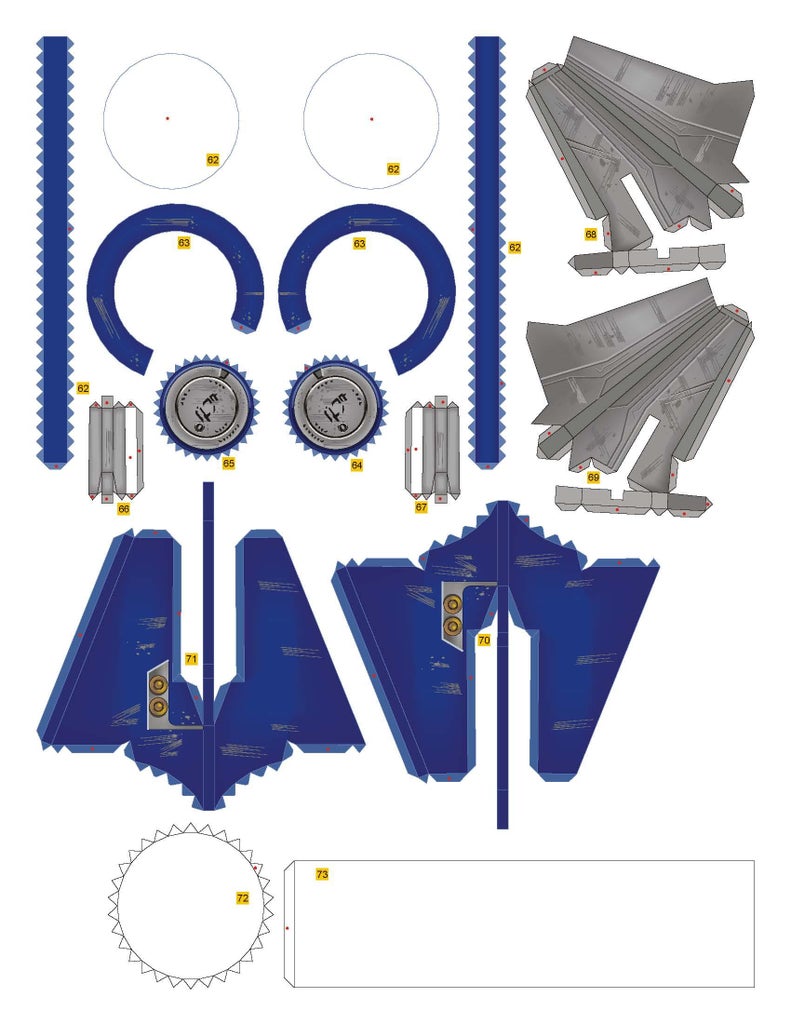
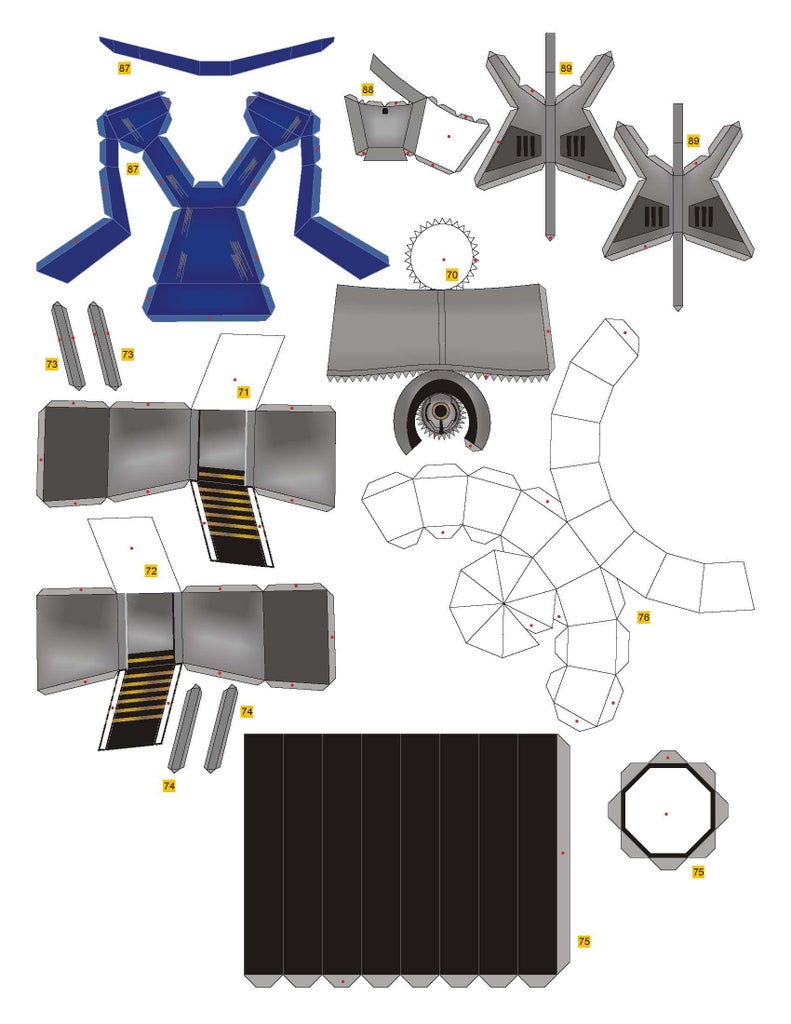
Step 11: Cardboar Parts.


We will carry out the same process as with the helmet, we will scale the downloaded files, always reviewing the most important parts, in the process we will discover that there are some parts that should not be printed or that can be made to measure.
At this point, help yourself with a pencil to trace the details and before gluing all the pieces, help yourself with adhesive tape to visualize how it will be joined.
Step 12: The Stilts


For the base of the stilts we will use the wooden sheets, we will cut them in the way you see in the images, and we will join them with screws, we will drill holes in the sides and we will cross some cords to grip our feet well.
then we will cover the entire stilt with the optimus foot structure that we will make in cardboard from the printed files.
as you see in the first image remember to add all the details you want based on the references.
Step 13:

At this point you can start painting, I recommend applying an initial layer of white to give the cardboard a base.
but you can also opt for the option of covering with aluminum foil.
you can use cardboard cylinders for the details of the exhaust pipes.
as you can see in the second image add some details of recycled objects such as milk powered cans and beer cans.
Step 14: Led Mount.


Now we will install the LED bulbs in the respective locations, as I always say, check the references and locate the places that in your opinion are the correct ones for the location of the respective lights.
For the lights you can use the basic method of lighting with batteries and LEDs.
Step 15: Paint Time.


check the references and paint your design.
check the location of the flames and do not forget to give it an explosive character, use a chrome paint if you can.
Step 16: Last Details.


For our last details we will use velcro where necessary to support our tests, we will paint the parts that are needed and we will add pieces that give more shape to the character such as its wheels and some wires, check the files and the references.
Step 17: ROLL OUT


after finishing him it's time to take him for a ride. 😎
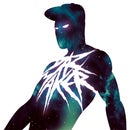
Step 18: Frozen Optimus Variant.

Finally I made a variation of the character in frozen mode, as you can see when it is adrift in space.
for this use the color of the aluminum sheets and add some stalactites in white foam to give that freezing effect.
this version is optional. as I always say: to each project you must give your personal touch.
Thanks for watch.
Participated in the
Robots Contest


Comments
1 year ago
Wow, this is quite inspiring, Thanks for sharing. Autobots Roll Out!