
Introduction: Create Your Own Circular Puzzle!!!


If your are new to puzzles, or you only saw regular puzzles, Well!, maybe this type of puzzle may be a new wave for fun for you. Create a different puzzle that makes think you different about how solve puzzles! and create your owns.
Supplies


You can create this with the help of Fusion360 and a 3D Printer. You can use any kind of filament.
Step 1: Create the Puzzle


To start creating the puzzle you can use Fusion360 or any other CAD software.
The tools you will need from Fusion360 are:
- Center Rectangle.
- Center Circle.
- Trim.
- Extend.
- Circular pattern.
- First with Center Circle create as many concentric circles you can print on your 3D printer. I created 10 circles starting from 12mm and increasing 10mm of diameter on each one.
- Create a Center Rectangle to attach the center circle to the center puzzle piece (I used a 8mm thickness rectangle to start creating the links)
- Use the Trim tool to trim one half of the rectangle.
- Use Circular pattern tool to duplicate the rectangle lines into 20 more directions.
- Use the Trim tool to attach the center circle to the third circle. and Start creating maze patterns.
Step 2: Create Maze Patterns

Use the trim tool to start creating maze paths. Remember this tips to create the maze paths.
- Use the lines of the rectangle to join circles.
- Join skipped circles( first circle with the third circle, fourth circle with sixth circle and so on).
- Don't be afraid of long or short maze paths.
- If you start making big maze paths we will split them in the next step.
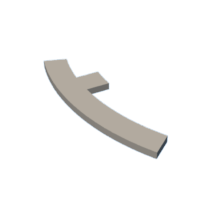
Step 3: Split Big Maze Paths


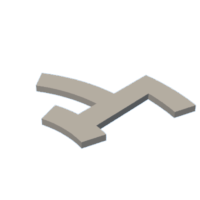
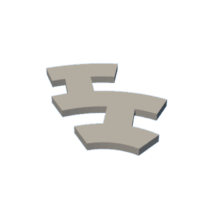
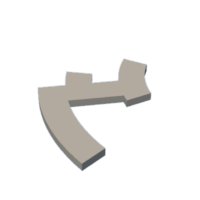
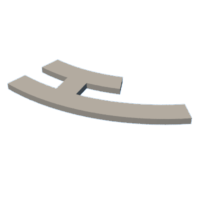
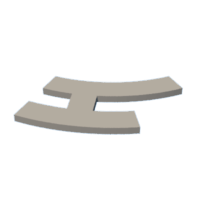
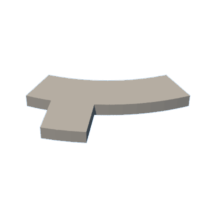
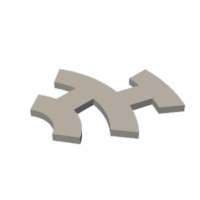
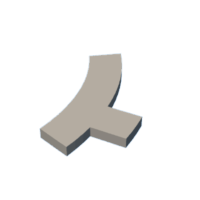
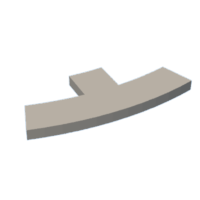
- Once you are done creating maze paths, you can see in the first image that we have big maze paths and this will result into big puzzle pieces, so we will split them using the Line tool.
- Select the Line tool and start the line by click in the center of the puzzle and then second click on the opposite circle where you want to split the maze path.
- Use the trim tool to erase the excess line.
- Repeat this for the pieces or maze paths you consider big ones. (like the 4th image)
Step 4: Creating the Tray

Lastly to create the tray for all the puzzle pieces, create a circle 4mm bigger than the last circle.
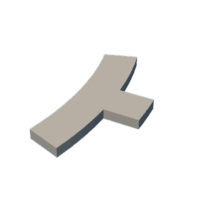
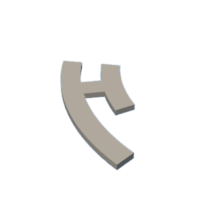
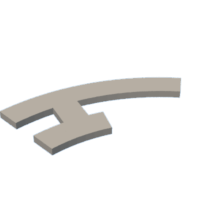
Step 5: Creating the Pieces.


Use the extrude tool (shortcut: E) and select every piece of the puzzle and select the thickness you want.
I suggest 1.5mm to be a good thickness to avoid bending.
This might take a while as you need to select every piece, write the thickness and then select Operation "New Body".
Note: This last step is important. if you do not select "New Body" the new piece created will join to the last one.
Step 6: Creating the Tray


To create the tray use the extrude tool and select all the pieces and extrude, the select the thickness (I suggest 1mm).
Then create the contour, use the extrude tool and select just the inner part of the last circle you created before and extrude, select the thickness of your puzzle pieces plus the thickness of the tray (1.5mm + 1mm) and select Operation "Join" (do not forget to select join, because the default operation is CUT and we don't need to remove parts we need to add).
And you are done with the puzzle! Let's print it!
Step 7: Exporting and Printing the Puzzle


To export the puzzle:
- Click on the show/hide to hide the Tray (eye icon)
- Now right click on the name project and save as mesh
- In Structure option select "One File per Body" (this will export every piece as a file, it might take a while because they are a lot of pieces)
To export the tray:
- Unhide the tray by clicking the eye icon.
- Select all the puzzle pieces and hit V (V is the shortcut for show/hide).
- Right click on the tray and select save as mesh and click ok to save the STL file.
Printing the all the pieces:
- Select all the STL files exported and import them into Cura.
- Into the Walls option enable "Horizontal Expansion". (This feature is for Cura slicer, but you can find the equivalent for your slicer) We need this feature as we have NOT space between the pieces and if we print them like they were exported they will crush each other. This feature will add some space between the pieces.
- Select the Horizontal Expansion, I suggest between -0.2mm to -0.4mm, this depends on your 3D printer calibration. If your 3D printer is very well calibrated -0.2mm will be ok.
- Finally Print!!!
- Do the same for the tray to add a little bit of space between the pieces and the tray.
Step 8: Start Playing and Creating Your Own Puzzle
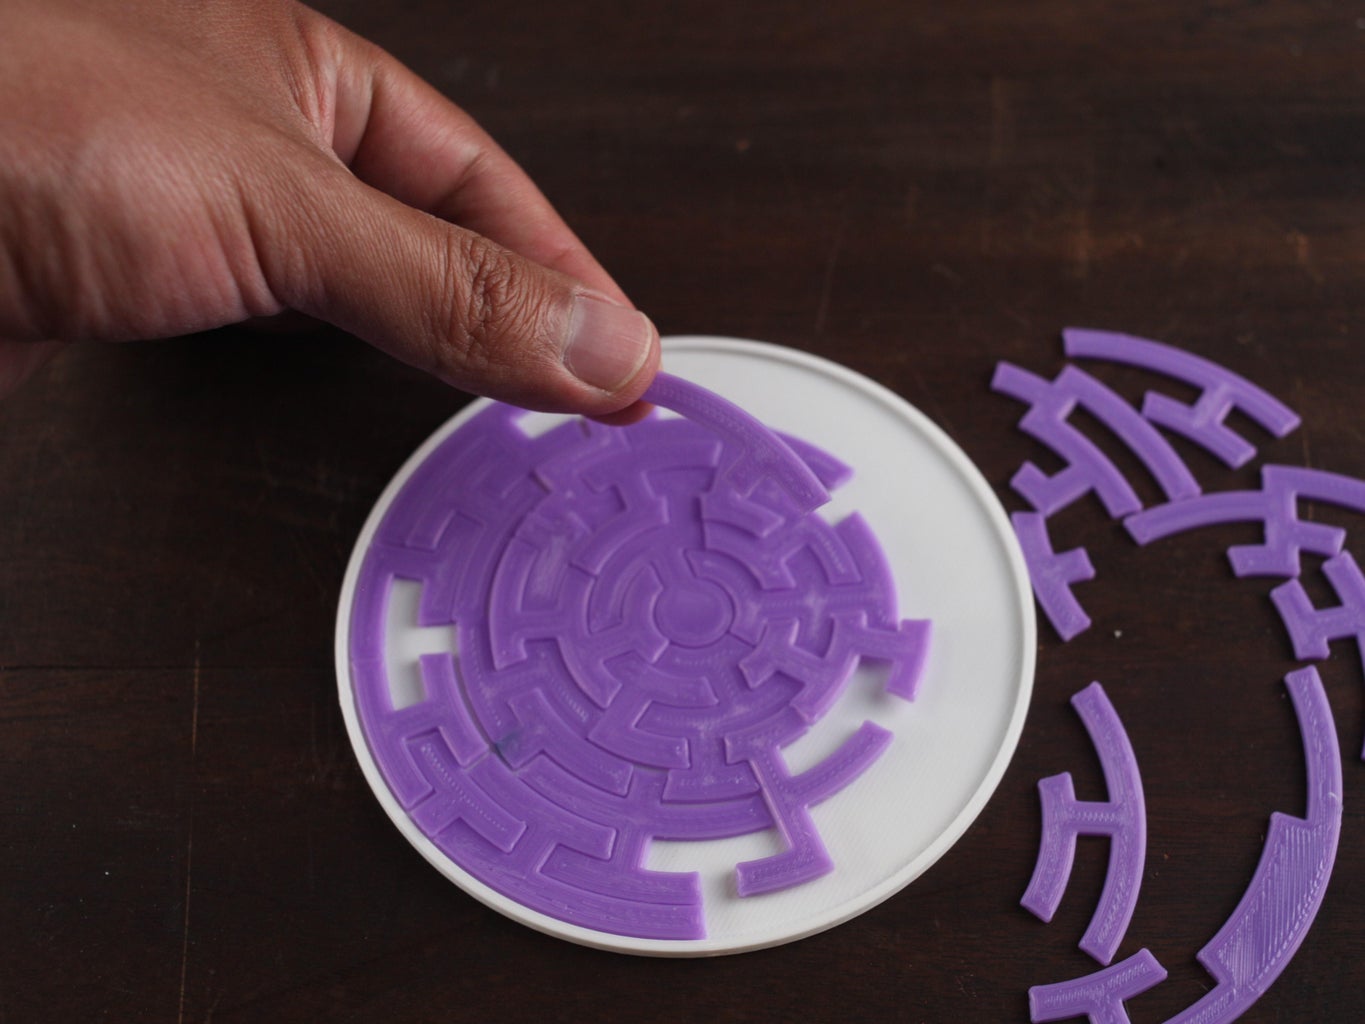

You can download the example puzzle here (30 pieces + tray)
Remember you can create more complex puzzles by adding more circles and more lines or even creating repeated pieces to create fake solutions.
Have fun and let's do a puzzle!
Attachments
 traypuzzle.stl
- 1 (1).stl
- 1 (2).stl
- 1 (3).stl
- 1 (4).stl
- 1 (5).stl
- 1 (7).stl
- 1 (8).stl
- 1 (9).stl
- 1 (10).stl
- 1 (11).stl
- 1 (12).stl
- 1 (13).stl
- 1 (15).stl
- 1 (16).stl
- 1 (17).stl
- 1 (18).stl
- 1 (19).stl
- 1 (20).stl
- 1 (22).stl
- 1 (23).stl
- 1 (24).stl
- 1 (25).stl
- 1 (26).stl
- 1 (27).stl
- 1 (28).stl
- 1 (29).stl
- 1 (30).stl
- circular_puzzle.svg
- 1 (14).stl
- 1 (6).stl
- 1 (21).stl


Second Prize in the
Puzzles Challenge


7 Comments
6 months ago
Can't wait to print this!
I was looking at the pieces and number 14 and 21 are not the same thickness as the others. Are they all supposed to be the same thickness?
Reply 6 months ago
Okay, I figured it out. It appears that the puzzle actually only has 29 pieces but 14 and 21 are the same exact pice and that's why they are different thicknesses. THey are somehow the same piece split into two by layer? Does that seem right to you?
Reply 6 months ago
Hello Penolopy, thanks for bringing this to my attention, it seems 14 and 21 should be 1 piece of 1.5mm and in the exporting process result 2 pieces, one of 1mm and the other of 0.5mm. Also piece 6 should be two pieces, according to the design on the tutorial and those pieces joined as only 1 in the export process. I will correct the files ASAP. (PD: If you already print them I will keep piece 21 as is and increase the thickness, and replace piece 14 with the split piece of 6, so you can reprint piece 21)
Reply 6 months ago
Thanks for the updates!
Reply 6 months ago
Already corrected, thanks for your comment. You can reprint piece 21 with the right thickness. Also replace the big piece 6 (5 in your picture) with two small pieces now 6 and 14. (14 was the repeated thin piece 21)
7 months ago
Hey @dslrdiy, thanks for the instructable! Are you able to provide an svg of the whole puzzle or something similar for laser cutting, I think this would work great for that. Thanks!
Best Answer 7 months ago
Hello emiltoteb, that's a great idea! I just uploaded the STL files as 3d printers are easier to find. I updated the last step with an SVG file. I hope the file is in a format that works for your laser cutter machine software.